Last Updated on March 3, 2025 by teamobn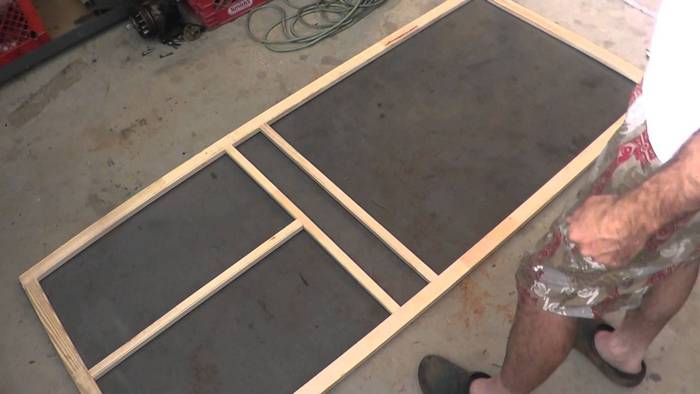
There’s not much worse than a house filled with annoying flies or mosquitoes. That’s why avoid opening windows that don’t have screens. The same goes for doors.
Buying plastic or metal manufactured screen doors is okay but if you’re going for a rustic home, then this is the way to go! Nothing beats these classic doors most of us could remember when we were younger. The noises it makes as we open and close it.
Take a look at how this DIYer built his own sturdy rustic screen door!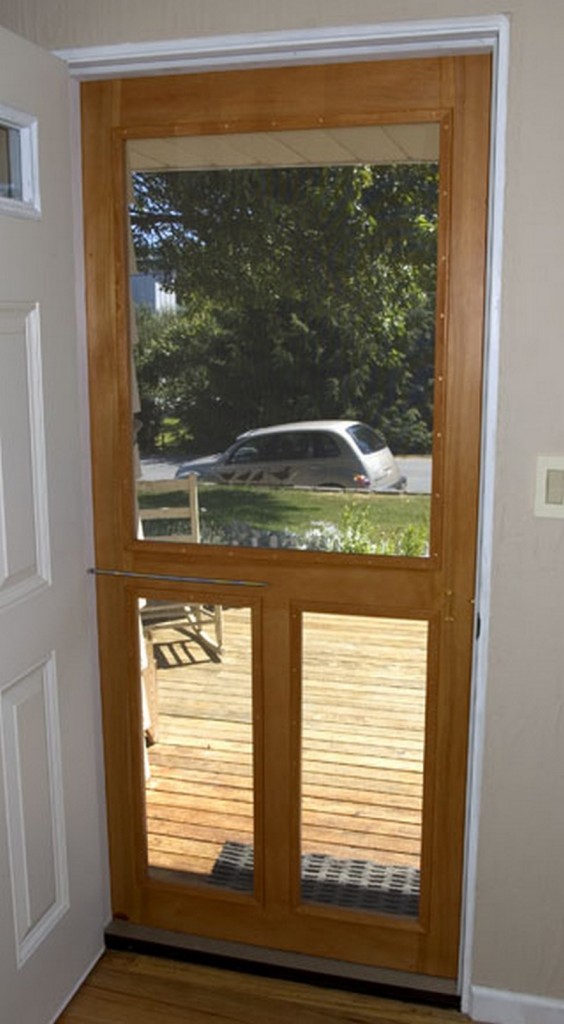
What are the advantages of a handmade screen door?
1. Higher level of comfort
The natural light passing through the screens and refreshing air that freely flows enhances your mental peace and develops an optimistic feeling in our family. These can provide us with the attractiveness, relaxation, and quality of a window, with additional security for your external door, which provides us with a higher level of comfort. Proper ventilation is the key to peace of mind.
2. Keeps insects away
Closed screen doors keep intruders, bugs and insects away even if your front door is open and still allow fresh air to flow in your house.
3. Adds protection
Screen doors provide added security, even if you have your front door open. Make sure that these are always locked.
4. Additional home decore
Screen doors can be very attractive at home. You can customize and decorate these them based on your desired style.
6. Enhance the quality of air circulation
We all love the fresh air. It’s very relaxing and peaceful. Screen doors help us maintain proper ventilation in our homes. We can open our front door to have the fresh air flowing in our house without letting the insects.
7. Energy saving
The free flow of natural light and fresh air gives us a better option to save electricity. Instead of opening the aircon and lights, we can just open the doors and windows, just maintain the screen doors and screen windows closed.
8. Affordable
Screen doors are definitely less expensive than front doors. DIY screen doors are even cheaper.
–
What are the materials needed to build a handmade screen door?
You’ll need these materials:
- 5/4×6” Fir Lumber
- 3/8 or ½” Oak or Walnut Dowel
- Metal Screen
- 3×1” Brass Hinges
- Screen Door Spring
- Handle and Latch
- #6 x 1” Brass Screws
- Wood Glue
- Wood Stain
And these tools:
- Planer
- Table Saw
- Tenon Jig
- Precision Centering Tool
- Precision T-rule
- Drill with ½” Forstner Bit
- Chisel and Sledge Hammer
- Square
- Clamps
- Sander
- Skil Saw
- Router
- Staple Gun
- Miter Saw
How to build a handmade screen door?
1. Measure and gather the materials
Measure your front door, and use this as your pattern for your screen door. Ensure the layout and measurements before starting the procedure.
2. Cutting the plywood
Once all measurements are noted and materials are ready, you can now start with marking and cutting the woods. Make sure that all matches up so that it will be easy to assemble.
3. Mortise and tenon joints
Mortise and tenon joints bind two components of wood or other material. These are strong, stable, and give an attractive look that can be used in various projects, like screened doors. This joint requires precise measuring and precise cutting, which makes it challenging to create.
First, make the tenons on the top, centre and bottom rails. You can use a height gauge to measure the tenon’s height. Ensure the dimensions before sawing.
Next, make the mortise. Mark the mortise before drilling according to your measurements. Simply use any marker in the hole on the ruler that lines up with the centre and drag the square bar along the border of the wood. It will create a good centerline pattern when drilling out the mortises. Then drill out the mortise using a suitable bit, following the centre-line as a pattern. Make sure to begin and end on the ends with no need to go over the line. Then, Clean the mortises with a sharp chisel. Check all the pieces before drilling the pegs and doing the assembly.
Draw a line to determine the dimensions of the pegs, 3/4″ in from each side, on the tenon and move these to the mortise
4. Door assembly
Mark 1 inch from the edge to the mark and drill down from the front door halfway down the back door. Everything must now be glued together.
5. Install the screen
Put the hinges in the moulding to the door. Before installing the screen and moulding, sand, apply stain, and finish. Make sure the screen fits inside the frame. Staple or nail it in place.
In the moulding, pre-drill the screw holes and countersink them. You will have to drill through the doors and frames. Attach the moulding to the edge of the screen.
6. Finalize the project
Once you have installed the spring, handle, and latch, your screen door will now be lovely for several years to come.
Thanks to RunnerDuck Resources for this great project. You can get the detailed step-by-step instructions here…
Different Design Styles for Handmade Screen Doors
Handmade screen doors add charm and functionality to a home. Whether you’re aiming for a rustic farmhouse look or a sleek modern design, the style of your screen door can enhance your entryway while keeping insects out and fresh air flowing. Choosing the right design depends on your home’s architecture, personal preferences, and the level of craftsmanship you’re comfortable with. Here are some popular design styles to consider when crafting a handmade screen door.
Classic Farmhouse Style
A farmhouse-style screen door brings a touch of nostalgia and warmth to any home. These doors often feature a wooden frame with a simple crossbuck or half-panel design. White or distressed paint enhances the vintage appeal, while black wrought iron hardware adds to the rustic charm. This style works well for country homes, cottages, and traditional porches, giving them a welcoming and homey feel.
Cottage-Inspired Screen Doors
For a cozy and whimsical touch, cottage-style screen doors are a perfect choice. These doors often include decorative cutouts, scrollwork, or beadboard panels. Soft pastel colors or a weathered wood finish can enhance their quaint aesthetic. Cottage-style doors blend beautifully with floral gardens, white picket fences, and homes that embrace a storybook-like charm.
Minimalist Modern Designs
A modern handmade screen door features clean lines and simple geometric shapes. These doors typically use a sleek wooden or metal frame with minimal embellishments. Black, gray, or natural wood finishes pair well with contemporary architecture. To achieve a streamlined look, modern screen doors often incorporate invisible hinges and hidden hardware. The result is a door that complements minimalist homes while maintaining a functional, stylish appearance.
Craftsman-Inspired Details
Craftsman-style screen doors focus on fine woodworking details, such as vertical slats, mortise-and-tenon joinery, and custom moldings. These doors are often stained to highlight the natural grain of the wood, creating a handcrafted, artisanal look. They work well with Craftsman-style homes, bungalows, and historic properties that emphasize traditional craftsmanship and durability.
Vintage Victorian Elegance
Victorian-style screen doors bring intricate detail and timeless beauty to any entrance. These doors often feature ornate carvings, scrollwork, and turned spindles. Painted in bold colors like deep red, navy blue, or forest green, they add elegance and sophistication to period-style homes. Stained glass or decorative metal inserts can further enhance the Victorian aesthetic.
Rustic Barn Door Appeal
For those who love the look of reclaimed wood and raw textures, a barn-style screen door offers a rugged and rustic design. These doors often incorporate X-brace panels, weathered wood, and heavy-duty iron hardware. Ideal for cabins, farmhouses, and rustic-inspired interiors, barn-style screen doors add character and durability to an entryway.
Coastal and Beach-Themed Designs
A coastal-inspired screen door reflects the breezy, relaxed vibe of beach homes. These doors are often painted in light shades of blue, seafoam green, or white, with a weathered or driftwood-like finish. Louvered panels or nautical cutouts, such as seashells or starfish, can enhance the coastal feel. This style is perfect for homes near the water, offering a casual yet stylish entrance.
Custom and Artistic Designs
For homeowners who want a one-of-a-kind touch, custom screen doors allow for artistic creativity. Whether a laser-cut metal insert, hand-carved wood patterns, or a stained glass panel, a custom design can turn a simple screen door into a work of art. These doors are ideal for those looking to make a bold statement and personalize their entryway.
A handmade screen door isn’t just a functional addition but a design element reflecting your style. Whether you prefer the charm of a farmhouse door or the clean lines of a modern design, crafting your own screen door allows you to create a unique and inviting entryway.
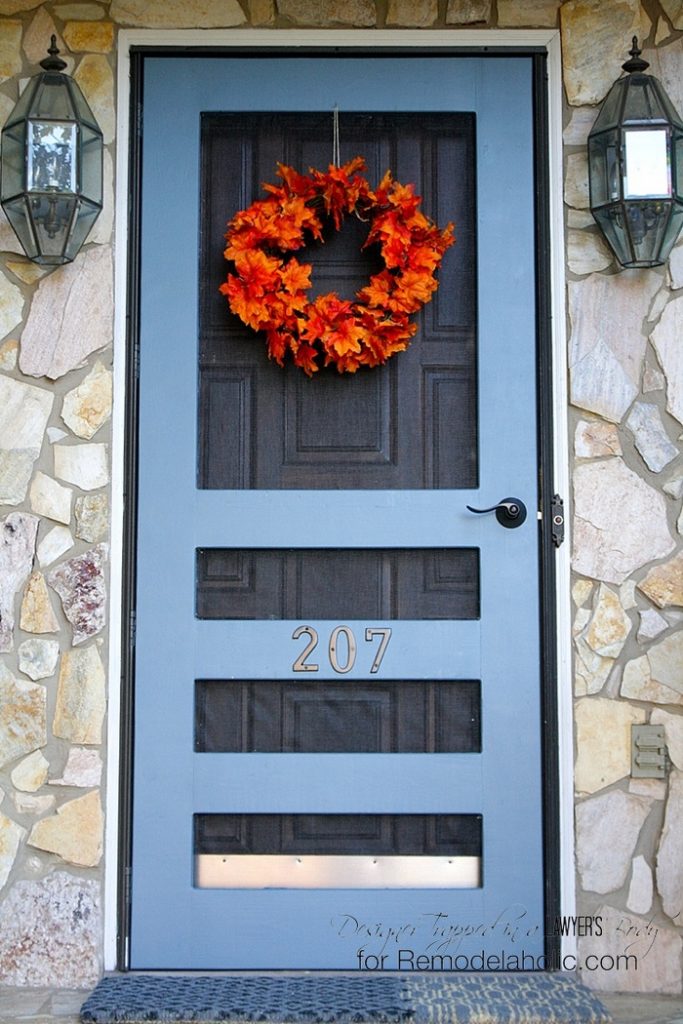
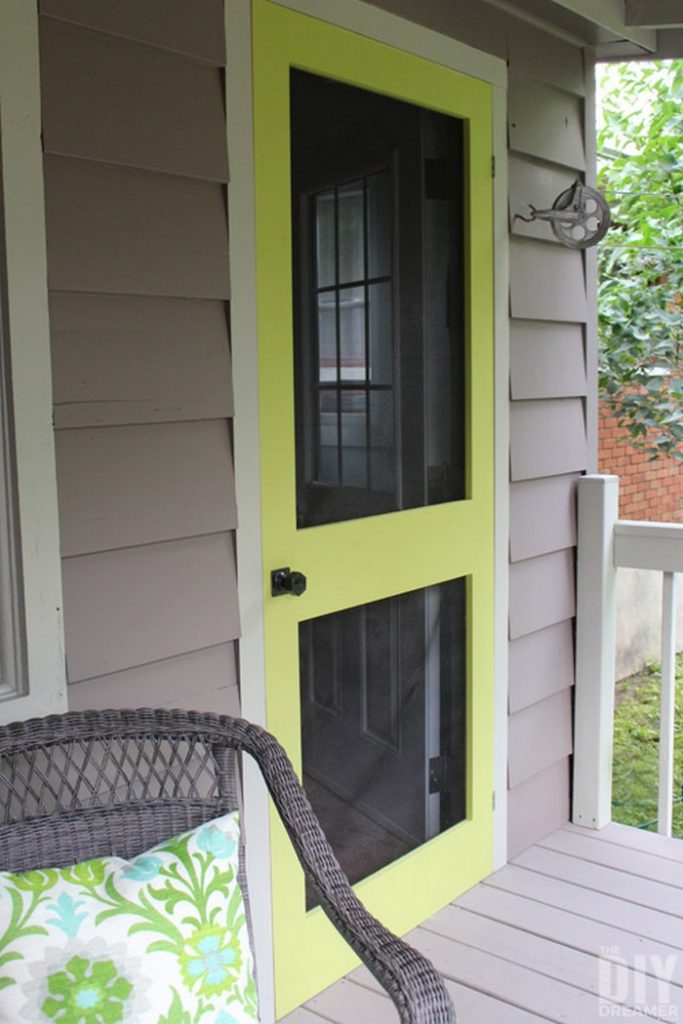
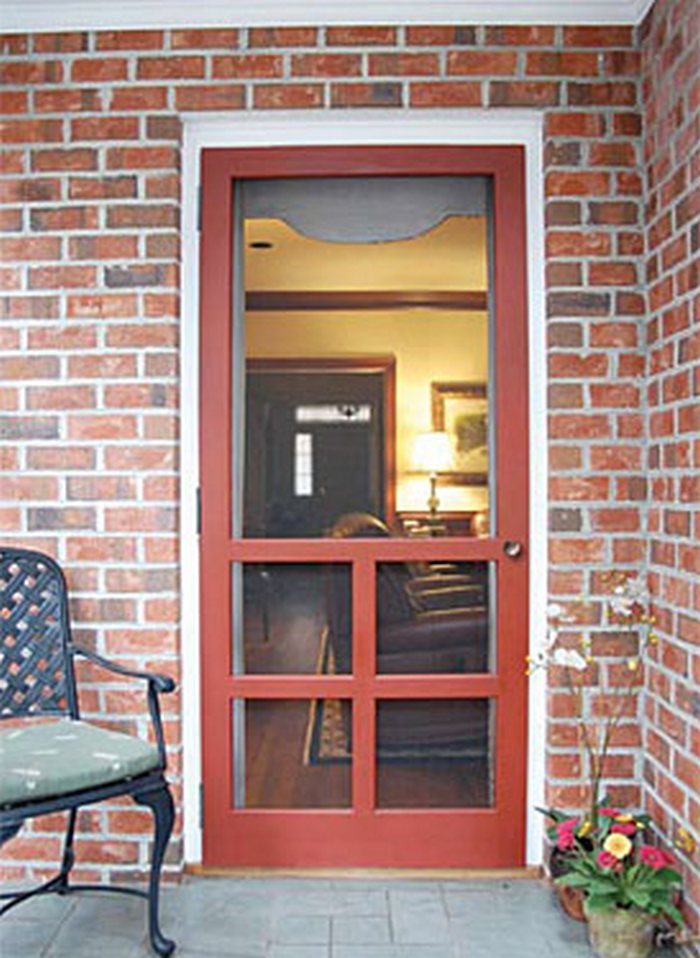
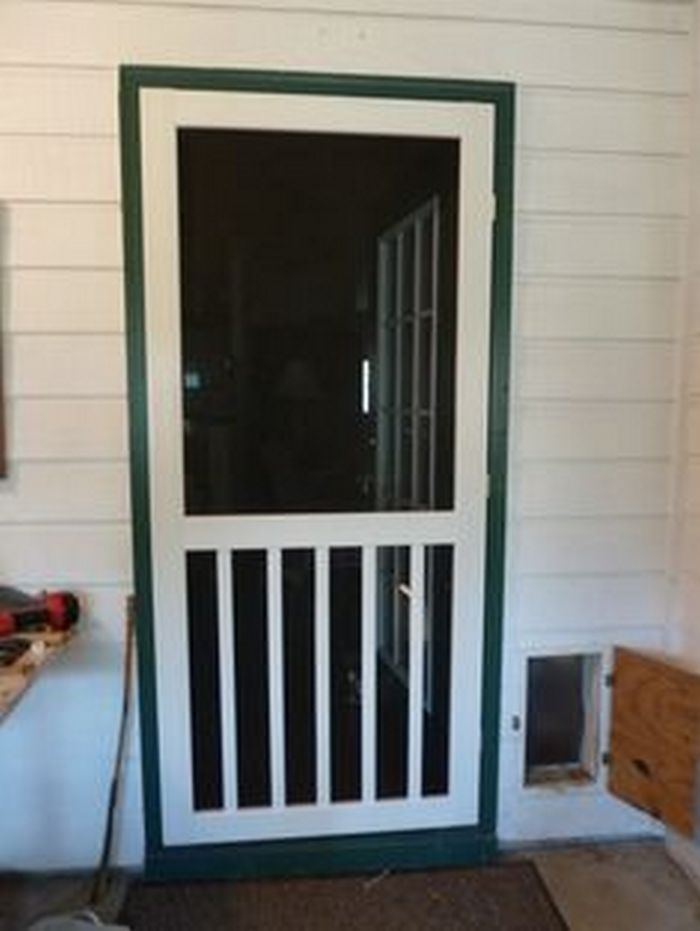
Handmade Screen Door Gallery
Click on any image to start the lightbox display. Use your Esc key to close the lightbox. You can also view the images as a slideshow if you prefer 😎






Choosing the Right Wood for Your Screen Door
Selecting the right type of wood for a handmade screen door is essential for durability, aesthetics, and long-term performance. A screen door is constantly exposed to outdoor elements, including moisture, temperature fluctuations, and direct sunlight. The wood you choose should be sturdy enough to withstand these conditions while complementing the style of your home. Here’s a breakdown of the best wood options for crafting a high-quality screen door.
Cedar: Naturally Resistant and Lightweight
Cedar is one of the best choices for a handmade screen door. It is naturally resistant to moisture, insects, and decay, making it ideal for outdoor use. Cedar also has a beautiful grain pattern and takes stains or clear sealers well, allowing you to preserve its rich, warm tones. Its lightweight nature makes it easy to work with, reducing the risk of sagging over time. Western red cedar is particularly popular for screen doors due to its durability and attractive appearance.
Pine: Affordable and Versatile
Pine is an excellent budget-friendly option for screen doors. It is soft, easy to cut, and widely available. While it doesn’t have the same natural resistance to moisture and pests as cedar, it can be treated with wood preservatives or painted for added protection. Pine is great for achieving a rustic or cottage-style look, especially when distressed or stained. However, since it is a softer wood, it may be more prone to dents and scratches over time.
Oak: Strong and Classic
Oak is known for its strength and timeless beauty. This hardwood has a tight grain and excellent durability, making it a solid choice for screen doors that need to withstand heavy use. Oak doors tend to be heavier, requiring additional reinforcement or high-quality hinges to prevent sagging. Red and white oak are both suitable, but white oak is slightly more moisture-resistant, making it a better option for exterior applications.
Mahogany: High-End Durability
For those seeking a premium wood option, mahogany offers unmatched durability and resistance to rot and insects. It has a rich, deep color that enhances traditional and craftsman-style homes. Mahogany is also less prone to warping, making it an excellent long-term investment. Its natural oils protect it from weathering, though applying a protective finish will help maintain its beauty.
Fir: A Strong and Stable Choice
Fir is another popular wood for screen doors due to its straight grain, workability, and strength. It resists shrinking and warping better than many other softwoods, making it a stable option. Fir takes stain and paint well, allowing for various design finishes. While it is not as naturally resistant to moisture as cedar, a proper sealant can improve its longevity.
Cypress: A Rot-Resistant Southern Favorite
Cypress is highly resistant to moisture, making it an excellent choice for humid or coastal environments. It has a warm, light color and a fine grain that looks beautiful when stained or sealed. Cypress contains natural oils that deter insects and decay, offering long-lasting durability. It is a great alternative to cedar for those who prefer a different grain pattern.
Teak: Premium Weather Resistance
Teak is often associated with outdoor furniture due to its superior resistance to moisture and extreme weather conditions. It has a dense structure and natural oils that prevent rot and insect damage. While teak is one of the most expensive wood choices, it offers long-term durability with minimal maintenance. Its golden-brown color weathers to a silvery-gray patina over time unless regularly treated with teak oil.
Choosing the Best Wood for Your Climate and Style
When selecting the right wood for your screen door, consider your local climate and the level of exposure to sun and moisture. Cedar and cypress are excellent for humid or rainy areas, while oak and mahogany provide superior durability for high-traffic doors. If you prefer a budget-friendly option, pine or fir can work well with proper sealing and maintenance.
The right wood choice ensures your handmade screen door remains strong, beautiful, and functional for years. Whether you’re going for a rustic, modern, or traditional look, selecting high-quality wood is the first step in building a screen door that stands the test of time.
Conclusion
Building a handmade screen door adds both function and character to your home, offering a personalized touch that complements your style. Choosing the right wood, design, and finish ensures durability while enhancing airflow and protection. With careful craftsmanship and proper maintenance, your custom screen door will serve as a charming and practical feature for years to come.
If you liked this project, you will also like viewing these door and window ideas…


