There’s not much worse than a house filled with annoying flies or mosquitoes. That’s why avoid opening windows that don’t have screens. The same goes for doors.
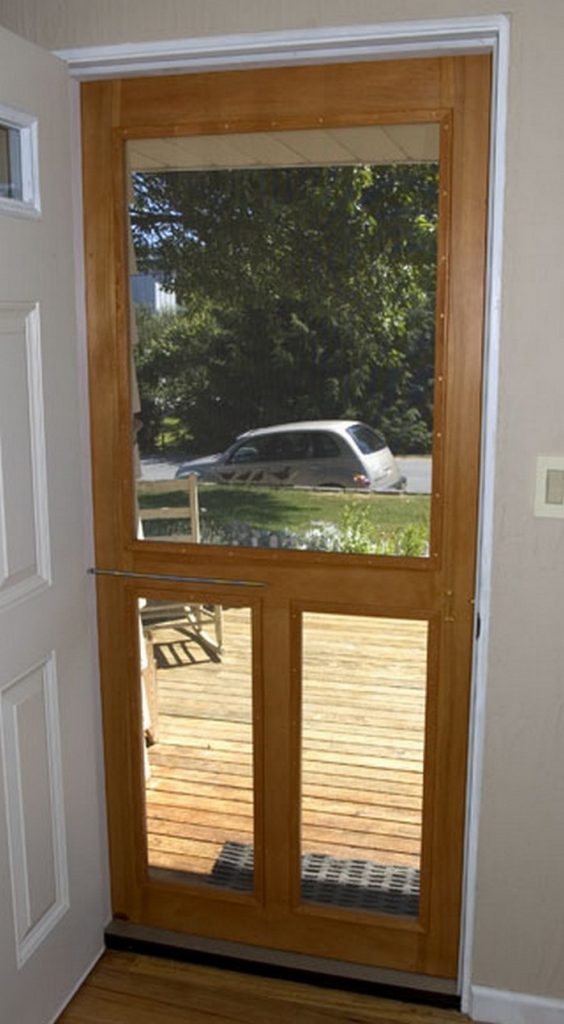
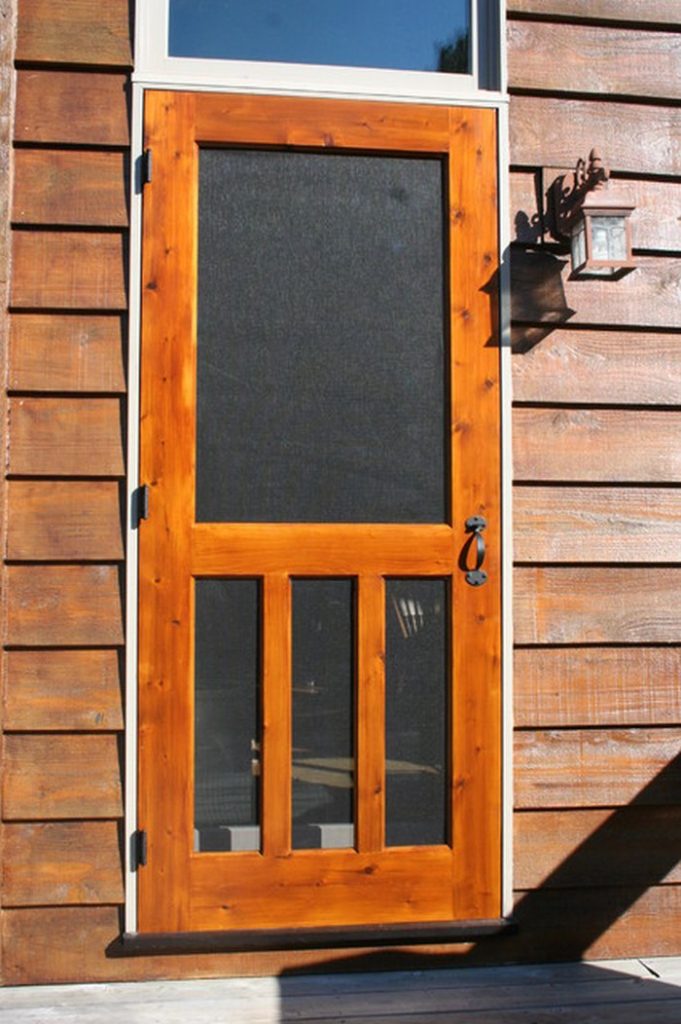
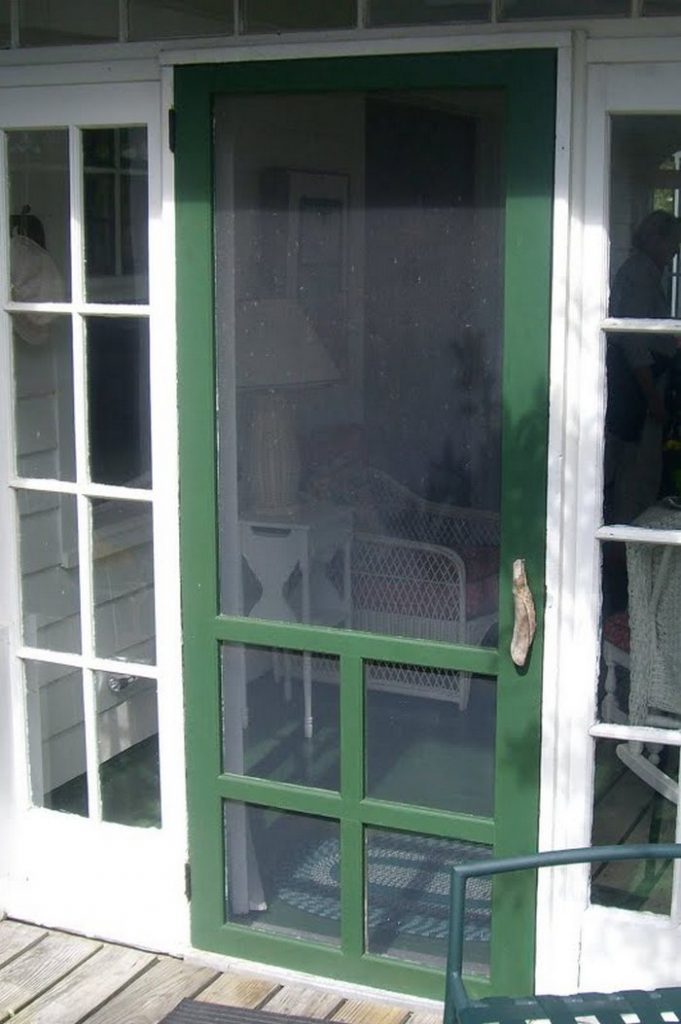
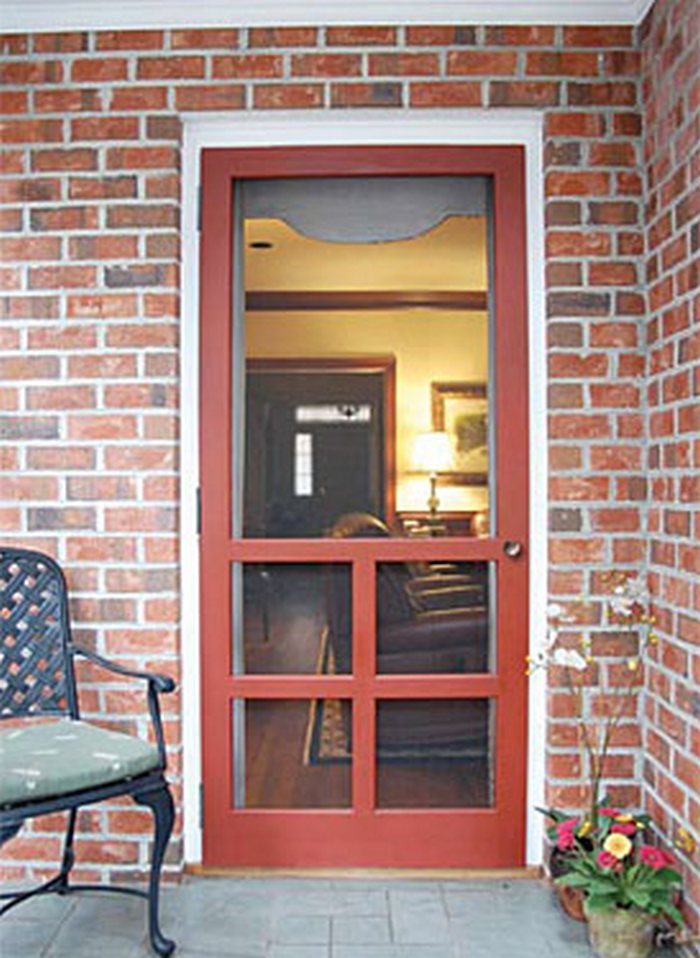
Buying plastic or metal manufactured screen doors is okay but if you’re going for a rustic home, then this is the way to go! Nothing beats these classic doors most of us could remember when we were younger. The noises it makes as we open and close it.
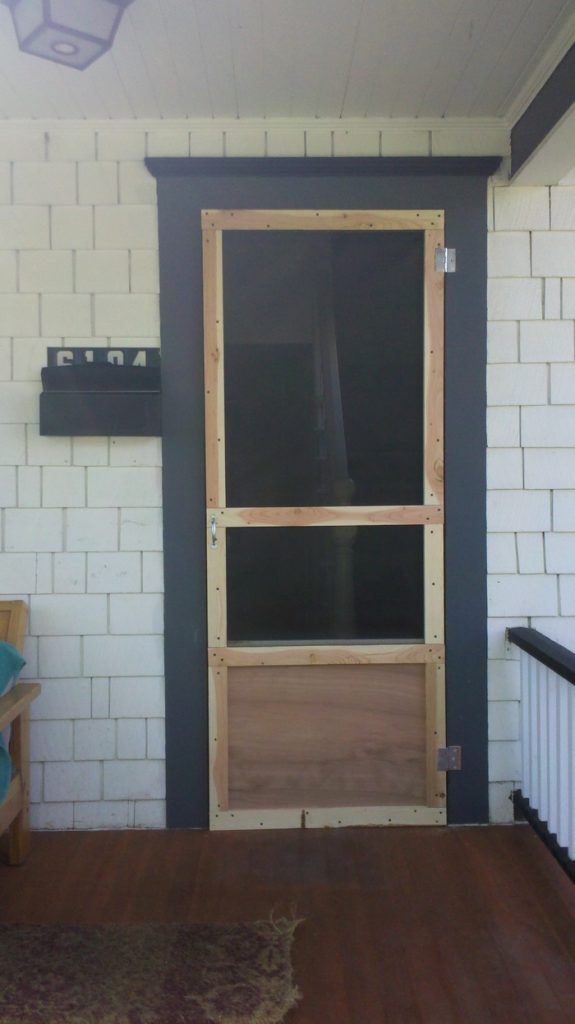
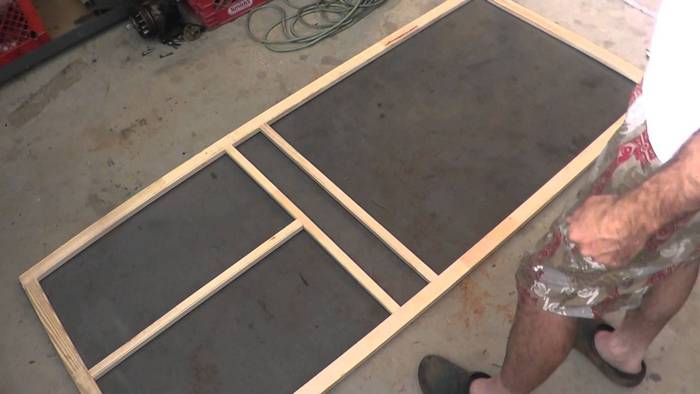
Take a look at how this DIYer built his own sturdy rustic screen door!

What are the advantages of a handmade screen door?
1. Higher level of comfort
The natural light passing through the screens and refreshing air that freely flows enhances your mental peace and develops an optimistic feeling in our family. These can provide us with the attractiveness, relaxation, and quality of a window, with additional security for your external door, which provides us with a higher level of comfort. Proper ventilation is the key to peace of mind.
2. Keeps insects away
Closed screen doors keep intruders, bugs and insects away even if your front door is open and still allow fresh air to flow in your house.
3. Adds protection
Screen doors provide added security, even if you have your front door open. Make sure that these are always locked.
4. Additional home decore
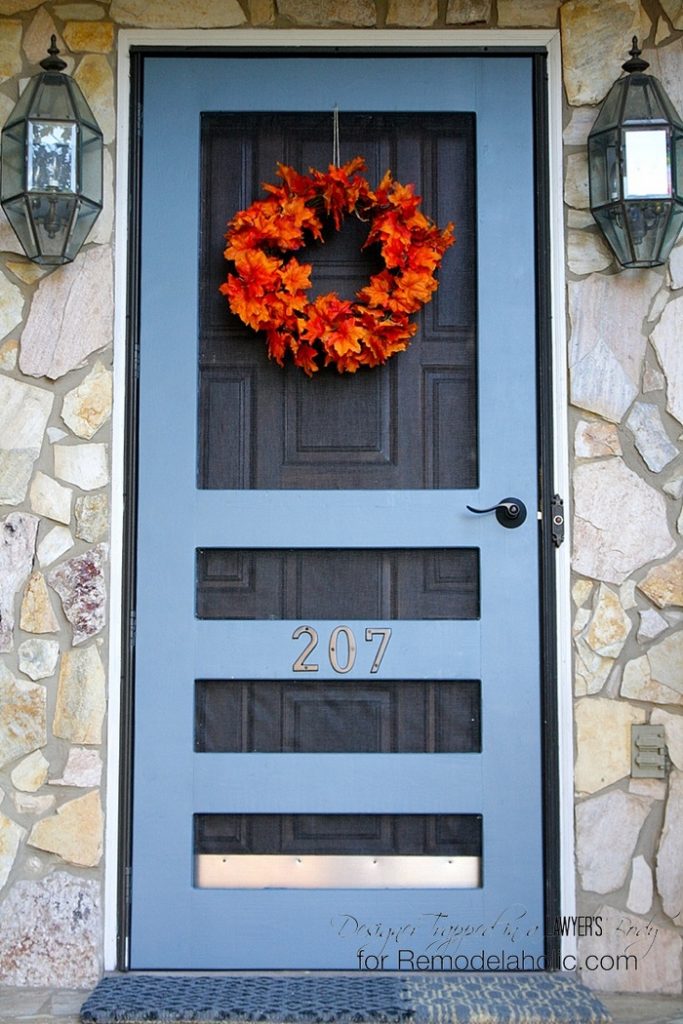
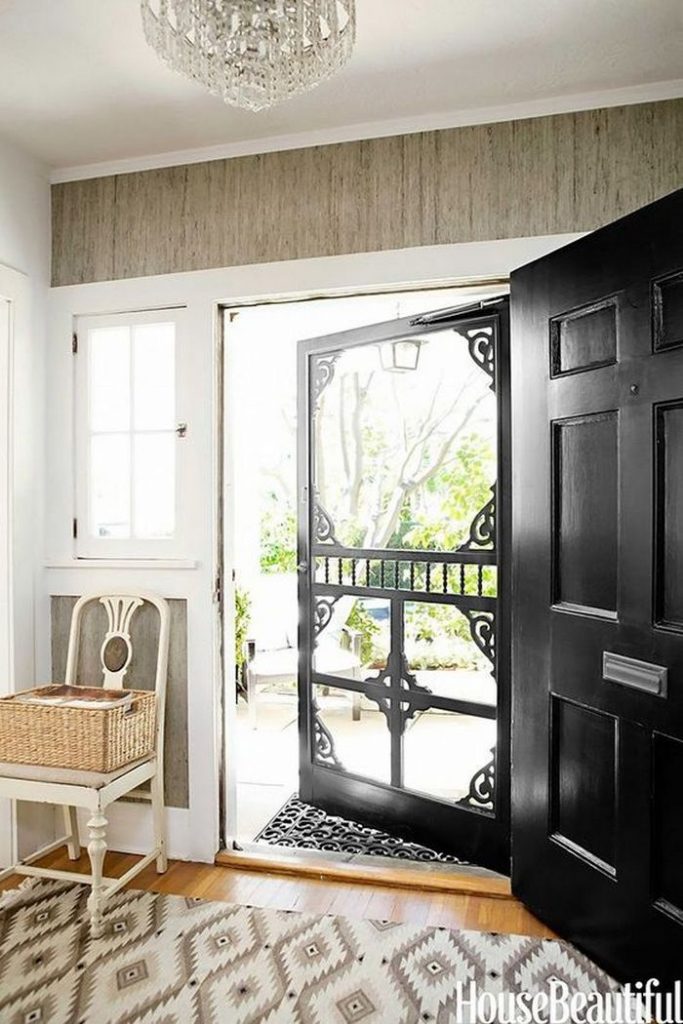
Screen doors can be very attractive at home. You can customize and decorate these them based on your desired style.
6. Enhance the quality of air circulation
We all love the fresh air. It’s very relaxing and peaceful. Screen doors help us maintain proper ventilation in our homes. We can open our front door to have the fresh air flowing in our house without letting the insects.
7. Energy saving
The free flow of natural light and fresh air gives us a better option to save electricity. Instead of opening the aircon and lights, we can just open the doors and windows, just maintain the screen doors and screen windows closed.
8. Affordable
Screen doors are definitely less expensive than front doors. DIY screen doors are even cheaper.
–
What are the materials needed to build a handmade screen door?
You’ll need these materials:
- 5/4×6” Fir Lumber
- 3/8 or ½” Oak or Walnut Dowel
- Metal Screen
- 3×1” Brass Hinges
- Screen Door Spring
- Handle and Latch
- #6 x 1” Brass Screws
- Wood Glue
- Wood Stain
And these tools:
- Planer
- Table Saw
- Tenon Jig
- Precision Centering Tool
- Precision T-rule
- Drill with ½” Forstner Bit
- Chisel and Sledge Hammer
- Square
- Clamps
- Sander
- Skil Saw
- Router
- Staple Gun
- Miter Saw
How to build a handmade screen door?
1. Measure and gather the materials
Measure your front door, and use this as your pattern for your screen door. Ensure the layout and measurements before starting the procedure.
2. Cutting the plywood
Once all measurements are noted and materials are ready, you can now start with marking and cutting the woods. Make sure that all matches up so that it will be easy to assemble.
3. Mortise and tenon joints
Mortise and tenon joints bind two components of wood or other material. These are strong, stable, and give an attractive look that can be used in various projects, like screened doors. This joint requires precise measuring and precise cutting, which makes it challenging to create.
First, make the tenons on the top, centre and bottom rails. You can use a height gauge to measure the tenon’s height. Ensure the dimensions before sawing.
Next, make the mortise. Mark the mortise before drilling according to your measurements. Simply use any marker in the hole on the ruler that lines up with the centre and drag the square bar along the border of the wood. It will create a good centerline pattern when drilling out the mortises. Then drill out the mortise using a suitable bit, following the centre-line as a pattern. Make sure to begin and end on the ends with no need to go over the line. Then, Clean the mortises with a sharp chisel. Check all the pieces before drilling the pegs and doing the assembly.
Draw a line to determine the dimensions of the pegs, 3/4″ in from each side, on the tenon and move these to the mortise
4. Door assembly
Mark 1 inch from the edge to the mark and drill down from the front door halfway down the back door. Everything must now be glued together.
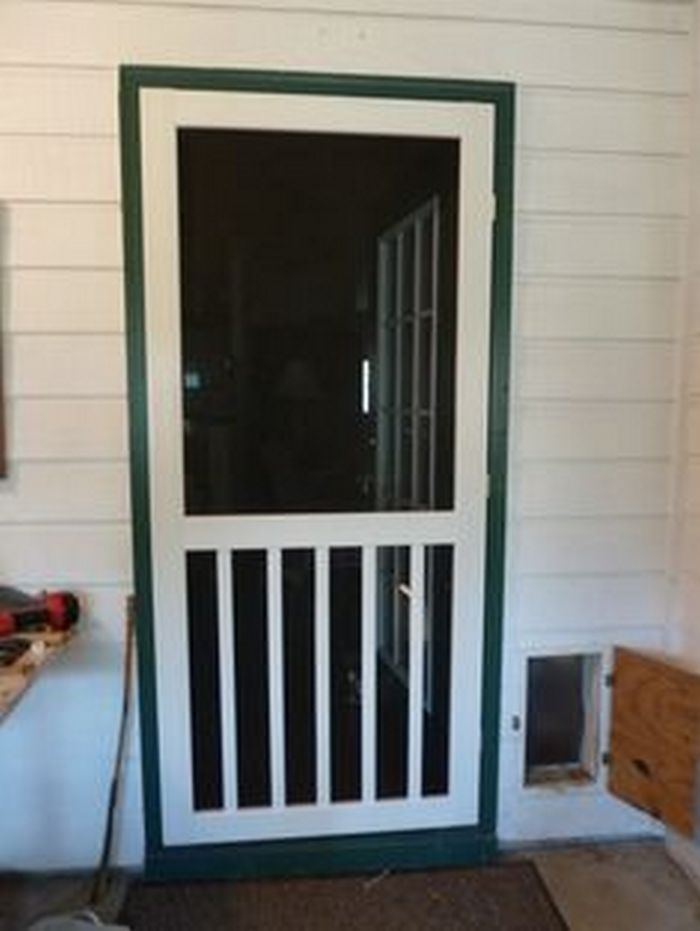
5. Install the screen
Put the hinges in the moulding to the door. Before installing the screen and moulding, sand, apply stain, and finish. Make sure the screen fits inside the frame. Staple or nail it in place.
In the moulding, pre-drill the screw holes and countersink them. You will have to drill through the doors and frames. Attach the moulding to the edge of the screen.
6. Finalize the project
Once you have installed the spring, handle, and latch, your screen door will now be lovely for several years to come.
Thanks to RunnerDuck Resources for this great project. You can get the detailed step-by-step instructions here…
–
Click on any image to start the lightbox display. Use your Esc key to close the lightbox. You can also view the images as a slideshow if you prefer 😎