Get the week's most popular posts delivered to your inbox.
Our weekly update is free yet priceless and you're less than a minute away from getting the current edition.
In the unlikely event we disappoint, you can unsubscribe with a single click!
Last Updated on January 28, 2025 by teamobn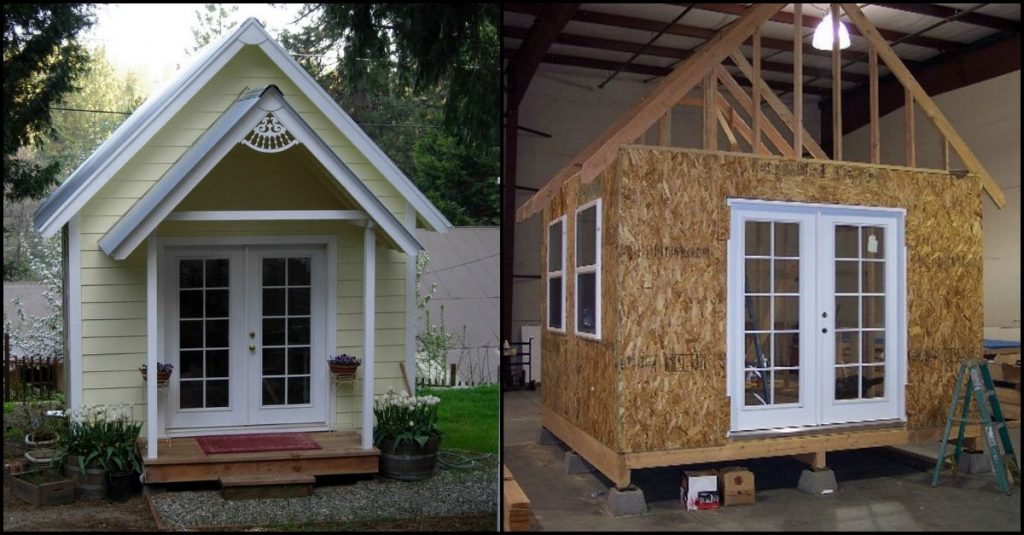
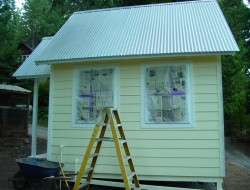
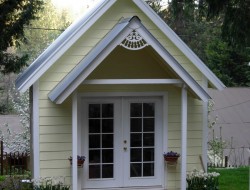
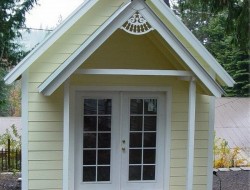
Reading room? Home office? Playroom for the kids? Artists’ retreat? Sewing room? There are lots of ways to use this tiny cottage.
Who doesn’t want to have his own private space and be away from the madding crowd once in a while? Well, if you work at home, love reading, or are into crafts, this tiny cottage can be the space you’ve been wanting. What makes this project more amazing is that you can DIY it!
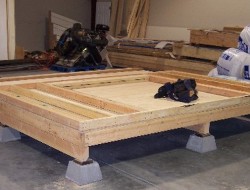
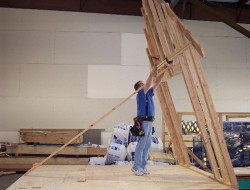
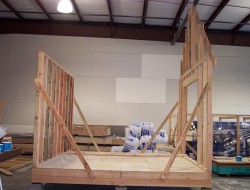
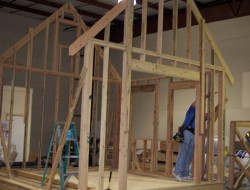
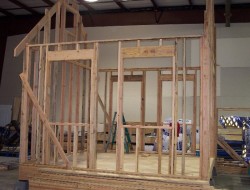
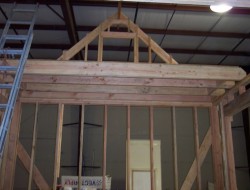
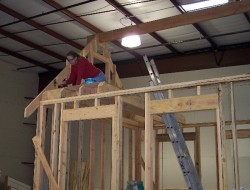
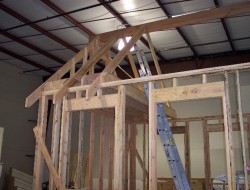
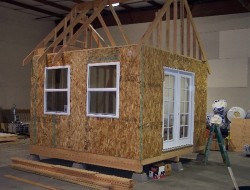
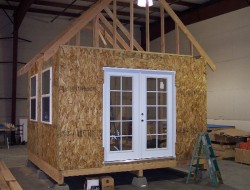
The owner of this beautiful cottage uses it as a studio for her craft projects. Together with her husband, they built this cottage inside a warehouse because it was too cold at the time they were constructing it. They built it in panels, so they could dismantle it when it was time to transport it outside.
It’s not a complicated process. In fact, the owner made a complete set of plans which you can download if you want to build your own tiny cottage!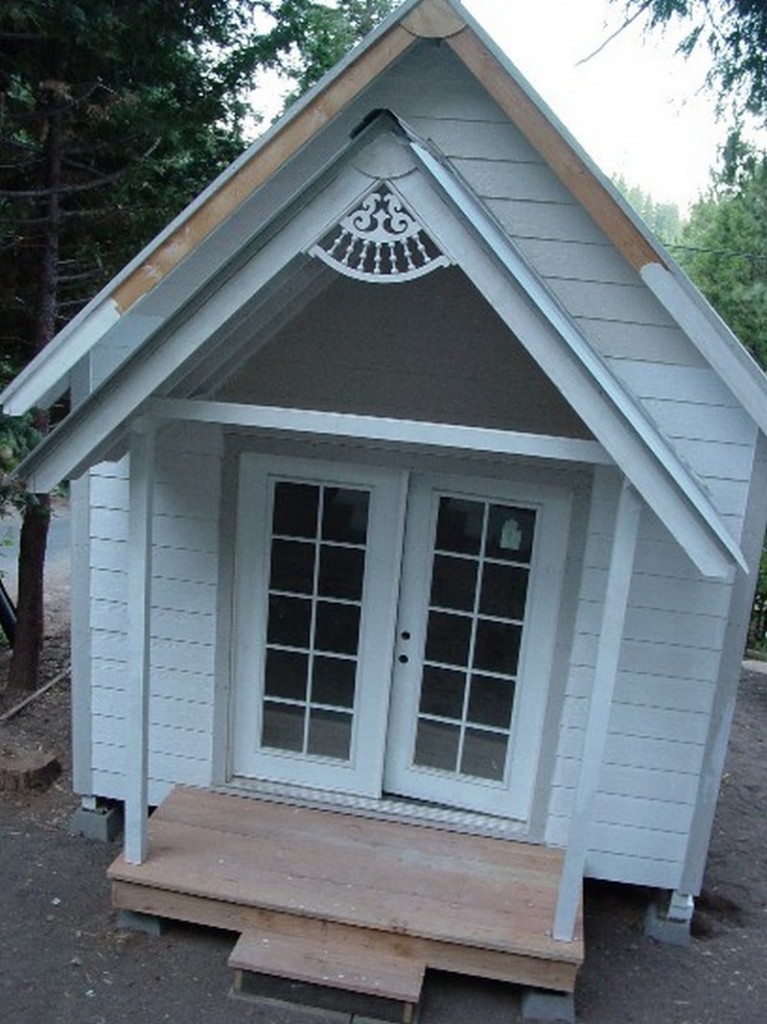
What are the materials needed to build a DIY tiny cottage?
But of course, you can always look at this as an inspiration to design your cottage. You can also put in some personal touch to make it uniquely your own.
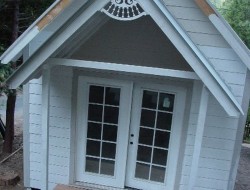
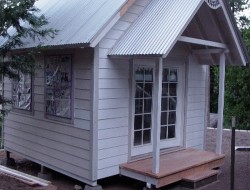
Do you want to build your own creative space? Check our gallery and get a closer look at how they made this charmingly tiny cottage 🙂
Materials:
- Timber of different sizes
- OSB
- Door and Windows
- Primer and Paint
- Screws and Nails
- Roof Metal Sheet
- Ladder
Tools:
- Measuring Tape
- Nail Gun
- Drill
- Carpenter’s Level
- Paintbrush
- Table Saw
How to build a DIY tiny cottage?
Are you interested in building your own tiny cottage? It’s a great way to downsize and simplify your life and it’s the perfect project for anyone who loves DIY. Plus, it can be a fun and rewarding DIY project. Here’s a quick guide to help you get started:
1. Find some plans and gather the supplies.
First, you’ll need to find some plans. There are plenty of resources online, or you can purchase a tiny house plan book. Once you have your plans, gather all of the materials and tools you’ll need. Make sure you have a good space to work in and you have a solid foundation and a good weatherproofing plan before you start construction.
2. Start building! Follow your plans step by step, and take your time.
Proceed by preparing the foundation and framing. This is the most important part of the project, so make sure everything is level and square. If you’re not confident in your abilities, it’s worth hiring a professional to do this part for you.
Once the foundation and framing are complete, you can begin adding the walls, roof, and any other features you desire. With a little hard work and attention to detail, you’ll have a beautiful new addition to your home in no time!
3. Work on the exterior and interior designs.
Once the framing is complete, you can begin working on the exterior and interior designs. Depending on your preference, you may want to start with the exterior design and then move on to the interior, or vice versa.
Keep in mind that the exterior design will be the first thing people see when they pull up to your home, so you want to make sure it reflects your personal style. For the interior design, you’ll want to create a space that is both comfortable and stylish.
Take your time to plan out each room, and don’t be afraid to ask for help from a professional if needed. With a little time and effort, you’ll soon have the home of your dreams.
Click on any image to start the lightbox display. Use your Esc key to close the lightbox. You can also view the images as a slideshow if you prefer 😎
Thanks to Backwoods Cottage for this great project. You can see more details here…
If you liked this project, you will also like viewing DIY cleverly designed homes …
Get the week's most popular posts delivered to your inbox.
Our weekly update is free yet priceless and you're less than a minute away from getting the current edition.
In the unlikely event we disappoint, you can unsubscribe with a single click!


