Last Updated on October 14, 2025 by teamobn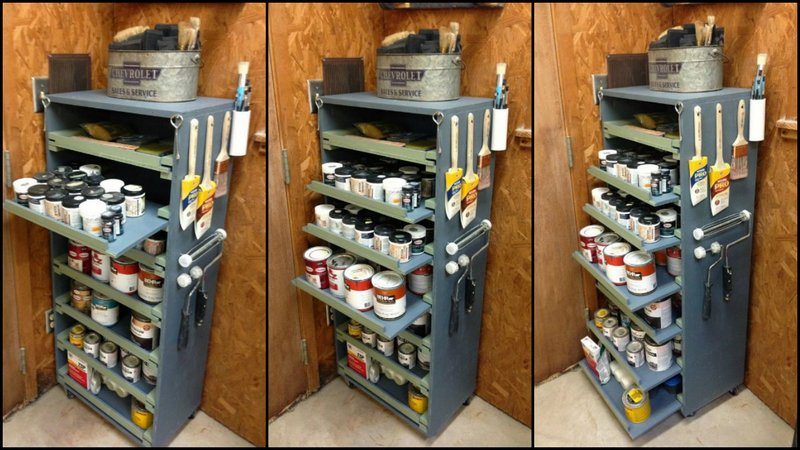
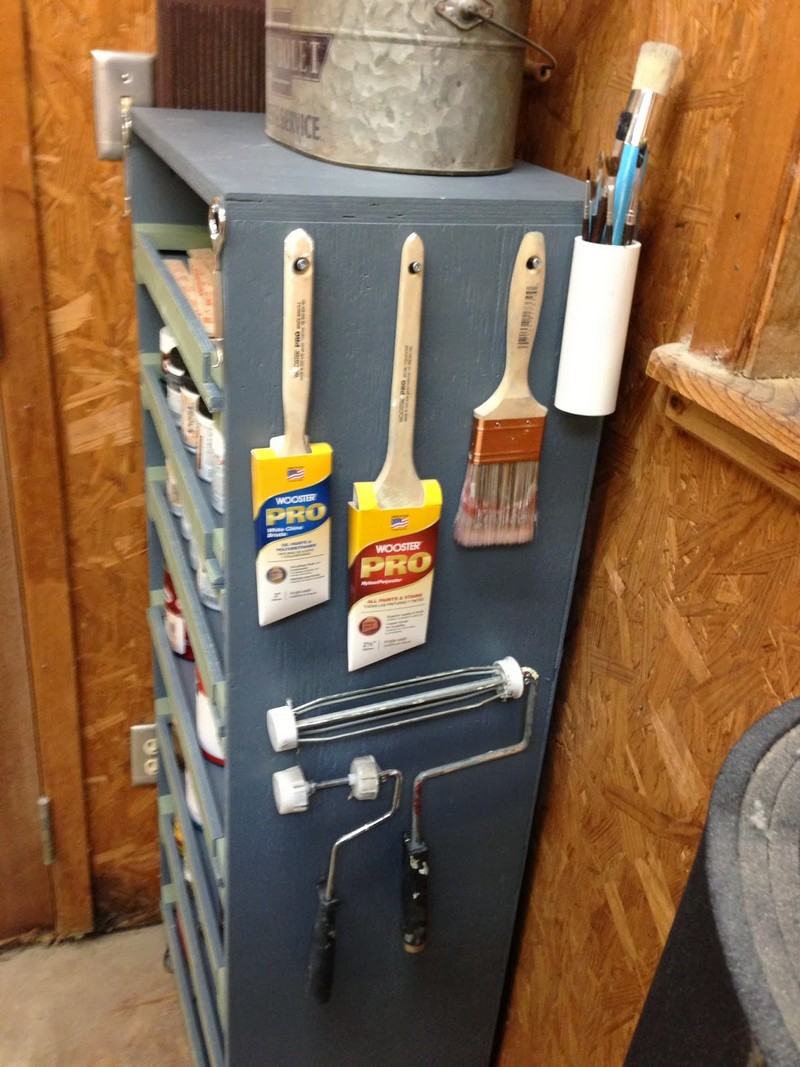
Here’s a great project to organize and add storage to your workshop! Learn how to build a DIY paint storage cabinet!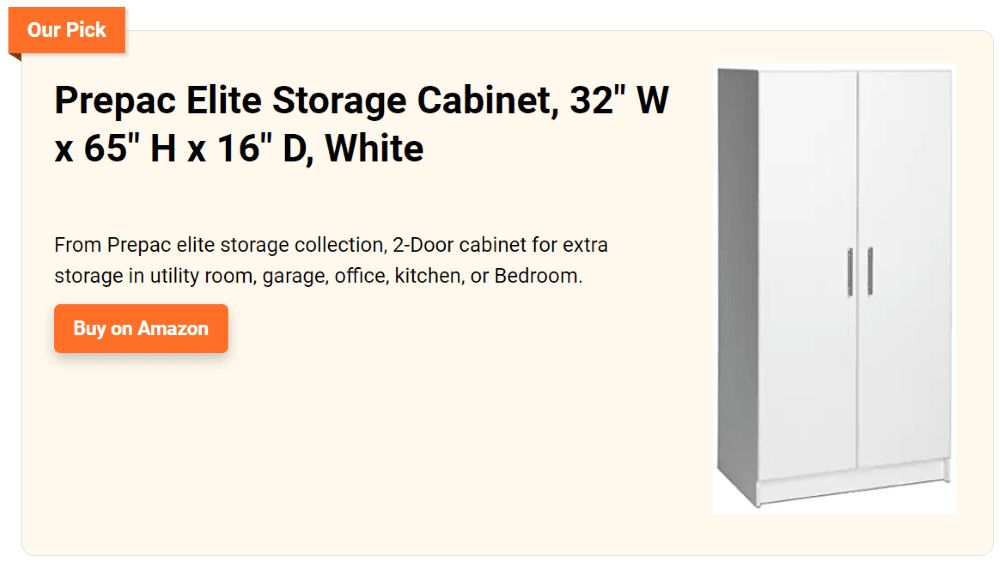
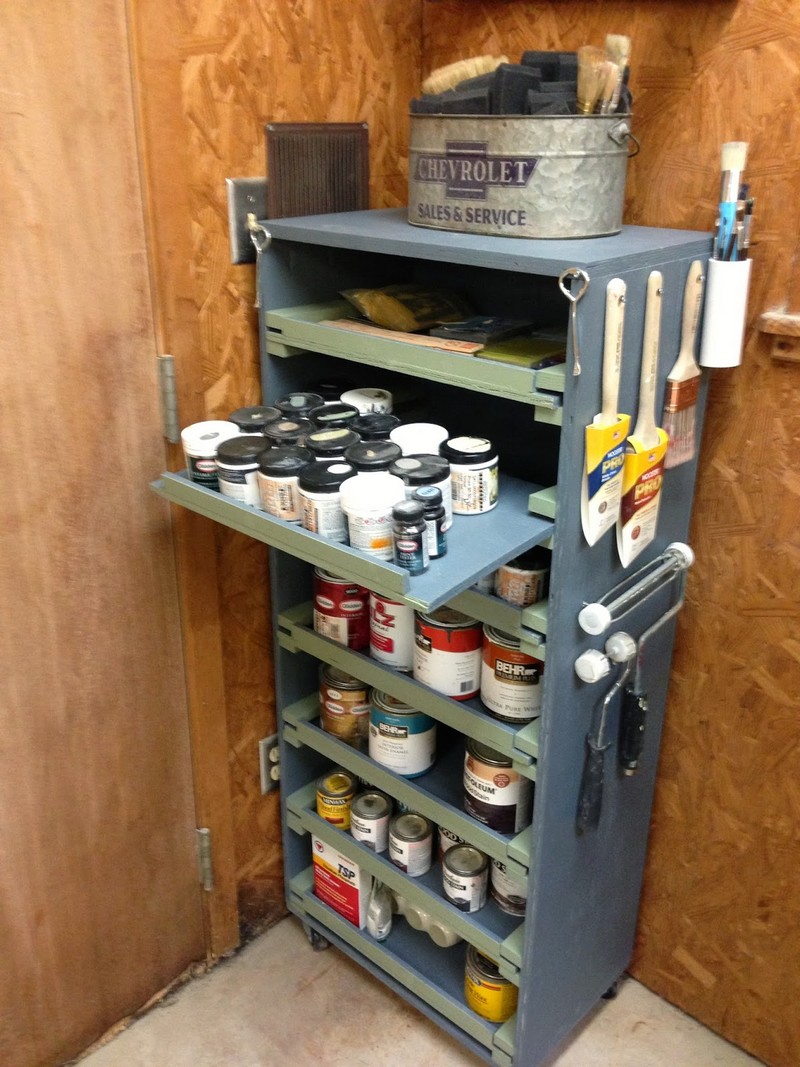
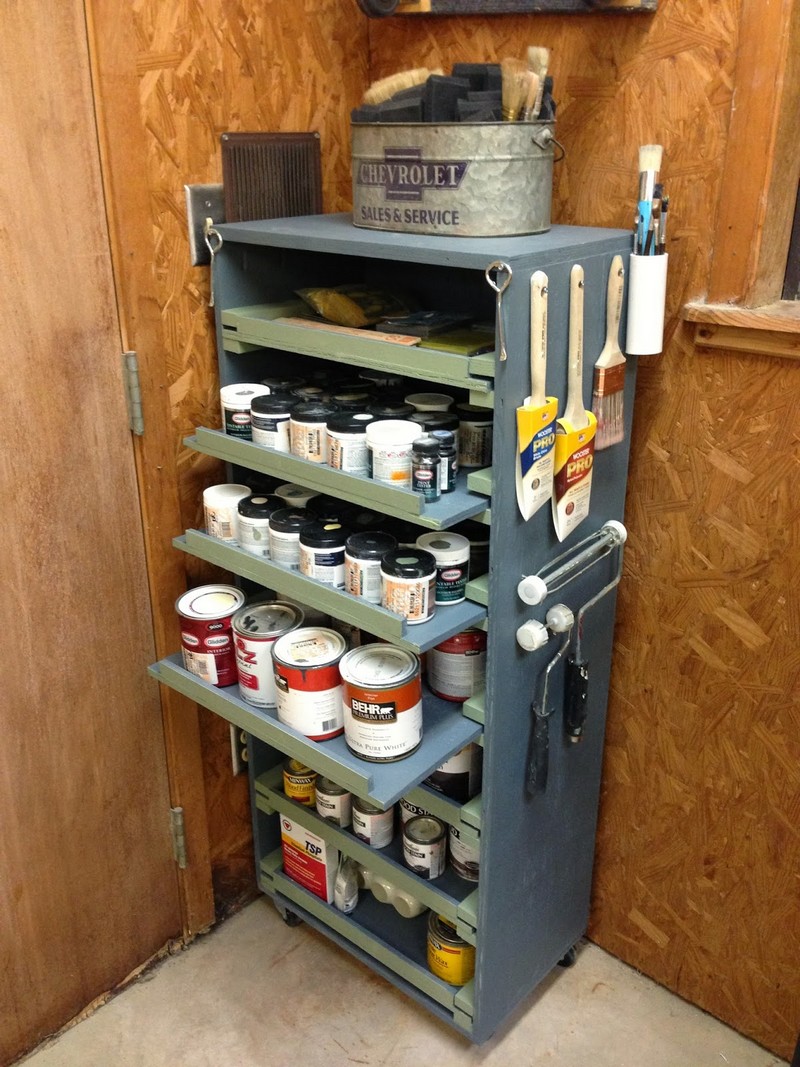
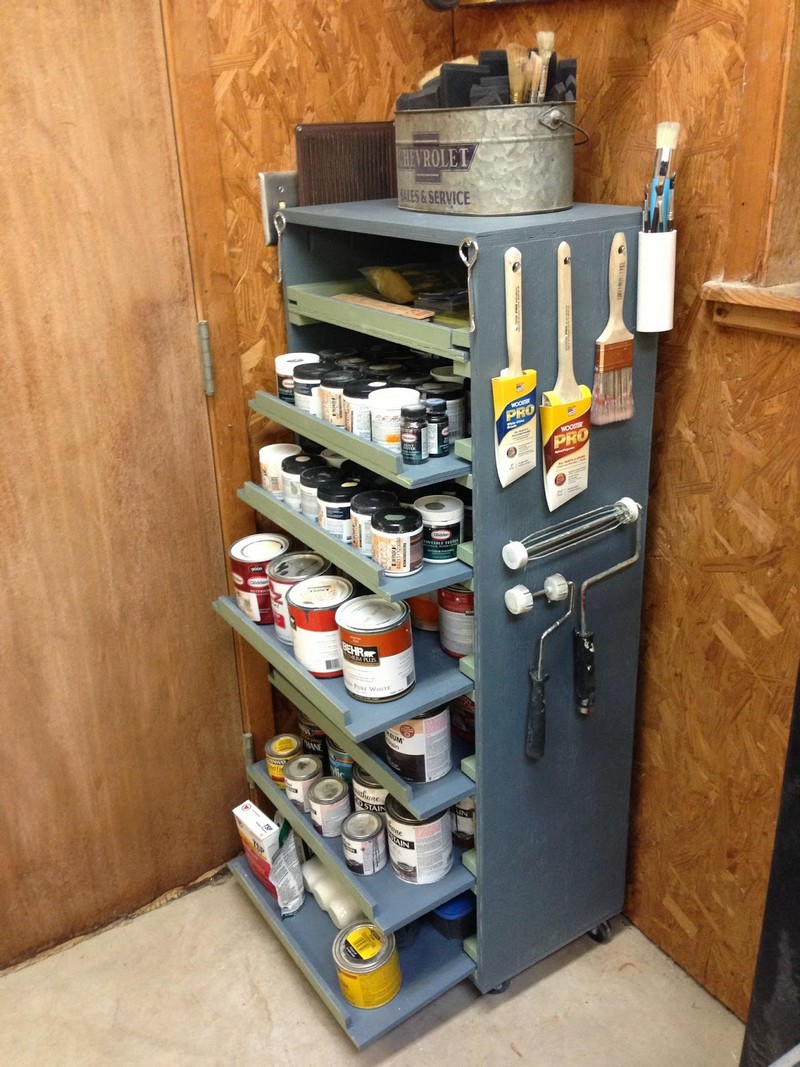
Instead of just leaving cans on the floor after the job, putting them in this DIY paint storage cabinet would make life in your workshop easier. It’s great because it provides easy access to all your paint cans. You can sort them according to brand, type, colour, or size.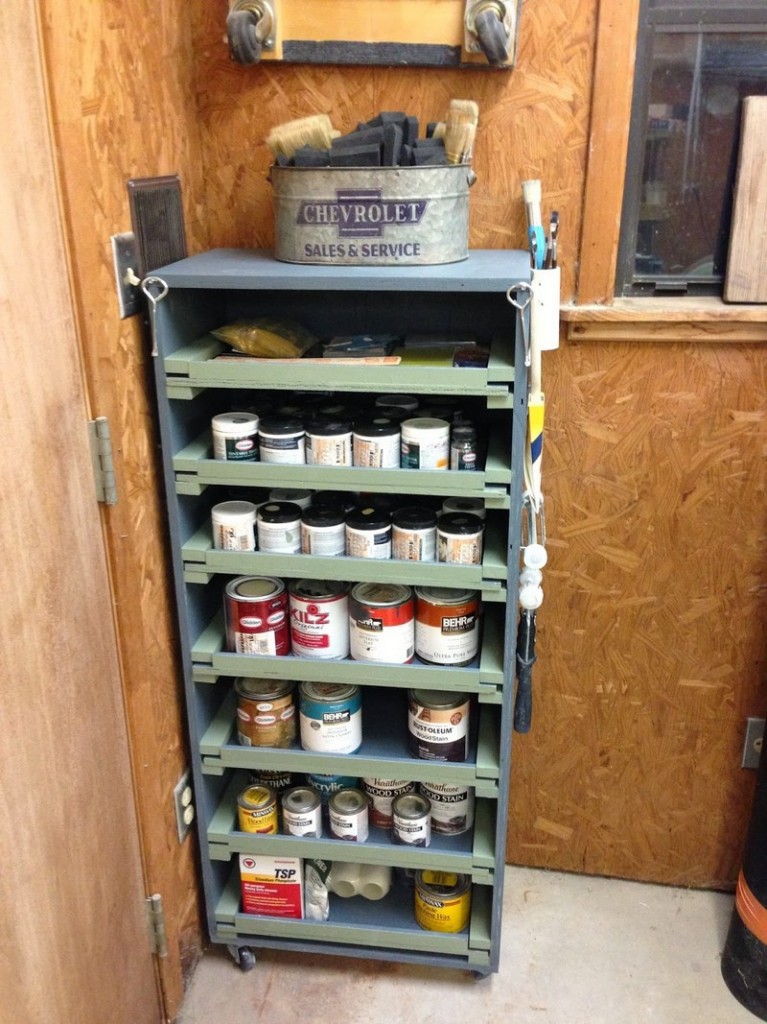
Building a DIY Paint Storage Cabinet
You’ll need these materials:
- ¾” thick Plywood
- ¾” Pine Wood
- 1” Nails
- Screws
- Paint
- Coat
And these tools:
- Table Saw
- Kreg Pocket Jig
- Clamps
- Carpenter’s Square
- Nail Gun
- Drill
- Tape Measure
Steps:
Plan Your Layout And Shelf Spacing
- Decide what you’ll store: 1‑gallon cans need ~12″ clearance; quarts ~9–10″; aerosols ~9″.
- Plan three fixed shelves so your paint storage cabinet has a tall bottom bay for gallons and two upper bays for quarts/sprays. Mark your target clearances on a sketch.
Break Down The Plywood
- Set the table saw fence and rip/crosscut sides, top, bottom, shelves, and back to size.
- Use the carpenter’s square to confirm each panel is dead square; adjust if needed.
Mark Shelf Locations On The Sides
- On the inside faces of both side panels, use the tape measure to mark level lines for the TOP of each shelf. A common layout is:
- Bottom bay clearance: 12″ to the top of Shelf 1
- Middle bay clearance: 10″ above Shelf 1 to the top of Shelf 2 (account for 3/4″ shelf thickness when laying out)
- Upper bay clearance: 9–13″ above Shelf 2 to the top of Shelf 3 (tune to your inventory)
- Carry lines across with the carpenter’s square so the shelves sit perfectly level.
Drill Pocket Holes With The Kreg Pocket Jig
- On the ends of the top, bottom, and each shelf, drill pocket holes for joining into the sides.
- Space 2–3 pocket holes per end for shelves; 3–4 per end for the top and bottom. Keep holes toward the underside/back so they’re hidden in the paint storage cabinet.
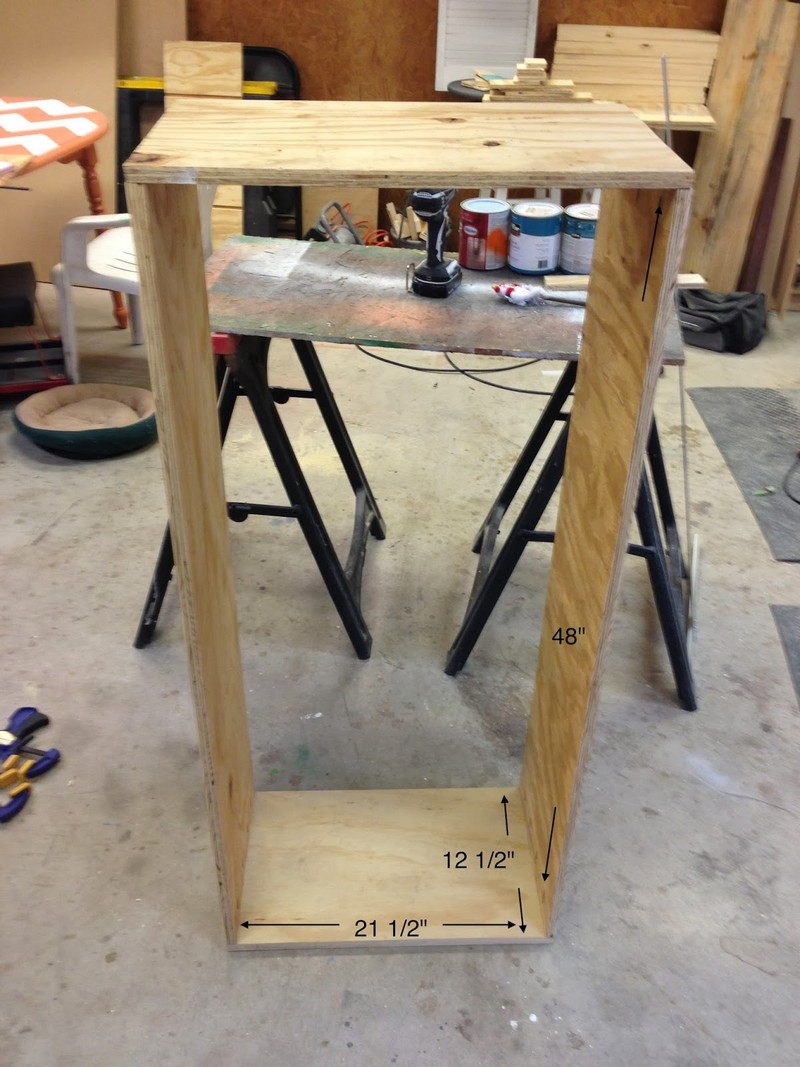
Assemble The Carcass Square And True
- Dry-fit the bottom between the sides; clamp. Check diagonals for square.
- Drive screws through the pocket holes to lock the bottom in place, then attach the top the same way.
- Re-check for square—this keeps the paint storage cabinet from racking later.
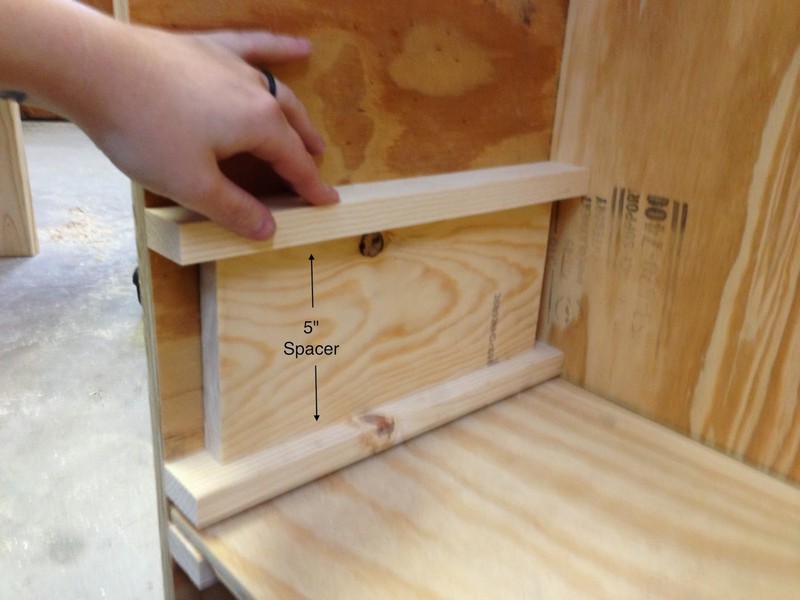
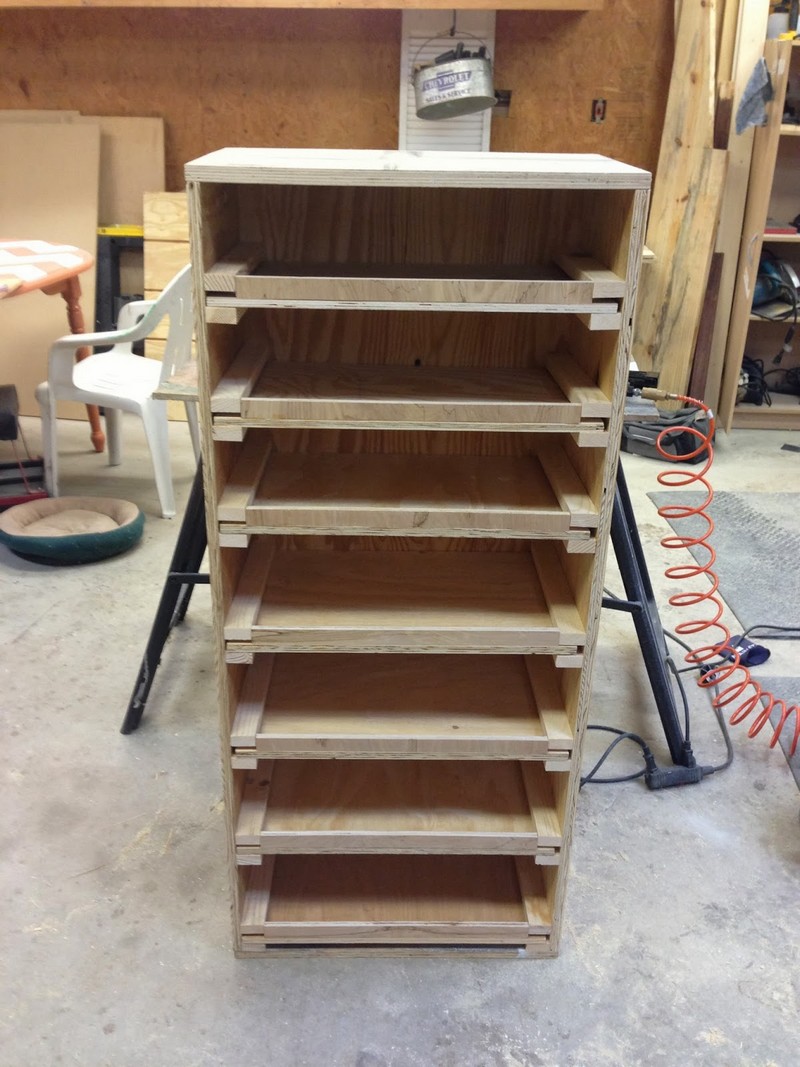
Install Fixed Shelves
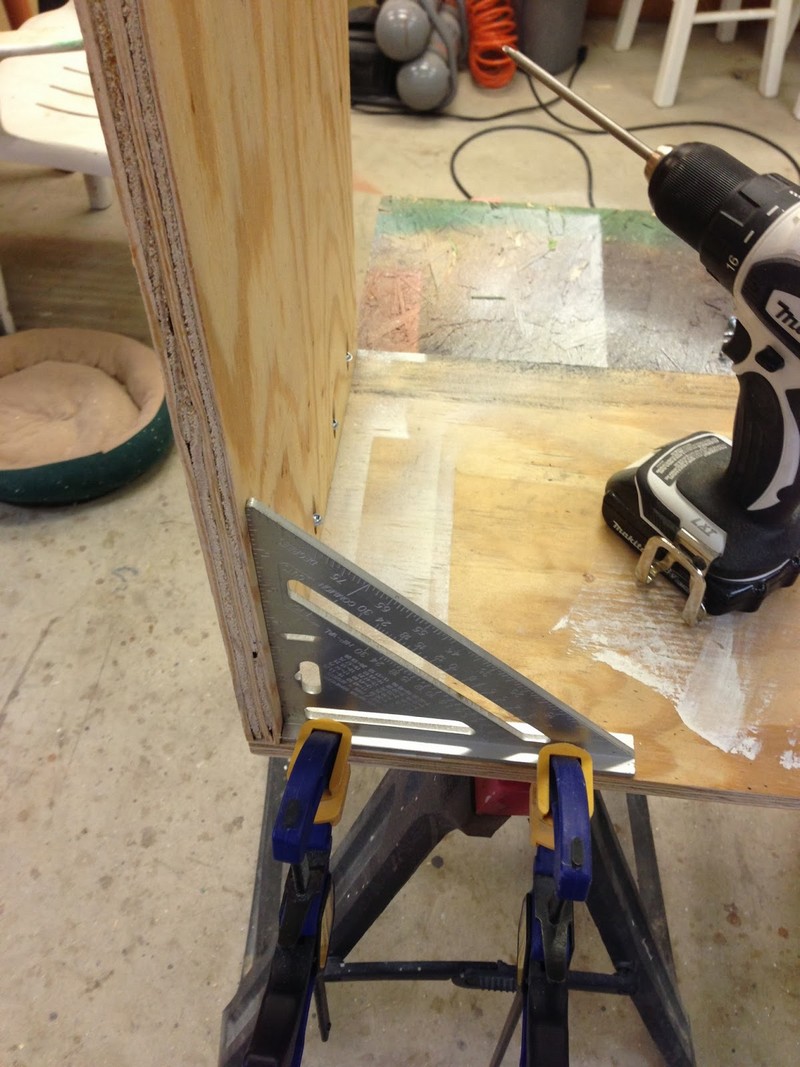
- Clamp each shelf on its layout line. Confirm level with the square on the front edge.
- Drive pocket-hole screws. Repeat for all shelves so the interior of the paint storage cabinet matches your planned clearances.
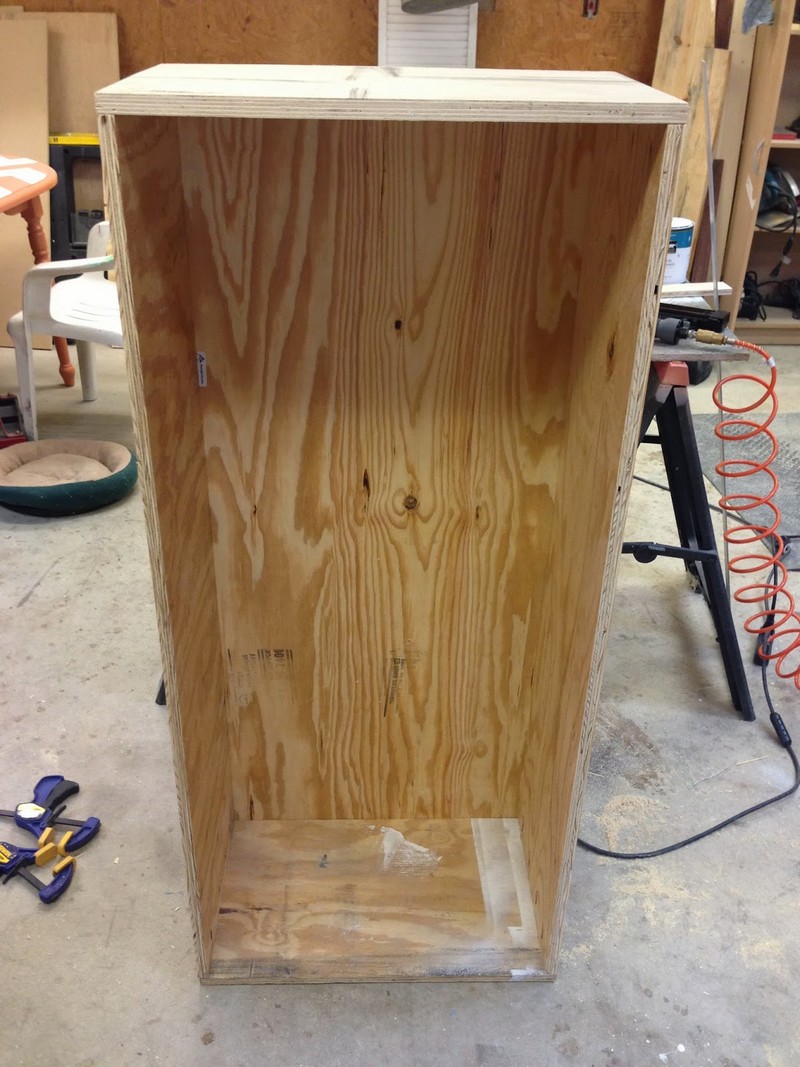
Attach The Back Panel
- Lay the carcass face-down. Center the 30″ × 48″ back so it’s flush on all edges.
- Pre-mark stud locations if you plan to screw through the back into a wall later.
- Drive screws around the perimeter and into each shelf edge to lock the cabinet perfectly square.
Build And Attach The Pine Face Frame
- Cut two stiles (1.5″ × 48″) and two rails (1.5″ × 27″). Use the Kreg Pocket Jig to join rails to stiles into a rectangle.
- Clamp the face frame flush to the carcass front; shoot 1″ nails with the nail gun to tack in place, then add a few screws from inside to secure. This stiffens the paint storage cabinet and cleans up the front edge.
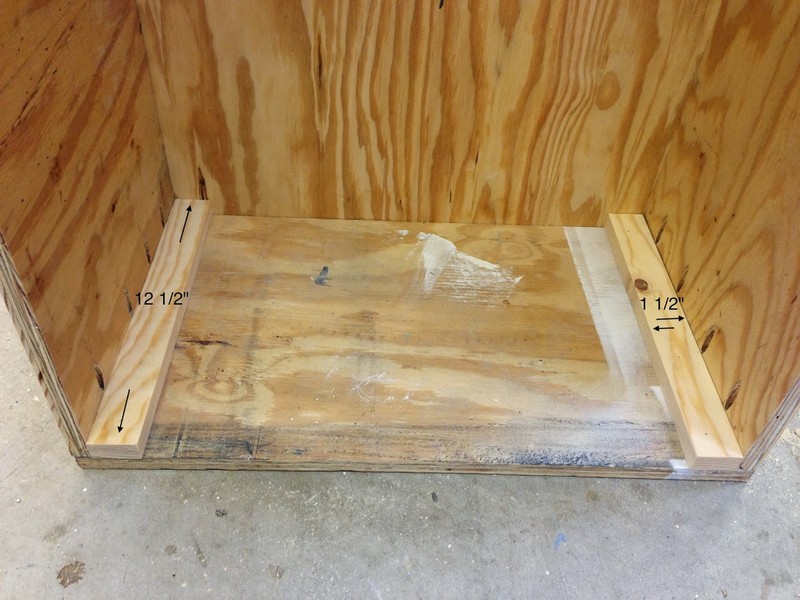
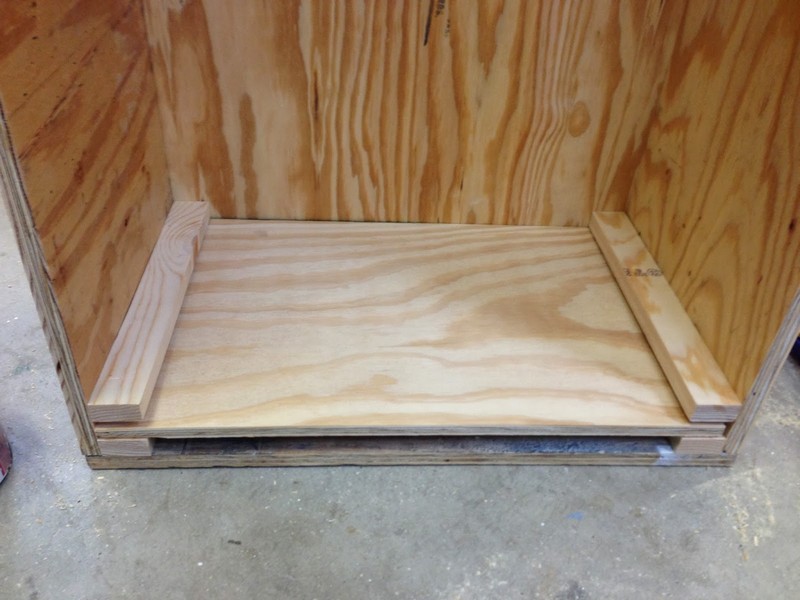
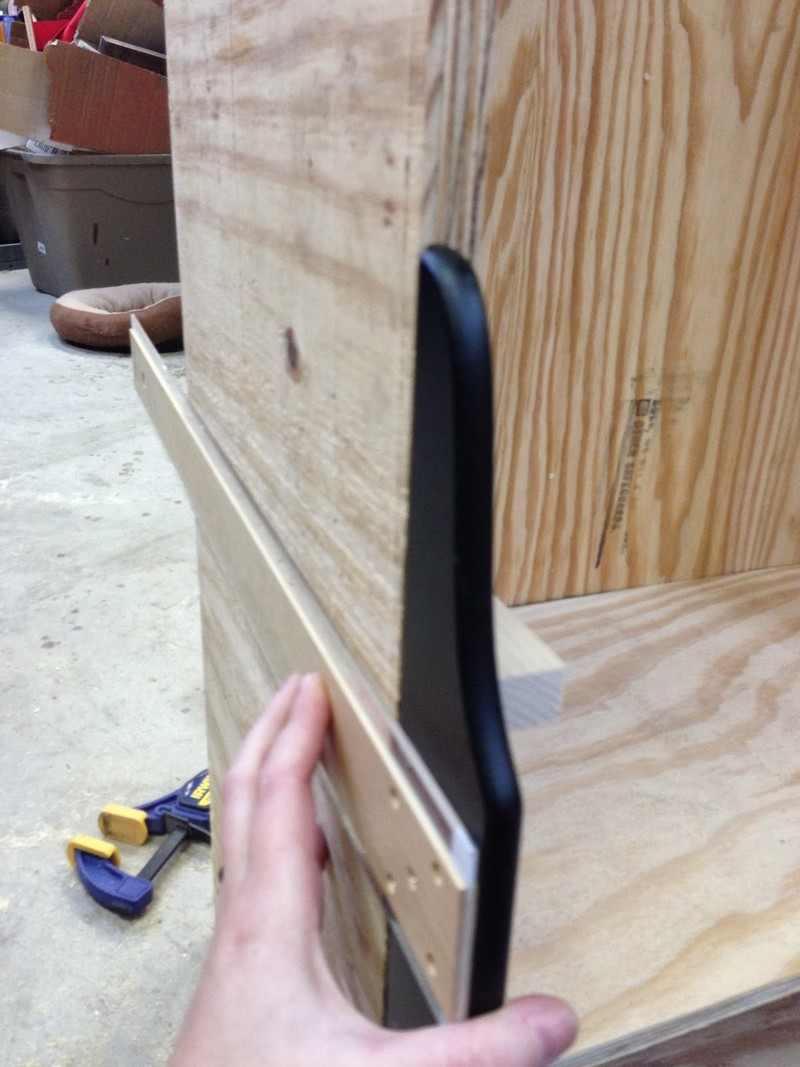
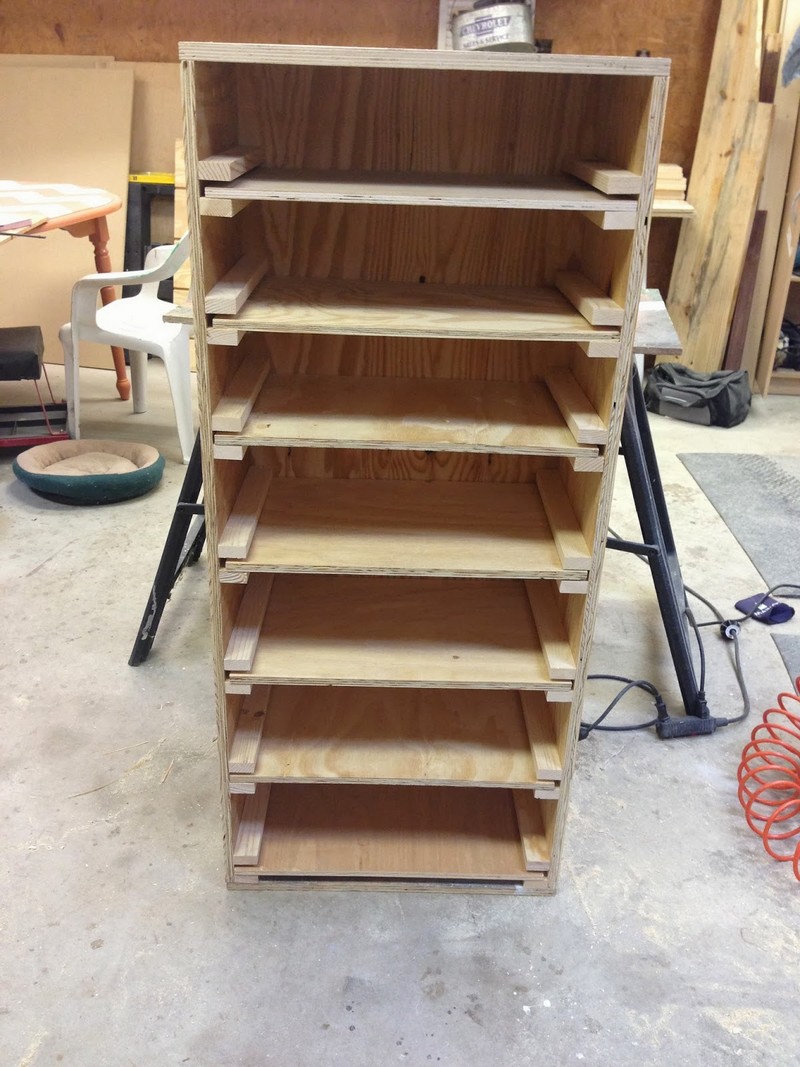
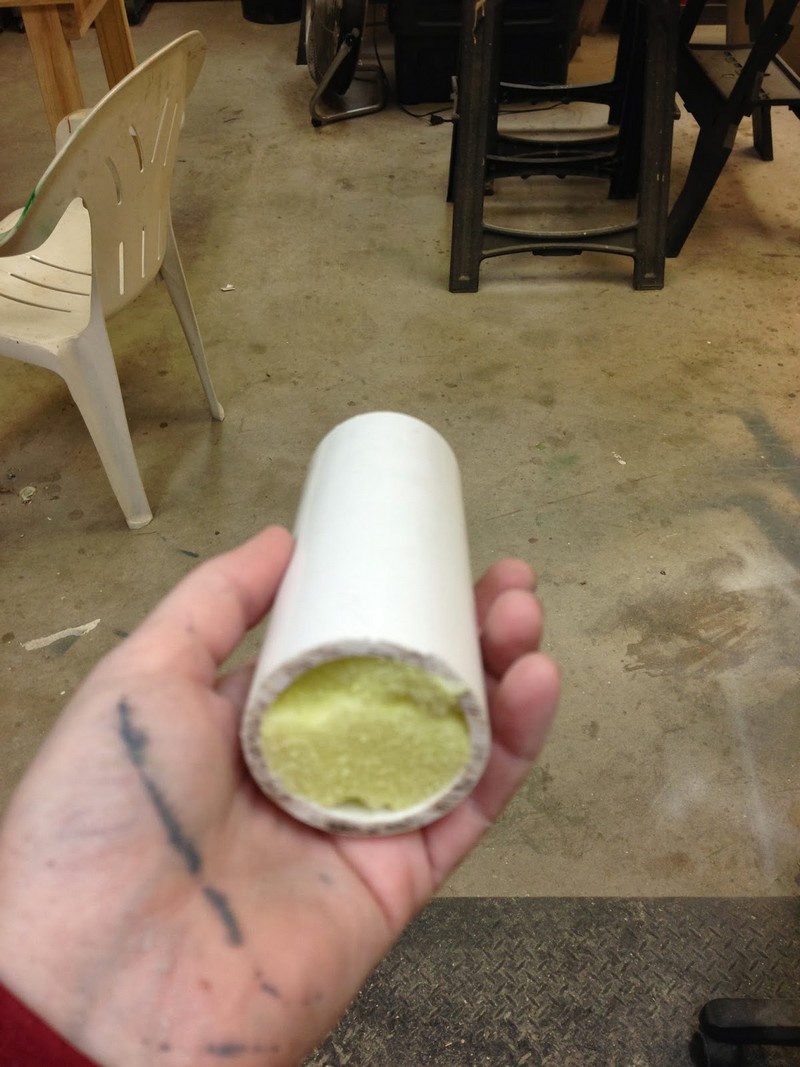
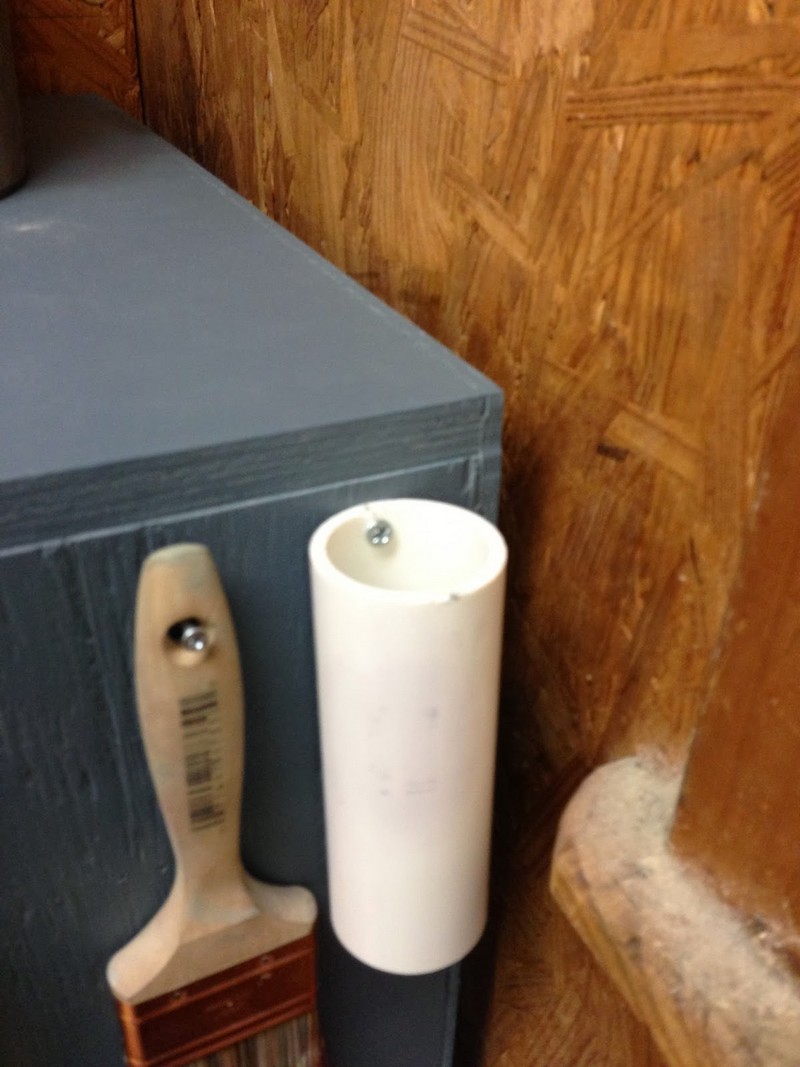
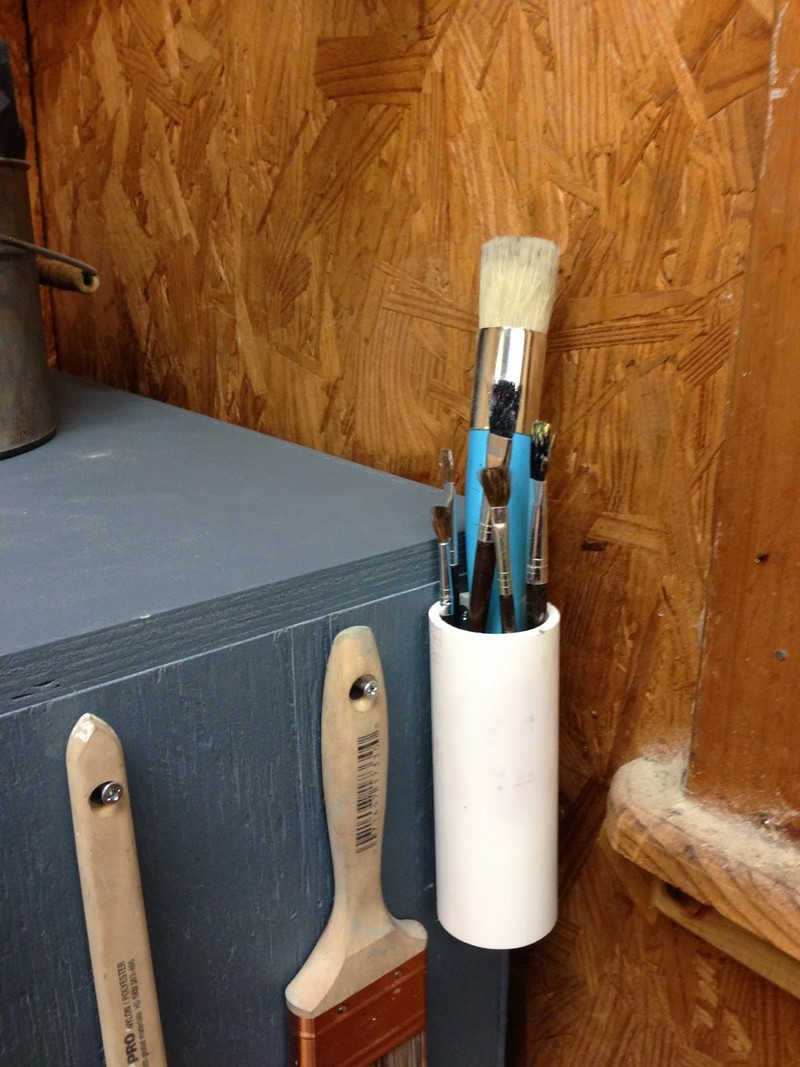
Add Shelf Lips And Organizers
- Nail the 1″‑tall pine strips along the front of each shelf with 1″ nails to create a small containment lip that prevents cans from sliding.
- Use offcuts of pine as simple dividers if desired—nail through the shelf lip and top face to lock them.
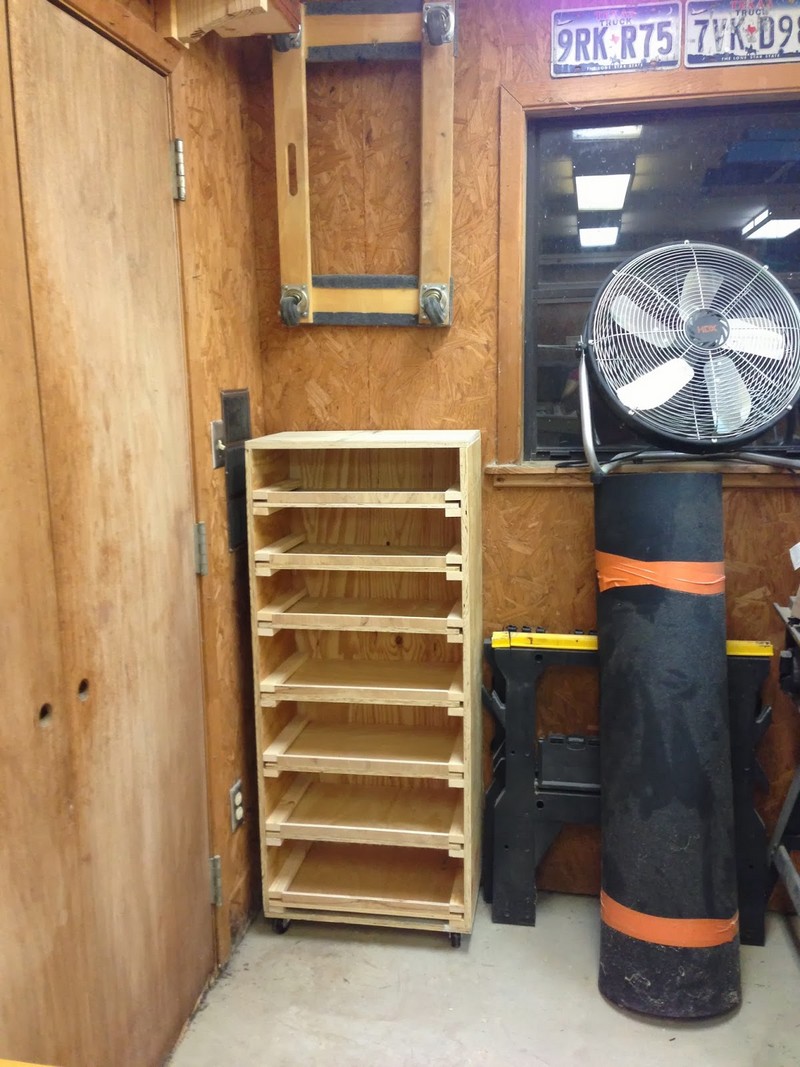
Anchor And Level The Cabinet
- If freestanding, ensure it sits level. If wall‑mounted or tip‑proofed, drive screws through the back into studs at the top and midway. A secured paint storage cabinet is safer and easier to use.
Finish: Paint And Clear Coat
- Wipe dust. Apply paint evenly to the exterior and interior. After it dries, apply a protective clear coat/top coat for durability and easy cleanup.
- Let the finish cure fully before loading heavy cans to avoid sticking or impressions.
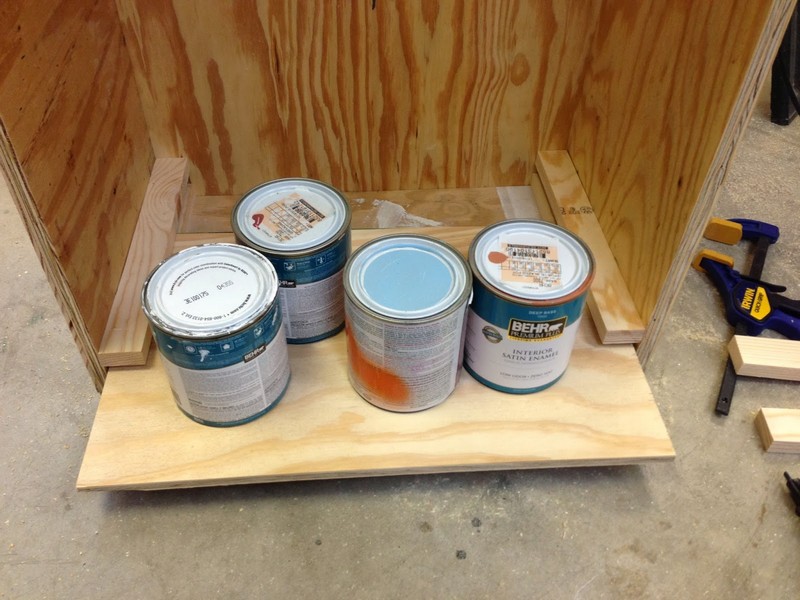
Load And Label
- Place gallons on the lowest bay, quarts on the middle, aerosols and touch‑ups up top. Group by color or product type.
- Label shelf fronts so your paint storage cabinet stays organized as inventory changes.
Ventilation, Fire Ratings, And Safety Upgrades That Matter
Beyond basic organization, preventing fumes, heat, and sparks is the real value of a paint storage cabinet. Here are practical upgrades that improve safety, reduce risk, and meet code expectations.
Install Passive Vents And Spark-Proof Hardware
Fume management starts with airflow you control, not random gaps. Add a low intake vent and a high exhaust vent with flame arrestors; route ducting outdoors or to an explosion-proof fan.
Choose brass or stainless latches and continuous hinges to minimize sparking. Weather-strip the doors to direct airflow through the vents. Keep your paint storage cabinet at least 10 feet from ignition sources like compressors, water heaters, and switchgear whenever possible.
Use Fire-Rated Panels And Segregate Contents
Upgrade enclosure materials before adding capacity. Double-wall steel or 5/8-inch Type X gypsum with intumescent sealant slows external heat transfer and buys evacuation time. Inside, separate solvents from waterborne coatings using metal trays and drip-proof containment.
Add absorbent pads under shelves, and label bays clearly to match SDS categories. A small, gasketed document pocket on the door keeps emergency data handy for responders opening the paint storage cabinet.
Paint Storage Cabinet Gallery
Click on any image to start the lightbox display. Use your Esc key to close the lightbox. You can also view the images as a slideshow if you prefer 😎

Climate Control And Shelf Design For Long-Term Preservation
Temperature swings and humidity ruin finishes, lids, and labels before you notice. Design your paint storage cabinet for stable conditions, easy access, and visibility to extend product life and reliability.
Control Heat And Moisture With Simple Add-Ons
A $10 digital thermo‑hygrometer tells you when conditions drift. Aim for 60–75°F and 40–55% RH. Add desiccant canisters, a vapor barrier on the back, and a Peltier dehumidifier if needed.
In cold shops, a low‑watt heating mat controlled by an inline thermostat prevents thickening without creating hot spots. Keep the device outside the paint storage cabinet airspace when possible, feeding warmth through a metal plate for safer, even transfer.
Design Shelves For Weight, Labels, And Spill Control
Use adjustable steel shelves rated for your heaviest gallons, and keep depths 12–16 inches to prevent burying cans. A slight front tilt or clear bin fronts improves label visibility. Add removable liners and a 1-inch containment lip to capture drips.
Anchor the cabinet to studs and include anti-tip brackets. Modular dividers separate touch-up jars from bulk primers so the paint storage cabinet stays efficient even as brands, sizes, and SKUs change.
Conclusion
Plan your layout, materials, and airflow before cutting panels to avoid rework. Build the paint storage cabinet to fit your actual inventory and local safety guidance, then anchor it securely. After installation, label shelves, test ventilation, and adopt a maintenance routine so your paint storage cabinet stays safe, tidy, and effective.
If you liked this project, you will also like viewing these shelves and bookcases…