Whether you have many hours to spend out in the garden or just a few minutes a day, having a mini greenhouse is great for anyone who enjoys gardening.
With a greenhouse, you can grow fresh organic vegetables, flowers, bulb plants, house plants, exotic plants, and all types of seedlings no matter where you happen to live. You can also change what you grow every year or grow a wide variety of crops and flowers over an extended growing season.
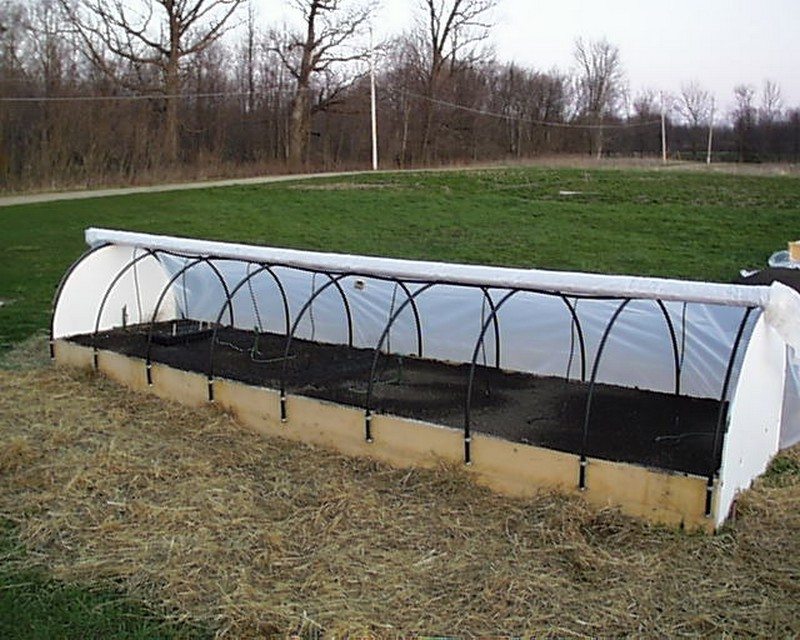
If you like the idea of greater variety and an extended growing season, then this mini greenhouse is a great solution.
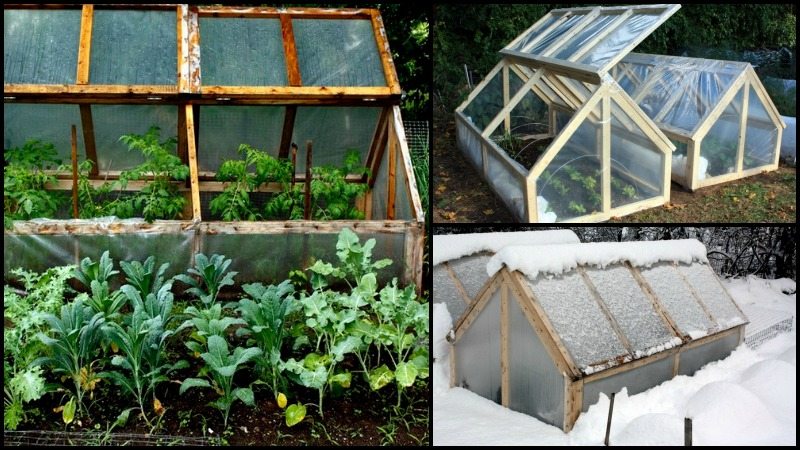
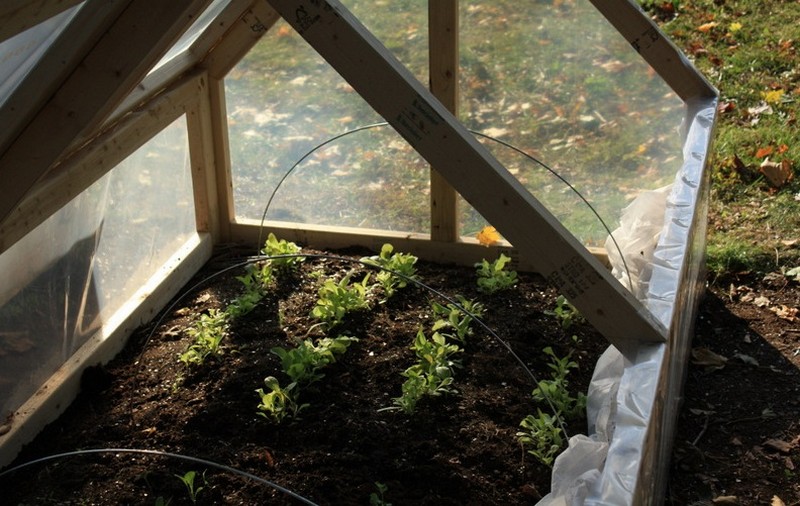
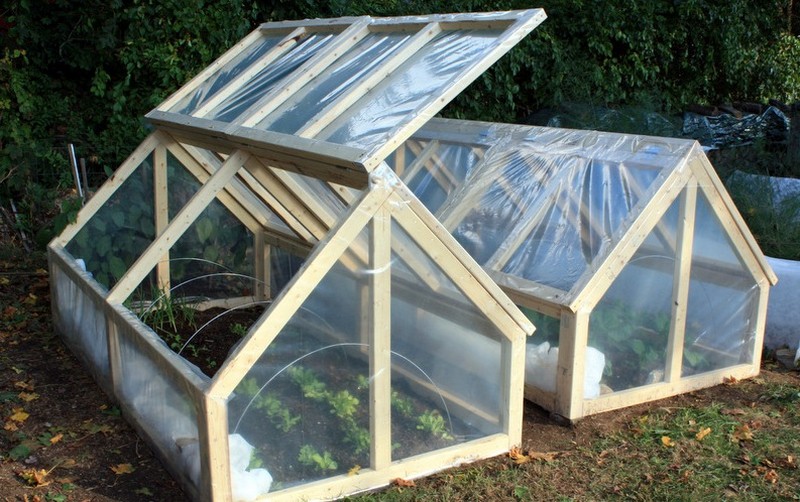
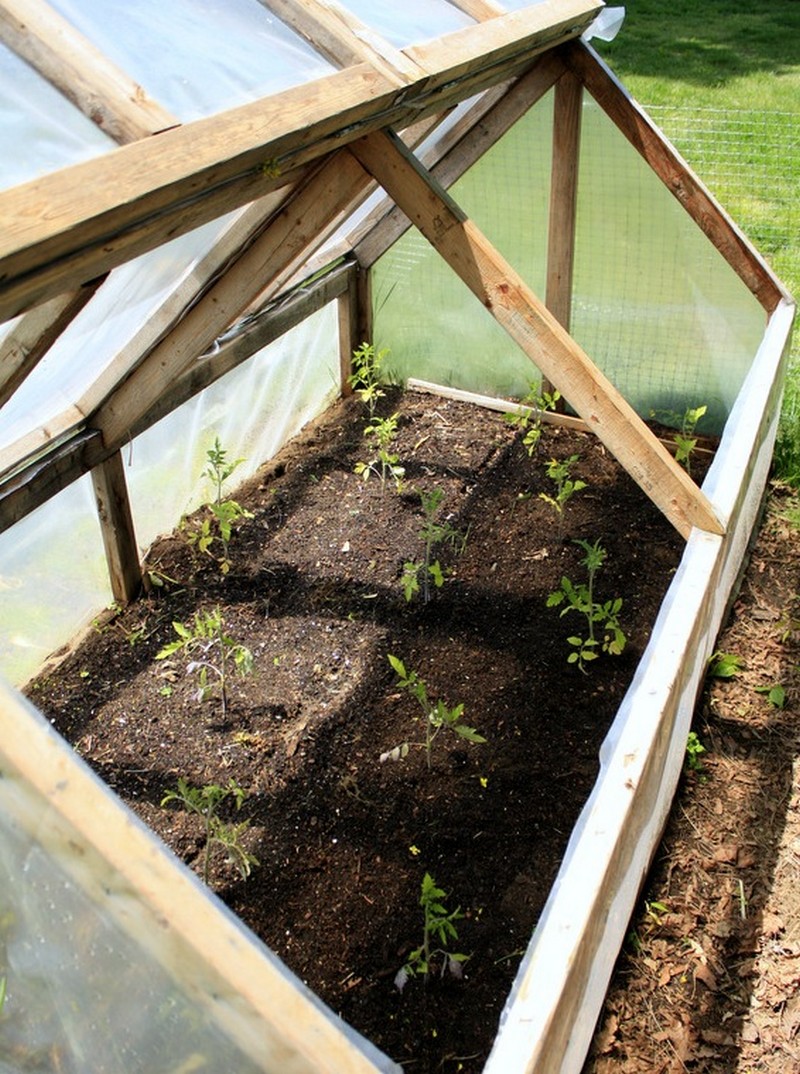
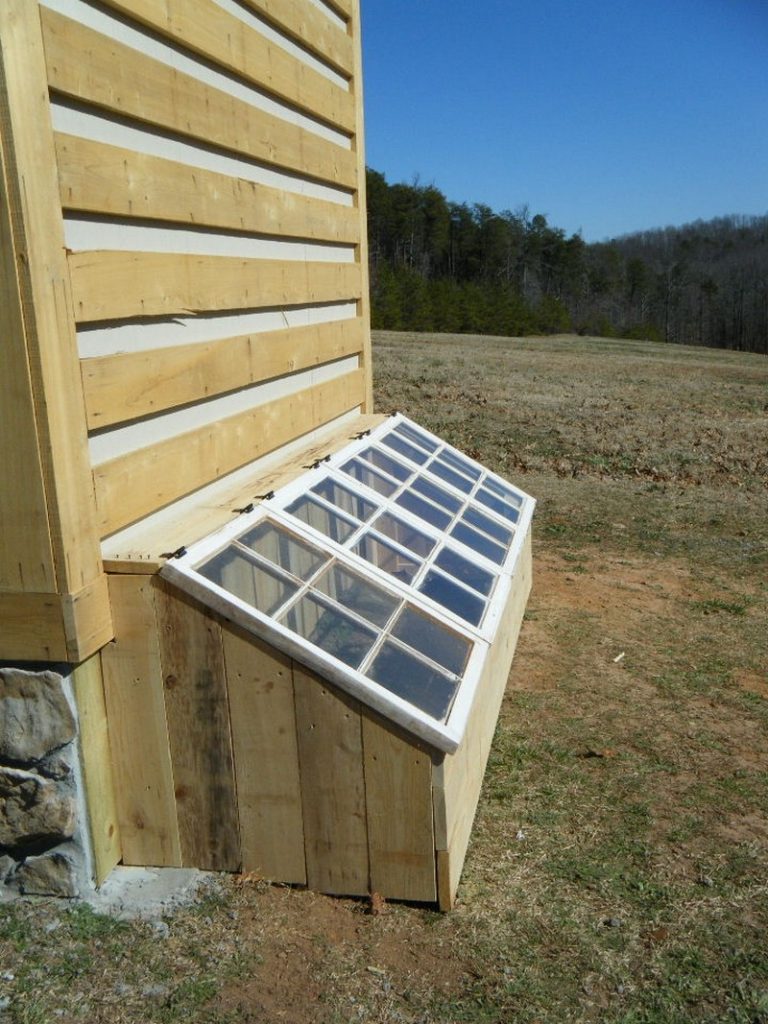
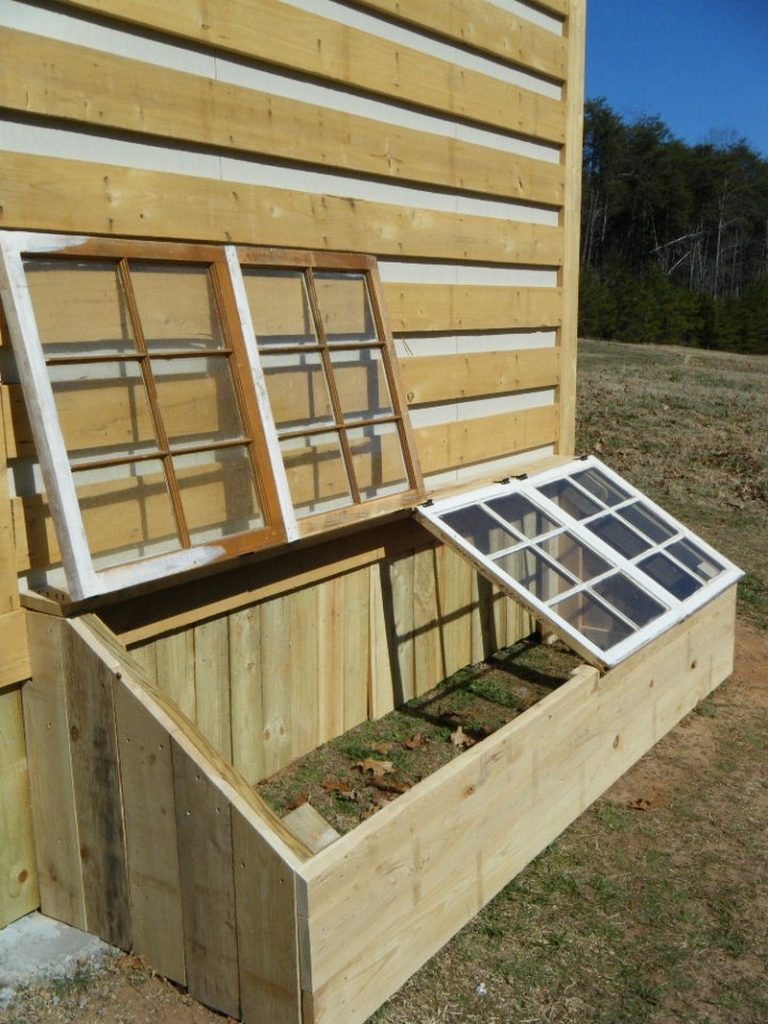
The mini greenhouse / cold frame featured above is easy and simple to build with a size of 4 x 8 feet. This is an ideal project if you only have a limited time to build a greenhouse.
What are the materials needed to build a mini greenhouse?
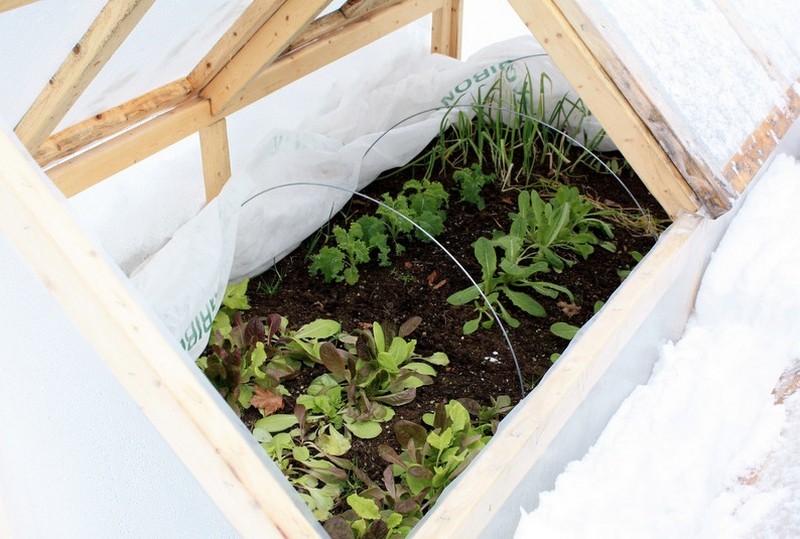
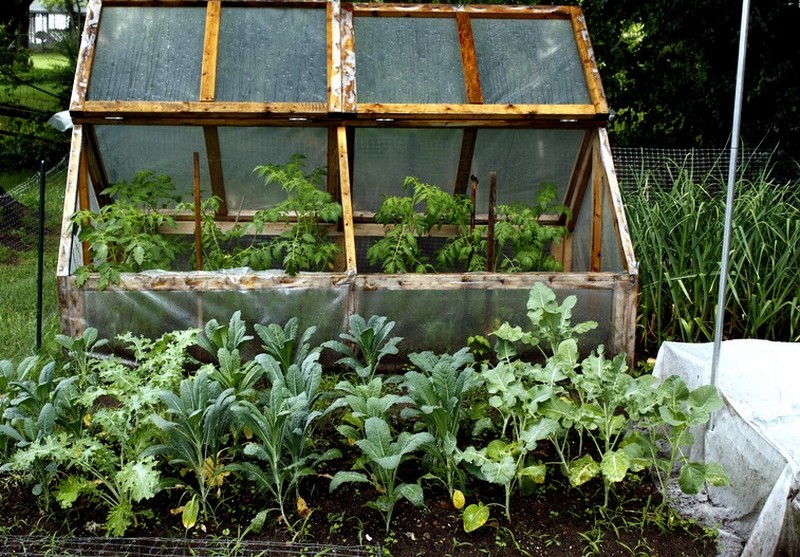
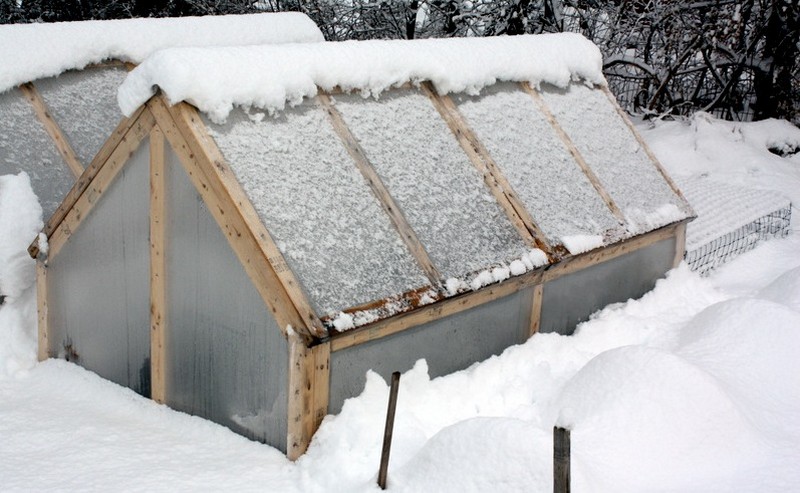
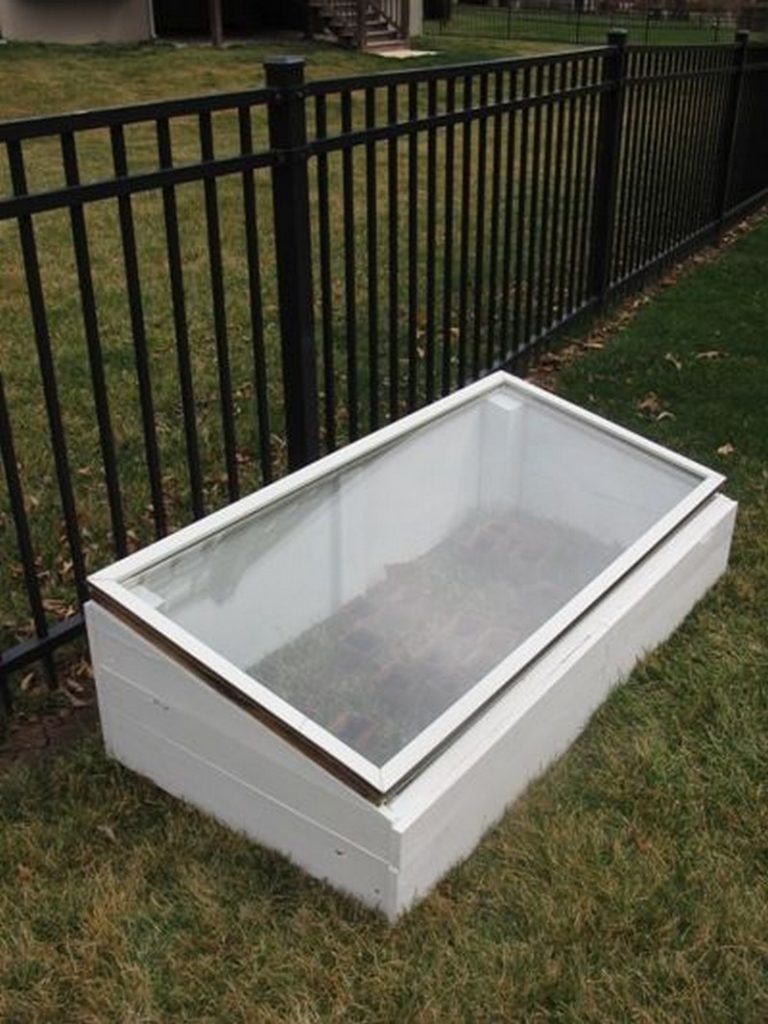
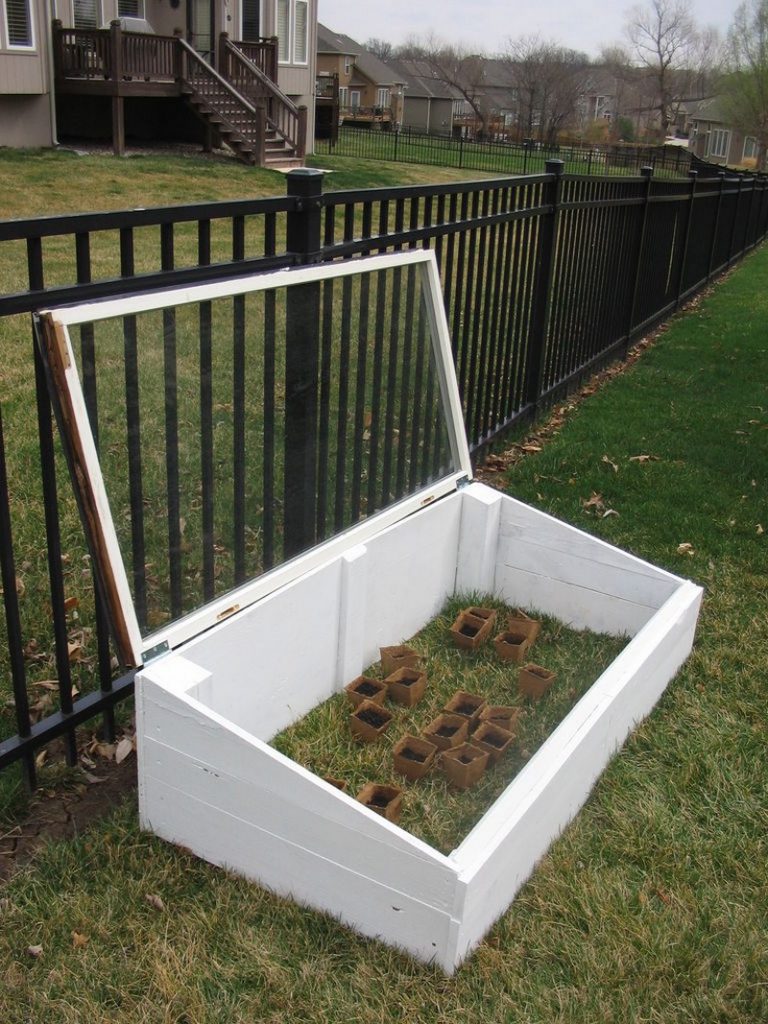
We have more inspiration waiting for you in the gallery below! 🙂
Materials:
- 2 x 3′ Lumber
- Exterior grade Screws
- Heavy duty Hinges
- 6 MIL Greenhouse Film
Tools:
- Staple Gun
- Cordless Drill
- Measuring Tape
- Saw
What are the benefits of building a mini greenhouse?
A mini greenhouse has a lot of benefits. When you live in an area where winters are long and cold, you can benefit from a greenhouse by extending your growing season. The following are some of the most common benefits we can have from a mini greenhouse.
- A greenhouse can offer more than just an operational and attractive area to cultivate your plants. In cold weather, the warm temperature is very important.
- Greenhouses protect plants by controlling the temperature and supplying them with continuous fresh air.
- Greenhouse ventilation is vital to ensuring your plants’ continuous fresh air. Having fans or vents will help the ventilation of the greenhouse.
- A mini greenhouse keeps annoying pets away from your plants.
- You will be able to cultivate plants that aren’t native to your place if you take the time to study the best kind of greenhouse that fits your needs.
- Mini greenhouses are cheaper than larger greenhouses.
- Building your own mini-greenhouses is also more cost-effective than building a large one.
What are the things to consider before building a mini greenhouse?
- Determine what type of mini greenhouse your plants need. The purpose of each structure varies, and each can be used in a particular way. Custom greenhouses can be tailored to best suit your needs based on your budget and preferred finish. You can choose between polycarbonate, acrylic, or glass type of greenhouses.
- Decide whether your mini greenhouse will be attached or freestanding. The attached greenhouse gives the comfort of easy access, having your home just beside your greenhouse, and accessible electricity already installed. While the freestanding greenhouse provides the advantage of flexibility and expandability.
- Locate what area is most suitable for your chosen mini greenhouse. Between fall and winter, make sure the location of your greenhouse receives the most sun exposure. Consider the part where the sunlight and shade will hit in the morning and afternoon.
- Measure the desired width of the paths. For a manageable path, a width of 18” is best for a mini greenhouse operated solely by you. In case of guests or big supplies on-site, there will be 24” of clearance.
- The budget allotted for a mini greenhouse. The cost of constructing a greenhouse yourself can be limited to $4,000 or less, but will still depend on what type of greenhouse is needed. More extensive greenhouses are more expensive. Compared to the larger greenhouses, mini greenhouses are less expensive and require less space, resulting in lower materials and labour charges.
- Proper ventilation. Ventilation is essential. It serves four main functions, including preventing pests from harming plants and ensuring that buildings are not overly moist or dry. Maintaining the right vents and fans can easily resolve any issues when there is a necessity for additional ventilation.
Click on any image to start the lightbox display. Use your Esc key to close the lightbox. You can also view the images as a slideshow if you prefer 😎

Thanks to Bepa’s Garden for this great project. You can get step-by-step instructions here…
Here’s a quick video tutorial…