Last Updated on April 30, 2024 by teamobn
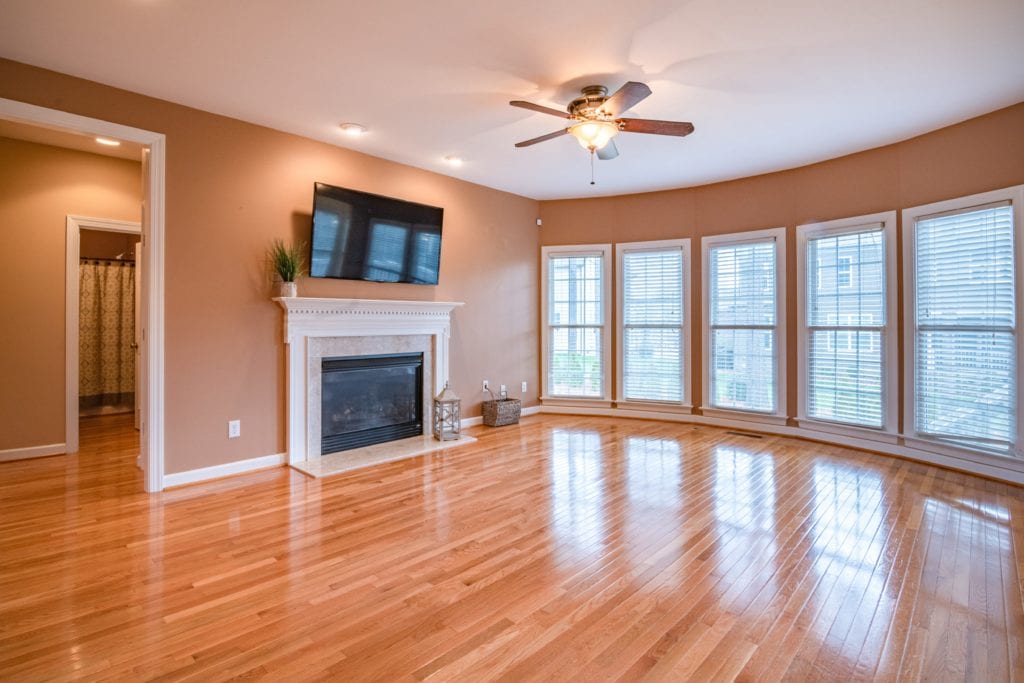
A hardwood floor can last a lifetime but it may need to be renovated and possibly even refinished after a while. Especially if your hardwood floors have lost their shine, it may be time to refinish them.
This will involve repairing and sanding the wood and applying three coats of finish. Dirty floors can be cleaned with a wood detergent, and you can often restore their natural luster with a little elbow grease.
Floor polishing equipment is available for rent from your local home improvement store. These are good at removing wax buildup and dirt, but if the buffing itself is stained, discolored, or damaged, the floor should be refinished.
This article is going to cover everything you need to know about refinishing your hardwood floor. So stay with us as we guide you along the way.
Contents
- 1 Determine The Type Of Wood You Have
- 2 What Materials Do You Need?
- 3 Different Type Of Sanders You Can Use
- 4 Prepare the Floor First
- 5 Preparing Your Space
- 6 How to Start Sanding?
- 7 How to Do The First Pass?
- 8 What to Do After the Initial Pass?
- 9 How to Apply the Tincture?
- 10 What to Do After the Dye is Finished?
- 11 Final Thoughts
Determine The Type Of Wood You Have
Refinishing solid hardwood floors can be a good DIY project. However, refinishing engineered wood should be left to the professionals. The main difference between the two is that the solid hardwood floor has end grain and is not layered.
If it is a thin laminate flooring, or if it has already been restored, then the work must be done by a professional. Other than that, it can be done by you.
What Materials Do You Need?
To refinish your wood floor, you will need a sander, wood putty, wood stain, fine steel wool, varnish, paint tape, putty knife, hammer, plastic sheeting, electric fan, eye protection, vacuum cleaner, lint-free cloths, paint applicator pads and paintbrushes, broom, brush, and rags.
Different Type Of Sanders You Can Use
Refinishing your hardwood floor can be divided into different layers of tasks and depending on the task at hand there are different kind of sanders you can use
The Orbital Sander
Orbital sanders are a good choice for floors that are relatively flat and free of pits or gouges. The sander oscillates to create the friction necessary to remove the old polishing of the wood. Handheld devices seem practical and easier to handle, but larger and heavier floor models are not easy to control.
The Drum Sanders
Drum sanders are a better choice when the wood is damaged, such as deep grooves or scratches. These kinds of sanders are powerful tools to get used to.
Often, training courses are available to help you get started. Professional training or some practice in this field is a good idea to minimize the risk of accidentally damaging your floor.
The Edge Sanders
Sanding corners and edges require a special sanding tool. Edge sanders or random orbital sanders are typically used for this job. An edge sander is usually included in an equipment rental combo designed for floor refinishing.
Prepare the Floor First
Remove all furniture and rugs from the floor, then carefully remove the floor molding and baseboards. Avoid damaging the baseboards by placing a piece of wood trim on the baseboard for protection when you lift the molding from the floor. Set aside the baseboards and floor moldings.
Cover the doors and vents with a plastic tarp, sealing it with tape. Walk carefully on the ground and the places where you encounter squeaks and protruding nails. Put Nail finishing into the squeaky planks, attach them, and fill them with latex wood putty. Place and fill all the protruding nails. Walk carefully on the floor a second time to make sure you have eliminated all squeaks.
Preparing Your Space
Once you’ve cleared the floor and removed the baseboards and floor molding, take a moment to inspect the uncovered surface. Ensure that it’s clean and free from any debris or remnants of the removed elements. This step is crucial to achieving a smooth and flawless renovation.
After covering doors and vents with a secure plastic tarp, double-check the entire floor area. Walk deliberately, paying close attention to spots where squeaks or protruding nails might lurk. Apply nail finishing to those squeaky planks, firmly securing them, and use latex wood putty for a seamless finish.
Don’t forget to address any protruding nails to guarantee a perfectly even surface. Finally, take a second careful walk across the floor to confirm that you’ve eliminated all squeaks and are ready for the next phase of your renovation project.
Before embarking on your renovation journey, preparing your space meticulously is essential. Start by clearing the floor of all furniture and rugs to create a clean canvas. To safeguard doors and vents from dust and debris, cover them with a plastic tarp, securely sealed with tape. As you navigate the floor, pay close attention to squeaks or protruding nails.
To address these issues, use nail finishing to secure squeaky planks, attach them firmly, and then fill them with latex wood putty. Remember to address all protruding nails as well. Finally, take a second careful walk across the floor to confirm that you’ve eliminated all squeaks and prepared the groundwork for your renovation project.
How to Start Sanding?
Whether you work with an orbital sander or a drum sander, this will determine how you proceed with the project.
As drum sanders are usually used when there is damage to the wood, you will start sanding with more coarse sandpaper.
36 to 40 grit sandpaper is a good place to start, although the instructions provided with the sander will give you additional information on the recommended grits.
The coarser the sandpaper used, the lower the number of grains. You will usually finish the project with 80 or 100 grit sandpaper.
If you are using an orbital sander, you will start with higher grit sandpaper, grit 60 to begin with.
How to Do The First Pass?
Never start your project without making sure you are wearing a dust mask and eye protection equipment.
Always sand towards the direction of the wood grain, moving the sander so that it moves along the entire length of the boards following the pattern of the floor.
Go back and forth on a 90 to 120 cm surface, overlapping your movements as you go.
When you have finished the main part of the floor, use the on-board edge sander or random orbital sander to reach corners and other parts that could not be accessed easily.
If you’ve never used this type of sander before, practice on a piece of plywood or an inconspicuous part of the floor before you start working.
It sometimes takes a few minutes to figure out how to grip and move the sander, and it is important to feel comfortable with the way of handling it to achieve a uniform finish.
What to Do After the Initial Pass?
Thoroughly sweep the floor between sandings and carefully vacuum off any residue. Sand that rubs off on the sandpaper can scratch the floor and ruin the smooth finish you are trying to achieve.
Always take a few minutes to make sure the floor and your clothes are free of sand and dust before proceeding to the next step.
How to Apply the Tincture?
If you intend to apply it on the freshly sanded floor, be sure to thoroughly clean the space by vacuuming and then wiping the floor first with an adhesive cloth. Then apply the stain using a foam applicator pad or a brush, according to the manufacturer’s instructions.
Work in small manageable areas up to 120 square centimeters and dye only following the direction of the grain.
Remember: do not overload your brush or pad. Remove excess dye as and when needed using a paper towel or lint-free cloth.
What to Do After the Dye is Finished?
As recommended once the stain has dried, apply a polyurethane finish to the floor, then lightly sand it with 220 grit sandpaper or fine steel wool. It will take three or four coats of clear coat to complete the job, giving each coat enough time to dry between applications is necessary.
Oil-based and water-based polyurethane varnishes are available, and different manufacturers require different drying times.
Final Thoughts
When learning how to finish a hardwood floor, always give yourself plenty of time and make safety a top priority. Oil-soaked rags are a fire hazard, so keep them away from heat and flame.
You will get a much more professional result by reading the manufacturer’s instructions and allow enough time to dry between coats of varnish. Finishing a hardwood floor is often a project that you can do on a weekend if you are organized and have all your materials ready. Take the time to learn your tools before you start, and the job will be much easier.

