Last Updated on January 22, 2025 by teamobn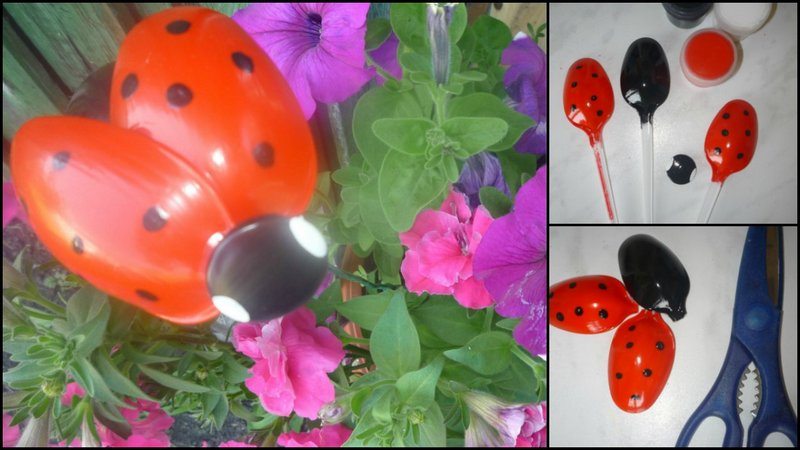
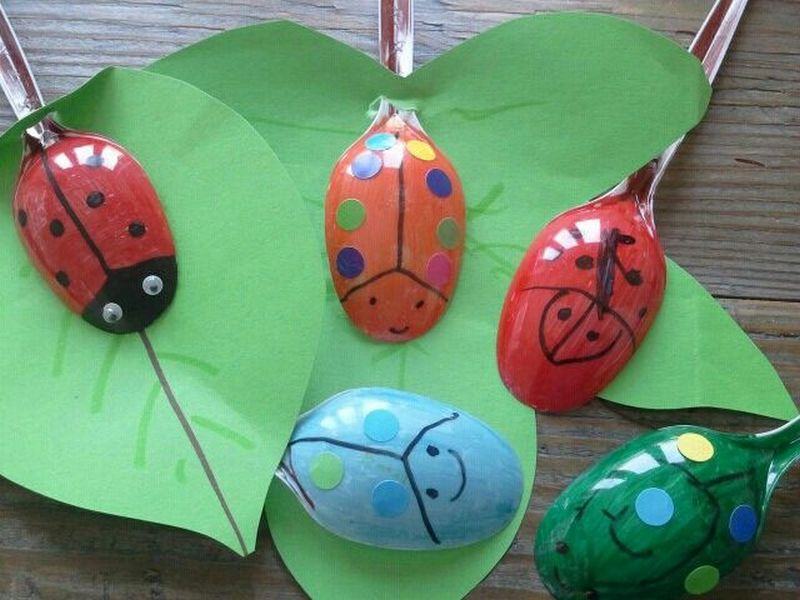
Want to add some permanent colour to your garden? Here’s a great idea using plastic spoons! It’s also a great project to do with the kids!
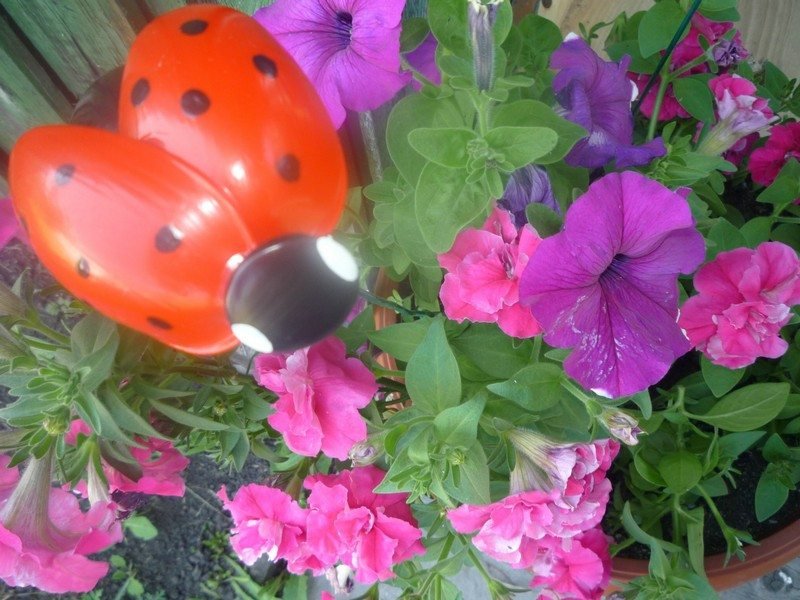
If you want year-round colour and life in your outdoor area, this decor is the solution for you. All you need are some recycled plastic spoons and you’ve got yourself cute permanent ladybirds. The more, the better your DIY project would look in your garden.
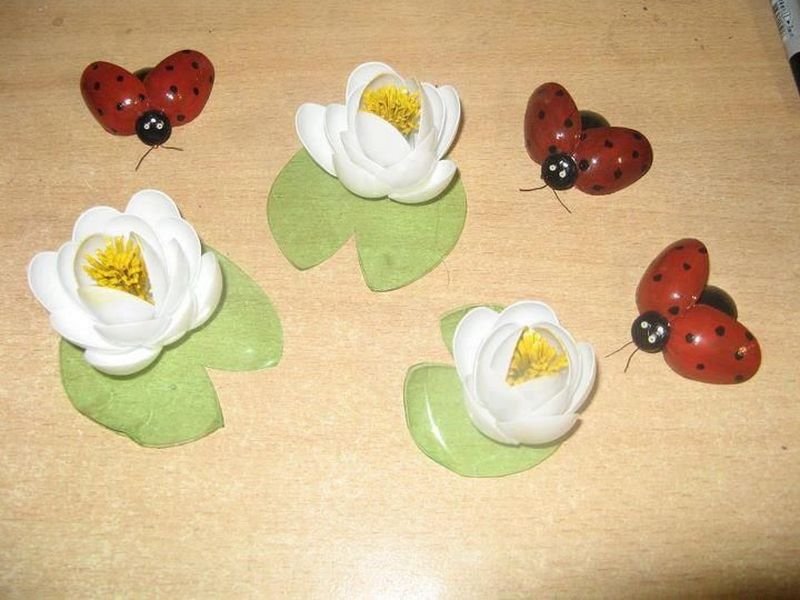
If you can get your hands on some more plastic spoons, you can also try creating permanent flowers to go with your permanent ladybugs – tulips or waterlilies!
This is a great project to make use of other materials at home that you could recycle or upcycle. Why not use green plastic bottles to make some leaves, or your collection of buttons to add detail to your ladybirds?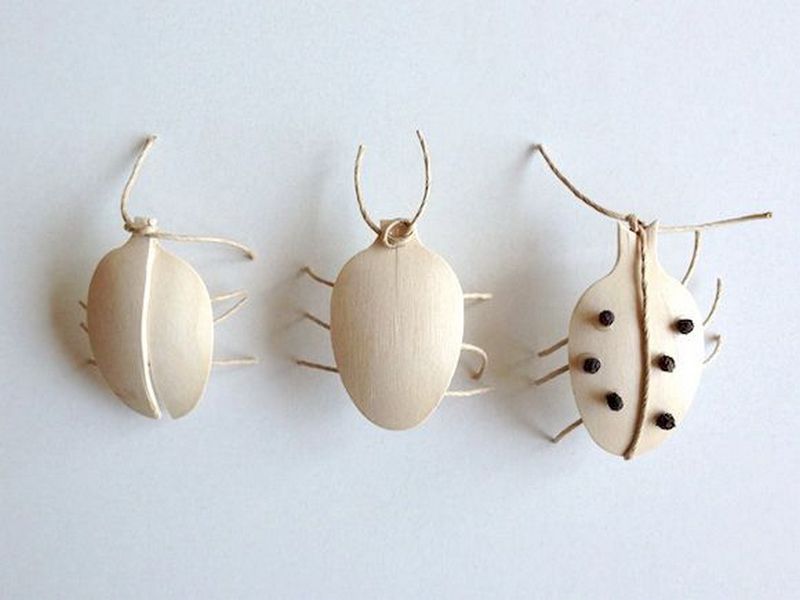
What are the materials you need to make a garden ladybird from recycled plastic spoons?
What’s great about these is that you can also have as many ladybirds as you want indoors! 😉
Materials:
- Plastic Spoons
- Flat Button
- Acrylic Paint Red, Black, White
Tools:
- Pliers (or Scissors)
- Paint Brush
- Hot Glue Gun
How to make a garden ladybird from recycled plastic spoons?
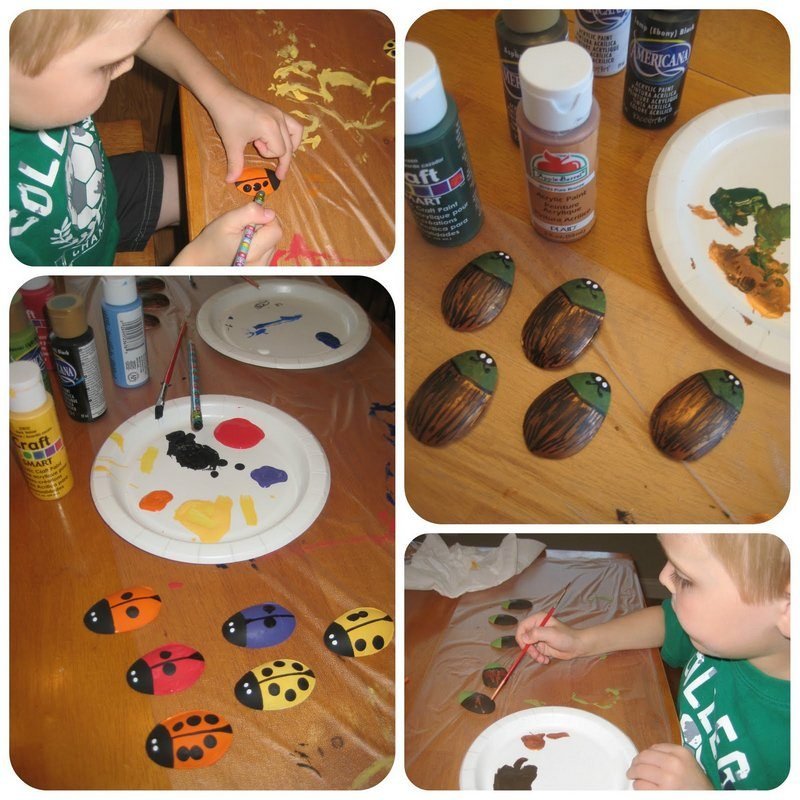
1. Gather the materials.
Gather your old plastic spoons, buttons, string or wire and your desired colour of acrylic paint.
2. Remove the spoons’ handles.
Remove carefully so it won’t break.
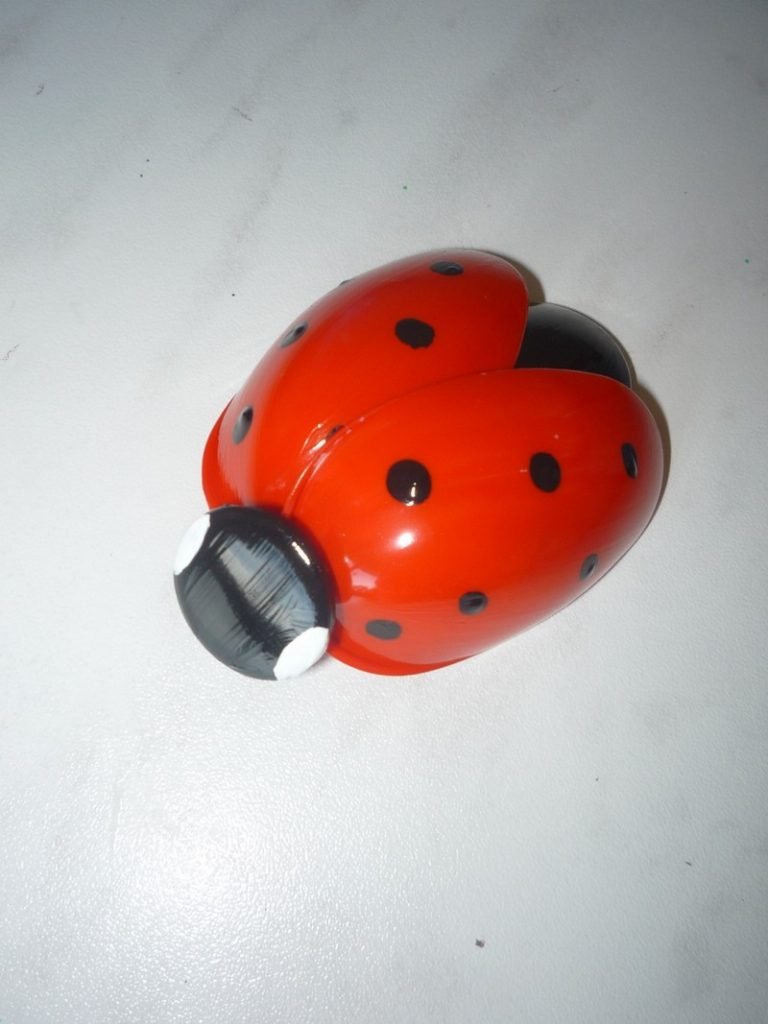
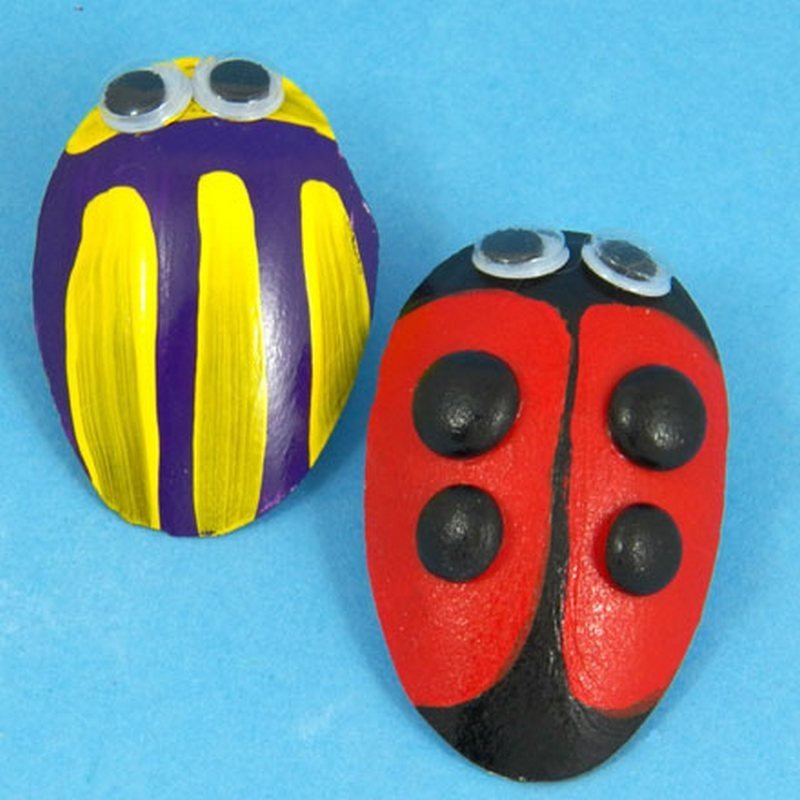
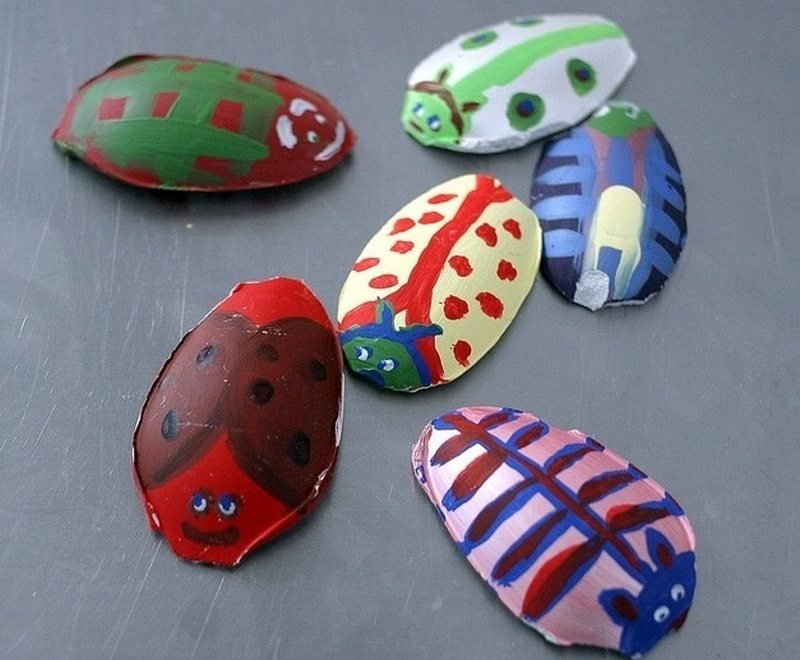
3. Paint the spoon heads and buttons.
With a bug design, paint the spoons with your desired colour, then add some black spots. The buttons can also be painted black.
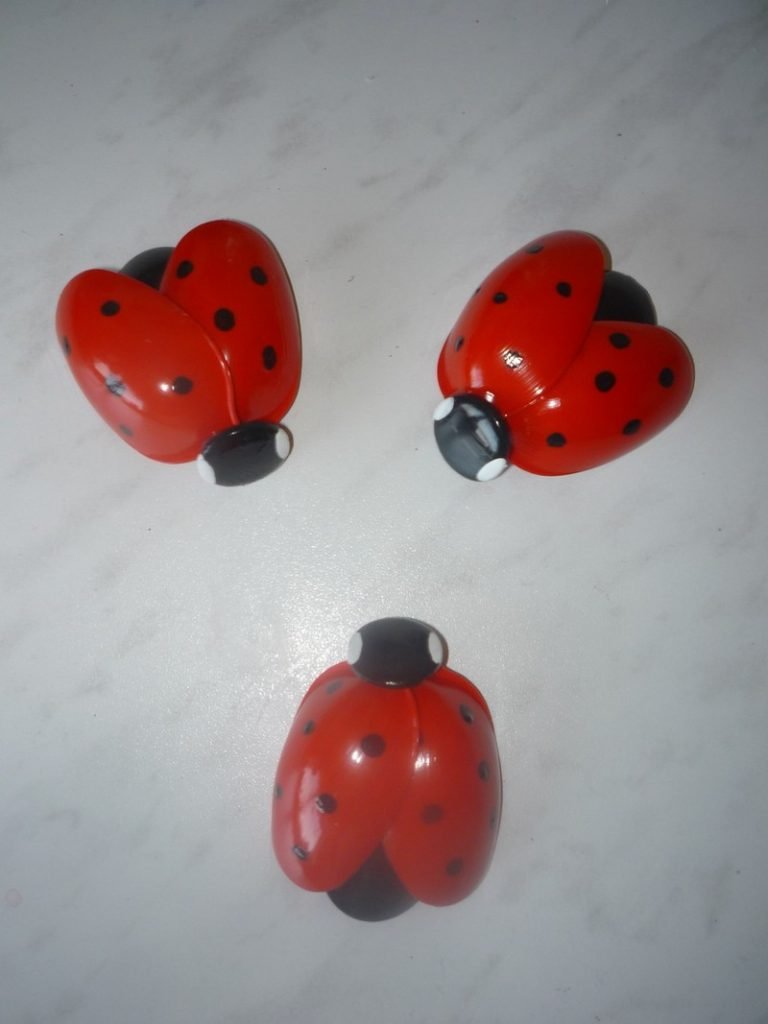
4. Attach them together.
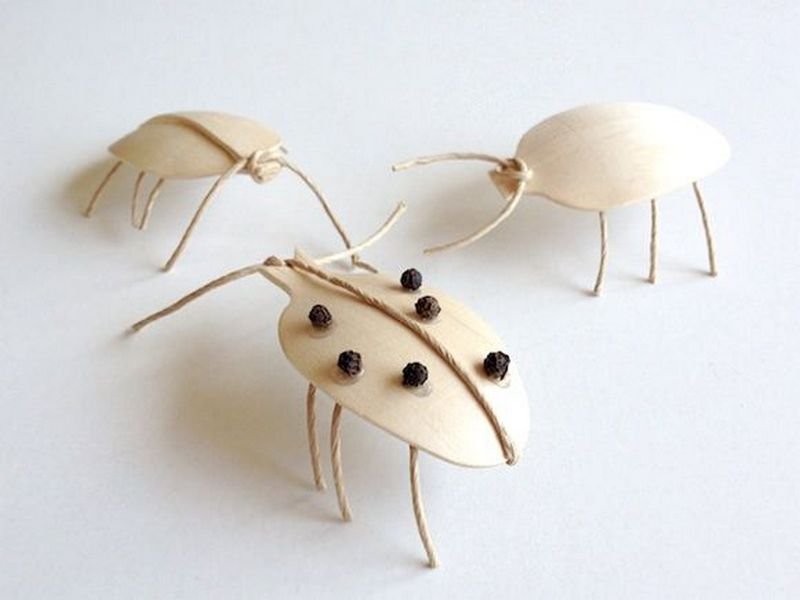
Use hot-glue to connect the wings and the head. The head is the button. The body and wings are the spoons. Repeat this, depending on how many ladybugs you like. You can optionally add some legs, using the strings or wires.
5. Attach a string or wire.
Attach a string or wire on top of the ladybug using hot glue. You can now tie it up to the plant as a display. 🙂
Thanks to Samayam for this great project. You can get the full step-by-step instructions here…
–
Click on any image to start the lightbox display. Use your Esc key to close the lightbox. You can also view the images as a slideshow if you prefer 😎