Last Updated on March 18, 2024 by teamobn
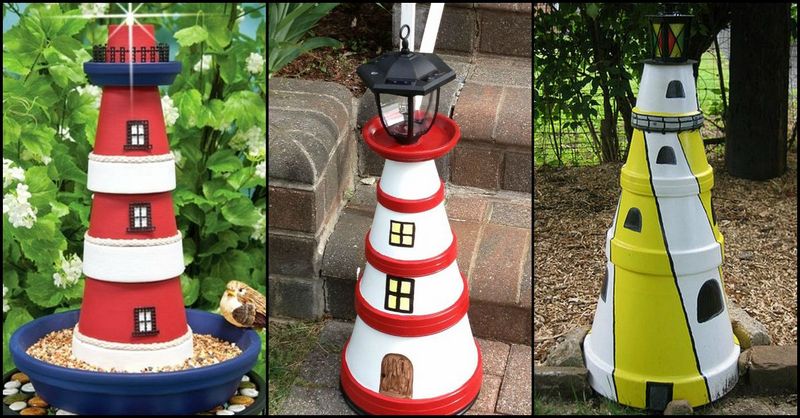
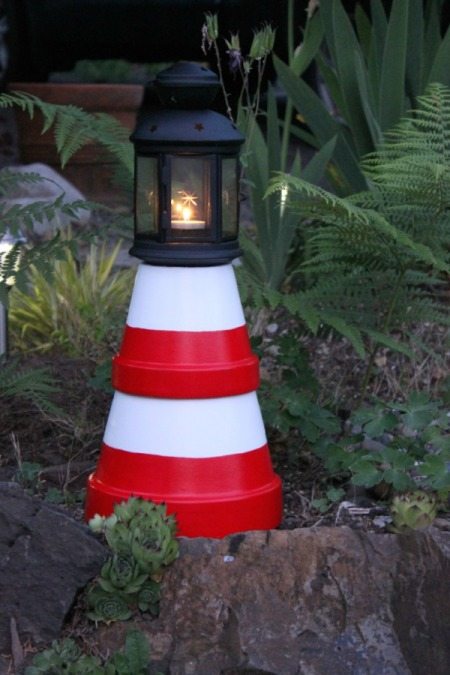
Looking for a simple project to decorate your yard? Why not make this DIY clay pot lighthouse?
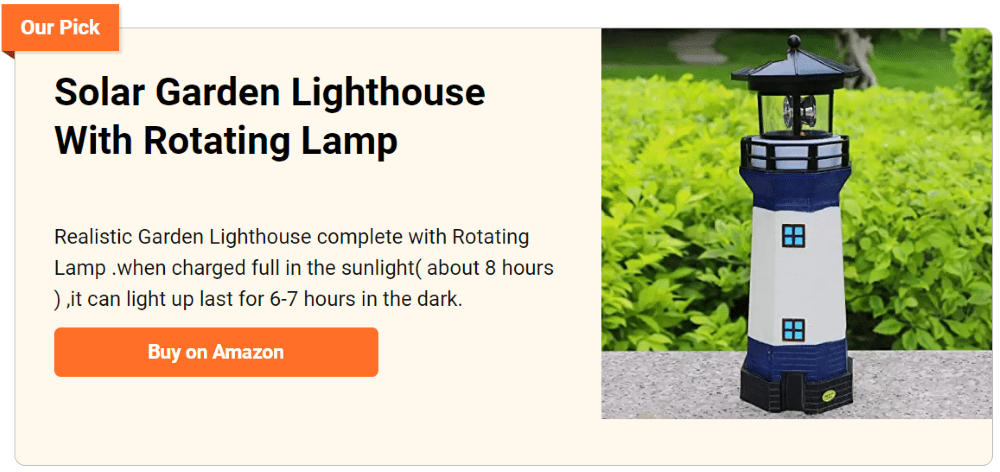
This quick project is very easy to do and would only take a couple of hours of your time. You could use a battery-operated or solar light for safe and more inexpensive lighting.
It’s great decorative lighting that would really make a statement in your outdoor area. You could also use this as a table centrepiece for when you’re having an outdoor party/dinner.
Building a DIY Clay Pot Lighthouse
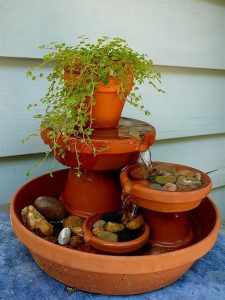
You can build DIY lighthouses out of foam cones, boxes like oatmeal boxes and cardboard cereal boxes, these can also be from plastics, like plastic cups, plastic bottles and more. In addition, you can use paint to transform certain items into decorative lighthouses, such as wooden candle holders and peppermills. Adding light to unexpected places can be a good way to brighten anything. In this project will we be using clay pots.
Do you need to make one for your yard? A cute lighthouse will do. 🙂
Materials
- 4 Clay Pots (all of the different sizes)
- 2 small Saucers
- Outdoor Acrylic Paint (your choice of colours)
- Permanent Adhesive
- Glass Votive Holder
- Flameless Battery-Operated Tea Light/ Solar Light
Tools
- Paint Brushes
Instructions
1. Paint the pots
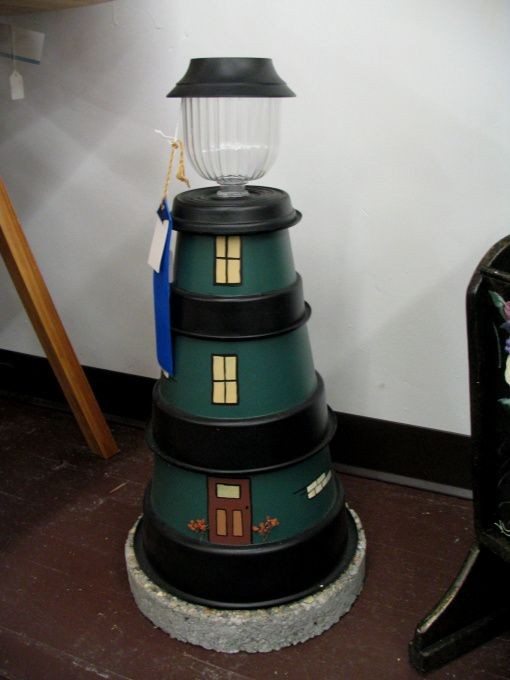
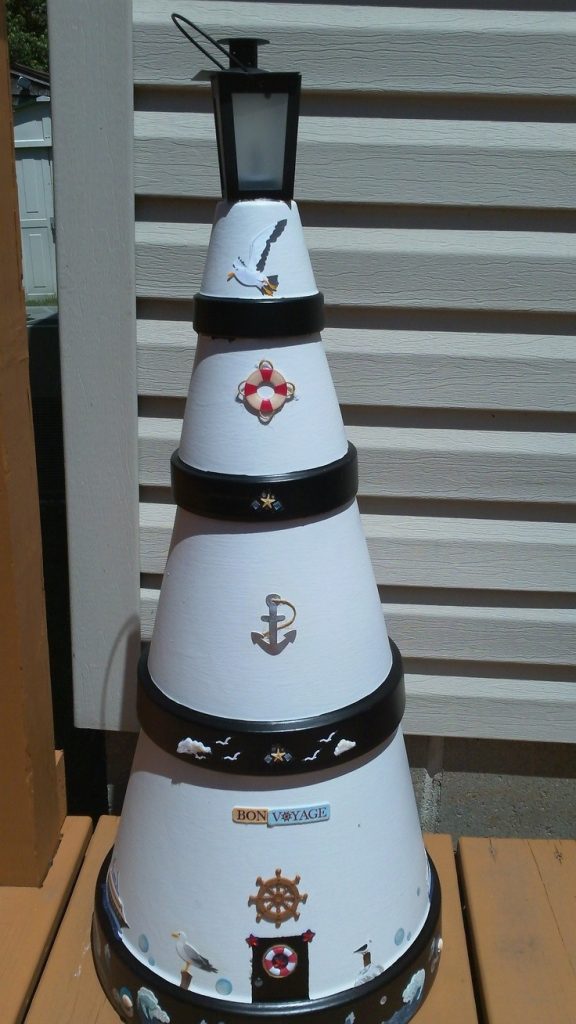
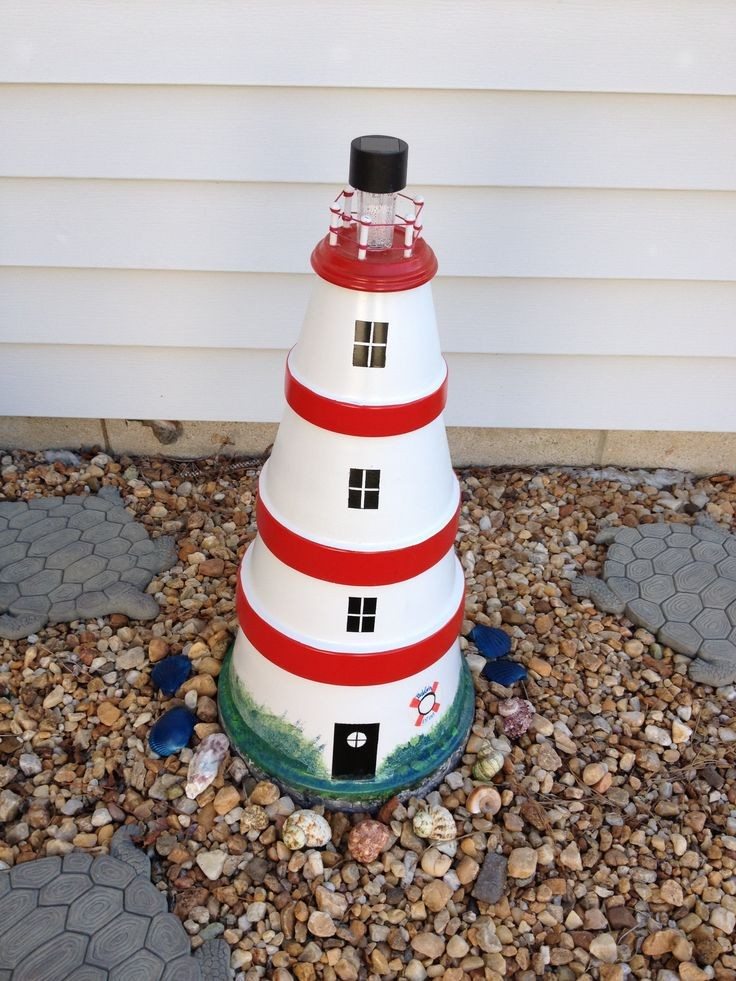
Clean all the pots and saucers thoroughly. Paint the three pots with your desired colour (like red). Sizes of these pots will be from extra-large, large to medium. Choose acrylic paint or any weatherproof paint. We recommend three coats and let them dry completely between coats. You can be more creative and add some designs to these pots, like a square box type window, by painting it black or any colour you desire.
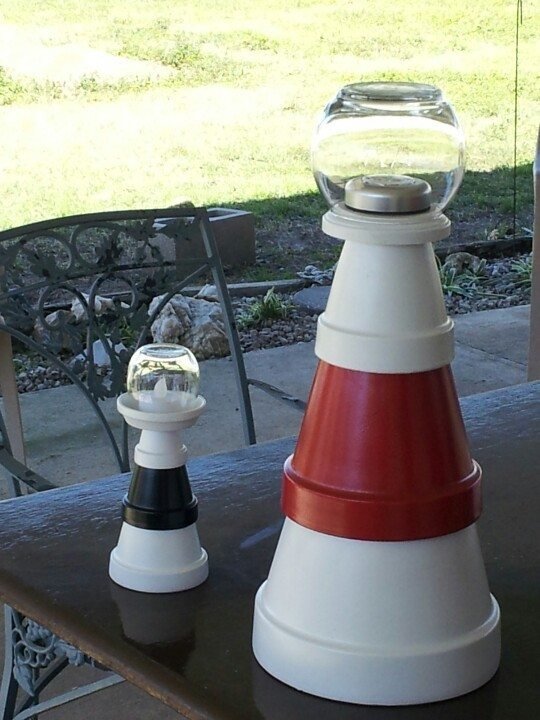
2. Creating the lantern
To create the lantern, paint the two same-sized saucers in the same colour (like blue), but different colour from the three pots earlier. The smallest pots shall also be painted the same colour as the saucers.
3. Attach them together
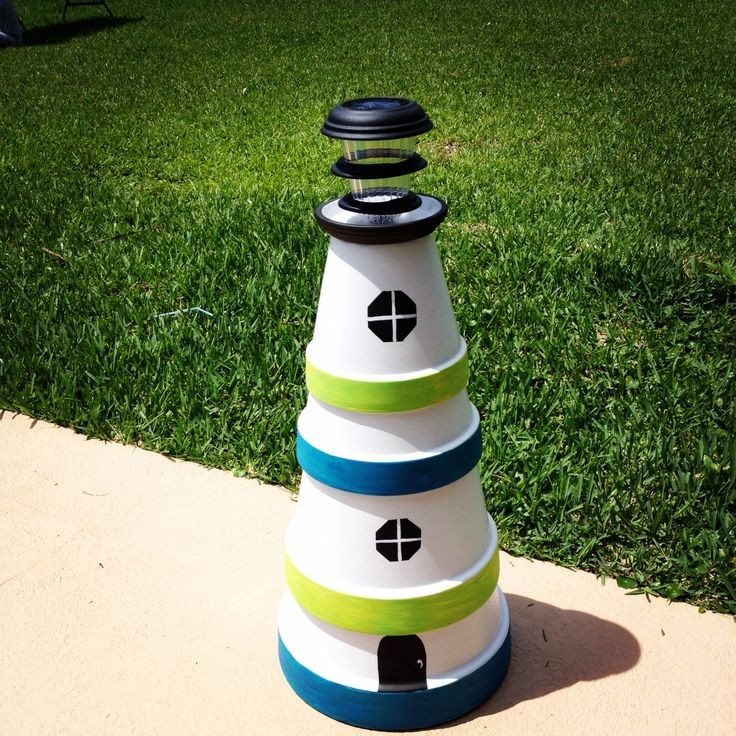
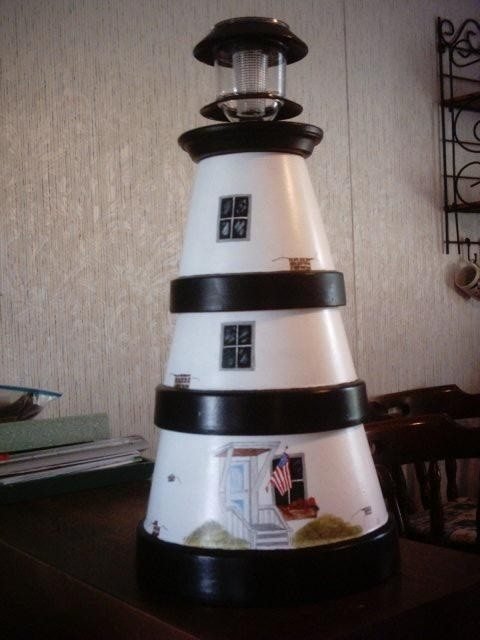
Pile up the 3 pots upside down. From the extra-large pot at the bottom, the large pot in the middle, and then on top is the medium pot. Glue them together with an adhesive. Next, glue one saucer on top of these three pots.
4. Make the cover top
Attach the second saucer upside down, to the smallest clay pot by applying glue to the rim. This will serve as the cover top of the lantern later.
5. Add the candle
Place a glass votive housing on top of the first saucer over the lighthouse, then add a flameless battery-operated tea light. Finally, cover the holder with the cover top we made earlier. Now, you have your own fantastic lighthouse.
Thanks to Ehow for this great project. You can get step-by-step instructions here…
Benefits of a Clay Pot Lighthouse
A clay pot lighthouse is not just a decorative addition to your garden or outdoor space; it embodies creativity, sustainability, and functionality. These charming structures, crafted from simple clay pots, offer more than meets the eye.
In this section, we uncover the multifaceted benefits of incorporating a clay pot lighthouse into your environment, revealing how they can transform your outdoor living area in both aesthetics and utility.
Enhances Garden Aesthetics
One of the most immediate benefits of a clay pot lighthouse is its ability to enhance the visual appeal of your garden or patio. Its unique design and the opportunity for personalization through paint and decorations allow it to stand out as a focal point. Whether nestled among flowers or standing proudly on a patio, a clay pot lighthouse adds a touch of whimsy and charm to any space.
Promotes Recycling and Sustainability
When you choose to build a clay pot lighthouse, you’re crafting a charming garden feature and embracing a lifestyle that values recycling and sustainability. It’s about taking those old, perhaps forgotten clay pots that have served their initial purpose and giving them a brand new role. This approach doesn’t just reduce waste; it sparks a wave of creativity, urging us to see the potential in everyday objects to be repurposed into something beautiful and practical.
Offers Customizable Lighting Solutions
A clay pot lighthouse isn’t just a static decoration; it offers the flexibility to light up your outdoor space exactly how you see fit. Whether you lean towards solar power’s gentle, eco-friendly glow or the reliable shine of battery-operated lights, the choice is yours.
You can play with the intensity and hue of the light to create the perfect mood for any occasion, from a serene evening alone to a lively backyard party. This adaptability makes the clay pot lighthouse essential for lighting up walkways, adding a warm ambiance to your patio, or serving as the captivating centerpiece at your next outdoor event.
Engages Creative Skills
Building a clay pot lighthouse is a fantastic way to engage your creative skills. From painting to assembling, each step allows for personal expression and innovation. It’s an excellent project for individuals of all ages, encouraging artistic exploration and problem-solving.
Provides Educational Value
For families with children, creating a clay pot lighthouse can be an educational experience. It introduces concepts of design, construction, and even basic electrical knowledge if incorporating lighting. This hands-on project fosters a sense of accomplishment and teaches valuable skills, making it a perfect activity for engaging young minds in creativity and learning.
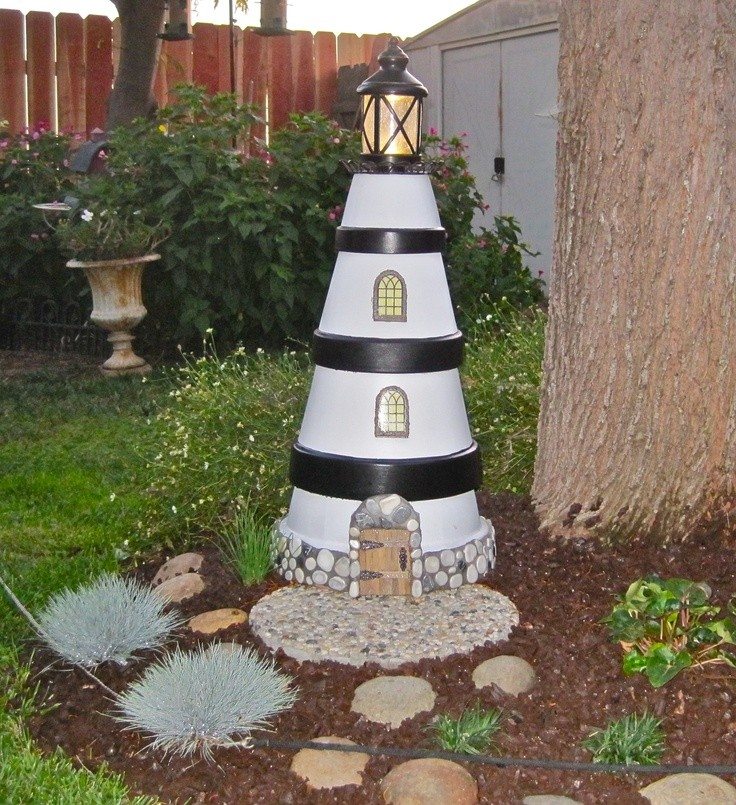
Enhances Nighttime Visibility and Safety
In addition to its aesthetic appeal, a clay pot lighthouse improves nighttime visibility and safety in your garden or outdoor area. The light emitted from the lighthouse can illuminate paths, steps, or obstacles, reducing the risk of accidents after dark. It’s a beautiful way to ensure your outdoor spaces are safe and welcoming, even at night.
Incorporating a clay pot lighthouse into your outdoor space offers a range of benefits, from enhancing garden aesthetics to promoting sustainability and safety. This DIY project not only allows for creative expression but also contributes positively to the environment and your home’s ambiance. Whether as a solitary beacon or part of a themed garden display, a clay pot lighthouse is a delightful addition that combines form, function, and fun.
Click on any image to start the lightbox display. Use your Esc key to close the lightbox. You can also view the images as a slideshow if you prefer 😎


The Best Plants and Flowers to Your Clay Pot Lighthouse
Creating a DIY clay pot lighthouse is a delightful way to add a whimsical touch to your garden or outdoor space. Beyond the construction and design of your clay pot lighthouse, selecting the perfect plants and flowers to accompany it can elevate the charm and beauty of your creation.
This section explores the best plants and flowers harmonising with your clay pot lighthouse, creating an enchanting outdoor setting.
Coastal Charm
For those wishing to mirror a traditional lighthouse’s classic coastal feel, consider incorporating seaside and salt-tolerant plants. Sea Thrift (Armeria maritima) and Beach Grass (Ammophila) are excellent choices that evoke the rugged, breezy seashores. These plants are beautiful and resilient, mirroring the steadfast nature of lighthouses and clay pot lighthouses.
Vibrant Blossoms
To create a lively and colorful garden around your clay pot lighthouse, opt for vibrant, flowering plants. Petunias, with their wide range of colors and ease of care, can drape beautifully around the lighthouse, adding a splash of color. Marigolds, known for their bright yellow and orange blooms, offer a cheerful contrast against the clay pots, making the lighthouse stand out even more.
Nighttime Bloomers
Enhancing the allure of your clay pot lighthouse after dusk, consider adding plants that bloom or release their fragrance at night. Moonflowers (Ipomoea alba) and Evening Primrose (Oenothera biennis) are exceptional choices that open their blossoms at night, reflecting the moonlight and complementing the soft glow emitted by your lighthouse’s light.
Fragrant Foliage
Incorporating fragrant plants around your clay pot lighthouse can create an aromatic experience in your garden. Lavender, with its soothing scent and attractive purple spikes, can add a sense of calm and serenity. Rosemary, another fragrant option, offers both aromatic leaves and the benefit of being a culinary herb, blending functionality with aesthetic appeal.
Low Maintenance Greenery
For those seeking a more minimalist or low-maintenance approach, succulents and groundcovers can provide an elegant backdrop without requiring constant care. Sedums, known for their drought tolerance and varied textures, can create a lush, green base around the lighthouse. Creeping Thyme, with its fragrant leaves and tendency to spread, can cover the ground around the lighthouse, offering a soft, verdant carpet that enhances the overall look.
By carefully selecting plants and flowers that resonate with the theme and colors of your clay pot lighthouse, you can create a captivating garden feature. Whether aiming for a coastal vibe, vibrant blooms, nighttime allure, aromatic surroundings, or low-maintenance beauty, the right greenery can significantly elevate the presence of your clay pot lighthouse, making it a focal point of your outdoor space.
Conclusion
Crafting a clay pot lighthouse is more than just a DIY project; it’s a step towards blending creativity with eco-conscious living. This versatile addition to your garden or patio enhances the beauty of your outdoor space and offers a sustainable approach to lighting and decoration. Embracing the journey of constructing a clay pot lighthouse promises an enriching experience that marries aesthetics with functionality, making every evening a little brighter.
If you liked this project, you will also like viewing these clay ideas…