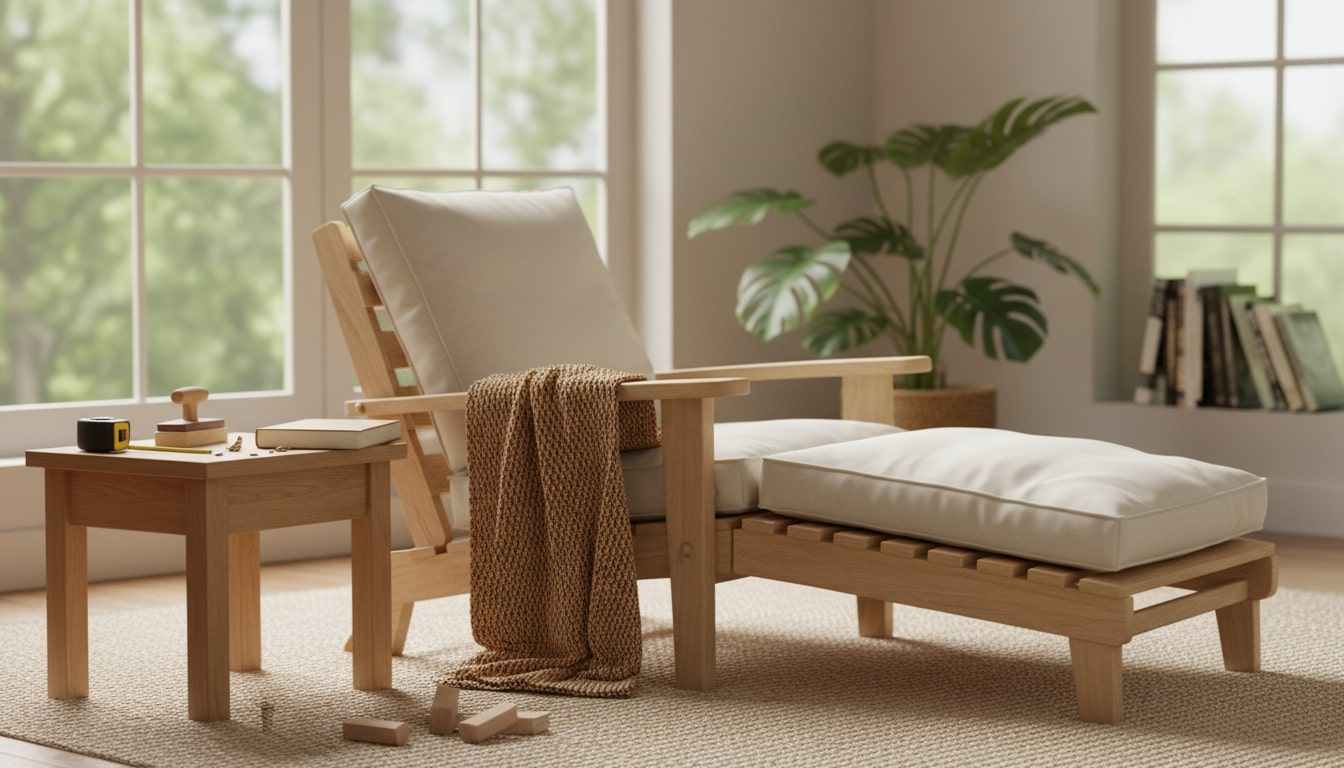
A DIY lounge chair is the kind of woodworking project that feels good at every stage. You’re building something you’ll actually use, and you get to control the comfort, the look, and how solid it feels when you sit down. It works just as well for a quiet reading corner inside as it does for extra seating on a patio or in the yard.
The best part is how customizable it is. You can tweak the seat height, back angle, and overall size so it fits your space and your body, instead of forcing a store-bought chair to “work.” You don’t need a shop full of fancy tools either. This guide walks you through planning, measuring, building, and finishing so you end up with a chair you’ll be happy to kick back in for a long time.
Contents
Key Takeaways
- A DIY lounge chair project is achievable for beginners with basic tools, clear plans, and careful measurements.
- Choosing durable materials and strong joinery dramatically increases your chair’s stability and lifespan.
- Proper sanding, sealing, and weatherproofing are essential for both comfort and outdoor durability.
- Custom cushions, pillows, and accessories turn a simple DIY lounge chair into a personalized, comfortable retreat.
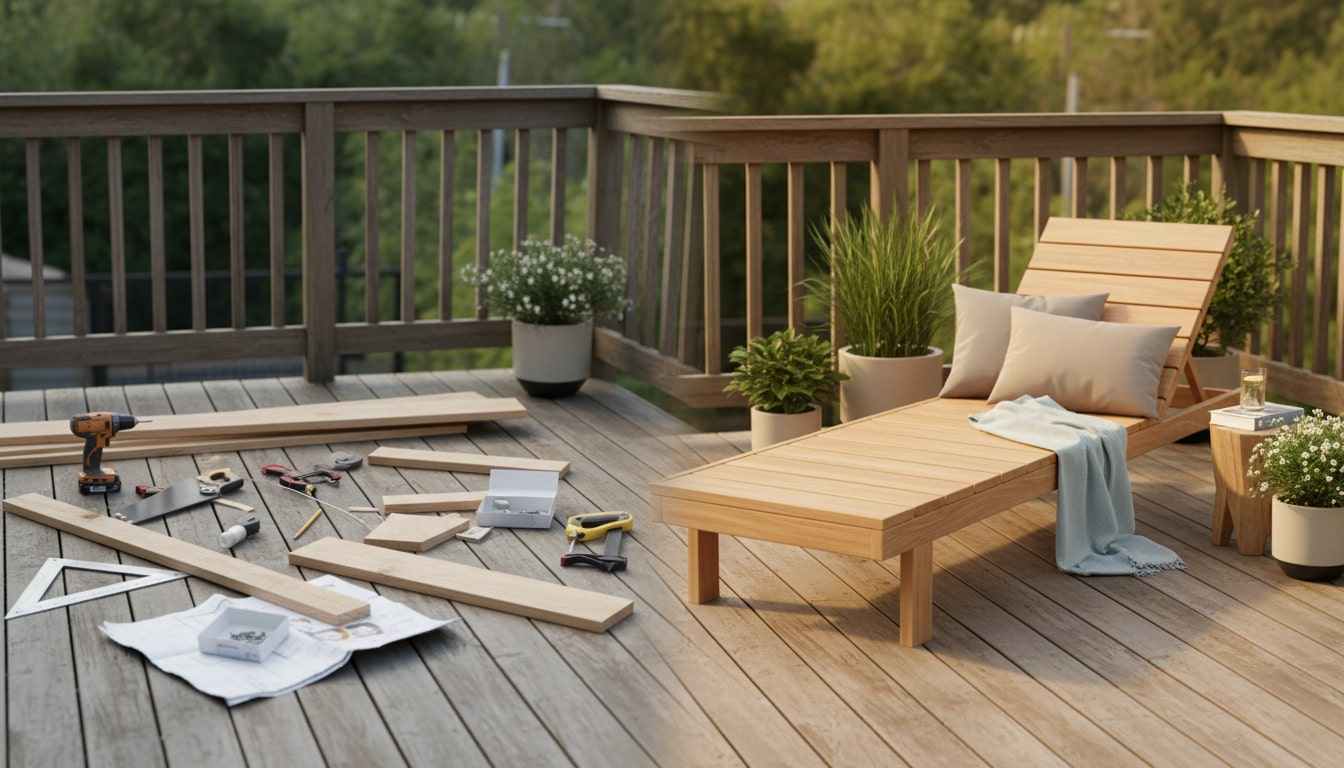
Building a DIY lounge chair
Building your own DIY lounge chair is pretty manageable as long as you work from a clear plan and don’t rush the cuts. This section breaks down what you’ll need and how to put everything together so the chair feels sturdy, comfortable, and looks clean when it’s finished.
Materials needed
- Lumber: 2x4s and 1x4s (cedar, pine, or pressure-treated wood if it’ll live outdoors)
- Wood screws: 2½-inch and 3-inch exterior-grade screws
- Wood glue: waterproof or exterior-grade
- Sandpaper: 80-grit, 120-grit, and 220-grit
- Wood finish: stain, paint, or an outdoor sealant/polyurethane
- Bolts and washers (optional): handy for reinforcing high-stress joints
- Cushions or outdoor fabric (optional): for extra comfort
Tools required
- Circular saw or miter saw: for cutting boards to length
- Drill/driver: with drill bits and driver bits
- Measuring tape: for accurate layout
- Carpenter’s square: to keep corners true
- Clamps: to hold parts steady while you fasten them
- Orbital sander or sanding block: to smooth surfaces
- Pencil: for marks and reference lines
- Safety gear: goggles, ear protection, dust mask, and work gloves
- Pocket hole jig (optional): if you want stronger joints with hidden screws
Step-by-step build guide
- Review your plan and cut list: Double-check measurements, then label each board before you cut so you don’t mix pieces up later.
- Cut the lumber: Cut the legs, supports, slats, and armrests according to your design. Try to keep cuts consistent so the chair sits level.
- Sand the pieces: Knock down rough edges and splinter-prone corners. Starting around 120-grit is a good balance before final sanding later.
- Build the side frames: Attach the front and rear legs to the horizontal supports using glue and screws. You’re basically making two matching “side walls” of the chair.
- Set the backrest angle: Position the back support at the recline you want, usually around 20–30 degrees, then secure it to both side frames.
- Add seat support braces: Connect the side frames with cross braces. Take your time here and make sure everything is level and square.
- Attach the seat slats: Screw the 1×4 slats across the seat supports, leaving a small gap between boards, roughly ¼-inch to ½-inch, so water can drain if it’s outdoors.
- Attach the backrest slats: Fasten the slats to the back support with even spacing so it feels comfortable and looks consistent.
- Install the armrests: Cut to size, then mount them at a height that feels natural. A common range is 7–9 inches above the seat, but go with what fits your body.
- Reinforce the joints: Tighten screws, add extras where needed, and use bolts in any spots that take a lot of load or movement.
- Final sanding: Go over the whole chair with 220-grit so it feels smooth and looks more finished.
- Apply your finish: Use at least two coats of stain, paint, or sealant, and let each coat dry properly before the next.
- Add cushions or padding: Once everything is fully cured, throw on cushions or wrap the seat if you want a softer feel.
- Test stability: Sit down, shift around, and check for wobble. If anything feels off, tighten, brace, or adjust before calling it done.

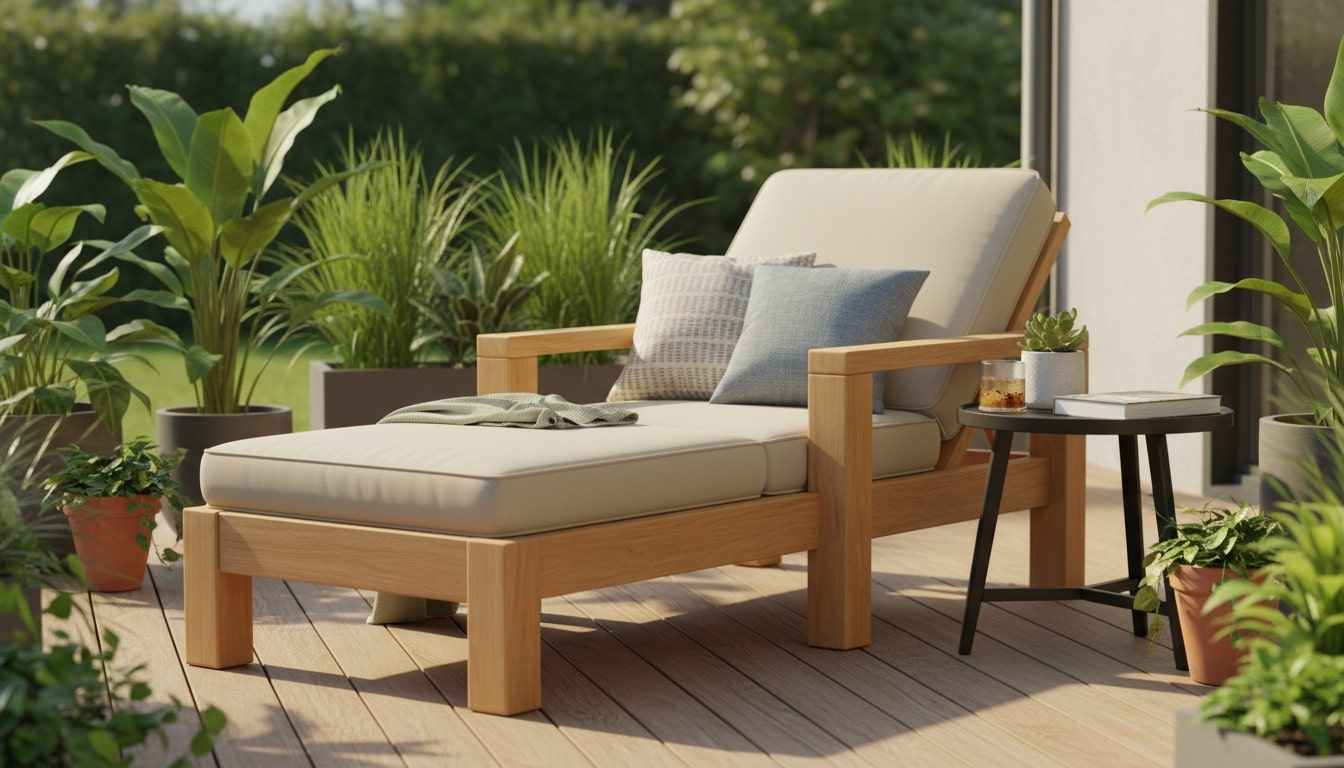
Comfort upgrades: cushions, pillows, and accessories
A DIY lounge chair already looks great on its own, but the right add-ons are what make it feel like a spot you’ll actually want to stay in. Cushions and a few smart accessories can take a basic wooden build and turn it into a chair you can lounge in for hours, without that stiff “patio chair” feeling.
Selecting the right fabrics
Start with fabric because it decides how the chair holds up and how it feels against your skin. For outdoor chairs, pick something made for sun and moisture. Solution-dyed acrylics like Sunbrella are popular because they handle UV, mildew, and splashes without fading fast. Indoors, you’ve got more freedom. Cotton canvas feels breathable and durable, while linen gives a softer, lived-in look that pairs nicely with natural wood.
Choosing cushion foam and fill
Foam quality matters more than people expect. If the seat cushion is too soft, you’ll feel the wood frame under you pretty quickly. High-density upholstery foam is a solid choice for the seat because it stays supportive and doesn’t flatten out as fast. For the back cushion, softer foam or polyester fiberfill usually feels better since you want some give that follows your spine instead of pushing you forward.
Adding lumbar and headrest pillows
A couple of smaller pillows can change how the chair feels right away. A lumbar pillow helps support your lower back so you’re not slouching after ten minutes with a book or your phone. If your chair reclines a lot, a headrest pillow is also worth it. Draping or strapping one over the top of the backrest gives your neck a place to rest instead of hovering in the air.
Integrating functional accessories
Once the comfort is handled, the little practical upgrades make the chair feel finished. A simple drink holder on the armrest keeps cups from tipping over, and a small tray gives you a spot for a phone, glasses, or a paperback. If it’s an outdoor build, adding a matching ottoman or footstool is one of the best upgrades you can do. Being able to stretch your legs out is what turns “nice chair” into “I could stay here all afternoon.”
Common mistakes to avoid when building a DIY lounge chair
A few small mistakes can turn a fun build into a chair that wobbles, creaks, or doesn’t feel great to sit in. If you slow down on the measuring, use strong joints, and finish it properly, your DIY lounge chair will feel safer, more comfortable, and last a lot longer.
Inaccurate measurements and angles
The fastest way to get a crooked or unstable chair is rushing the measuring and cutting. Even a small error in length or a slightly off-angle can make the chair rock on the floor or throw the whole frame out of square. Measure twice, mark clearly, and use a carpenter’s square so your cut lines stay true.
Backrest and leg angles matter even more than people expect. If the recline angle is wrong, the chair can feel awkward, or it might put pressure into your lower back instead of supporting you. An angle finder or protractor helps, but the real trick is doing a quick test fit with clamps before you commit with glue and screws.
Weak or improper joinery
Lounge chairs take a lot of stress in a few key spots, so weak joinery shows up fast. Short screws or nails alone can loosen over time, especially if the chair lives outdoors and keeps expanding and contracting with weather changes. Use longer exterior-grade screws, pocket holes if you like that method, and bolts with washers in areas that carry most of your weight.
Wood glue also makes a difference. Glue the mating surfaces before you drive screws, and you’ll get stronger joints with fewer squeaks later. Pay extra attention to the leg-to-frame connections and where the backrest meets the seat, since those are the areas that get worked the hardest.
Skipping pre-drilling and edge preparation
Skipping pilot holes feels like a time-saver until a board splits and you have to redo it. Screws driven straight into the ends or edges of lumber can crack the wood, especially if the stock is dry or lower quality. A quick pilot hole reduces stress on the board and makes the screws pull everything together more cleanly.
Edge prep is another one people ignore. Sharp corners and rough edges don’t just look unfinished, they can feel uncomfortable and are more likely to leave splinters. A quick sanding pass on corners and edges makes the chair nicer to use right away.
Rushing the sanding and finishing process
Once the chair is assembled, it’s tempting to call it “good enough” and rush to the finish. That usually shows up the first time you run your hand across the seat and feel saw marks or rough patches. Work through a couple of grits, and actually feel the wood as you go. Your hands will catch things your eyes miss.
Finishing is where outdoor chairs live or die. If you apply stain or paint over dusty wood, damp boards, or a rough surface, it can peel, blotch, or just look messy. Clean off dust, let the wood fully dry, then apply multiple thin coats instead of one heavy one. A proper finish doesn’t just make the chair look better, it also protects it from the sun, moisture, and everyday wear.
Conclusion
Building a DIY lounge chair is the kind of project that pays off every time you sit down. You get to practice real woodworking skills, but you also get to make choices that fit your space, your style, and how you like to relax. If you take your time with measurements, use decent materials, and don’t rush the sanding and finish, you’ll end up with a chair that feels comfortable and looks like it belongs there.
Frequently Asked Questions
- How much does it cost to build a DIY lounge chair?
- Most basic DIY lounge chairs land somewhere around $50 to $150 in materials, depending on the wood and hardware you use. Cedar and hardwoods cost more but hold up better, while pine or pressure-treated lumber keeps the budget lower. Reclaimed wood can cut the cost a lot if you have access to it. Don’t forget finishing supplies like sandpaper, stain, or sealant, which can add another $20–$40.
- What type of wood is best for an outdoor DIY lounge chair?
- Cedar is a favorite for outdoor builds because it naturally handles moisture, rot, and insects without extra treatment. Pressure-treated pine is another solid option if you want weather resistance at a lower cost, but it’s messier to work with and you’ll want to be careful when cutting and sanding. Redwood and teak last a long time and look great, but they’re usually the most expensive. Untreated softwoods don’t do well outside and tend to break down fast.
- How long does it take to build a DIY lounge chair?
- Plan on 6–10 hours across a weekend for most builds, especially if you’re measuring carefully and taking your time. If you’re new to furniture projects, add extra time for double-checking cuts and fixing small mistakes. More experienced builders can finish simple designs in 4–6 hours. That estimate covers cutting, assembly, and sanding, but not the waiting time for glue or finish to dry, so give yourself at least two days overall.
- Do I need advanced woodworking skills to build a lounge chair?
- No, you can build a basic lounge chair with beginner to intermediate skills and common tools. If you can measure accurately, make straight cuts, and drive screws cleanly, you’ve already got what you need. Start with a simple design that uses straight boards and basic joinery, then level up later if you want curves or adjustable features. Going slow and sticking to a plan makes a bigger difference than fancy techniques.
- How do I weatherproof my DIY lounge chair for outdoor use?
- Use an exterior-grade finish and apply it to every surface, not just the parts you can see. Two coats is a minimum, but three is better for outdoor furniture. Options like exterior polyurethane, spar varnish, or a penetrating oil sealer all work, just follow the product directions. Lightly sand between coats with 220-grit for better adhesion and a smoother feel. Recoat once a year, or whenever water stops beading on the surface, and store the chair under cover during harsh weather to help it last longer.