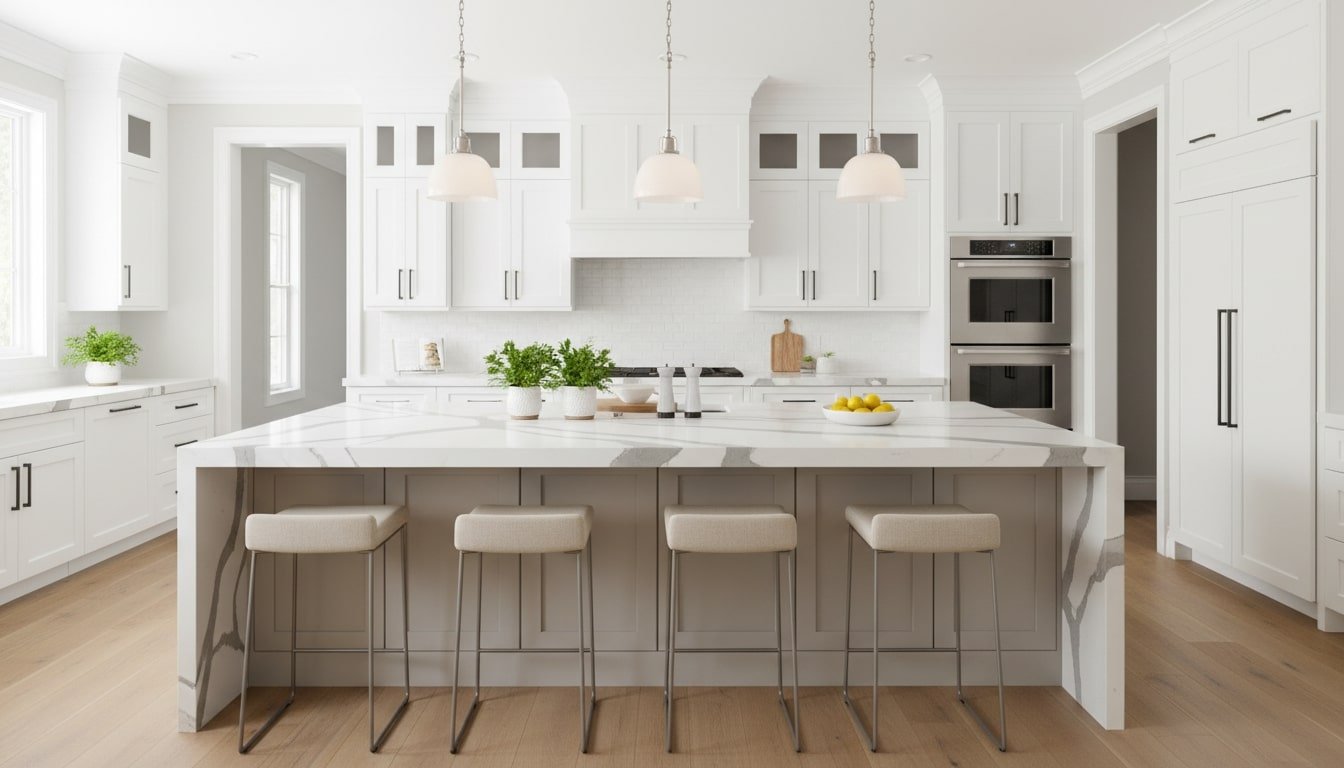
Quartz countertops are the materials that create sophisticated, modern kitchens. Its unique natural colors and streaks create that luxurious counters. In addition, quartz are highly durable materials that can withstand shocks and moisture for a long time. The countertop can also resist stains thanks to its non-porous quality.
Add this incredible quartz counter surface to your own kitchen through our complete DIY guide. We also bring up other helpful tips for a professional result.
Contents
Key Takeaways
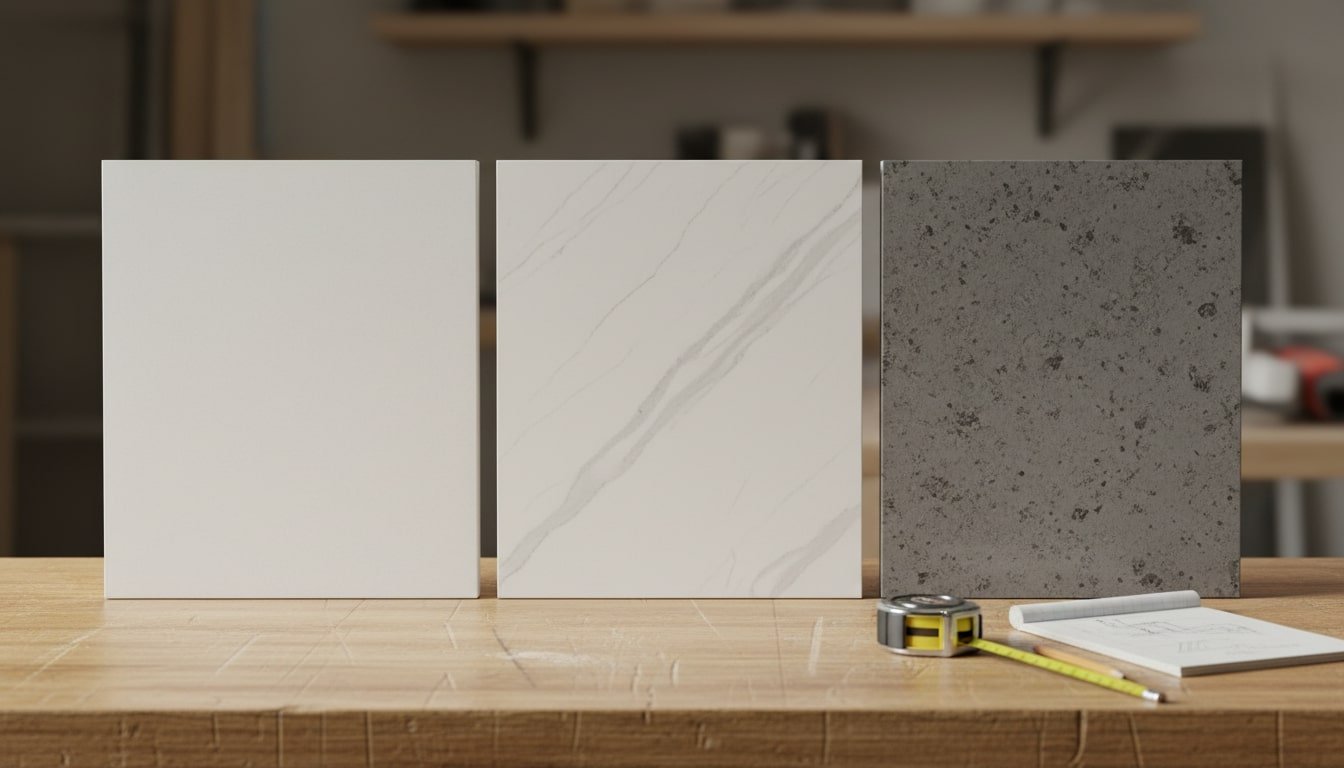
- Quartz gives you an upscale look without being locked into one style. The patterns and color choices work just as well in a modern kitchen as they do in a more traditional one.
- Since quartz is engineered and non-porous, it handles everyday mess better than many natural stones. It resists moisture, stains, and the buildup that can lead to bacteria around food prep areas.
- The install matters as much as the material. Level cabinets and accurate templates are what keep the slabs supported, seams tight, and joints looking clean instead of obvious.
- Quartz stays looking good when you treat it like a countertop, not a cutting board or a trivet. Use hot pads for heat, wipe spills in a reasonable time, and skip harsh chemical cleaners.
Quartz Countertops Installation Guide
Installing quartz countertops isn’t complicated, but it does demand accuracy, the right tools, and careful handling. Quartz is heavy and unforgiving, so most “mistakes” come down to skipping checks, rushing seams, or setting slabs on cabinets that aren’t truly level. Use the steps below to keep the install clean, tight, and long-lasting.
Materials
- Quartz slabs (measured and cut to your layout)
- Two-part epoxy adhesive (color-matched to the quartz)
- Silicone adhesive or construction adhesive
- Wooden shims
- Painter’s tape or masking tape
- Denatured alcohol or acetone (for cleanup and surface prep)
- Caulk (clear or color-matched silicone)
- Plywood substrate or support strips (if your manufacturer requires it)
- Undermount sink clips and brackets (if you’re installing an undermount sink)
Tools
- Measuring tape and straightedge
- Levels (4-foot level plus a small torpedo level)
- Wet saw with a diamond blade (for quartz)
- Angle grinder with polishing pads
- Seam clamps or bar clamps
- Suction cup lifters or an A-frame dolly
- Cordless drill and bits
- Jigsaw with a diamond blade (for cutouts, if needed)
- Putty knife or scraper
- Mixing cups and stir sticks (for epoxy)
- Clean rags and microfiber cloths
- Safety glasses, dust mask, and work gloves
- Hearing protection
Step-by-Step Installation Guide
- Step 1: Prepare the workspace
- Clear everything off the counters and out of the cabinets so you can work without bumping into stuff. Disconnect plumbing, appliances, and any electrical connections in the area. Lay down drop cloths to protect flooring, open windows or run fans for ventilation, and remove the old countertop if this is a replacement job.
- Step 2: Inspect and level the cabinets
- Quartz needs a stable, flat base. Start with a 4-foot level and check the cabinet run front-to-back and side-to-side. Don’t just check one spot, move across the entire length and mark the highs and lows. Shim where needed until the tops are truly level, then confirm cabinets are solid and properly fastened to the wall. If the cabinet box flexes, the quartz will eventually tell on it.
- Step 3: Install substrate support (if required)
- Some manufacturers require a plywood deck or support strips, while others allow the slab to sit directly on the cabinet rails. Follow your slab and warranty requirements here. If you need full substrate, install ¾-inch plywood and screw it from below so you don’t create bumps on top. If strips are allowed, add support along the perimeter and at seams, then check everything again for level and flush contact.
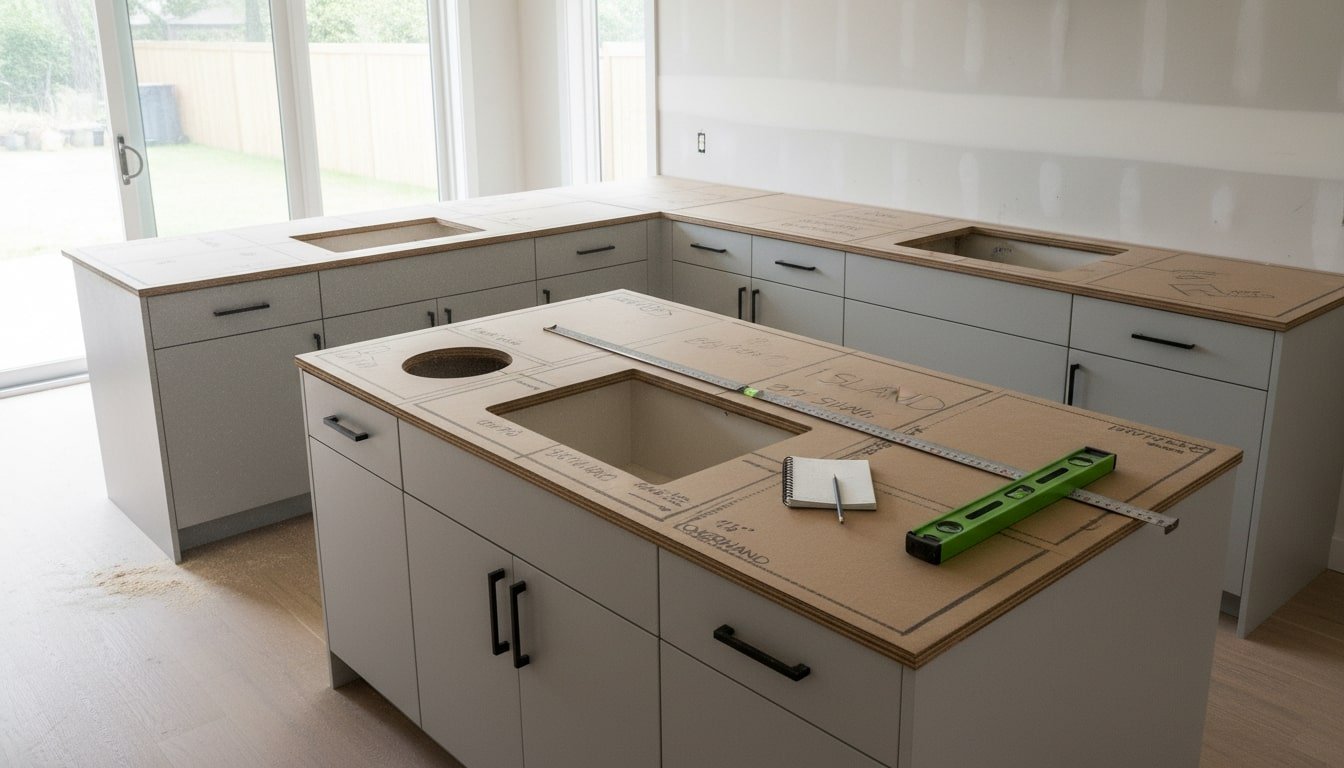
- Step 4: Create and verify templates
- Templates are where you prevent expensive problems. Use cardboard or thin plywood and build an exact pattern of the countertop layout. Mark sink and cooktop cutouts, faucet holes, corners, and anything that needs clearance. Include the overhang (often 1–1.5 inches) and any backsplash spacing. Before you transfer anything to quartz, double-check every measurement and confirm the template sits tight to the walls without forcing it.
- Step 5: Dry-fit the quartz slabs
- Move slabs with suction cups or an A-frame dolly and keep them vertical. Carrying quartz flat is how cracks happen. Set the slabs on the cabinets with no adhesive first and check the fit, overhang, seam alignment, and contact points. Make sure the slab isn’t rocking and that it sits evenly across support areas. Mark any spots that need trimming or adjustment.
- Step 6: Make necessary cuts and cutouts
- Ideally, most cuts are done during fabrication, but if you’re handling cutouts on-site, go slow and stay precise. Mark the cut lines clearly. Use a wet saw with a diamond blade for straight cuts and keep the blade wet to reduce heat and dust. For interior cutouts, drill corner holes first, then use a jigsaw with a diamond blade to connect the lines. After cutting, smooth and polish edges with an angle grinder and pads so the finish matches the rest of the top.
- Step 7: Apply adhesive to the substrate
- Lift the slabs back off and clean the substrate so dust and debris don’t interfere with bonding. Run a consistent bead of silicone or construction adhesive along cabinet rails and support strips. Add a little extra in high-stress areas like around the sink opening. Work in manageable sections so you’re not racing against adhesive skinning over.
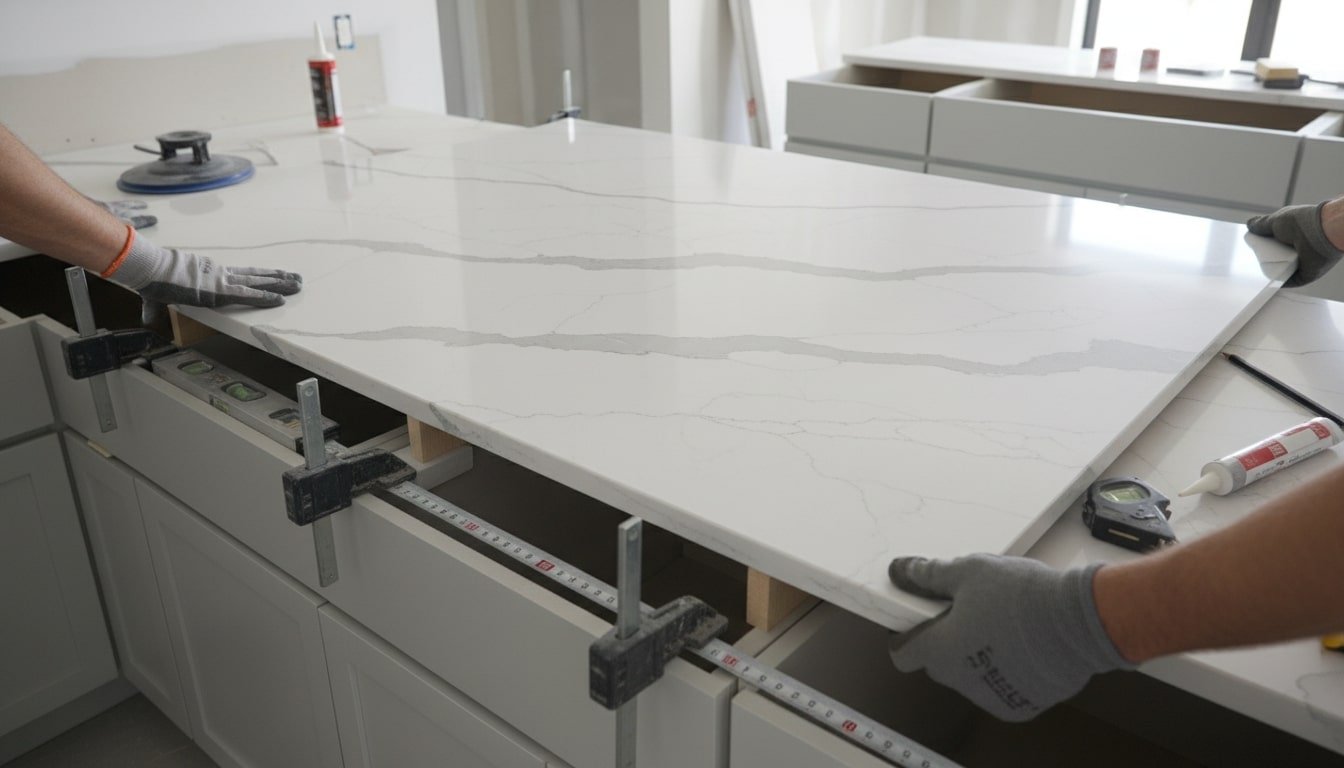
- Step 8: Set and level the slabs
- With at least one helper, lower the slab into place and align it to your overhang marks. Press down firmly to seat it into the adhesive. Check level in multiple directions and shim as needed, especially near seams and corners. Don’t move on until the slab is stable and sitting the way it should. Let the adhesive set based on the product instructions.
- Step 9: Join seams with epoxy
- If the install uses multiple pieces, seams are where the job looks either professional or sloppy. Mix the color-matched two-part epoxy exactly as directed and apply it along both seam edges. Clamp the slabs together with seam clamps or bar clamps so the joint pulls tight and stays flush. Wipe off squeeze-out immediately with denatured alcohol, because cleanup gets harder fast once epoxy starts curing. Let the epoxy cure fully, then remove clamps.
- Step 10: Install undermount sink (if applicable)
- Run a bead of silicone around the underside lip of the sink cutout. Lift the sink into position and secure it using sink clips or brackets, tightening evenly so the pressure is consistent all around. Clean off excess silicone right away. Give the adhesive time to cure before reconnecting plumbing, and aim for the full cure window if you can.
- Step 11: Inspect and clean seams
- After the epoxy cures, inspect seams under good lighting and at a low angle so you can spot bumps or gaps. Scrape away any hardened excess carefully with a razor or putty knife, staying parallel to the seam to avoid scratching. If needed, blend the seam with fine polishing pads to bring back the finish. Wipe everything down with a microfiber cloth.
- Step 12: Apply caulk and finish details
- Caulk is your water defense, especially along the backsplash joint and around the sink. Apply a thin, even bead of clear or color-matched silicone, then smooth it with a caulk tool or a damp finger. Pull painter’s tape while the caulk is still fresh for a sharper line, then clean any residue.
- Step 13: Reconnect fixtures and appliances
- Reconnect plumbing and run water to check for leaks. Reinstall faucets and accessories, then reconnect cooktops or ranges following proper clearance requirements. Test everything before you call the job done, because a small leak or loose connection is easier to fix now than after the area is fully loaded back up.
- Step 14: Final inspection and cleanup
- Do a slow walk-around and check for level surfaces, tight seams, proper overhangs, and smooth polished edges. Clean the countertop with a pH-neutral cleaner and microfiber cloth. Clear out tools and debris, then give adhesives time to fully cure before placing heavy items on the surface or using it hard.
Handling and Dry-Fitting Quartz Slabs
This part of the job is where you avoid cracked stone and ugly seams. Handling and dry-fitting lets you confirm the slabs actually sit the way your measurements say they should, before you commit with adhesive.
- Carry slabs upright, not flat. Quartz should ride on its edge. Laying it horizontal puts a lot of stress in the middle, which is how you end up with hairline cracks or a slab that snaps at the worst time.
- Use the right moving gear. Suction cup lifters give you a safer grip, and an A-frame dolly makes long moves much less sketchy. It also saves your back and reduces the chance of dropping the slab.
- Clear the route first. Before you lift anything, check the entire path from delivery point to the cabinets. Remove rugs, cords, tools, and debris. Quartz is heavy enough that one bad step can damage the slab or hurt someone.
- Protect cabinet edges and finished panels. Add painter’s tape or a bit of padding on corners and exposed ends. When you’re sliding and nudging a slab into place, it doesn’t take much to scuff a cabinet or chip a finished edge.
- Set the slab in place with no adhesive and check for rocking. If the slab teeters, the base isn’t flat. Find the high spot and shim until the quartz sits solid with full, even support.
- Test the wall fit. Push the slab back toward the wall and look for gaps or spots where it won’t sit tight. Walls are usually wavy, so you may need to scribe and trim the back edge to get a cleaner line.
- Line up seams and look closely. Bring adjacent pieces together and check that the seam edges meet evenly and sit flush. If the seam is opening up or one side sits higher, look for debris underneath or a cabinet/substrate issue that needs shimming.
- Confirm overhangs in multiple places. Measure along the front edge and any exposed ends, not just one spot. A typical overhang is around 1 to 1.5 inches, and keeping it consistent is what makes the finished run look straight.
- Mark the final position. Once everything fits the way you want, mark the slab location with painter’s tape or light pencil lines on the cabinets. Those reference marks make placement easier when you’re working with adhesive and you can’t keep lifting and shifting.
Care, Maintenance, and Troubleshooting
Quartz is pretty low-maintenance, but it still rewards steady, basic care. A few simple habits keep the finish looking sharp, help seams stay clean, and prevent the kind of slow damage that’s annoying to fix later.
Routine Cleaning and Everyday Care
Daily wipe-down
- Use a soft cloth or sponge with warm soapy water or a mild, pH-neutral cleaner.
- Skip abrasive pads and gritty powders. They won’t destroy quartz overnight, but they can slowly dull the shine in high-use areas.
Spill management
- Wipe spills as soon as you notice them, especially coffee, tea, wine, oils, and sauces.
- Quartz resists stains well because it’s non-porous, but leaving strong pigments or greasy liquids sitting for hours can discolor edges and seams where residue likes to hide.
Avoid harsh chemicals
- Don’t use bleach, oven cleaner, paint stripper, drain cleaner, or heavy degreasers on quartz.
- If you accidentally use something strong, rinse with plenty of water right away, then dry the surface so the chemical isn’t lingering.

Preventing micro-scratches and scuffs
- Use a cutting board instead of cutting directly on the counter. Quartz is hard, but your knives will take the hit and you can still end up with fine scuff marks over time.
- Lift heavy items like pots and small appliances rather than dragging them across the surface.
Heat, Impact, and Chemical Exposure
Heat protection
- Always use trivets or hot pads under hot pans, baking sheets, slow cookers, and air fryers.
- Quartz doesn’t love sudden temperature changes. Thermal shock can cause cracking, and it’s more likely near seams, sink cutouts, and cooktop openings where the stone is weaker.
Impact resistance
- Quartz is tough, but it’s not unbreakable.
- Avoid dropping heavy objects on edges and corners, and be extra careful around cutouts where the slab is narrower and easier to chip.
Chemical resistance
- Wipe up solvents like nail polish remover or paint thinner immediately and rinse with water.
- Long exposure can soften or dull the resin that holds the quartz together, and once the finish hazes, it’s hard to fully undo.
Stains, Residue, and Surface Issues
Removing dried residue
- Soften dried food, paint, or adhesive with warm soapy water, then gently scrape with a plastic putty knife.
- Metal scrapers can leave permanent marks, especially if you catch a grain of grit underneath.
Dealing with stubborn marks
- For things like grease film or marker, use a non-abrasive cleaner that’s labeled safe for quartz.
- Test any new cleaner in a small, hidden spot first so you’re not guessing on the main work area.
Avoiding hazing and dulling
- Quartz usually won’t “etch” like marble, but harsh cleaners and repeated chemical exposure can leave a cloudy, dull patch.
- If you notice a hazy area, think back to what you’ve been using to clean. Switch to mild soap and water for a while and avoid anything abrasive.
Minor Chips, Cracks, and Seam Problems
Small chip repair
- Tiny chips on edges and corners can sometimes be filled with color-matched epoxy or resin. Clean the area, apply the filler carefully, then level it after curing and lightly polish if needed.
- If the chip is in a very visible spot, it’s worth being picky. A rushed fill can look worse than the chip.
Fine cracks or fissures
- Hairline cracks often stay stable if the cabinets and substrate underneath are solid and level.
- Keep an eye on the crack over time. If it’s growing, widening, or showing up near a seam or cutout, get it checked.
Seam separation or lippage
- If a seam starts to open up, or one side feels slightly higher than the other, something underneath may have shifted. Cabinet settlement, loose support, or water damage are common causes.
- Don’t pry at the seam or try to “force” it back. That’s how small issues turn into a broken edge. Seam corrections usually need clamps and color-matched epoxy to do it cleanly.
Sink and fixture movement
- If an undermount sink starts to sag, look at the clips, brackets, and silicone bead.
- Fixing it normally involves supporting the sink from below, tightening or replacing hardware, and reapplying sealant. It’s doable, but you want to take it seriously because water and cabinet damage follow quickly.
Conclusion
Installing quartz countertops is mostly about doing the basics really well. Careful planning, solid cabinet prep, and safe handling are what separate a clean install from one that starts showing problems a few months later. When the substrate is flat and supported properly, and seams are pulled tight and flush, quartz ends up looking like one continuous surface while still being strong enough for daily use.
Still looking for a better work surface? Check out our guide on the top kitchen countertops next!
FAQ: Installing Quartz Countertops
- Can quartz countertops be installed directly over existing countertops?
- Usually, no. Installing over an old countertop can trap problems you can’t see, like uneven surfaces, water damage, weak spots, or cabinets that aren’t level. Pulling the old top gives you a clean starting point so you can shim, reinforce, and confirm the cabinets are actually ready to carry the weight. Retrofit installs do exist, but they only make sense if they follow the quartz manufacturer’s rules and local building requirements.
- Do quartz countertops need to be sealed after installation?
- Quartz doesn’t need sealing. It’s engineered and non-porous, so liquids don’t soak in the way they can with natural stone. In fact, adding a sealer can leave streaks or buildup that makes the surface harder to clean. Better long-term results come from correct installation, mild cleaners, and simple daily wipe-downs.
- How thick should quartz countertops be for kitchens and bathrooms?
- Most quartz countertops come in 2 cm (about ¾ inch) or 3 cm (about 1¼ inches). Kitchens often use 3 cm because it’s stiffer and typically needs less extra support. A 2 cm slab can still work, but it may require buildup strips or a plywood deck depending on the layout. Big overhangs, long island spans, and heavy appliances can need bracing either way.