Last Updated on September 28, 2023 by teamobn
If you’re building a home, you’ve got a lot on your plate. One big thing is concrete. It’s what your home stands for. Concrete isn’t just rocks and water. It’s the foundation of your home. If you get it wrong, you can mess up your whole project. Too much is a waste. Too little means delays. Let’s get it right.
This guide will teach you how to master concrete estimation.
Contents
Why Concrete Estimation is Important
Getting your concrete needs right is key. It’s like a recipe for building your home. Too much concrete? You’re wasting money. Too little? Your project stops cold, and delays cost you time and peace of mind. Below are more reasons why precise concrete estimation is important.
Budget Concerns
A good concrete estimation keeps you on budget. Concrete is expensive. Knowing how much to buy saves money and avoids waste. No one wants to throw money down the drain when you get the wrong mixture or insufficient amount.
Project Timing
Your builders have a schedule, and so does the weather. Running out of concrete disrupts both. Time is construction money, especially if you pay your contractor hourly. Imagine paying them to buy more concrete from the supply store. Accurate concrete estimation keeps everyone on track.
Different Types, Different Needs
Concrete isn’t one-size-fits-all. Foundations, walls, and driveways each have their own needs. Knowing the right type and amount for each job is critical.
You’re in Charge
Remember, this is a DIY project. You’re calling the shots. Knowing concrete estimation puts you in control. It’s your project, your money, and your future home.
In short, estimating concrete is crucial. It affects your budget, schedule, and the quality of the build. Get it right, and you’re on a smooth path to your dream home. Mess it up, and you’re in for stress and extra costs. So take the time to learn it well; your project’s success depends on it.
Types of Concrete Projects
Not all concrete projects are the same. Different projects need different types of concrete. Knowing the differences will help you pick the right one. Let’s explore common projects that need concrete.
Driveways
Driveways take a lot of wear and tear. They need a strong type of concrete. Slip-resistant surfaces are also a good idea for safety when it rains.
Patios
A patio is like an outdoor room. You want it to look nice but also be durable. Special finishes or colors can elevate your patio from a functional outdoor space to a decorative one.
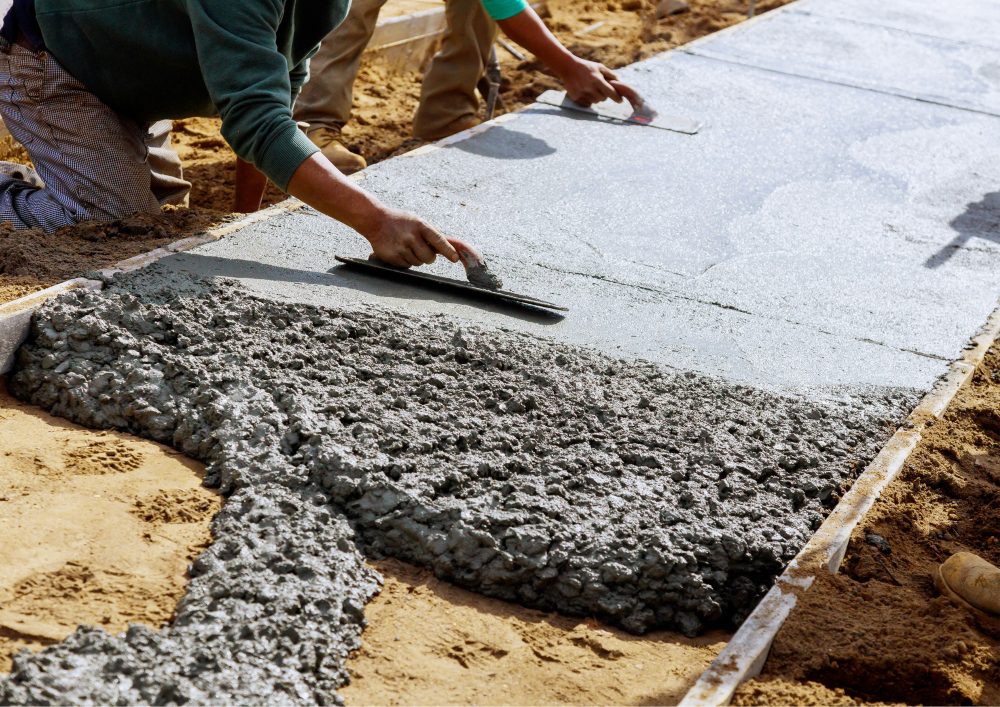
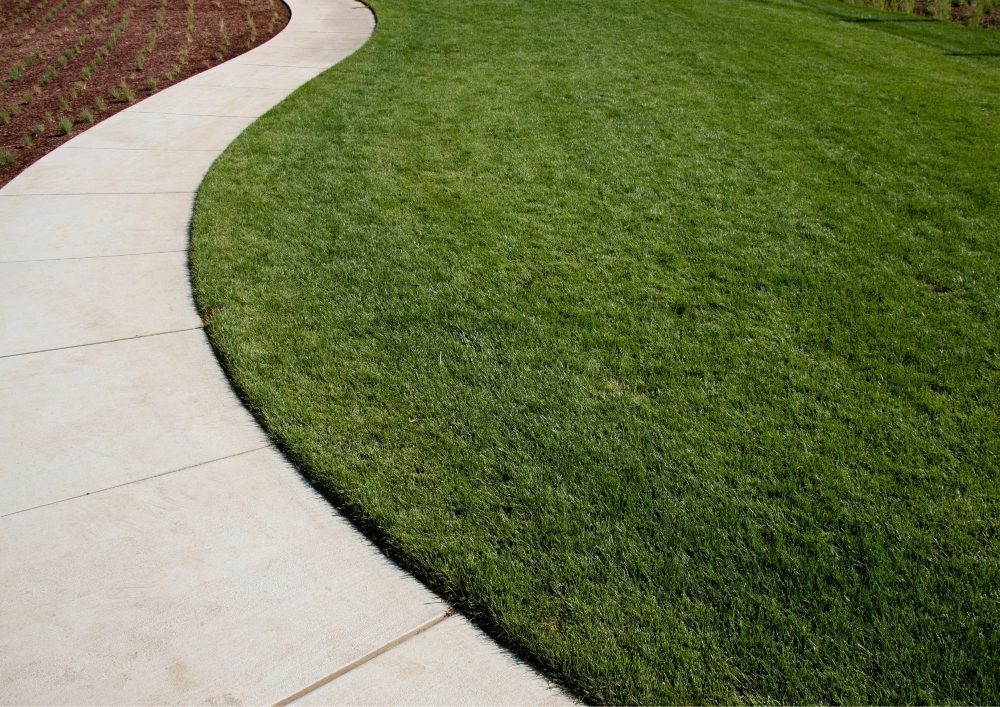
Garden Paths
These are lighter-duty than driveways. You can use a less intense mix. Sometimes, people add stones or tiles on top that can make the walkway attractive.
Foundations and Slabs
The base of your house is where you need the strongest concrete. Concrete for the foundation has to support your whole house. Proper planning here is a must since this is the backbone of your home.
Retaining Walls
These walls hold back the soil. They need to be strong but also manage water flow. Sometimes, additives are used to make the concrete more waterproof.
Choosing the right type of concrete is key. The wrong choice can lead to problems down the line. Knowing what you need for each project will save you time and money. Get it right, and you’ll have a sturdy, long-lasting result.
Tools You’ll Need
Good tools make your work accurate and easy. For concrete estimation, a few tools are essential.
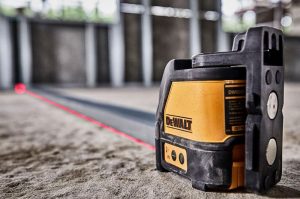
Measuring Tape
This is your starting point. Use a measuring tape to figure out how big your project is. You’ll measure the length, width, and depth. These numbers help you know how much concrete to order.
Moisture Meter
Water matters in concrete. Too much or too little can ruin your project and leave you wasting money. A moisture meter tells you how wet your concrete mix is, helping you get the right amount of water per batch.
Digital Caliper
When you need precise measurements, a digital caliper is the answer. One example is the Mitutoyo 500-196-30 Digital Caliper. Its special feature is the Advanced Onsite Sensor (AOS), which gives you error-free readings, even in harsh conditions.
Having the right tools makes concrete estimation easier and more accurate. They’re like your best friends on this DIY journey. Invest in good ones, and you’ll be setting yourself up for success.
The Math Behind Estimation
Getting the math right is crucial. Wrong calculations can mess up your project and cost you more. Here are the numbers you need to crunch to grasp the amount of concrete for your projects.
Area Calculation
Area is your first step. You need to know how big the space is where the concrete will go. If it’s a square or rectangle, just multiply length by width. For circles, the formula is different. It’s Pi times the radius squared.
Volume Calculation
Once you have the area, think three-dimensionally. Multiply the area by the depth to get the volume. The data tells you how much concrete you’ll need to fill that space. Remember, concrete is sold by cubic yard or meter.
Adding the Buffer
Always add a little extra. Things can go wrong, and you might need more than you think. Most pros add a buffer of about 10%. This extra amount helps cover mistakes or unexpected needs.
Cost Estimation
After figuring out the volume, it’s time to talk money. Concrete costs vary. Get a few quotes and multiply that by your total volume. Don’t forget to add the cost of any additives or finishes you want.
Material Types and Costs
The type of concrete you choose affects both the project and your pocket. Each type has its pros and cons. Let’s dig into what’s available so you can make an informed choice.
Standard Ready-Mix
This is your basic, all-purpose concrete. It’s easy to use and works well for projects like driveways and sidewalks. However, it’s not specialized for any specific needs.
Average Cost: Prices vary, but it’s generally the cheapest option, from around $100 to $150 per cubic yard.
High-Strength Concrete
The material is built for heavy-duty use. High-strength concrete can withstand a lot of pressure, especially from cars and SUVs. It’s great for commercial buildings and bridges. The downside is it can be overkill for simpler projects and is more expensive.
Average Cost: Expect to pay around $200 to $250 per cubic yard.
Lightweight Concrete
This type is lighter but still strong. It’s often used in tall buildings to reduce weight. However, it’s not as durable for high-impact areas like driveways.
Average Cost: Prices range from $100 to $200 per cubic yard.
Decorative Concrete
If you want style, this is your pick. It comes in different colors and textures. It’s great for patios but not the strongest option for heavy loads.
Average Cost: Costs vary widely but usually start at $200 per cubic yard and increase based on the finish.
Rapid-Setting Concrete
When you’re in a hurry, this concrete sets quickly. It’s good for fixing things like fence posts. The downside is you need more time to work with it.
Average Cost: Around $120 to $180 per cubic yard.
Permeable Concrete
This type lets water pass through, reducing runoff. It’s great for environmentally friendly projects but may not be as durable.
Average Cost: Prices range from $200 to $300 per cubic yard.
The right material not only makes your project better but can also save you money. Know your needs and match them to the right type of concrete. It’s a choice that will impact your project for years to come.
Mixing Concrete
Mixing concrete is like baking a cake. Get the recipe wrong, and you’ll have a mess. Get it right, and you’re on your way to a successful project. We’ll go through the steps to ensure you mix like a pro.
Gather Supplies: Get all your materials and tools ready. You’ll need cement, sand, gravel, water, and a mixing tool.
Safety First: Put on your safety gear. You’ll need gloves, a mask, and goggles.
Measure Ingredients: Use your earlier calculations to measure the cement, sand, and gravel.
Dry Mix: Mix the dry ingredients in a large container or wheelbarrow. This method ensures every gravel, sand, and other particle is evenly distributed around the mix.
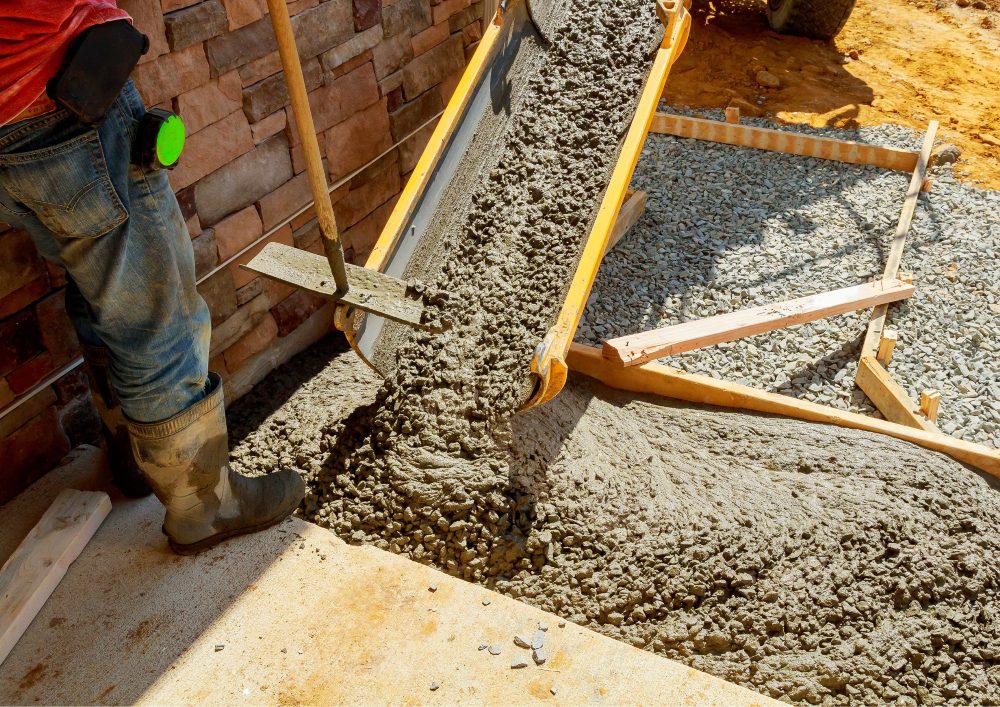
Add Water: Now, slowly add water and mix. You’re aiming for a thick but pourable consistency.
Test the Mix: Form a small amount into a ball. If it holds its shape, it’s good to go.
Let it Sit: Once mixed, let the concrete sit for a few minutes to activate the cement. Letting the cement mix cure strengthens it after you pour it onto the mold or structure.
Final Stir: Give it one last stir before you pour it into your molds or forms. Mixing it will make sunken particles evenly distributed to the concrete batch before pouring it.
Now, you’re ready to pour and shape it into your project. Just remember, practice makes perfect. So, feel free to test and tweak your mix for the best results.
Conclusion
You’ve got the info you need to tackle concrete like a pro. You know the tools, the types of concrete, and how to mix it all.
Following this guide ensures you use the right amount of concrete for your home DIY projects.