Get the week's most popular posts delivered to your inbox.
Our weekly update is free yet priceless and you're less than a minute away from getting the current edition.
In the unlikely event we disappoint, you can unsubscribe with a single click!
Last Updated on November 27, 2024 by teamobn
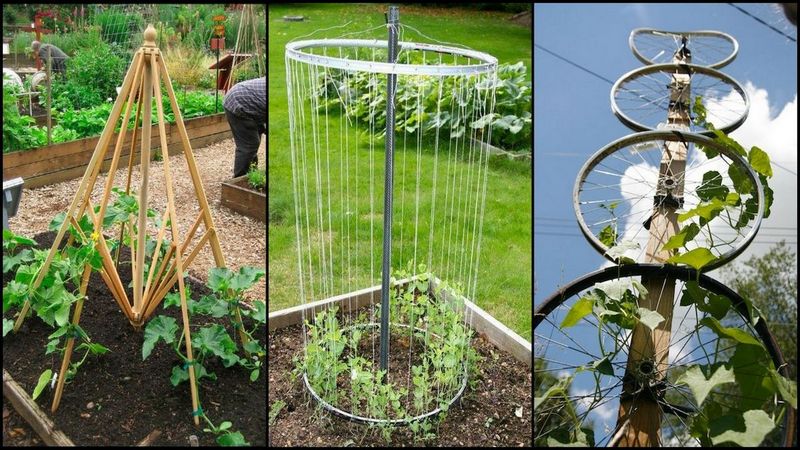
If you are looking for a way to organize or spruce up your garden, then a trellis would be the thing for you. But a DIY trellis is a structure created to support climbing plants.
It provides a solid structure for them to climb, while also providing privacy and preventing the plants from blocking your view.
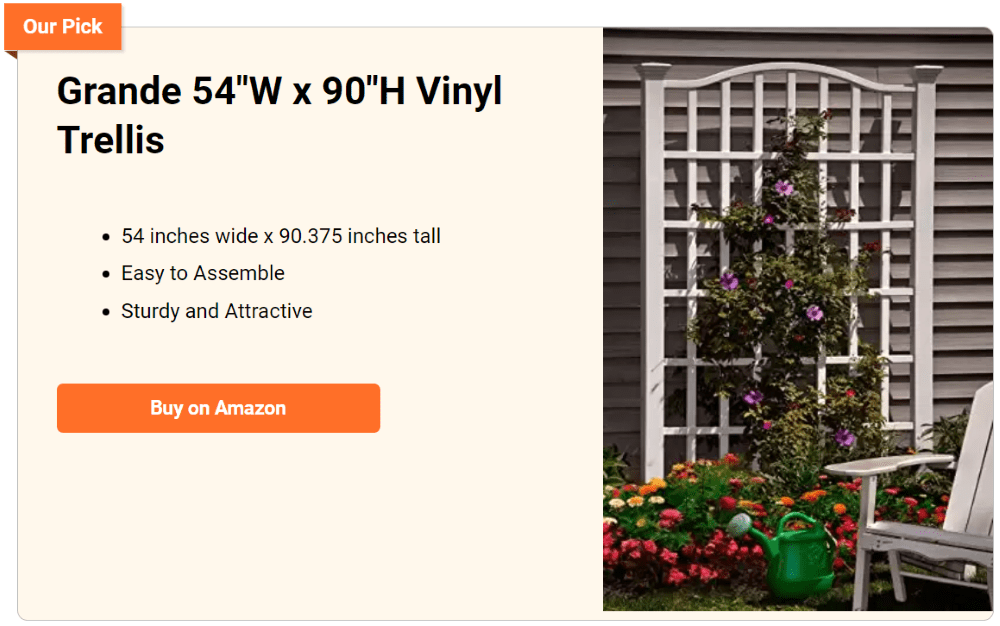
Trellises come in a variety of shapes and sizes. They can differ in their design, purpose, and material. The one thing all have in common is that they will cost you.
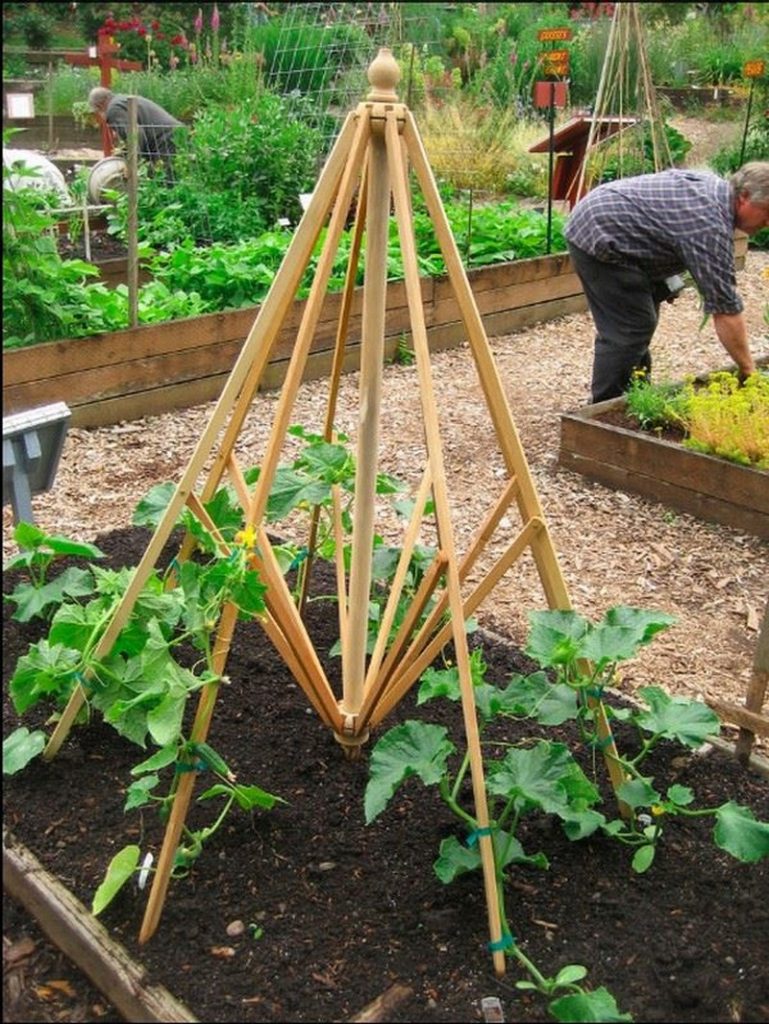
These trellises won’t cost you a fortune as they’re made from materials that would have been thrown away. These include old bike rims, bed frames, ladders, screen doors, and a lot more.
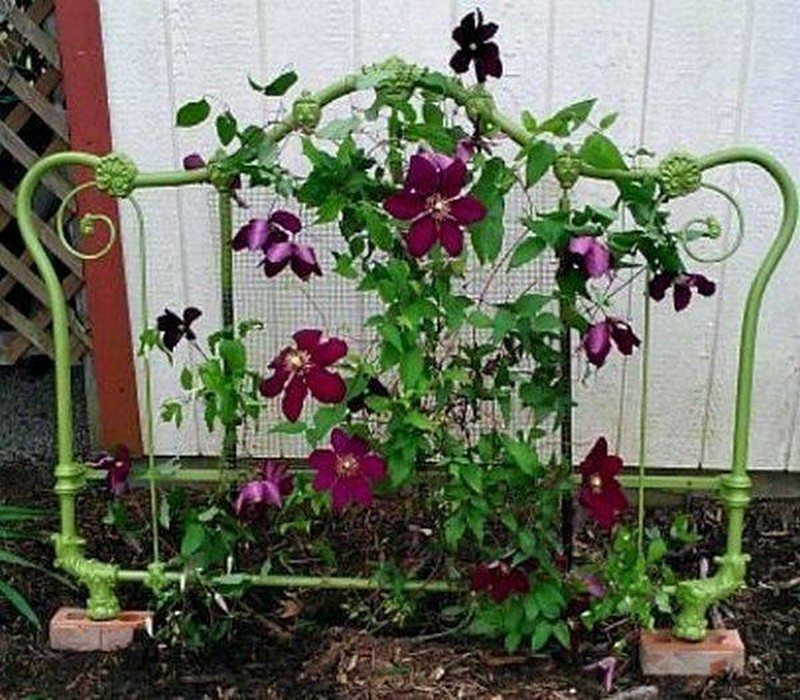
Look around you, and you might find something that you’re thinking of getting rid of, that can be turned into a trellis for your garden instead! The trellis you make from recycled materials is ideal for growing tomatoes, sweet peas, cucumbers, and many more.
Innovative DIY Trellis For Your Garden
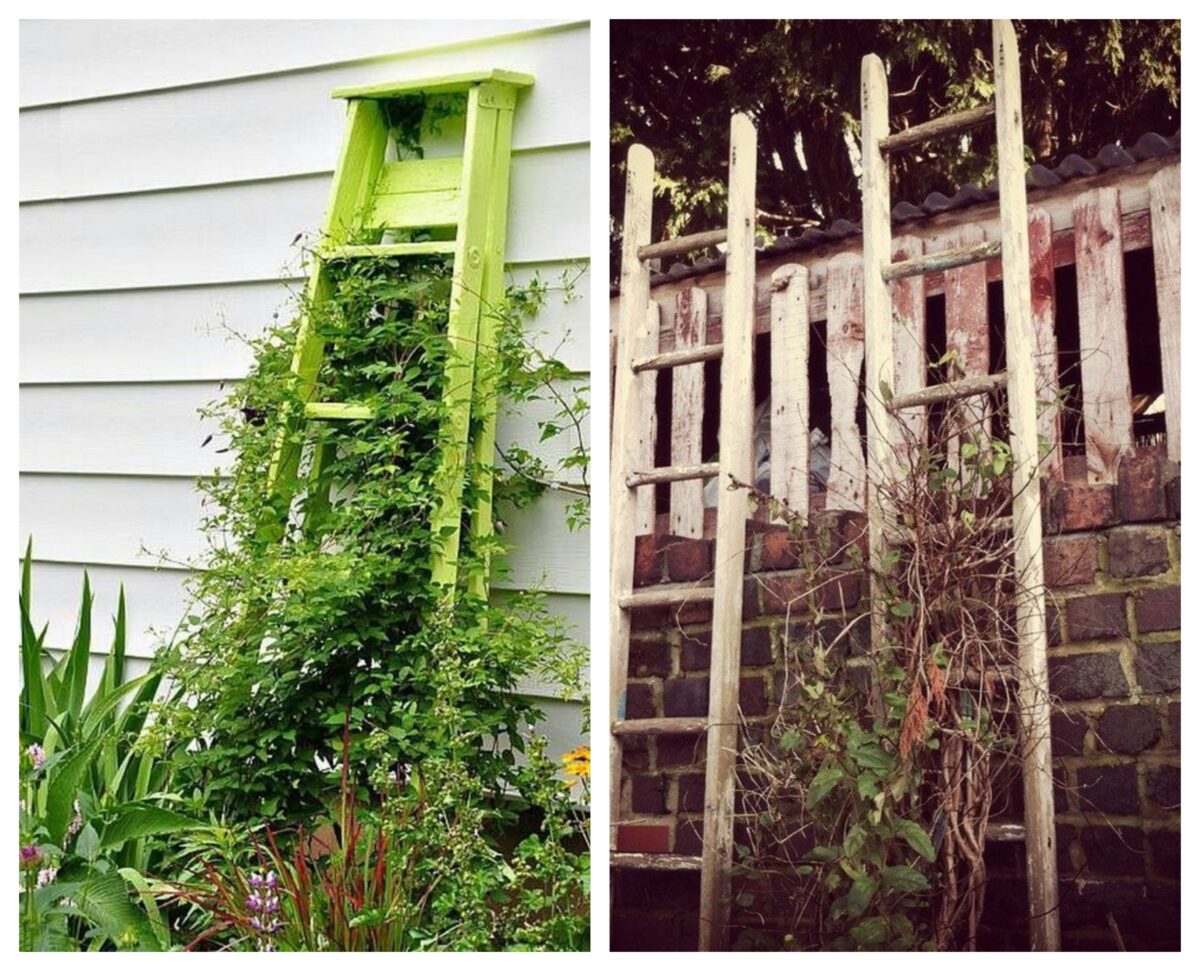
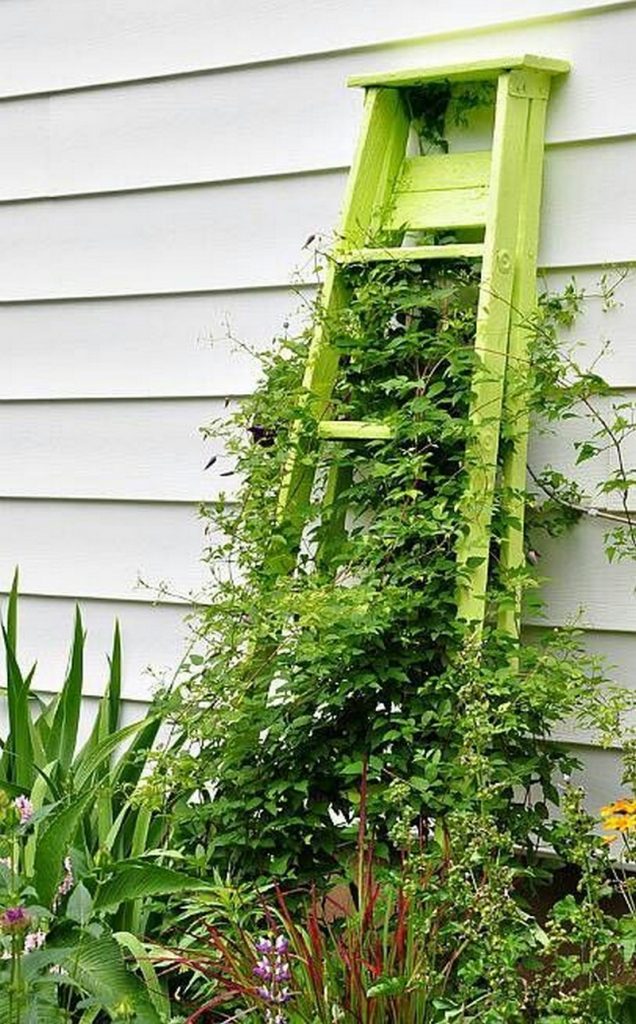
Ladder
Who knew that ladders could be used as a trellis? You can use an old ladder to grow vining plants like cucumbers and tomatoes.
The rungs of the ladder will provide support for the vines to grow up. Be sure the ladder is sturdy before you attach the vines.
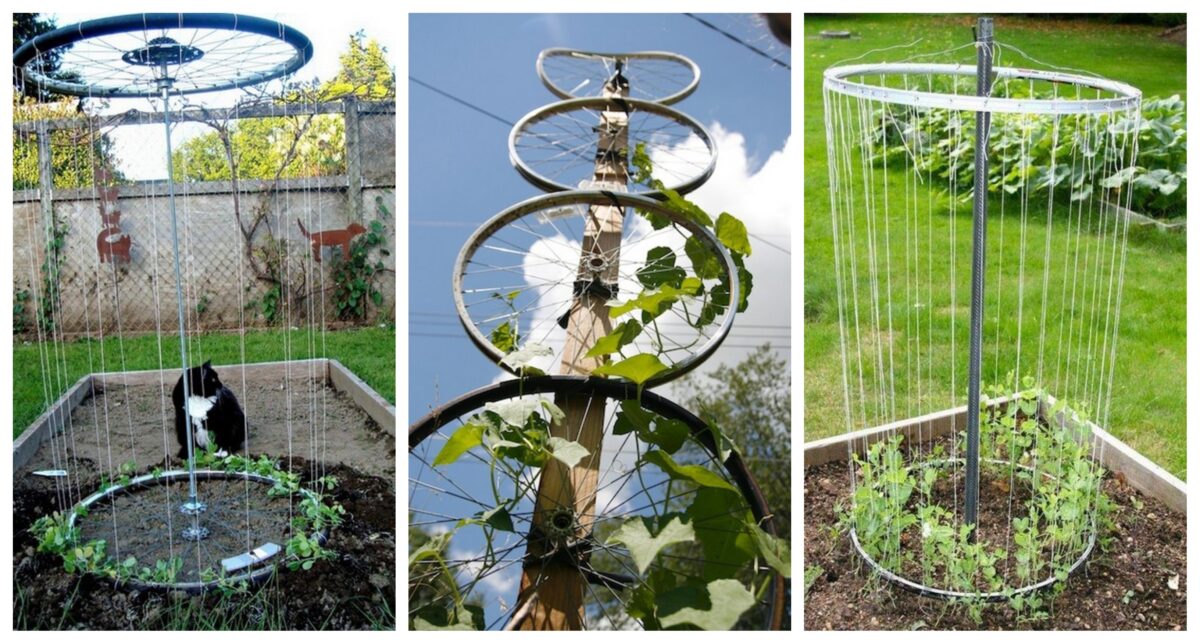
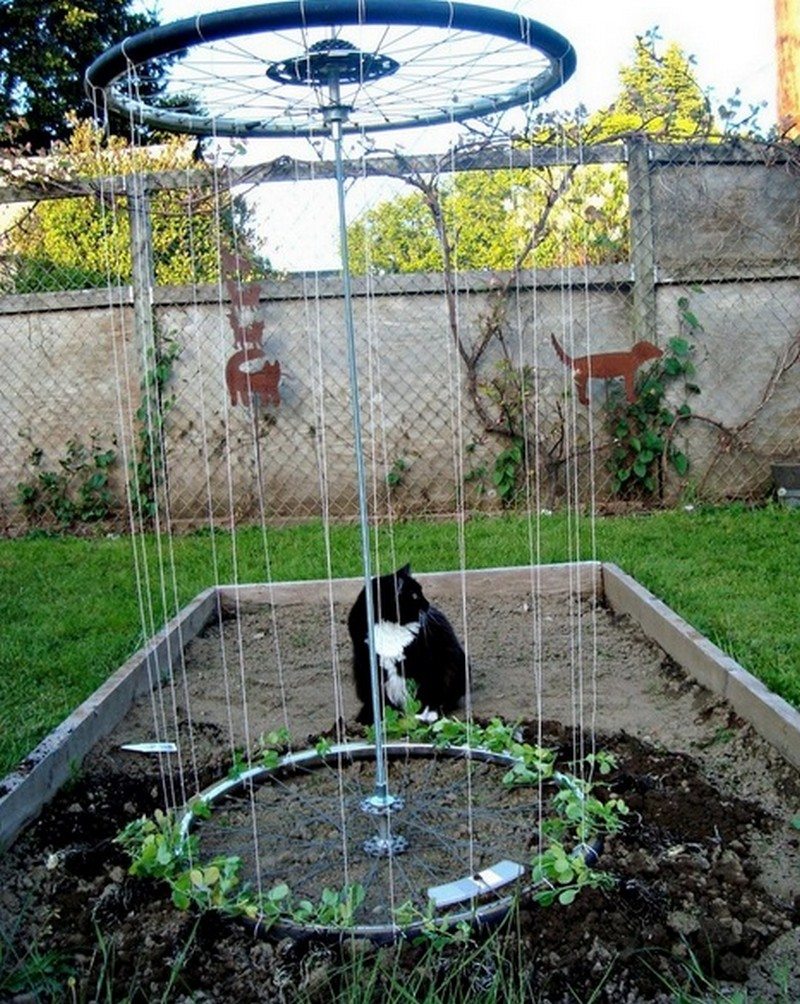
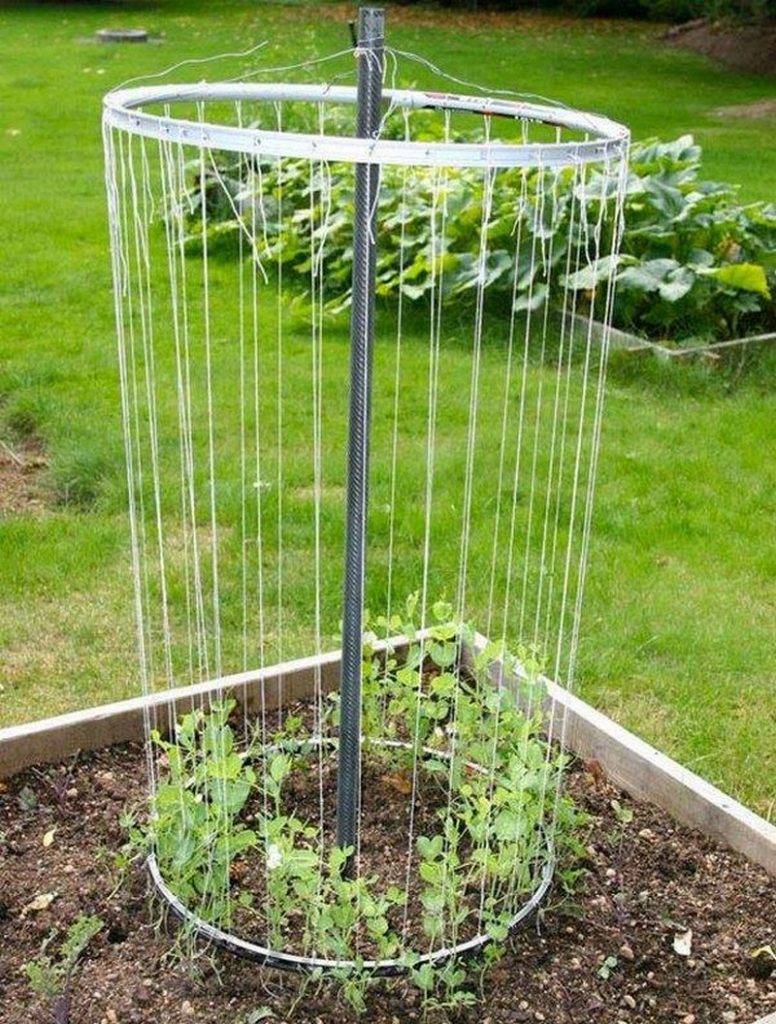
Old Bicycle Wheels
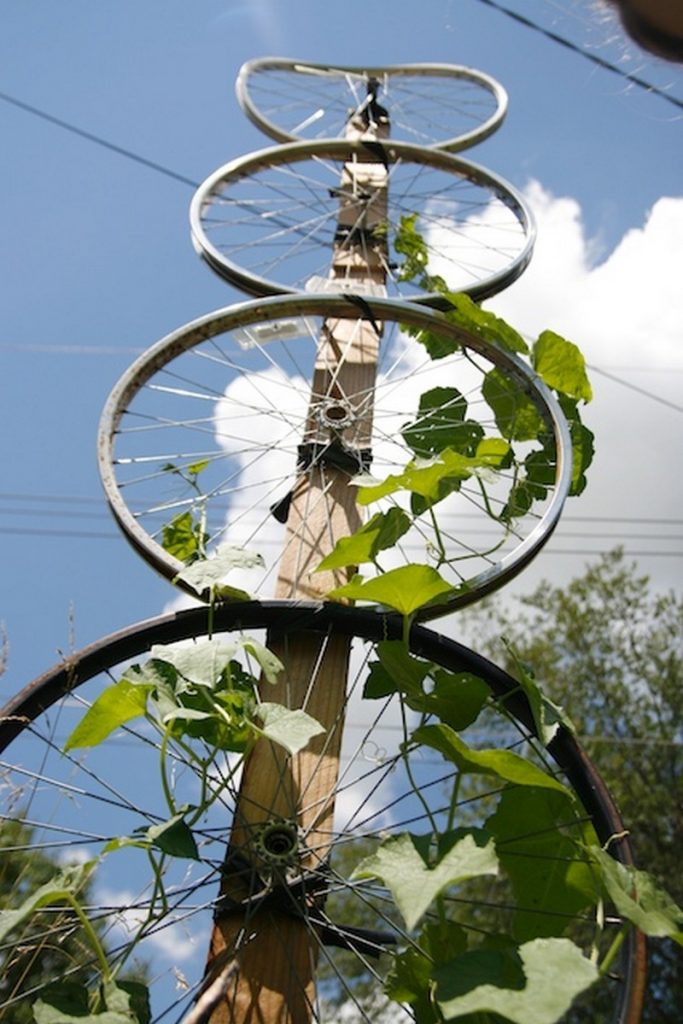
Old bicycle wheels work great as a DIY metal trellis, especially when you can’t afford a more expensive one. The spokes make it easy to wrap string or twine around.
The spokes help support the plant as it grows. You’ll want to tie the plant to the spokes as it grows. Here are some examples of plants that grow well in this setting: Roses, Cucumber, Melons, and Squash.
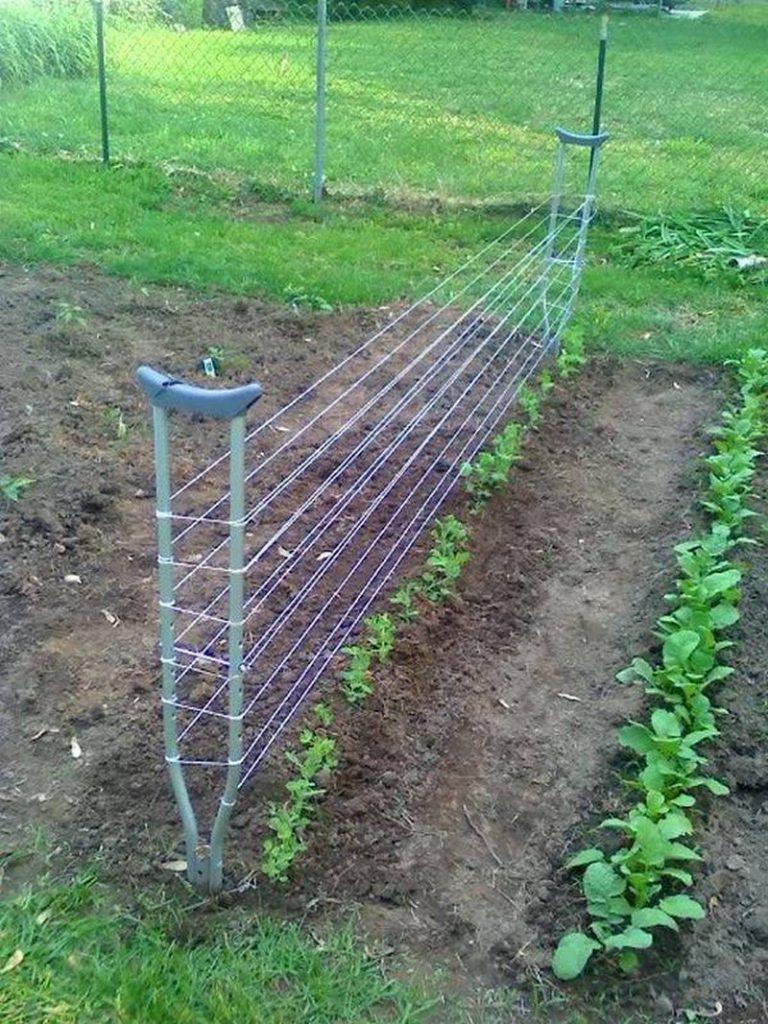
Old Crutches
If you have old crutches but no longer need them for medical reasons, don’t throw them out! You can convert them into a trellis DIY arch for a climbing plant or just hang them on a wall to upcycle them.
Crutches are made of metal, wood, or plastic, making them sturdy and lightweight, two perfect qualifications for a plant trellis. Just cut off the bottoms, put them in the ground at an angle, and plant whatever vines you want against them.
Or you can bury the bottom part of the crutches on the ground which will serve as beams for the nylon ropes that you need to tie around them for your vines to climb like what is shown in the picture below.
Old Gates
If you want to upgrade your gates, and need to throw away the old gate. Then you must think again. Try using them as a trellis. You can make a beautiful garden with it, not just for show. It has the function of a trellis and its beauty is incomparable to a simple wooden trellis.
If your garden is looking rather bare and you have old iron gates lying around then you may be wondering what you can do with them.
After all, you don’t want to just throw them away – they are too much of an investment. Well, what you can do is give them new life by using them as a trellis. We will show you how below.
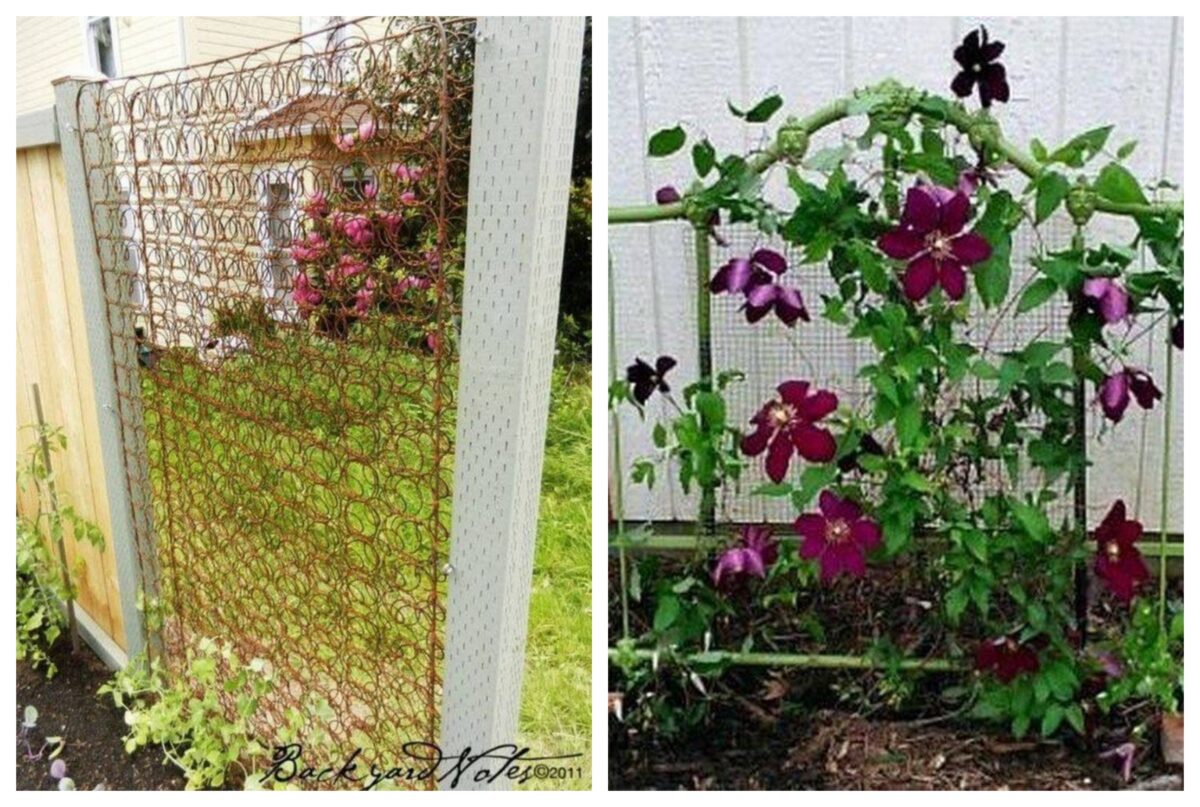
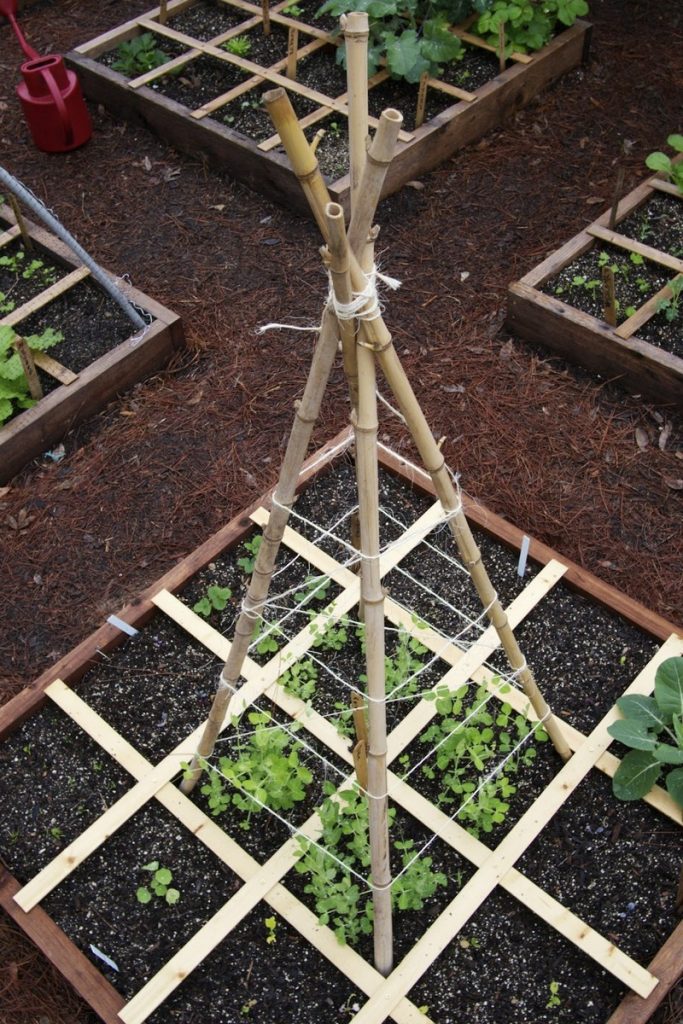
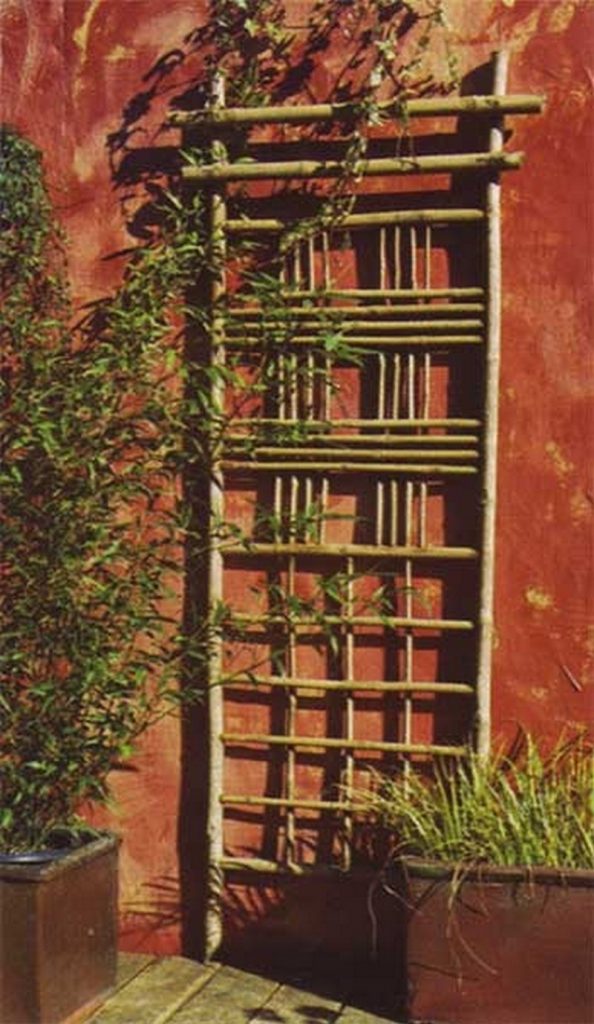
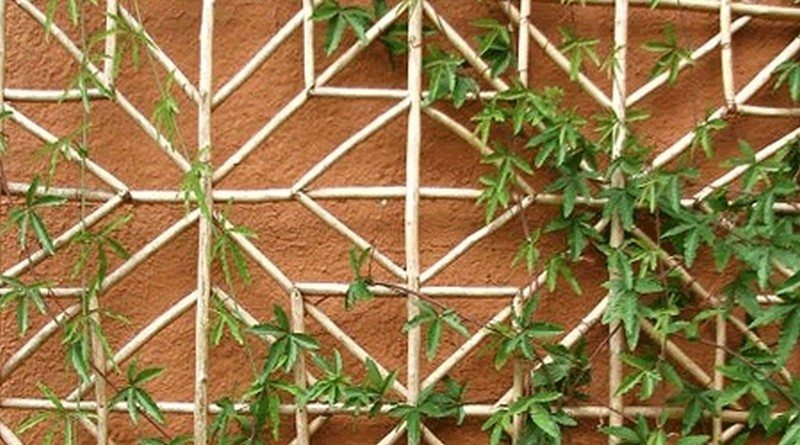
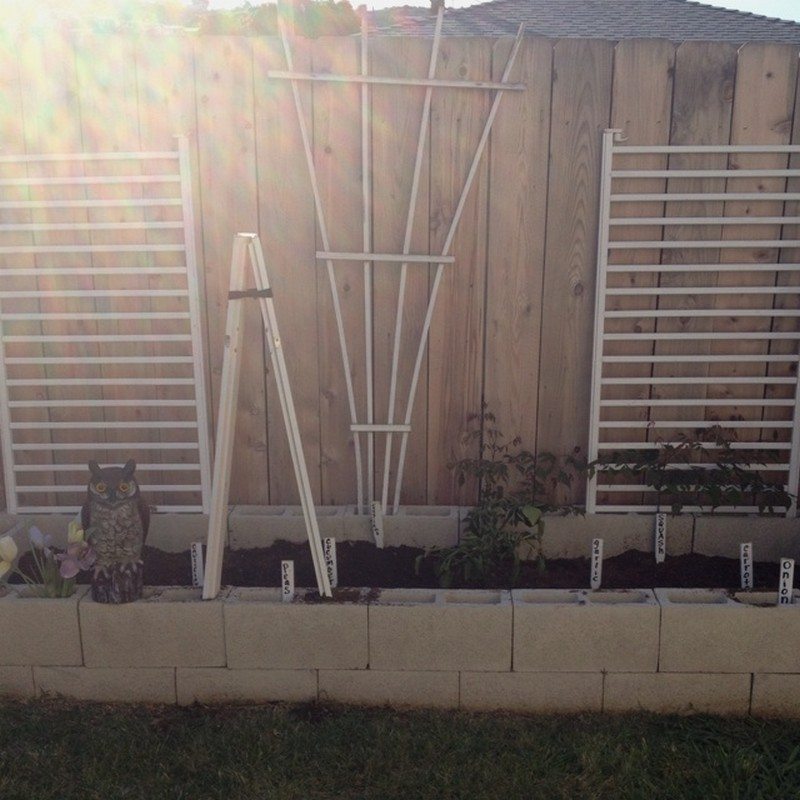
Lattices
A lattice is a mesh that is formed by regularly spaced horizontal and vertical wires. Lattice can also refer to a framework that is used to restrict movement.
Thinking of adding one to your garden? Then these ideas might be for you!
Click on any image to start the lightbox display. Use your Esc key to close the lightbox. You can also view the images as a slideshow if you prefer


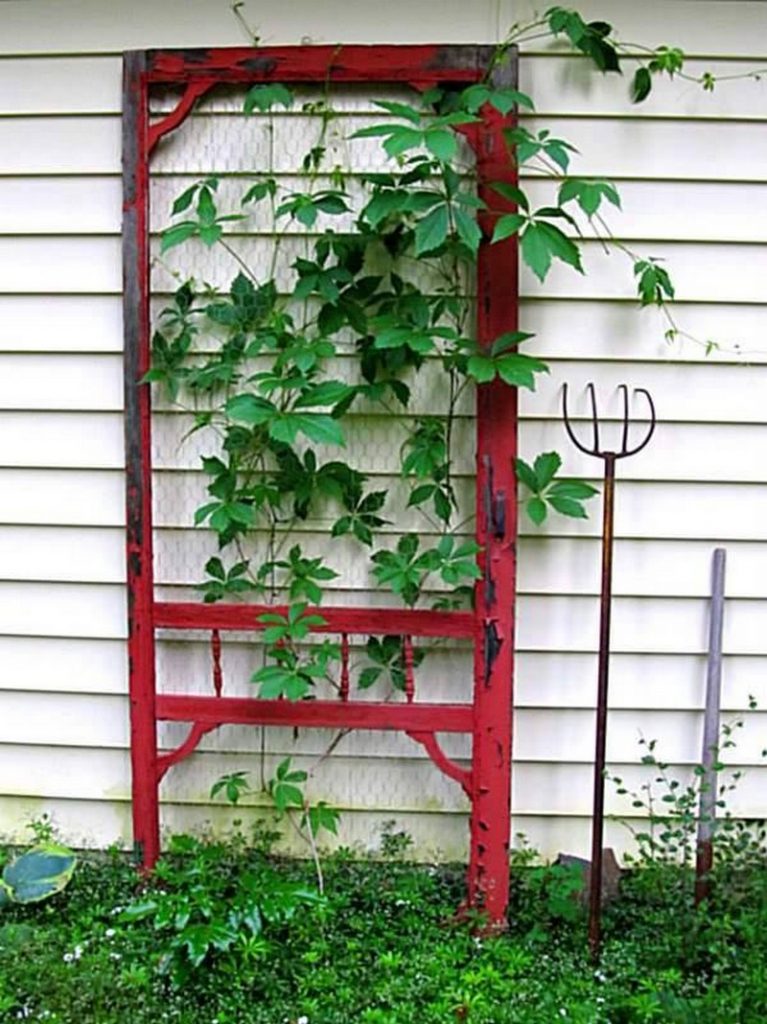

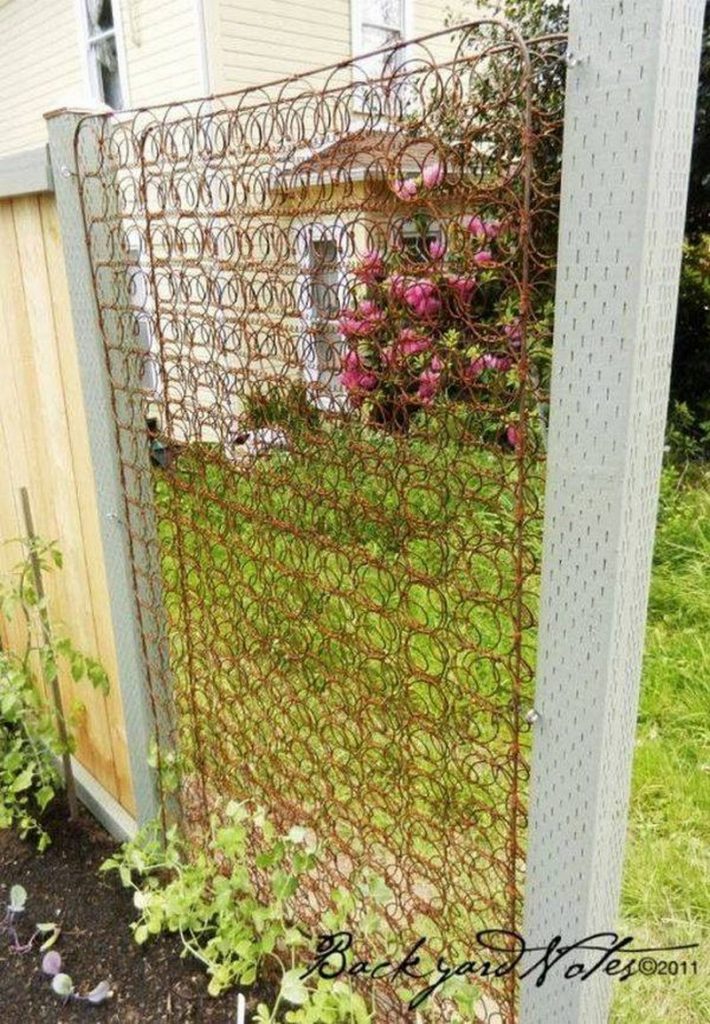

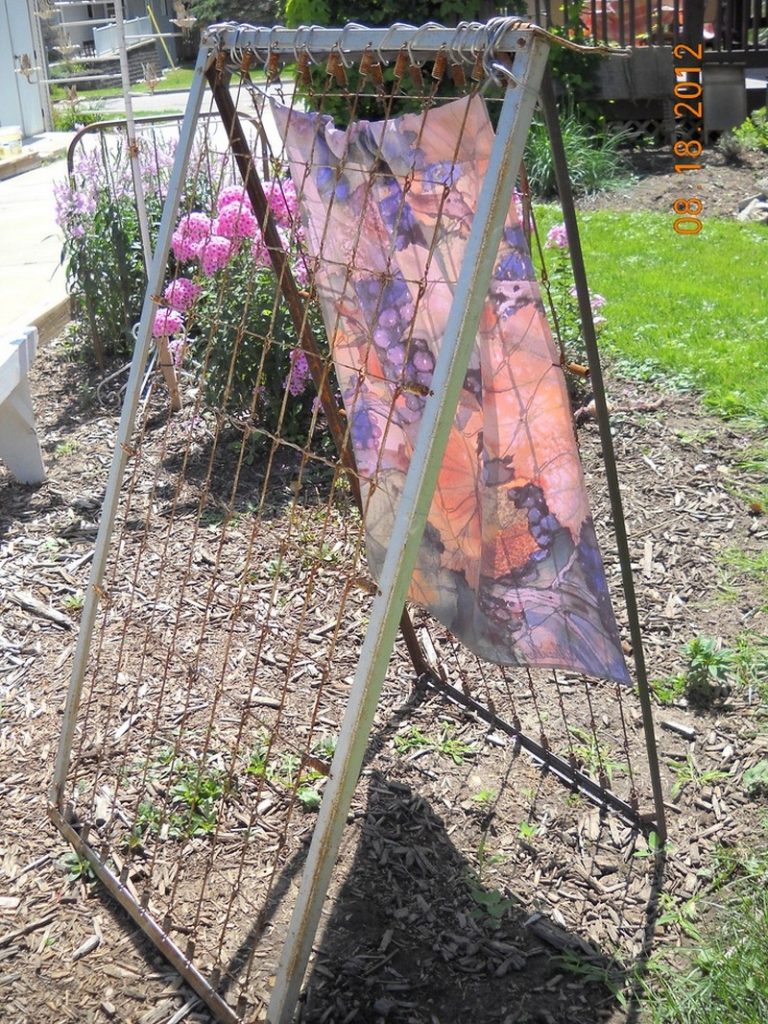
How to Create an Easy DIY Utility Panel Garden Arch Trellis for Vertical Growing
Creating a garden arch DIY trellis is a fantastic way to extend your garden vertically, providing extra room for your vegetables or flowers. Follow these steps to construct a strong and stable trellis without breaking the bank.
What You’ll Need
- Utility Panel: Choose a 16-foot long by 60-inch-wide utility panel with a 4×4 mesh size. This sturdy panel withstands wind and weight effectively, though cattle panels (16’ by 50”) with a larger mesh size can serve as a budget-friendly alternative.
- U Posts: You’ll need four posts, each standing 4 feet tall. A post pounder will come in handy for embedding these into the ground. While T posts are an option, they are pricier and require more effort to install.
- Fastening Materials: Use zip ties or galvanized wire to attach the panel to the U posts. Zip ties are often safer as they avoid the sharp edges that wire ends can create.
Step-by-Step Instructions
1. Position the Panel
Lay the utility panel across your garden beds to determine its orientation. Dig a shallow trench beneath the base to ensure it sits snugly in the soil.
2. Install U Posts
Mark where you want the U posts to go, ensuring they can be driven at least one foot into the ground (excluding the height of any raised beds). Once positioned, secure one side of the panel to these posts using your chosen fastening material.
3. Bend and Secure the Arch
This step requires at least two people for safety and efficiency. After securing one side of the panel, carefully bend the panel to create an arch and secure the other side to the remaining U posts. If possible, have a third person assist to make the process smoother.
By following these guidelines, you’ll have a durable garden arch trellis that capitalizes on vertical space for your plants. Enjoy watching your garden flourish with its new height advantage!
The Benefits of Vertical Gardening with a DIY Trellis
Exploring vertical gardening with an arch trellis can transform even a small garden into a versatile and engaging space. Here are the compelling benefits of this approach:
Increase Yield in Limited Space
One of the standout advantages is the ability to maximize planting space. By adding an arched trellis, gardeners can effectively cultivate two additional crops without needing extra ground area. It’s essential, however, to avoid overcrowding your plants to maintain good air circulation, which helps in disease prevention.
Enhance Aesthetic Appeal and Fun
An arch trellis adds instant charm and character to your garden. Beyond aesthetics, it creates a whimsical space that children, in particular, find irresistible. They can enjoy playing beneath the arches, sparking their imaginations and encouraging more outdoor time. This setup often becomes a delightful conversation starter among visitors.
Grow a Variety of Plants
Vertical gardening with a trellis opens up opportunities to cultivate a diverse range of plants. Gardeners have had success with varieties like Marketmore cucumbers, Baby Boo pumpkins, and Scarlet Runner beans. Consider experimenting with crops such as mini watermelons, vertical summer squash, and butternut squash to further diversify your gardening endeavors.
High Yield from Certain Varieties
For those looking for prolific growth, Baby Boo pumpkins are a standout choice. With just a few seeds, these plants can quickly cover a trellis, boasting lush foliage and producing an abundance of charming, small white pumpkins. Their magical appearance and productivity are a testament to the potential rewards of vertical growth.
What Crops Can Be Successfully Grown Vertically on a Garden Arch Trellis
Growing crops vertically on a garden arch trellis maximizes space and creates a visually stunning garden feature. Certain plants thrive in this setup, benefiting from improved airflow, easier harvesting, and better sun exposure. Here are the best crops to consider for your trellis.
Climbing Vegetables
Climbing vegetables like pole beans, peas, and cucumbers are perfect for a garden arch trellis. Their natural vining habit makes them easy to train upward, while the trellis provides support for heavy crops. This method keeps the produce clean, minimizes pests, and allows better access for harvesting.
Gourds and Squash
Lightweight gourds and small varieties of squash, such as butternut or acorn squash, grow well vertically. The arch structure supports their vines, and you can use slings for larger fruits to prevent strain. This setup also reduces the risk of rot by keeping fruits off the ground.
Tomatoes
Indeterminate tomato varieties are ideal for vertical growing. The DIY trellis supports the sprawling vines, ensuring better airflow and sunlight for healthier plants. You may need to secure the stems with ties to keep the plants upright.
Climbing Fruits
Fruits like melons, passionfruit, and small pumpkins can be grown on a sturdy garden arch trellis. Choose smaller fruit varieties for better weight management, and use mesh or fabric slings to cradle heavier fruits as they mature.
Vining Flowers
While not edible, flowers like morning glories, clematis, and climbing roses add beauty to your garden arch trellis. They create a vibrant display while attracting pollinators that benefit nearby crops.
By selecting crops suited for vertical growth, your garden arch trellis becomes both a practical and decorative feature in your outdoor space.
Conclusion
Recycling materials into DIY trellises is a creative and eco-friendly way to enhance your garden while saving money. Whether using old ladders, bicycle wheels, or crutches, these projects give new life to discarded items while providing functional support for climbing plants. With a little imagination, you can create unique trellises that add charm and sustainability to your outdoor space.
FAQ: DIY Trellis
- What supplies are needed to build a DIY utility panel garden arch trellis?
- Gather these essential supplies to build a durable garden arch trellis. Choose a 16-foot by 60-inch utility panel with a 4×4 mesh size for strength, or opt for budget-friendly cattle panels, though they have larger mesh sizes. Anchor the trellis with four 4-foot U posts driven securely into the ground, fastening the panel with zip ties for easy, safe handling.
- What are the cons of vertical growing with a garden arch trellis?
- Vertical growing with a garden arch trellis has some drawbacks. The upfront cost can be significant, including expenses for panels, posts, and tools like a post pounder. Additionally, plants are more exposed to wind, increasing the risk of storm damage and requiring careful soil moisture monitoring. While these challenges exist, starting small can help balance costs and maximize the benefits over time.
- What are the steps to install a utility panel garden arch DIY trellis?
- Installing a utility panel garden arch trellis is straightforward with the right steps. First, position the panel across your garden beds, digging shallow trenches to anchor its base. Next, securely drive U posts into the ground where the panel will be attached. Finally, bend the panel to form an arch, fastening it to the posts with zip ties or galvanized wire, and adjust for stability.
If you liked this, you will also like viewing these gardening ideas…
Get the week's most popular posts delivered to your inbox.
Our weekly update is free yet priceless and you're less than a minute away from getting the current edition.
In the unlikely event we disappoint, you can unsubscribe with a single click!


