Last Updated on August 14, 2024 by teamobn
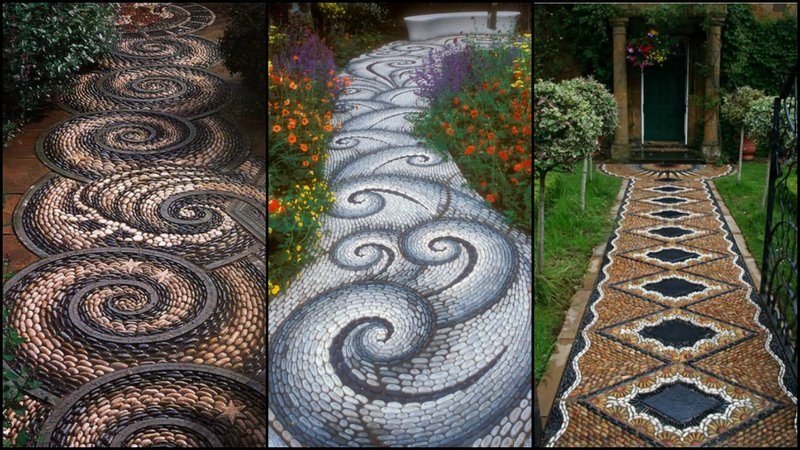
Mosaic Garden Paths
A mosaic is a picture made by putting together small pieces of colored stone, glass, or other materials. Most mosaics have shapes that remind us of things we know, such as faces or leaves. Some of the world’s most famous mosaics are made by the Romans.
The best-known Roman mosaic is perhaps the floor of the Cathedral of Santa Maria Maggiore in Rome. It shows the story of the creation of the world and of man.

Although it is an ancient form of art, mosaics are still immensely popular today. They’re a great DIY project, with the design only limited by your imagination. What sort of mosaic would you like?
One of the best places in the house to make mosaic art is the garden or backyard. It doesn’t overpower other elements in its surroundings as opposed to having them inside the house.
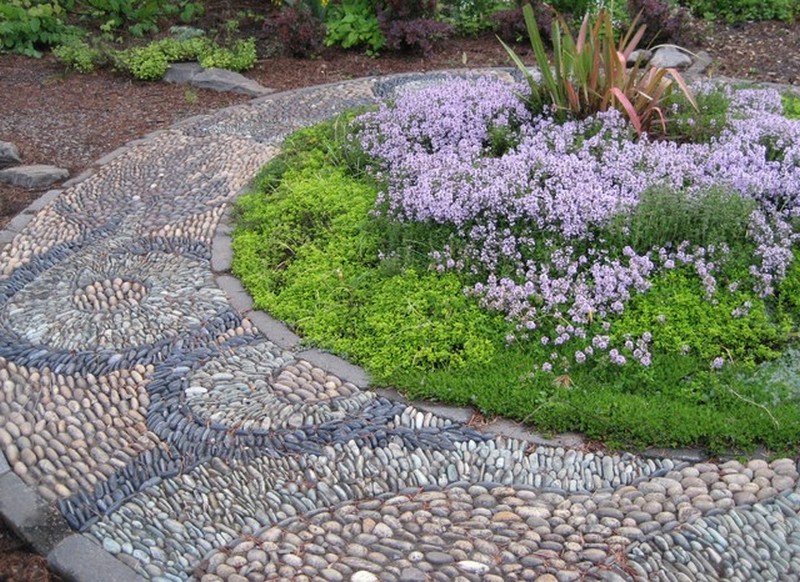
Mosaic Garden Paths is one of the amazing mosaic project applications in modern society. In fact, it brings some unified beauty amidst all the seemingly frenzied colors of plants in gardens.
Mosaic Garden Paths or Panes are a great way to add texture and color to your garden. These garden paths were used for centuries in Roman and Greek gardens. These paths can be created in your garden by using bricks, stones, and other materials.
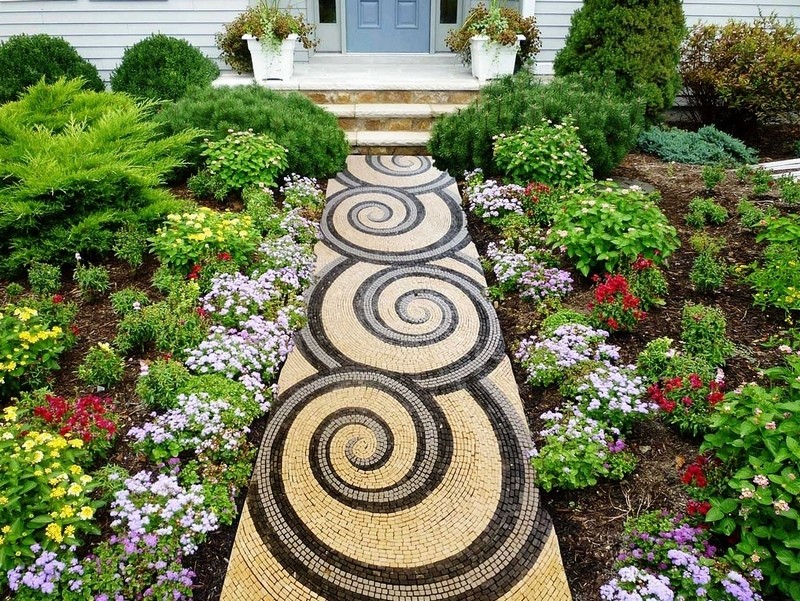
As the name suggests, a mosaic garden path is a path in a garden created by the use of tiles, pavers, or stones of different colors and sizes. Garden paths are corridors that lead from one area of the garden to another and may be of any length.
They are not usually as wide as an ordinary path and are often just a few inches to a foot wide. They are created to lead the visitor through a particular area in the garden and may be designed to lead the visitor to an important feature such as a water feature, sculpture, or viewpoint.
It can be a challenging garden decor to DIY, but once done you’ll see how all efforts are well worth it. And just imagine one of these beautiful garden paths greeting you every time you come home!
Materials used for Mosaic Garden Paths.

Tiles
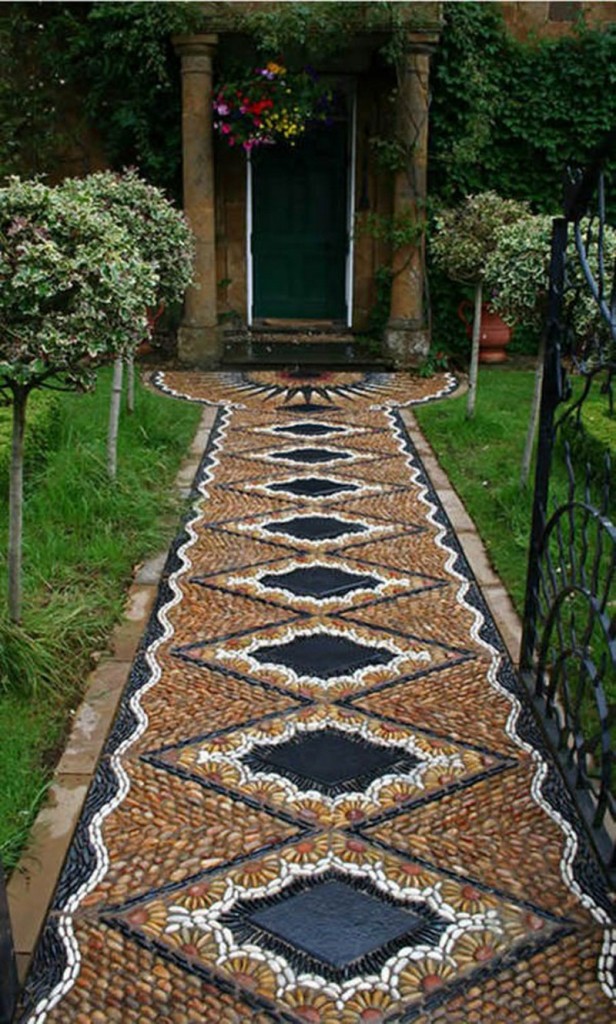
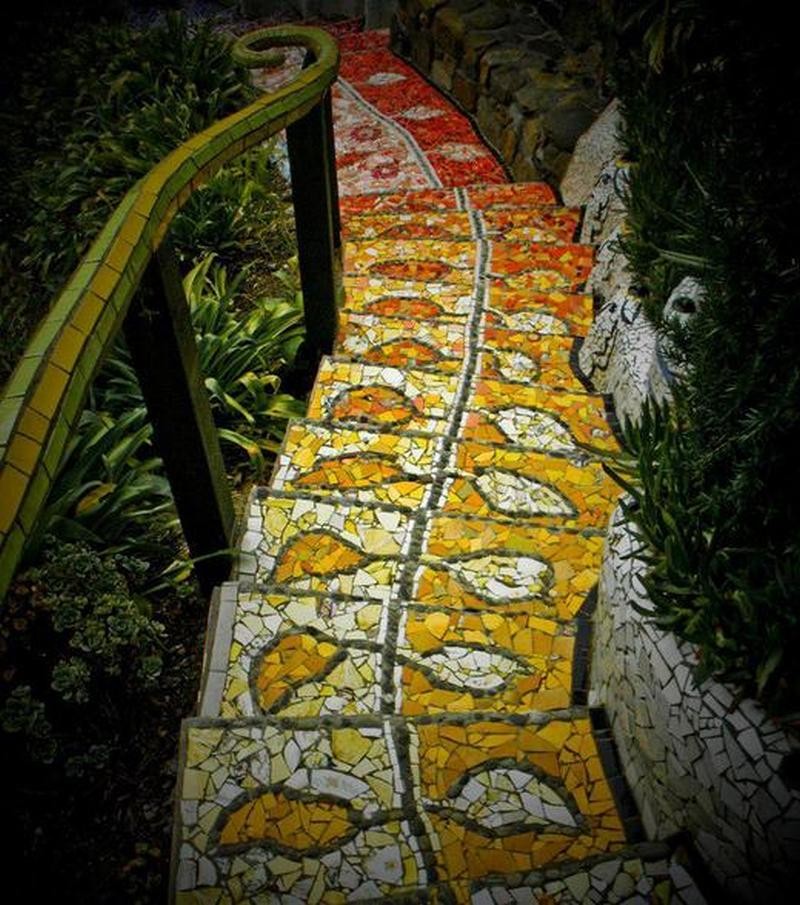
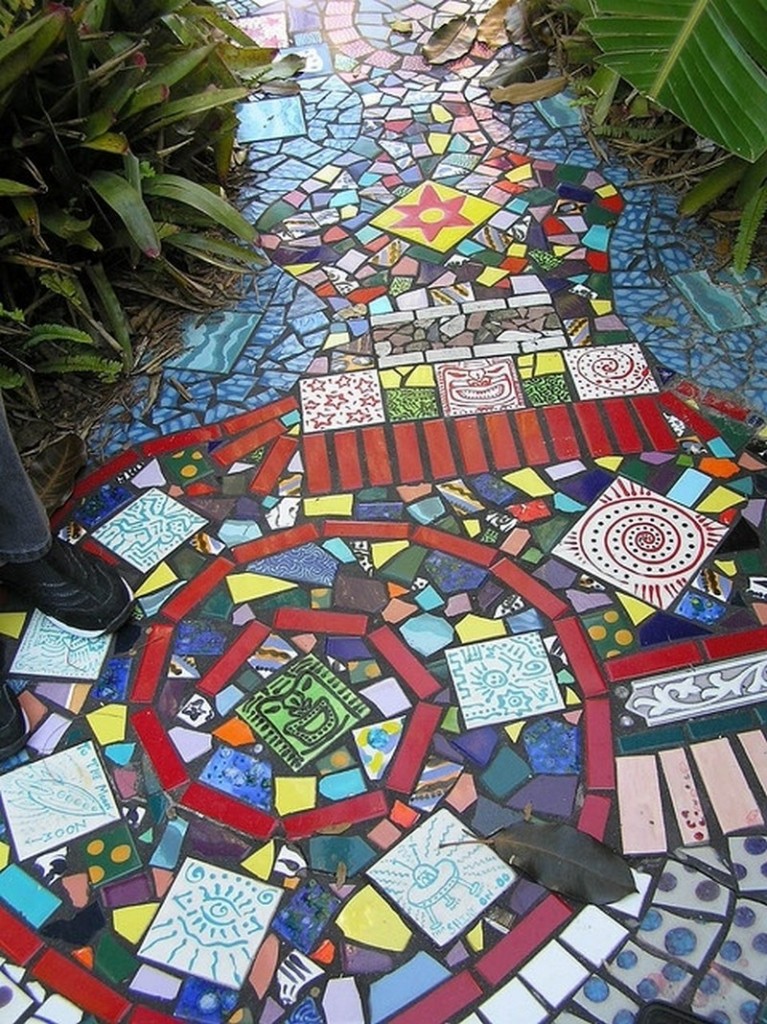
Colored tile mosaic garden paths are a fun and easy DIY way to make your garden a bit more interesting. You may have seen these mosaic garden paths used as a decorative focal point in a walkway, or maybe you have seen them used in a pathway leading to a doorway or a gate.
Using colored tiles as mosaic garden paths is a great way to have a very colorful walkway with little effort. Combining many different colors can create a beautiful colorful walkway.
Cobble Stone
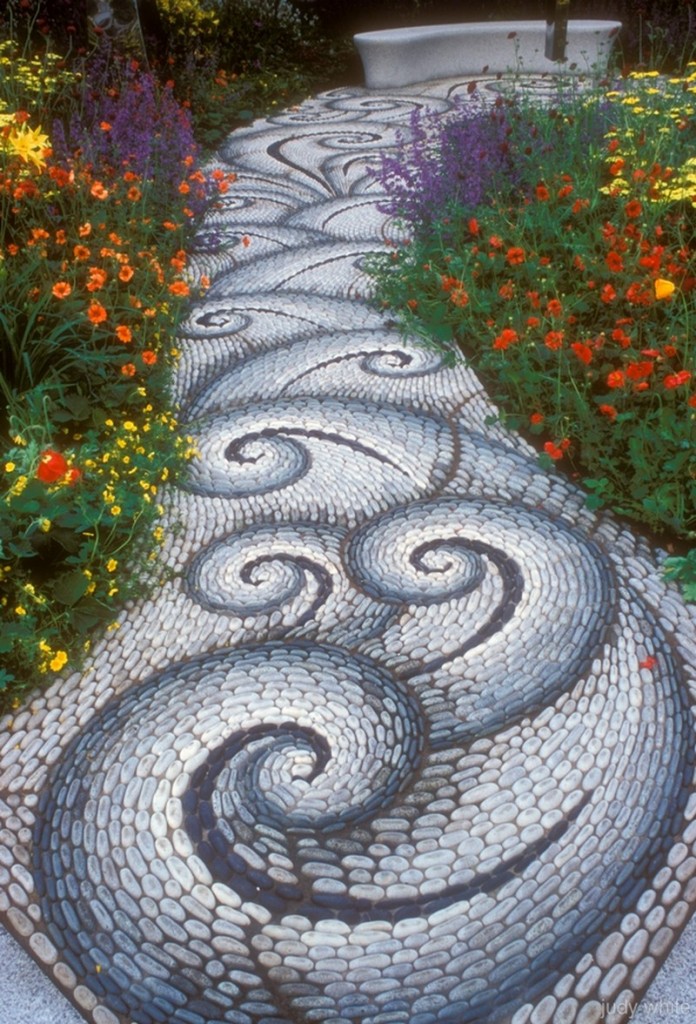
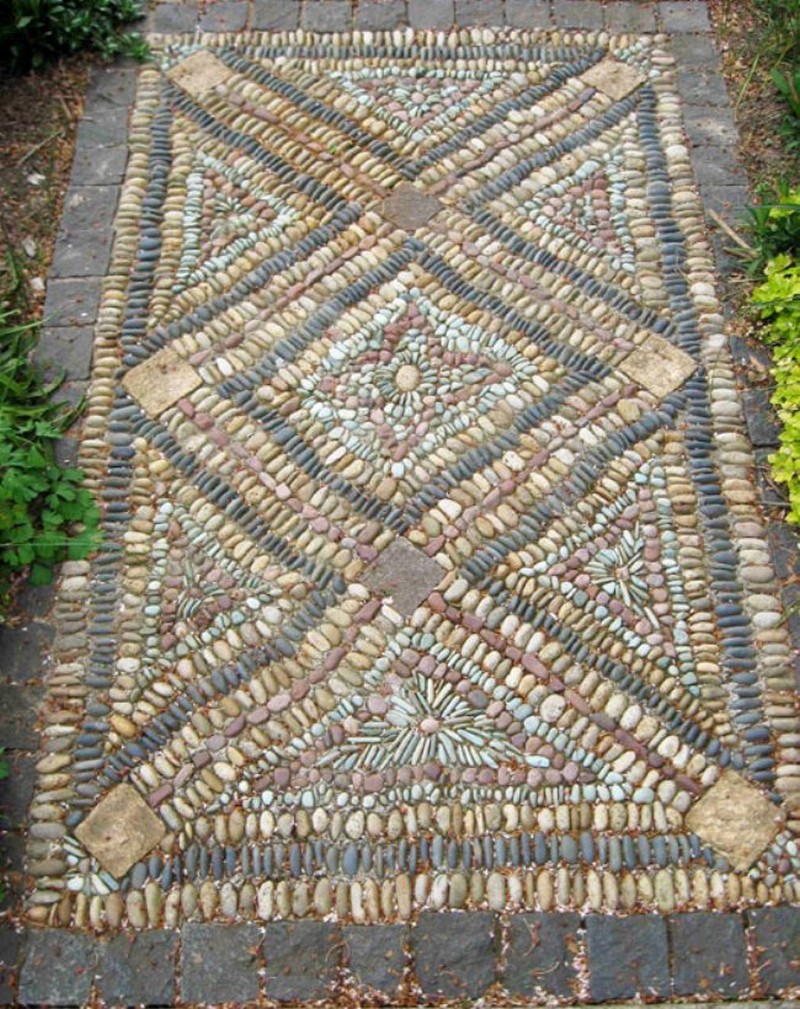
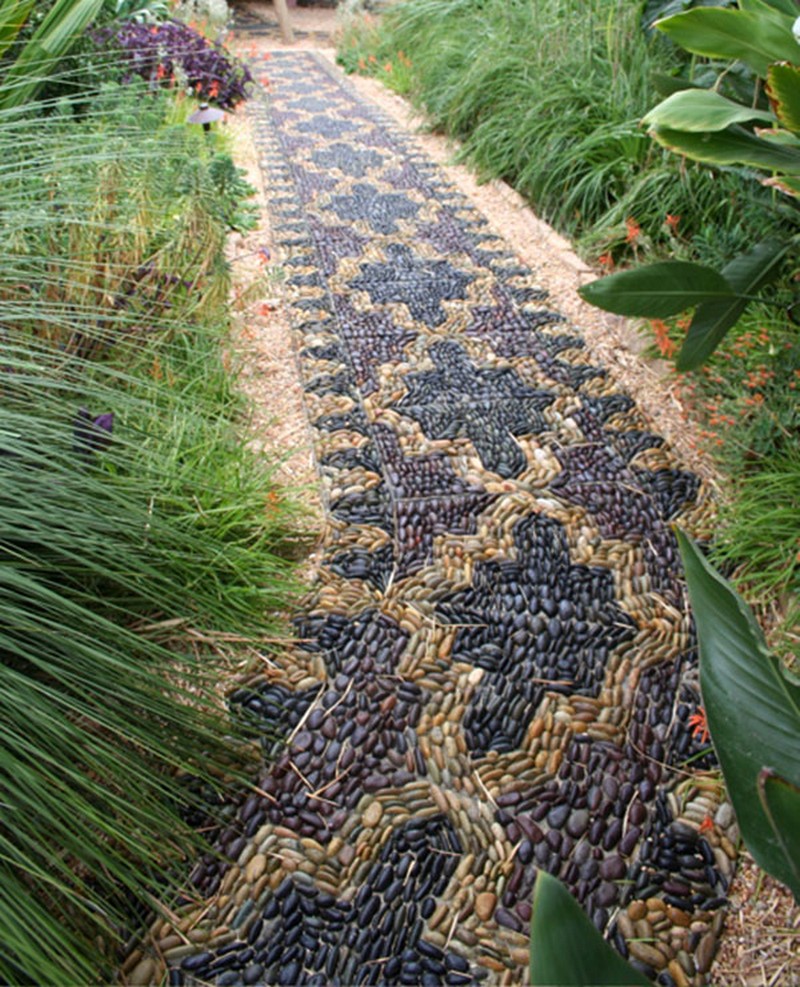
The use of cobblestones in garden paths has a long tradition. It is one of the most used natural decorating materials, which simultaneously functions as both a design element and a functional feature.
In the garden, the stones can be used as paving, to form natural-looking grooves and steps, or as an accent or even a central element in the landscape design.
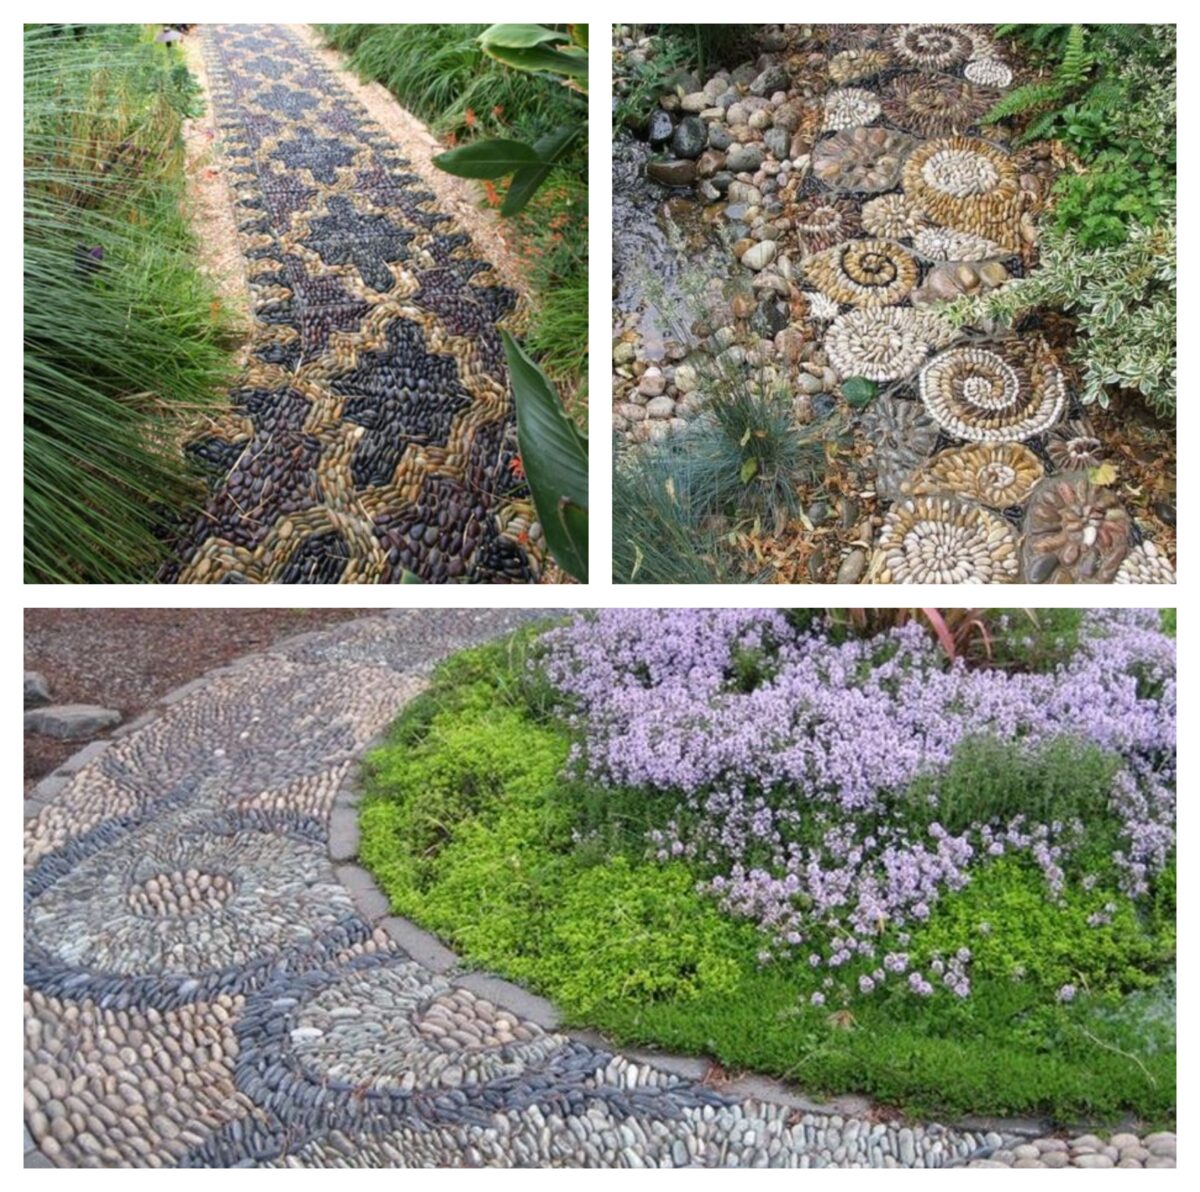
Rounded and Elongated Rocks as Reflexology Walk Path
Round or oval-shaped rocks placed in a line along a pathway are used as a tool for reflexology. This is a type of alternative medicine that believes that pressure applied at points on the feet, hands, or ears can help to cure a wide range of ailments.
The pressure of the rounded rocks, which are usually placed equidistant from each other, helps stimulate different areas of the feet. The stones are often arranged in a line like a walking path.
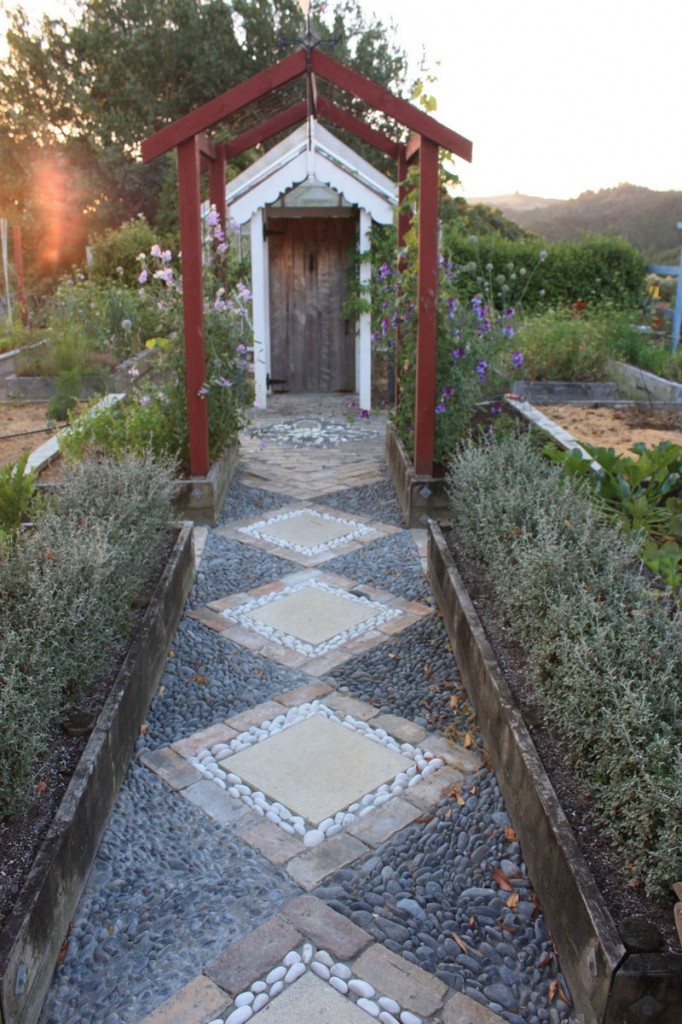
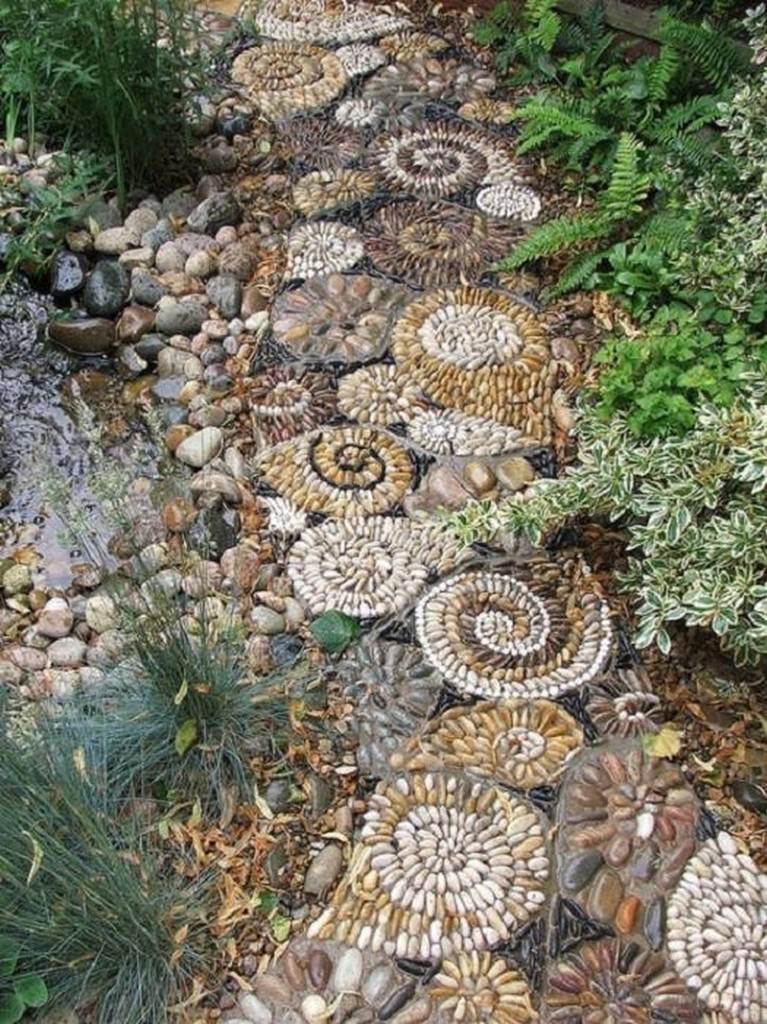
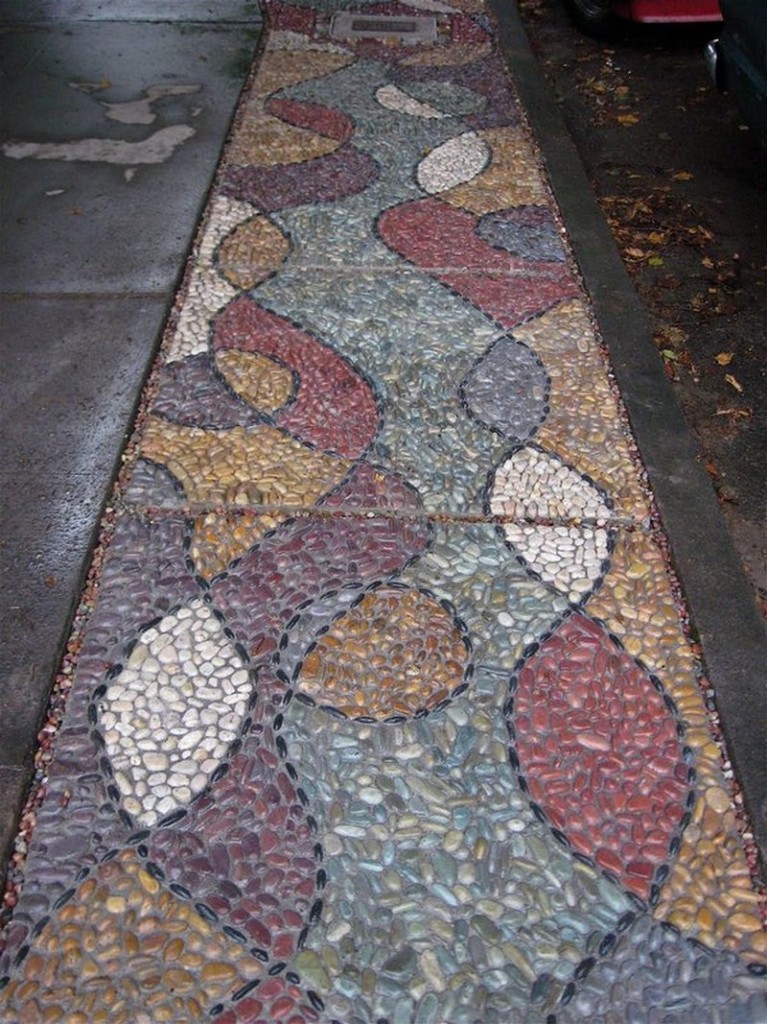
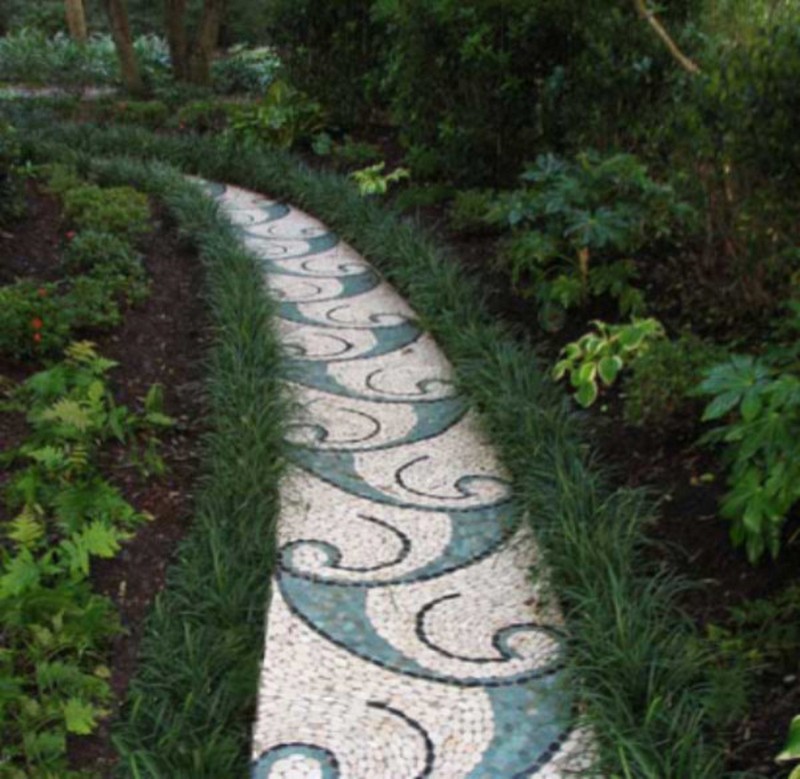
Do you think this garden décor is what your yard needs to improve its beauty? Here are some more great examples of mosaic garden paths you might want to have in your yard!
Click on any image to start lightbox display. Use your Esc key to close the lightbox. You can also view the images as a slideshow if you prefer 😎
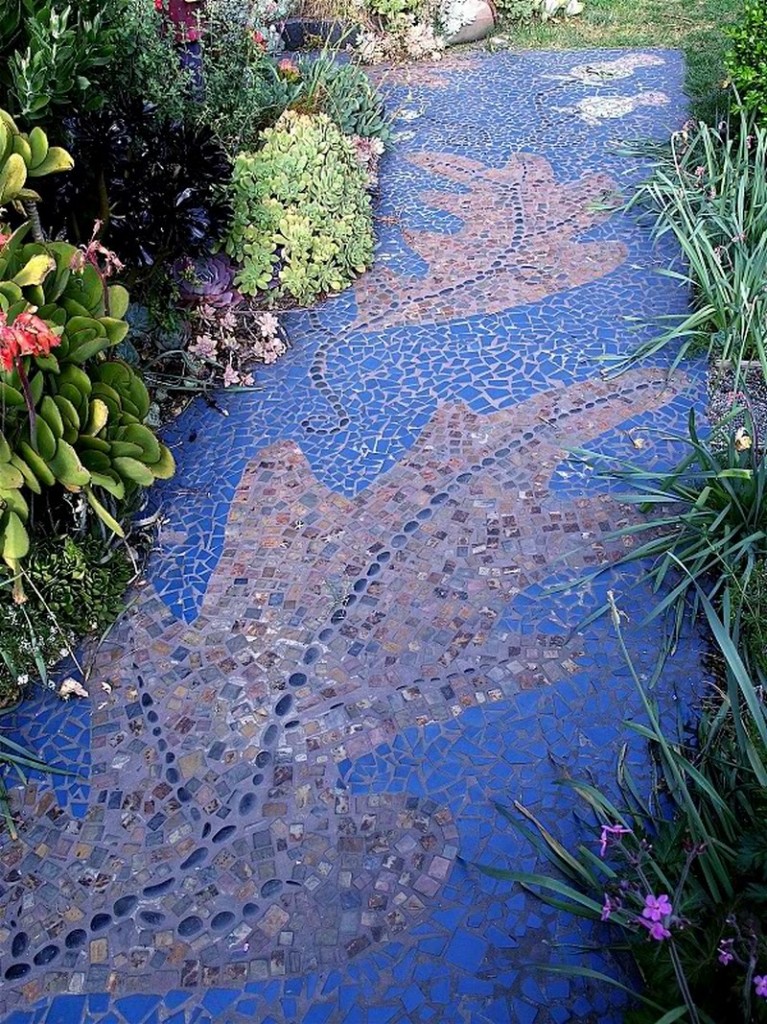


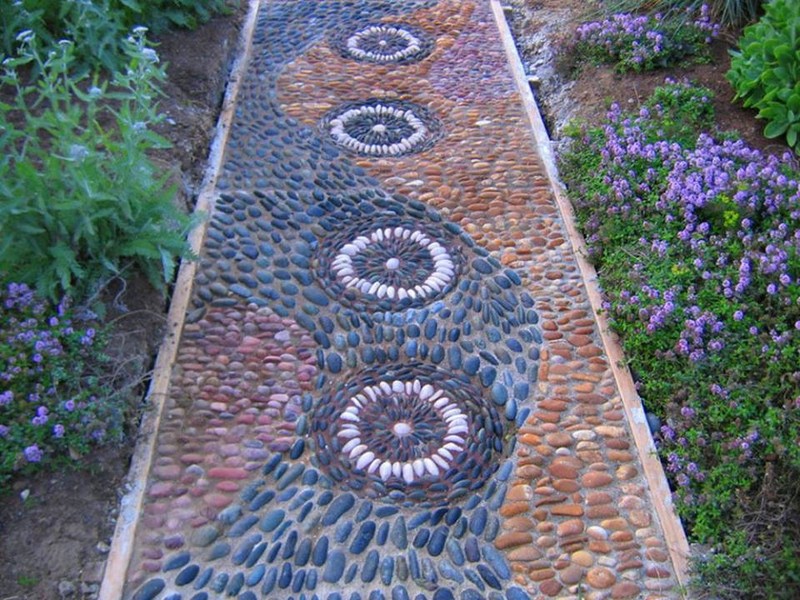
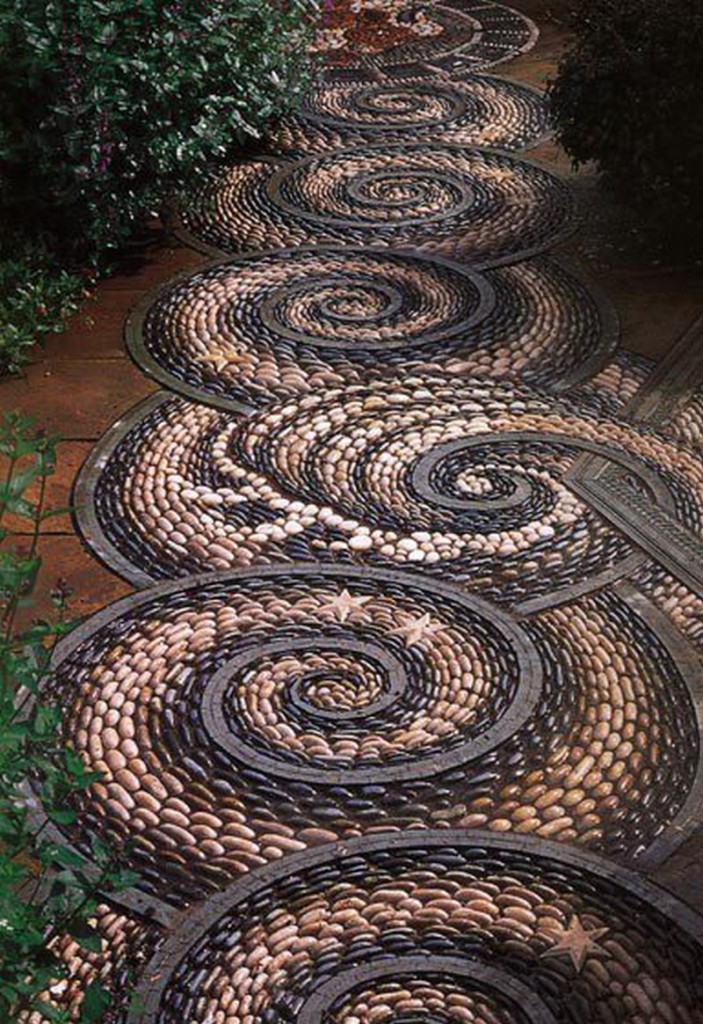
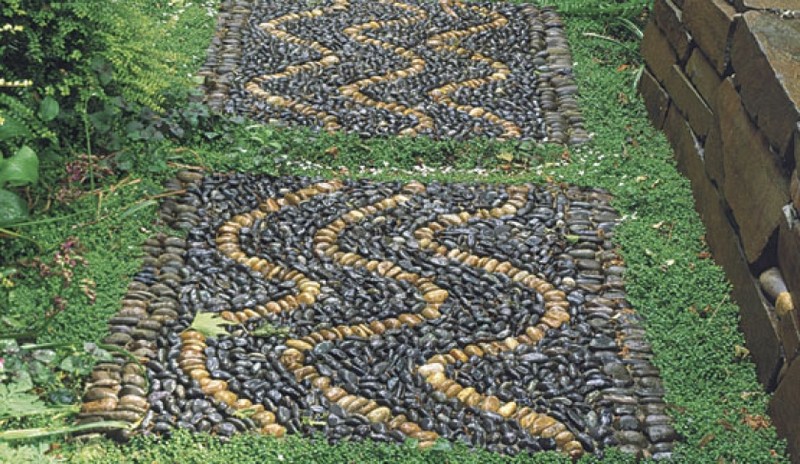
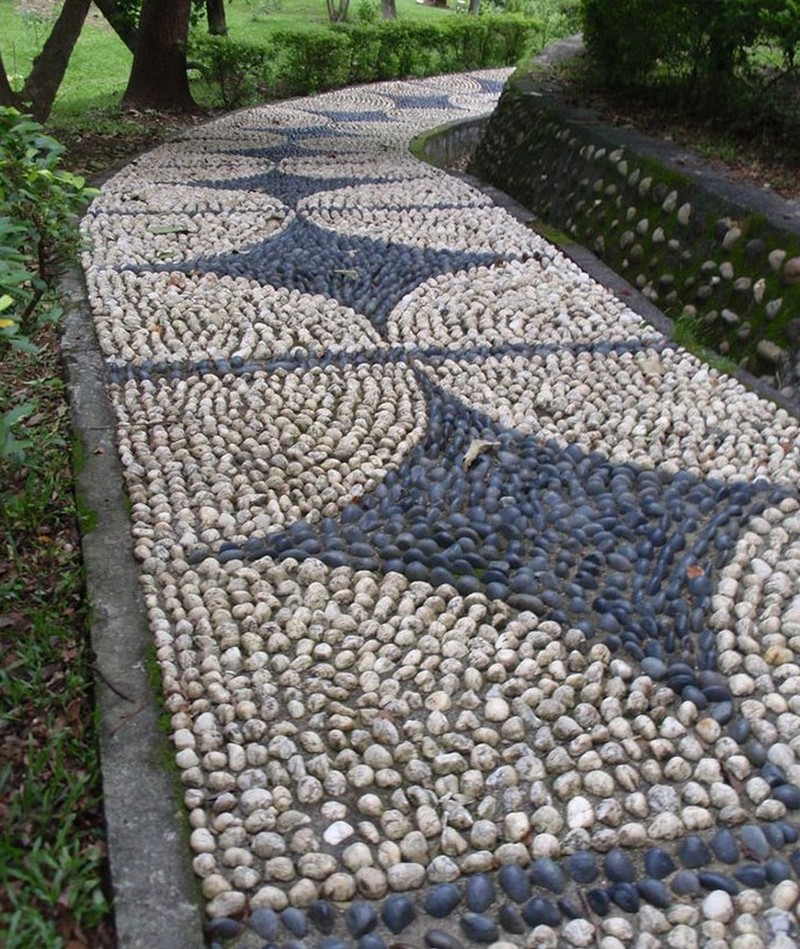

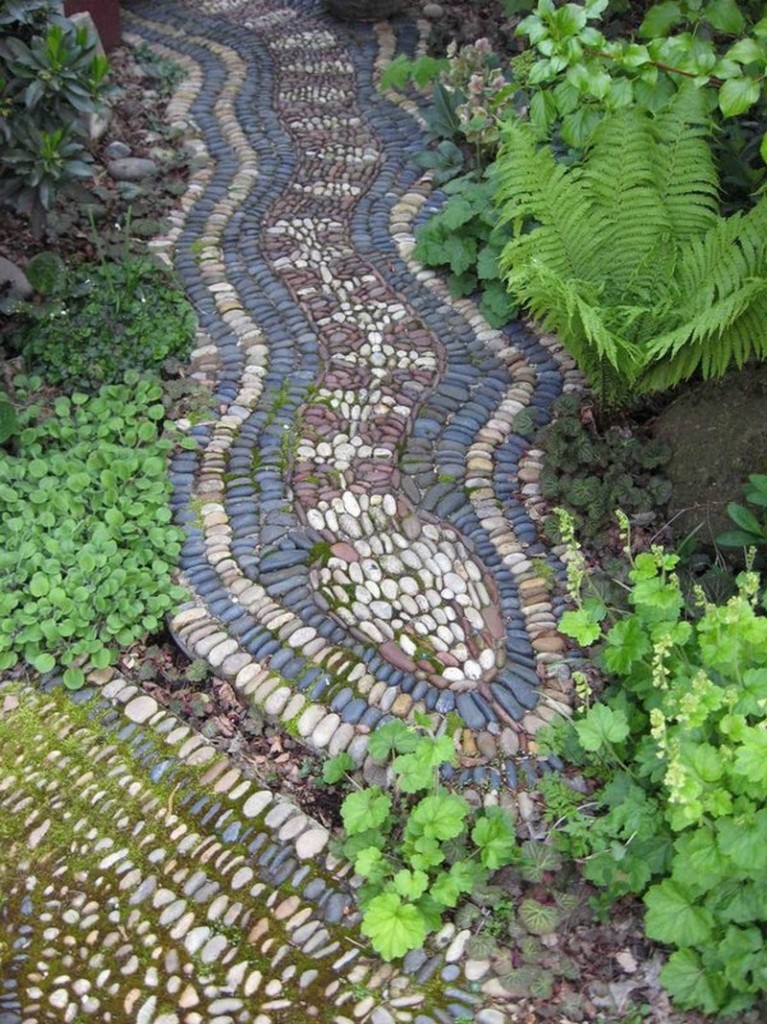

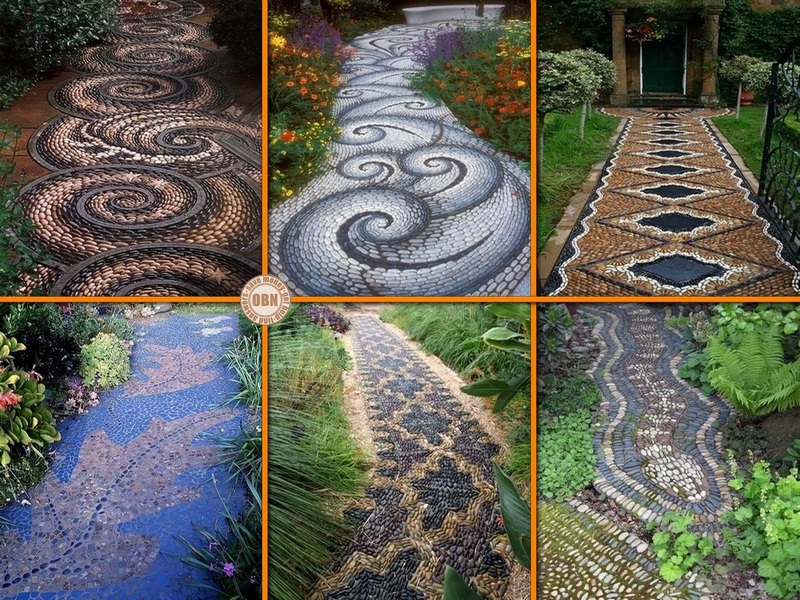


Step-by-Step DIY Guide for Creating a Mosaic Garden Path
Creating a mosaic garden path is an enriching project that not only enhances the beauty of your garden but also allows you to engage in a creative and satisfying DIY activity. Here’s how to create your own mosaic garden path, from planning to completion:
Materials and Tools Needed:
- Tiles or broken pieces of ceramic: Choose various colors and sizes for a unique look.
- Sand: For creating a base layer and filling the joints.
- Cement or mortar mix: To secure the tiles in place.
- Trowel: For applying and spreading mortar.
- Rubber mallet: To gently tap tiles into place.
- Safety glasses and gloves: To protect your eyes and hands during work.
- Level: To ensure your path is evenly laid out.
- Measuring tape: For accurate spacing and layout.
- Garden hose or string: To outline the path’s shape in your garden.
- Grout: For filling in the spaces between tiles.
- Sponge and bucket of water: For cleaning tile surfaces after laying them down.
- Grout sealer: To protect the finished path from moisture and weathering.
Instructions:
- Plan Your Design:
- Sketch the path design on paper, including dimensions and tile placement. Consider the color and shape of tiles to create your desired aesthetic.
- Prepare the Site:
- Use a garden hose or string to mark out the path’s shape in your garden. Remove the sod and dig down about 6 inches to create the base of your path.
- Lay the Foundation:
- Fill the excavated path area with a few inches of sand to level out the base. Compact the sand and check with a level.
- Mix the Mortar:
- Prepare your mortar or cement mix according to the package instructions. It should have a consistency that is easy to spread but holds its shape.
- Lay the Tiles:
- Start at one end of the path and spread a section of mortar with your trowel. Place your tiles onto the mortar, using the rubber mallet to tap them gently into place. Maintain even spacing and follow your design closely.
- Continue this process along the path, ensuring that each section is level before proceeding to the next.
- Let the Mortar Set:
- Allow the mortar to set as recommended by the manufacturer, usually around 24-48 hours.
- Apply the Grout:
- Once the mortar is set, fill the gaps between the tiles with grout using a rubber trowel. Make sure the grout is packed firmly to prevent gaps and spaces.
- Clean the Tiles:
- After applying the grout, wait about 30 minutes, then gently wipe the surface of the tiles with a damp sponge to remove excess grout. Rinse the sponge frequently in a bucket of water.
- Cure the Path:
- Allow the grout to cure for several days, following the manufacturer’s instructions.
- Seal the Grout:
- Once the grout has cured, apply a grout sealer to protect your path from moisture and staining. This will help maintain the beauty and integrity of the mosaic over time.
- Enjoy Your Mosaic Garden Path:
- After everything has set and dried, your new mosaic garden path is ready to be used. Enjoy the colorful addition to your garden, which not only enhances its appeal but also reflects your personal creativity.
Maintenance and Care for Mosaic Garden Paths
Maintaining a mosaic garden path is essential to ensure its longevity and preserve its artistic appeal. Regular care not only keeps the path functional and safe but also showcases the beauty of your handcrafted artwork. Here’s how to properly maintain and care for your mosaic garden path.
Regular Cleaning
Frequency and Methods: Clean your mosaic garden path every few months or more frequently if it’s exposed to heavy dirt or leaf debris. Use a soft broom to sweep off loose debris. For more thorough cleaning, wash the path with a garden hose and a mild detergent, using a soft brush to gently scrub away stubborn dirt. Avoid using harsh chemicals or pressure washers, as these can damage the tiles and grout.
Grout Maintenance
Check and Repair: Inspect the grout between the tiles at least once a year. Weather and regular use can cause the grout to crack or crumble. If you notice any damage, re-grout the affected areas promptly to prevent water from seeping under the tiles, which can cause further damage.
Weed Control
Preventative Measures: Weeds can grow through the cracks and spoil the look of your mosaic garden path. To prevent weed growth, apply a natural herbicide or pull them by hand regularly. Placing a weed barrier underneath the path during installation can also help minimize weed intrusion.
Sealant Application
Protective Layer: Apply a sealant to the tiles and grout every two to three years to protect the mosaic garden path from moisture and wear. This is particularly important for paths that are exposed to harsh weather conditions. The sealant helps in keeping the colors vibrant and the materials intact.
Damage Inspection
Routine Checks: Regularly walk your mosaic garden path to check for any loose tiles or signs of wear and tear. If tiles become loose or break, replace them immediately to maintain the integrity and appearance of the path. Keep some spare tiles from your original project for any necessary repairs.
By following these maintenance tips, you can keep your mosaic garden path looking as stunning as the day it was completed. Proper care ensures that this unique feature remains a focal point in your garden for many years to come.
Conclusion
In addition to improving the visual appeal of your outdoor area, a well-kept mosaic garden path lends a bit of individualized artistic expression. Regular maintenance helps this sturdy aspect to resist the elements and keep appealing to guests with its complex designs. Accepting the ageless beauty of mosaics guarantees that your garden stays a vivid and welcoming place for many years to come.
If you liked this project, you will also like viewing these landscaping ideas…


