Last Updated on May 10, 2023 by teamobn
Tree removal can be a daunting task, especially if you have never had to do it before. Whether you have an old or diseased tree, or simply one that isn’t conducive to your landscape, removing it is an essential step in maintaining your property’s safety and aesthetic appeal.
However, before starting the process, it’s important to make sure that your property is fully prepared. Failing to do so can lead to unexpected complications and expenses.
There are several steps you can take to ensure that your property is ready for tree removal. These include identifying any potential hazards, selecting a reputable tree removal company, understanding the removal process, and ensuring proper disposal of the tree.
Additionally, communicating with your neighbors and obtaining any necessary permits beforehand can make the process smoother and less stressful.
This blog post will delve into the various steps you can take to properly prepare your property for tree removal. Whether you’re a green-thumbed homeowner, a savvy property manager, or a landscaping pro, this is the guide that will help you ensure your tree removal mission is a roaring success.
Contents
- 1 8 Essential Steps for Tree Removal Preparation
- 1.1 1. Consider the effects of the tree removal on the surrounding landscape
- 1.2 2. Clear the area around the tree of any obstacles
- 1.3 3. Protect your property and belongings during the removal process
- 1.4 4. Notify your neighbors of the impending tree removal
- 1.5 5. Hire the right tree removal service
- 1.6 6. Plan for the removal of the tree stump
- 1.7 7. Dispose of the tree debris responsibly
- 1.8 8. Sit back, relax, and enjoy your newly cleared property!
- 2 Summary
8 Essential Steps for Tree Removal Preparation
1. Consider the effects of the tree removal on the surrounding landscape
No one likes to think about parting ways with a beloved tree, but sometimes it’s necessary for safety or aesthetic reasons. Before you dive into the process of tree removal, take a moment to consider how it will affect the surrounding landscape. It’s important to take a holistic approach and think about the big picture.
Will removing the tree leave a gaping hole in the greenery, or will new growth be able to fill the void? Are there nearby plants or structures that will be affected by the removal process?
By examining these factors ahead of time, you can ensure that the tree removal process is as smooth and seamless as possible.
2. Clear the area around the tree of any obstacles
Before you invite the experts for the actual tree removal, you need to prepare your property first. Clear the area around the tree of any obstacles.
Is there a broken birdbath or a flowerpot sitting within striking distance? Move them out of harm’s way before the tree starts its journey to the ground.
Don’t worry if you’ve got a lot of stuff to move around. Just think of it as Marie Kondo-ing your lawn, but with an endgame that involves more than just sparking joy.
3. Protect your property and belongings during the removal process
Tree removal can be a breeze if you take account of all the important considerations. While you’re likely focused on the actual removal process, it’s important to think of everything else that comes along with it.
One important aspect is protecting your property and belongings during the removal process. You don’t want to end up with broken windows or dents in your car from falling debris.
To avoid this, make sure to clear out anything valuable or delicate that’s in the immediate area where the tree will be removed. Cover your windows with sheets, blankets or plywood to ensure they’re safe from falling debris. Enough preparation can save you a lot of headache and repair costs.
4. Notify your neighbors of the impending tree removal
Tree removal can be a daunting task, especially if it’s your first time. But don’t worry, here’s another helpful tip, however often overlooked when preparing for tree removal: notify your neighbors.
Whether it’s a big or small tree, it’s always a good idea to give your neighbors a heads up beforehand. Not only is it a polite gesture, but it can also prevent any surprises or inconveniences for them.
Plus, it’s just good neighborly etiquette! Let them know of the schedule to avoid any unnecessary hiccups during your tree removal project.
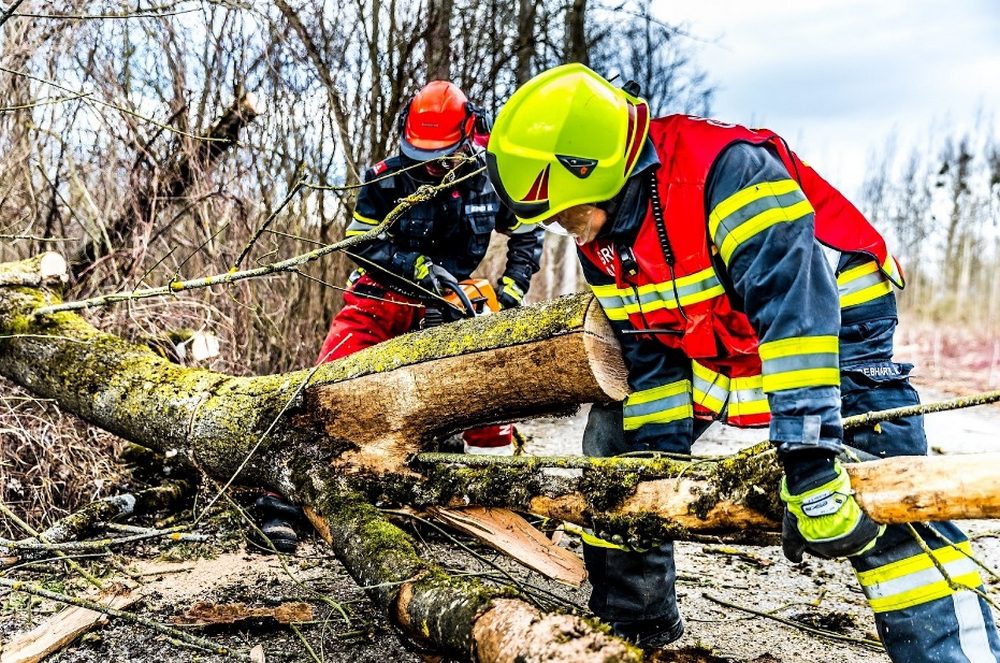
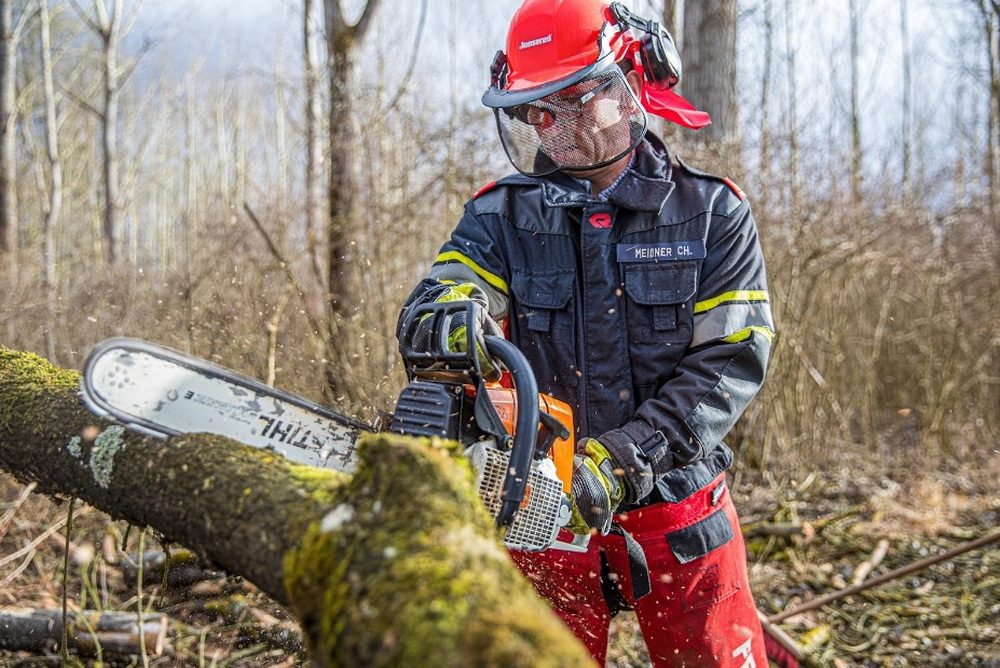
5. Hire the right tree removal service
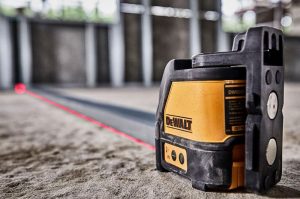
When it comes to tree removal, it’s important to leave it to the experts. Don’t be tempted to tackle the job on your own, even if you consider yourself a DIY mastermind. A professional tree service has the knowledge, equipment, and expertise to handle the job safely and efficiently.
Doing it alone can lead to injury or property damage. So, save yourself the hassle and hire a pro. They’ll take care of everything from start to finish, leaving your property free of any unwanted trees or debris, or even damages.
6. Plan for the removal of the tree stump
Congratulations, you’ve successfully arranged for a tree removal service! Now that the hard part is over, it’s time to think about the finishing touches. Yes, we’re talking about the pesky tree stump that’s left behind. Don’t leave it there to be an eyesore, or worse, a hazard!
Plan for the removal of the tree stump in advance, so you will not be left scrambling later. You can either ask the tree removal service to take care of it for you, or you can choose to do it yourself. Equip yourself with the right information with a good guide on removing a tree stump on your own, in case you choose the latter. A beautiful, stump-free yard awaits you!
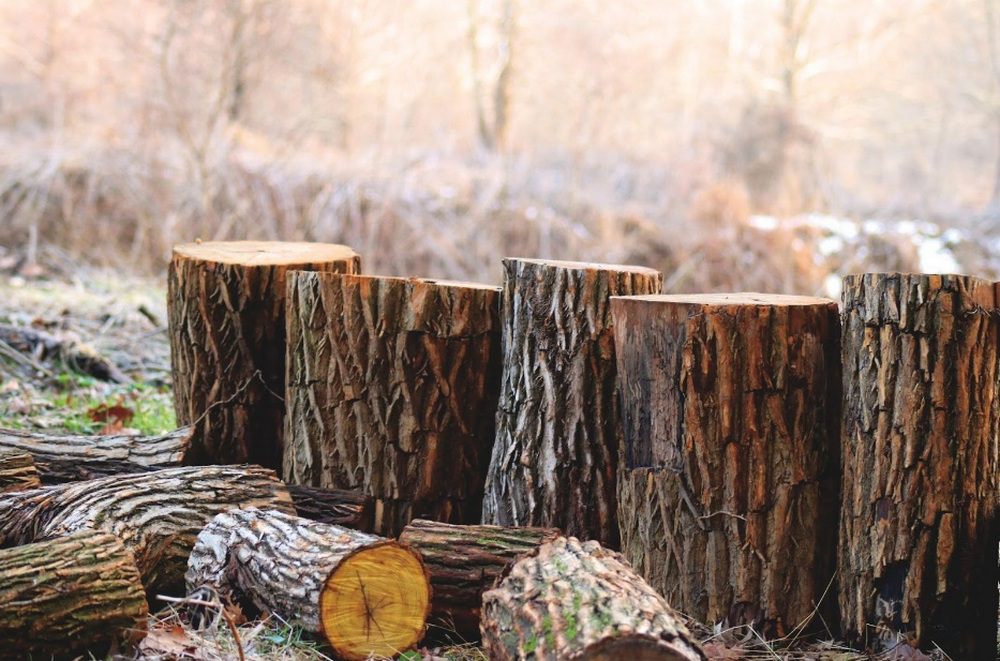
7. Dispose of the tree debris responsibly
If you’re planning on getting rid of a tree, you need to also plan on disposing of the tree debris responsibly. Sure, you can just throw it all out, but that’s not the eco-friendly way to go about it. Plus, depending on the size of the tree, you probably have way too much waste to fit in one garbage bag.
Don’t worry, there are other options! You can hire a company to come pick up the debris and turn it into mulch or compost. Or, if you’re feeling adventurous, you can even try using the debris yourself to make DIY planters or natural fencing.
Don’t just leave your tree removal project half finished – dispose of that debris like the responsible (and creative!) property owner that you are.
8. Sit back, relax, and enjoy your newly cleared property!
Now that you’ve gotten through the hard work of preparing your property, choosing the right tree removal service, and supervising the actual removal process, it’s time to sit back, relax, and enjoy your newly cleared property!
No more tripping over stray branches or worrying about potential damage during the next storm. You can finally breathe a sigh of relief knowing that you have created a safer, more visually appealing space. Take a moment to appreciate your hard work and the transformation you’ve created. You deserve it!
Summary
To sum it up, preparing your property for tree removal is an important step to ensure that the process is done safely, efficiently, and without damage to your property. It requires careful planning and execution to protect your home, surrounding vegetation, and utilities.
Taking the necessary precautions, such as having a professional arborist assess the tree and using appropriate equipment, can make a significant difference in the outcome of the removal process.
With this guide, you can be better prepared and informed when the time comes to remove a tree from your property.