Last Updated on September 25, 2025 by teamobn
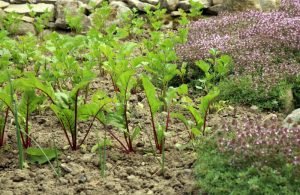
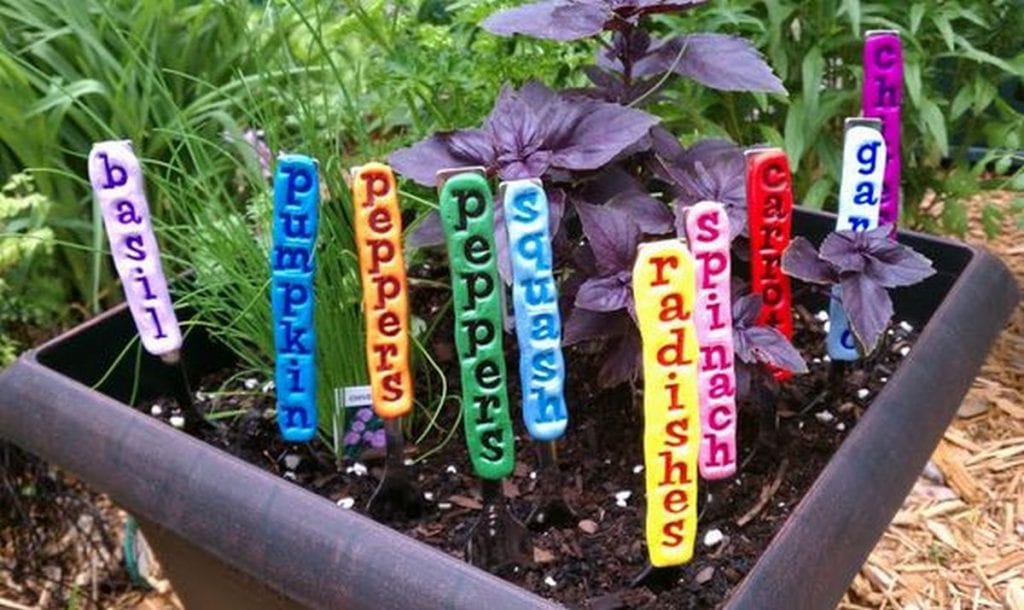
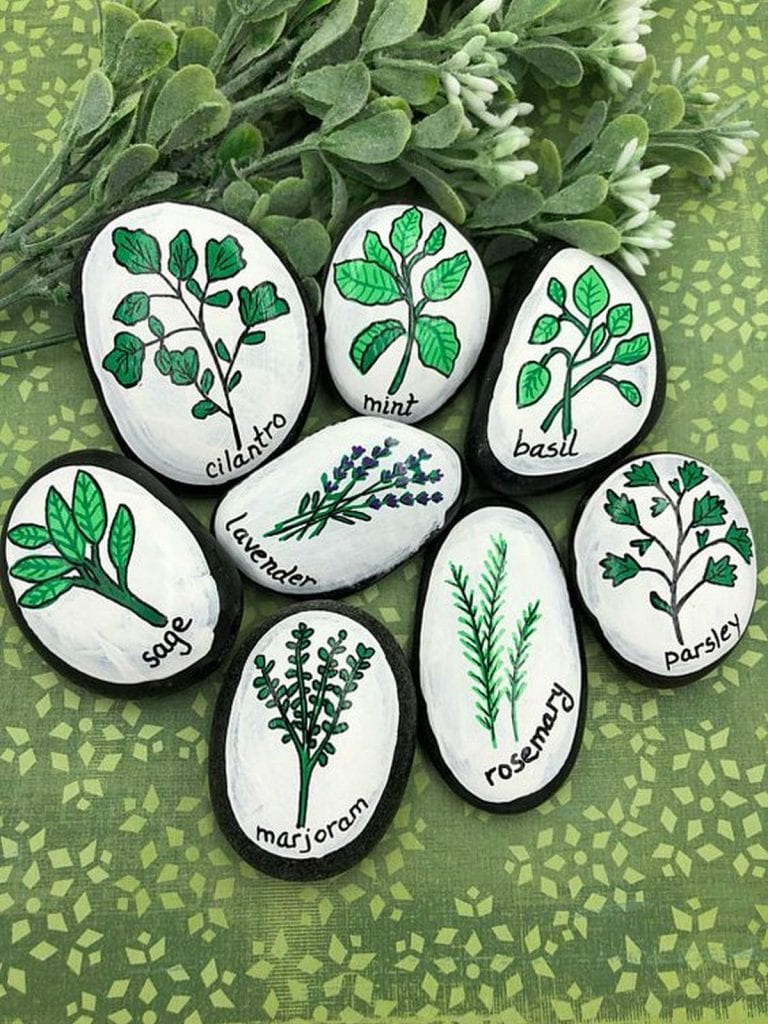
If you’re a gardening newbie, the sight of plants looking alike can be pretty overwhelming. If you’re having difficulty identifying plants, then garden markers are for you. These are fun ways of putting labels into your plants so you will know which is which.
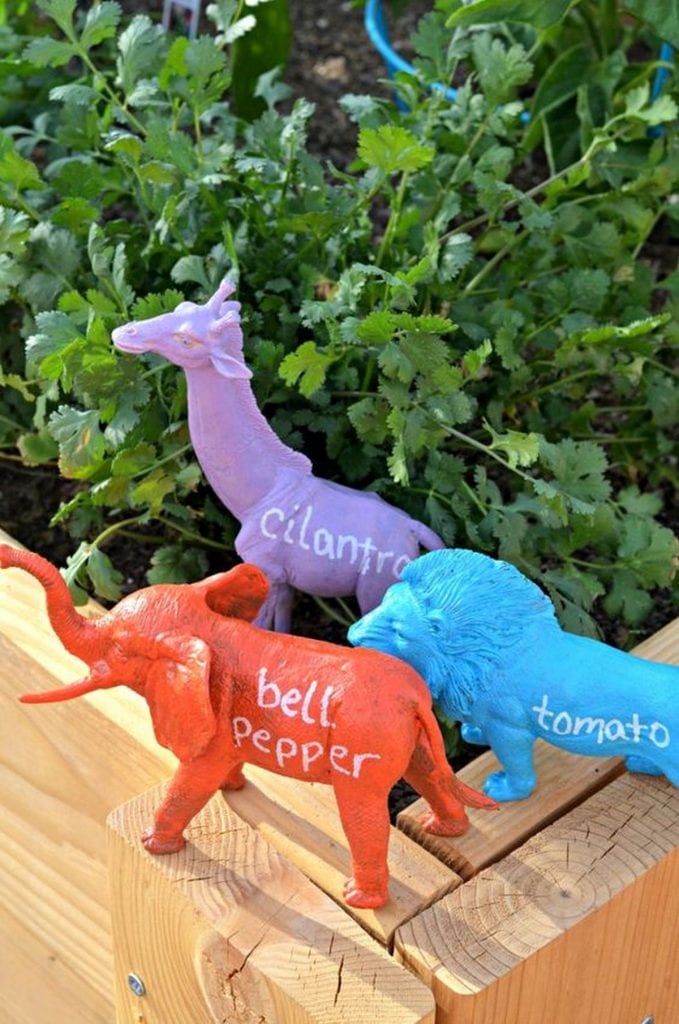
Garden markers can also double as decorative elements. They are functional, nice to look at, and if you make them with recycled materials, they’re inexpensive, too. You can add personal touches to your markers and make them your own.
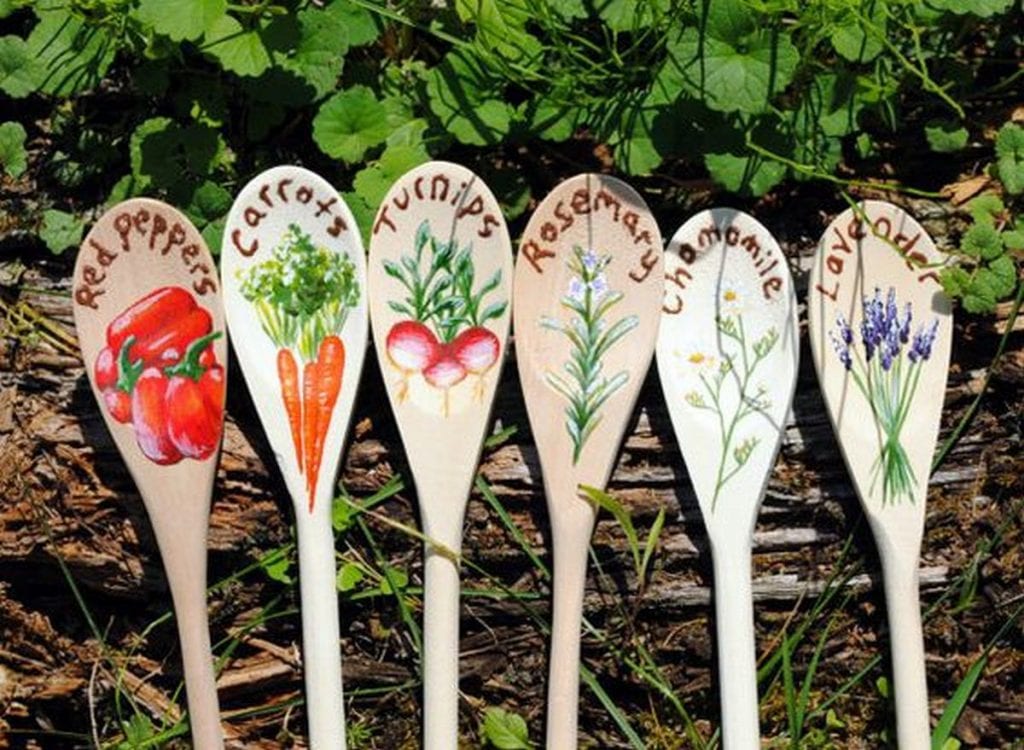
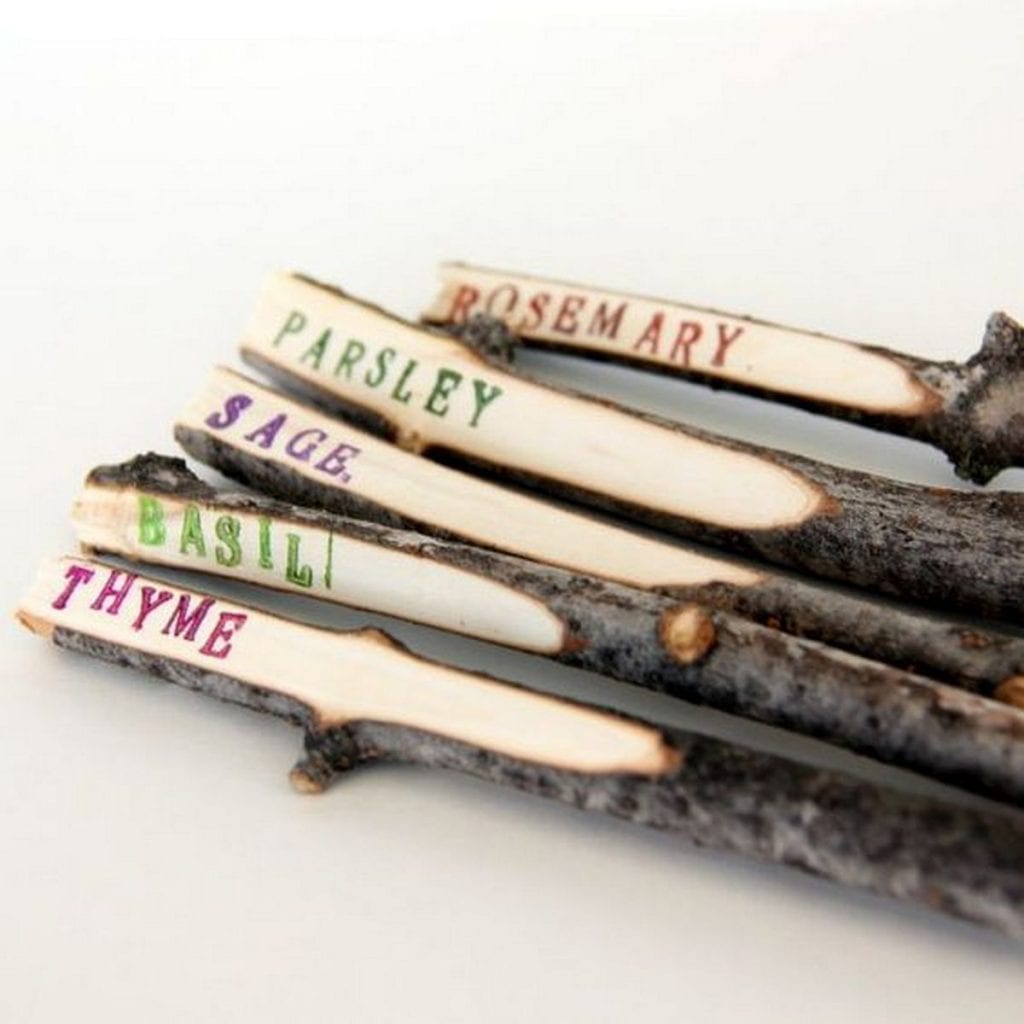
There are a lot of garden marker ideas out there. They range from using rocks to wood, metal spoons to terra cotta pots, and a whole lot more.
Weatherproof Garden Marker Basic
Contents
Choosing durable materials and sealing correctly keeps plant labels readable through sun and rain. This step by step guide builds weatherproof garden markers that resist fading, swelling, stains, and peeling.
Materials
- HOMENOTE Bamboo Plant Labels
- Oil-based paint pen or exterior acrylic paint marker with UV resistance
- Exterior polyurethane or spar urethane, clear and non-yellowing
- Isopropyl alcohol, 70% or higher
- Painter’s tape or low-tack masking tape
- Optional UV-resistant clear spray
- Optional thin epoxy
- Optional vinyl QR labels
Tools
- Fine-grit sandpaper, 320–400
- Lint-free cloths
- Small foam brush
- Disposable gloves
- Flat drying rack or a scrap board with pushpins
Steps
- Lightly sand the bamboo labels on faces and edges to remove fuzz and open the grain.
- Wipe all surfaces with isopropyl alcohol and let them dry completely.
- Tape a baseline to guide lettering and keep plant names straight.
- Letter the label with slow, steady strokes using an oil-based or exterior acrylic marker.
- Let ink cure per maker directions.
- Brush a thin coat of clear finish on the end grain to block moisture wicking. Allow to dry.
- Coat the faces and edges with a thin, even layer of polyurethane or spar urethane.
- Dry, scuff lightly, then apply a second coat. Add a third for longevity.
- If your brush-on finish lacks UV protection, mist a UV-resistant clear spray after the final coat cures.
- For extreme durability, flood the lettered area with a thin epoxy layer. Let it self-level and cure.
- Install the marker so only the stake enters soil. Keep the lettered head above splash height.
- Mid-season, wipe off mud and algae. Touch up chips and refresh the clear coat before long rain spells.
Best Pens and Paints for Garden Markers
Picking the right ink or paint prevents fading and bleeding on wood, slate, metal, and plastic. This guide compares durable options and finish workflows so a Garden Marker stays readable through sun, rain, and soil.
Oil-Based Paint Pens
Coverage is opaque, bonding is strong, and water resistance improves after a full cure. They write cleanly over grain and stone texture when you shake well, prime the nib, and letter in steady passes. Let the marks cure completely, then seal with spar urethane or exterior polyurethane for season-long durability on bamboo, cedar, metal, and river rocks.
Exterior Acrylic Paint Markers
Modern exterior acrylics use lightfast pigments and flexible binders that move with wood instead of cracking. They minimize bleed on porous surfaces and dry quickly, which speeds batch work. Use medium tips for plant names and fine tips for Latin varieties, allow proper dry time, then add a UV-rated clear coat to lock in color on bamboo stakes, painted metal, and slate.
Enamel Craft Paints
Brushed enamel delivers rich color and excellent wear, especially when filling engraved or stamped letters. Thin coats with a detail brush prevent ridges and yield crisp edges after curing. Once hardened, a clear topcoat boosts abrasion resistance, which helps markers tolerate rinsing, mud splashes, and frequent handling across long harvest seasons on slate and metal tags.
India Ink and Lacquer Markers
India ink lays down a deep black on porous wood but needs sealing to stop feathering in wet weather. Lacquer markers bite into slick metals like aluminum and stainless for sharp lines that don’t smear once cured. Ventilate well and spot test finishes, since some clears can soften lacquer. After curing, use a compatible topcoat to protect contrast and sheen.
What To Avoid For Longevity
Chalk markers rinse off with dew and rain even after brief sun exposure. Water-based school markers fade fast under UV and bleed along wood fibers. Fountain pen inks rarely meet outdoor lightfastness standards. Dye-heavy craft paints lose saturation within weeks. If a product doesn’t state exterior or UV resistance, run a quick outdoor test and plan to seal heavily or skip it.
Tip Sizes and Readability
Choose 1.0–1.5 mm tips for compact herb labels and longer botanical names that need tight spacing. Select 2–3 mm tips for vegetable beds viewed from standing height, where thicker strokes improve legibility. Broad chisel tips suit headers on slate or metal plates. Aim for 10–14 mm letter height and maintain consistent stroke width, which remains readable after a glossy clear coat.
Surface Prep and Compatibility
Lightly sand bamboo and cedar to remove fuzz and create a predictable writing surface, then wipe with isopropyl alcohol to lift oils. On metal, a fine abrasive pad adds tooth for better adhesion, while slate benefits from thorough dust removal before lettering. Match chemistry to the substrate. Oil-based and enamel excel on wood and metal, while acrylic markers shine on wood and slate. Always seal porous surfaces after lettering.
Curing and Sealing for UV
Application of the pens or paint is only the first stage. Give inks or paints the full manufacturer cure window so binders crosslink and pigments stabilize. Follow with thin, even coats of clear finish. Spar urethane adds flexibility and moisture protection, while acrylic clear sprays contribute UV shielding without yellowing. Two or three light coats outperform one heavy pass and extend outdoor life for every Garden Marker.
Garden Marker Gallery
Click on any image to start the lightbox display. Use your Esc key to close the lightbox.

Garden Marker Mistakes to Avoid
Clear labeling fails fast under sun, rain, and soil when small errors slip in. Use this checklist to spot common pitfalls and apply quick fixes that keep every Garden Marker readable all season.
- Tiny Lettering: Small text becomes illegible at standing height or after a glossy clear coat. Increase letter height to 10–14 mm and pick a tip size that keeps strokes bold yet tidy.
- Low Contrast: Subtle colors disappear against wood grain or dark slate. Pair deep black or bright white lettering with a neutral substrate and finish with a satin topcoat to preserve contrast.
- Water-Soluble Inks: Dye and water-based markers wash out after the first storm. Switch to oil-based, exterior acrylic, enamel, or lacquer markers and seal only after a complete cure.
- Unsealed End Grain: Exposed ends wick moisture that lifts ink and swells wood. Brush clear finish into cut ends first, then coat faces and edges for full protection.
- No UV Protection: Sunlight bleaches pigments long before harvest. Use a UV-rated clear coat or add a dedicated UV spray after the main finish cures to extend color life.
- Heavy Flood Coats: Thick layers trap solvents and wrinkle as they dry. Apply two or three thin coats with full dry times between passes for a smooth, durable seal.
- Dirty or Wet Surfaces: Dust, oils, and moisture block adhesion and cause feathering. Lightly sand, wipe with isopropyl alcohol, and allow complete drying before lettering a Garden Marker.
- Wrong Tip Size: Oversized nibs blur details while tiny nibs force cramped text. Match tip width to viewing distance and label size so strokes stay consistent and readable.
- One-Sided Labels: A single face fades while the back stays blank. Letter both sides and seal both to build redundancy that outlasts sun exposure.
- Product Incompatibility: Some clears soften certain inks and cause smearing or fisheyes. Spot test your marker and topcoat on a scrap, then stick with the proven pairing.
- Rushed Curing: Touch-dry paint hasn’t finished crosslinking and clouds under finish. Give inks or paints their full manufacturer cure window, then apply light, even clear coats.
- Too Close to Soil: Splash and algae stain faces set near the dirt line. Sink only the stake into soil and keep the lettered head above typical splash height.
- Bare or Reactive Metals: Plain steel corrodes and stains lettering. Choose aluminum or stainless and clear-coat, or prime steel before painting and labeling.
- Fuzzy Bamboo Fibers: Rough fibers grab ink and create feathered edges. Knock down fuzz with fine sandpaper, wipe clean, and letter on the smoothed surface.
- Indoor-Only Markers: Chalk pens and school markers look bold but fail outdoors. Reserve them for indoor crafts and pick exterior-rated paints or inks for any Garden Marker in weather.
Recycled and Found-Object Garden Markers
Turn household cast-offs into durable garden markers that look charming and cost nothing. This guide shows safe prep, clear lettering, and sealing so recycled tags survive sun, rain, and soil.
Tin Can Lids and Jar Caps
Flatten can lids with a rubber mallet and round sharp edges with a file. Punch a hole for twine or a stake. Prime lightly, then letter with oil-based paint pens for crisp lines. Add a satin exterior clear coat to prevent rust stains and preserve contrast. Jar caps work the same way on short stakes for pots and herb boxes, and they read well from standing height.
Wine Corks and Garden Wire
Push a bamboo skewer or salvaged garden wire through the cork’s center to make an instant stake. Slice one face flat so lettering sits clean and doesn’t curve. Use a fine-tip exterior acrylic marker for botanical names, then brush on spar urethane to block moisture. Corks last longer if you keep the label above splash height and refresh the clear coat at mid-season.
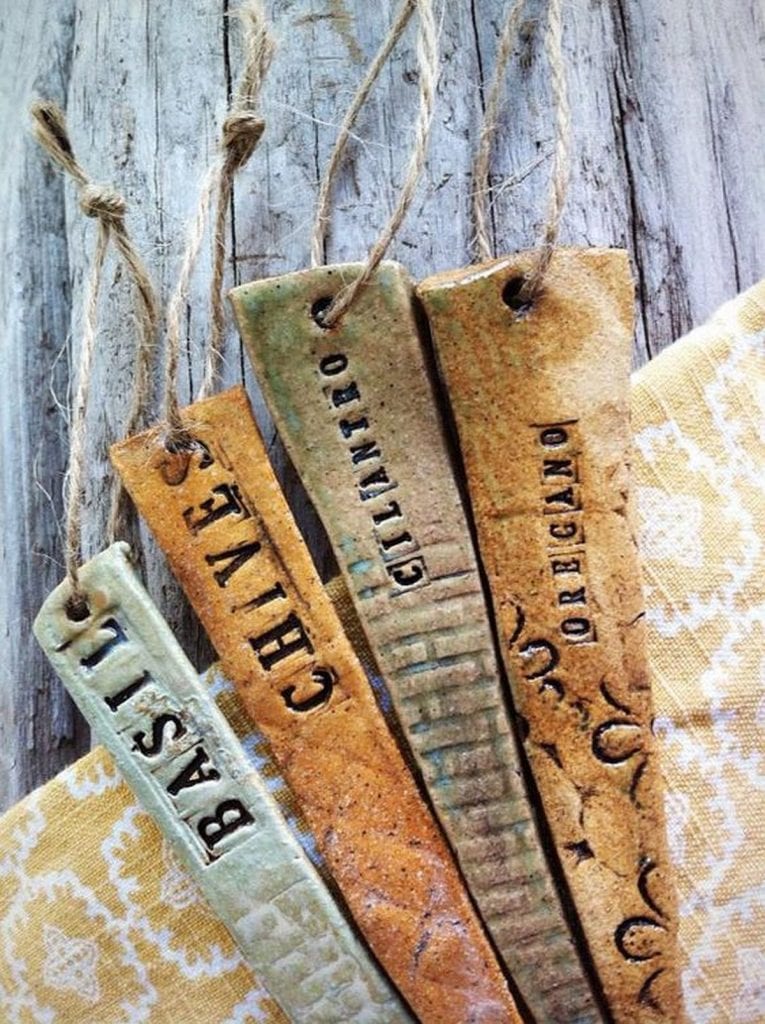
Broken Tiles and China Shards
Smooth sharp edges with a diamond hand pad until they’re finger safe. Clean thoroughly and let the ceramic dry before lettering. Paint-fill a simple label frame first, then write the plant name once the frame cures. Enamel or oil-based markers hold best on glazed surfaces. Seal with an acrylic UV spray to protect pigment and keep rain from sneaking under the edges.
Pallet Offcuts and Scrap Lath
Cut thin blanks from heat-treated pallet boards and knock down fuzz with fine sandpaper. Wipe with alcohol, then letter in a bold, high-contrast style for easy reading. Pre-seal end grain to stop wicking, and finish faces with two light coats of exterior polyurethane. Add a pointed end for staking or drill a hole to hang from twine on trellis wires and tomato cages.
Old Spoons and Flatware
Hammer spoon bowls flat on a scrap board to create a metal placard. Degrease, scuff lightly for tooth, and write with a lacquer or enamel marker. For a classic look, metal-stamp letters and fill with paint for contrast. Clear-coat once cured to resist fingerprints and water spots. Forks push into soil with built-in tines, which makes them tidy markers for crowded herb beds.
Roof Slate and Stone Finds
Rescue small slate offcuts or smooth river stones with naturally dark faces. Dust off grit so ink bonds cleanly. Use bright white or deep black paint pens in medium tips for strong visibility. Two light coats of UV-safe clear spray lock in color without yellowing. If stones sit low, mount them on short cedar blocks so names stay above splash and remain readable after storms.
Conclusion
A durable garden marker starts with the right surface prep and weatherproof inks, then lasts because you seal and place it smartly. Recycled materials work beautifully once edges are safe and finishes are UV ready. Keep a mid-season touch-up routine and your labels will stay clear from seedling to harvest.