Last Updated on May 16, 2024 by teamobn

There’s nothing nicer than receiving a personalized keepsake or attending an event where extra effort has been made. Photographs play an important role in our lives – they connect us to our past, and they remind us of people, feelings, places, and stories. They can help us to know who we were before – and who we are now. This photo luminary project is perfect for making memories.

To make it safer, you can use LED tea lights. It’s a long-lasting LED amber light that flickers like a real candle. Its brightness is also perfect for an indoor setting.
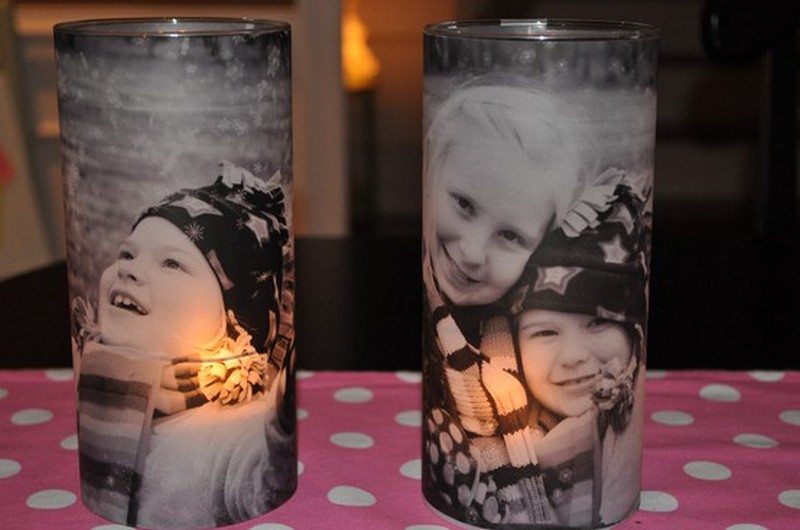
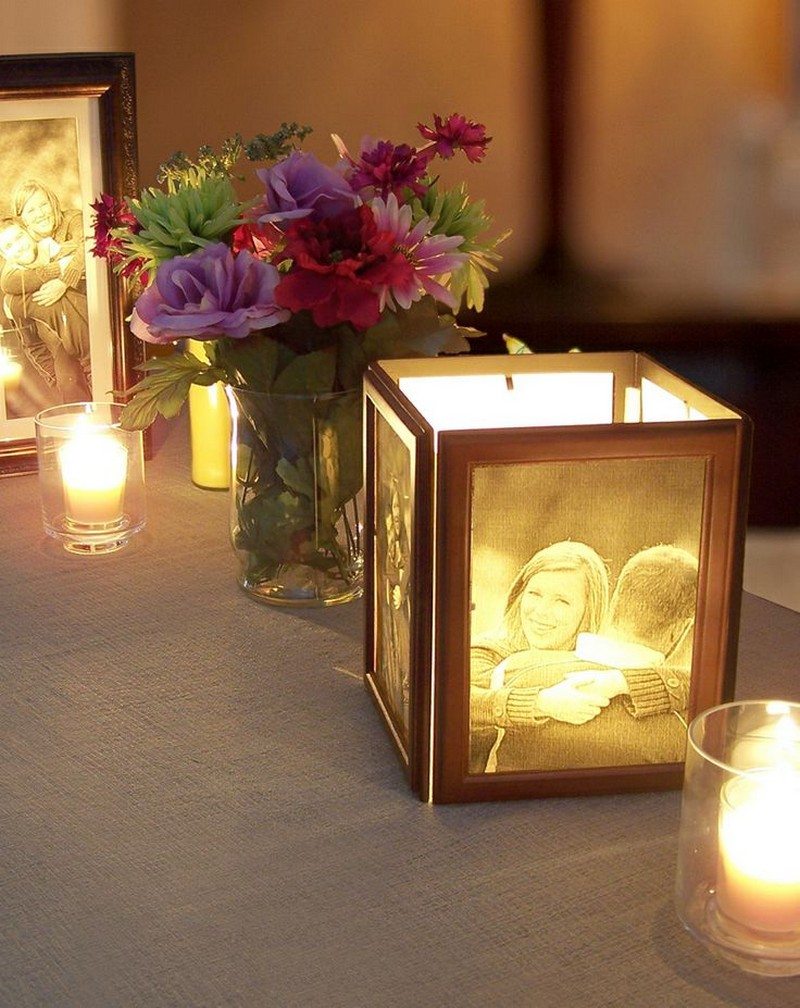
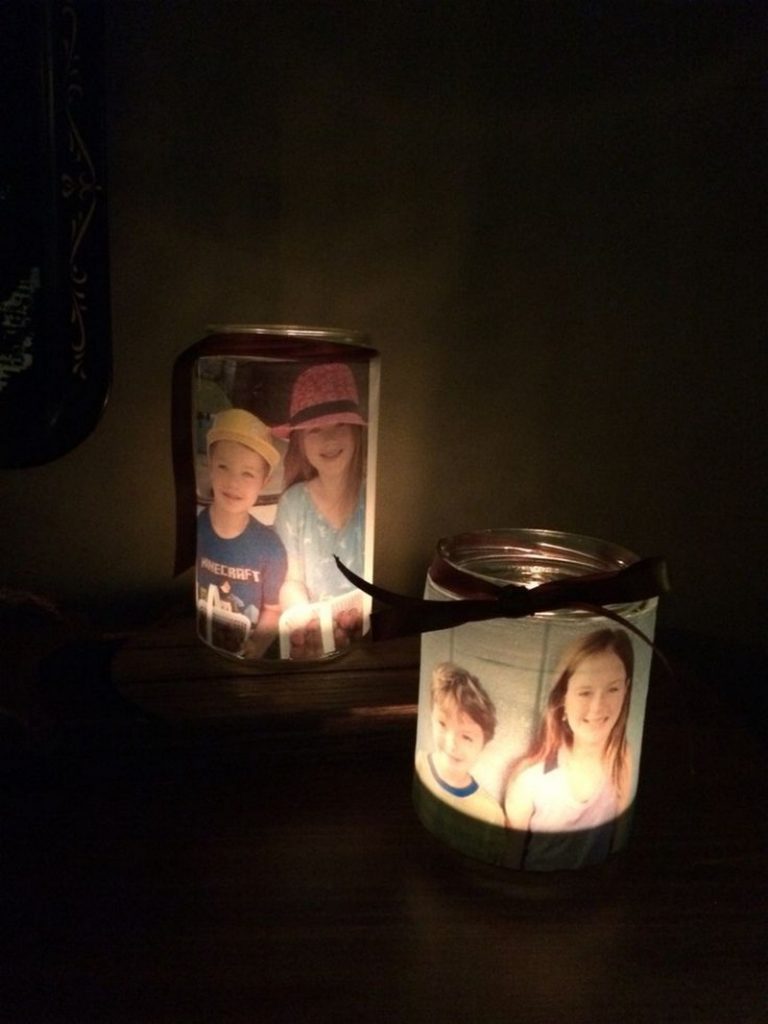
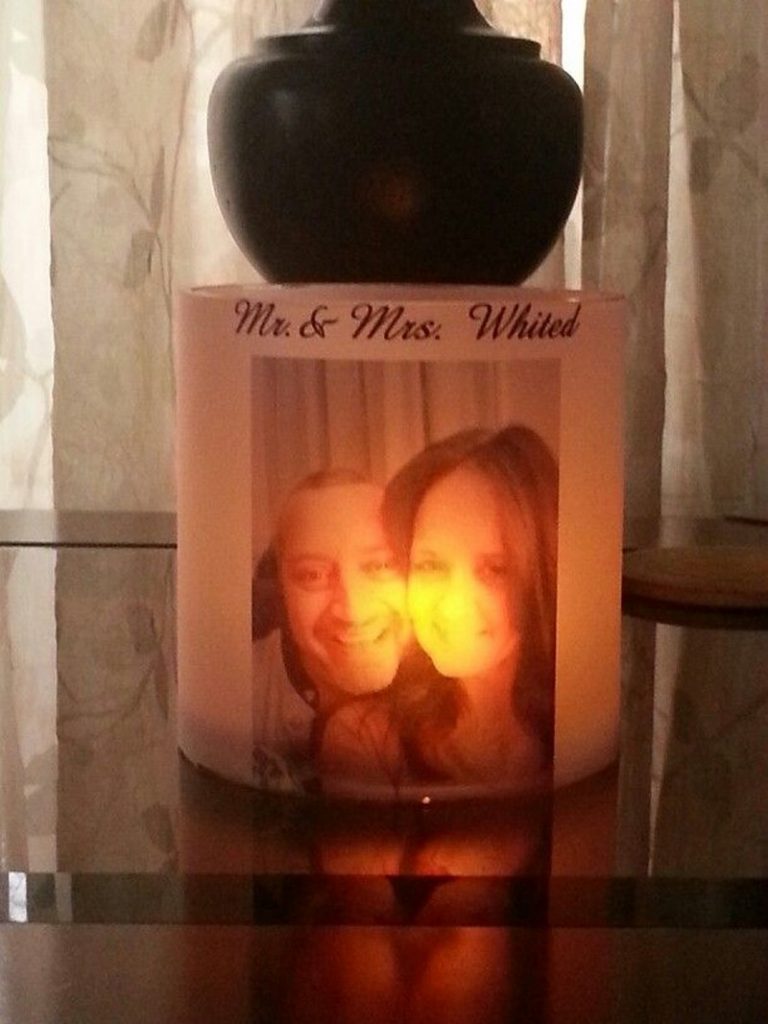
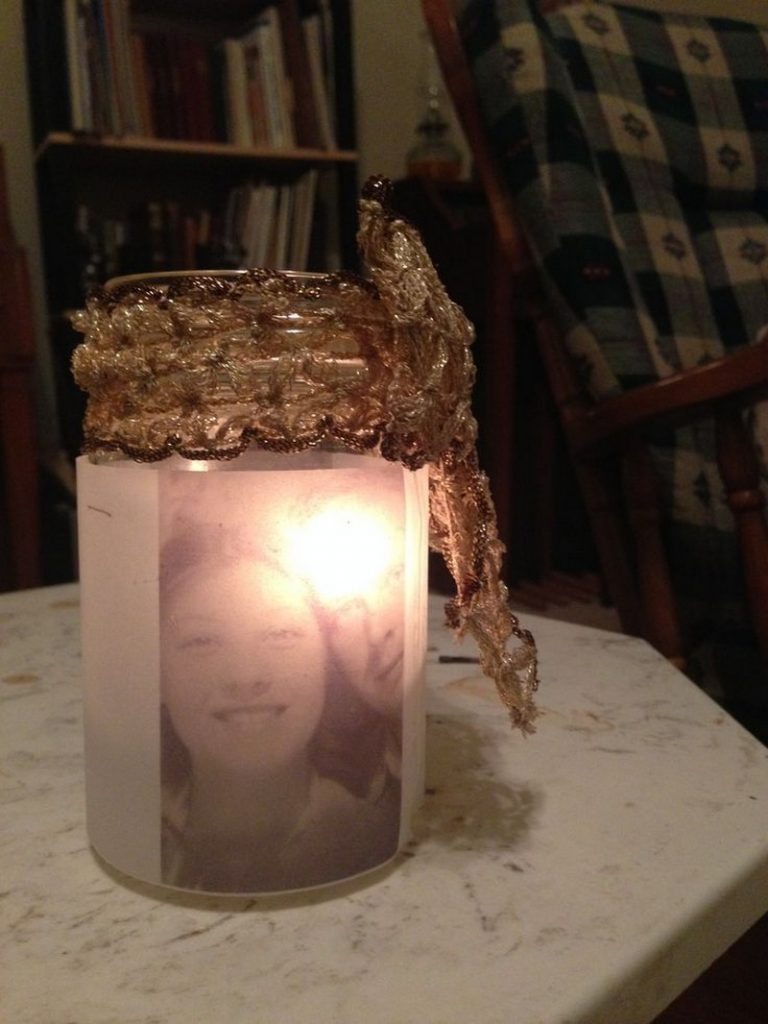
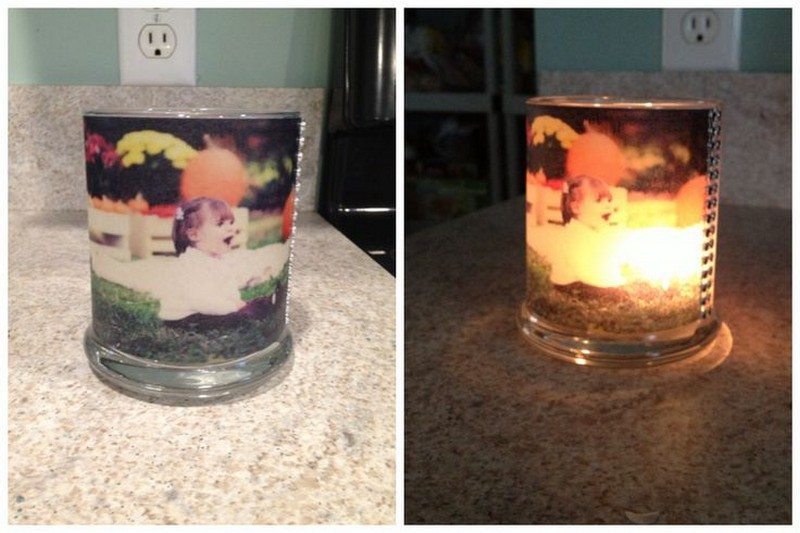
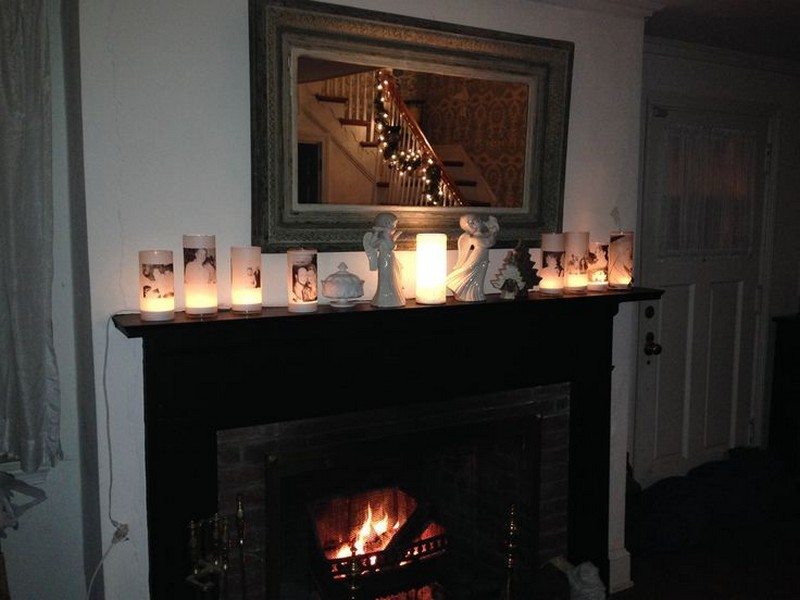
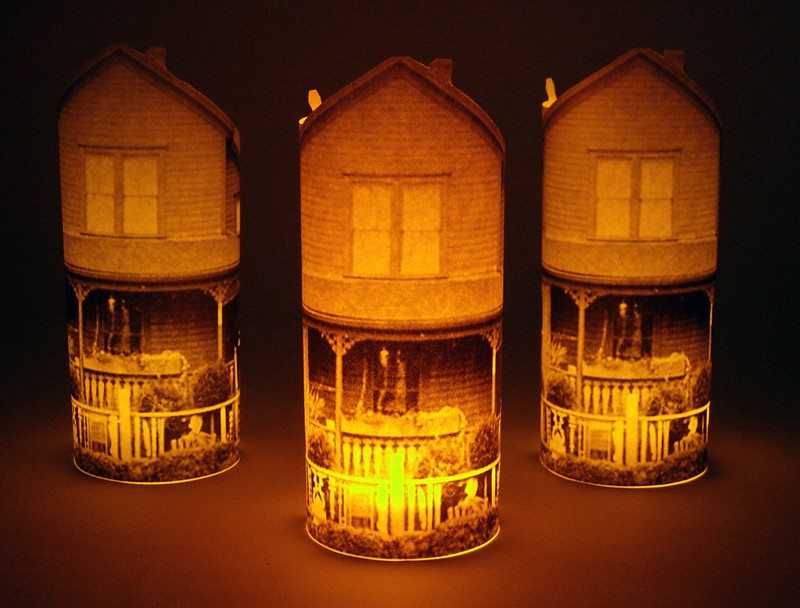
These glowing photo luminaries are a great way to display precious moments!
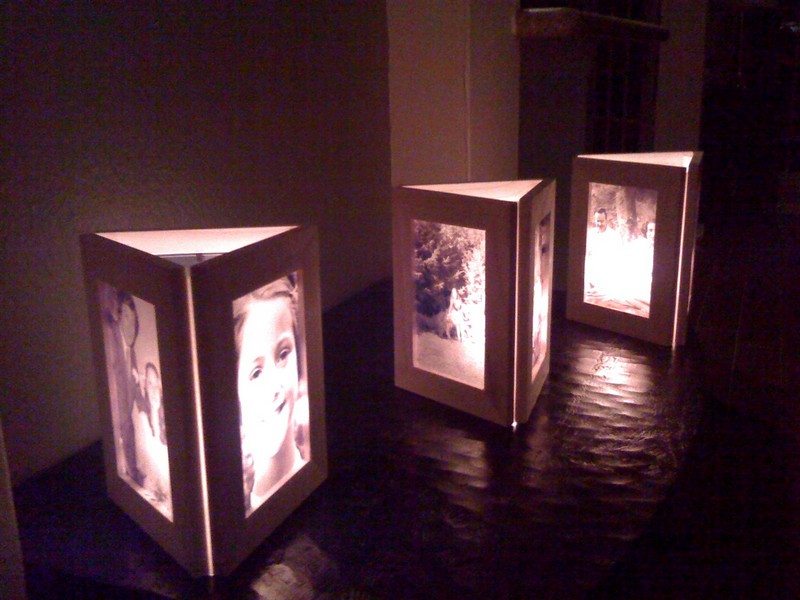
Wonderful glowing photo luminary designs.
Need some inspiration? View our gallery below to get more ideas and learn how to make your own 🙂
These beautiful photo luminary designs are sure to inspire you to create your own unique luminaries. Whether you use them to decorate your home or as gifts for friends and family, these luminaries are sure to brighten any space.
What’s great about making your own luminaries is that you can customize them to fit your style. Use your favourite photos, colours, and patterns to create luminaries that are truly one-of-a-kind. So gather your supplies and get creative!
Click on any image to start the lightbox display. Use your Esc key to close the lightbox. You can also view the images as a slideshow if you prefer 😎


Making Glowing Photo Luminaries
This project is simple to do and only requires a few supplies that you might already have around the house. Plus, it’s a great way to show off your favourite photos! Here’s how to do it:
Materials
- Vellum Paper
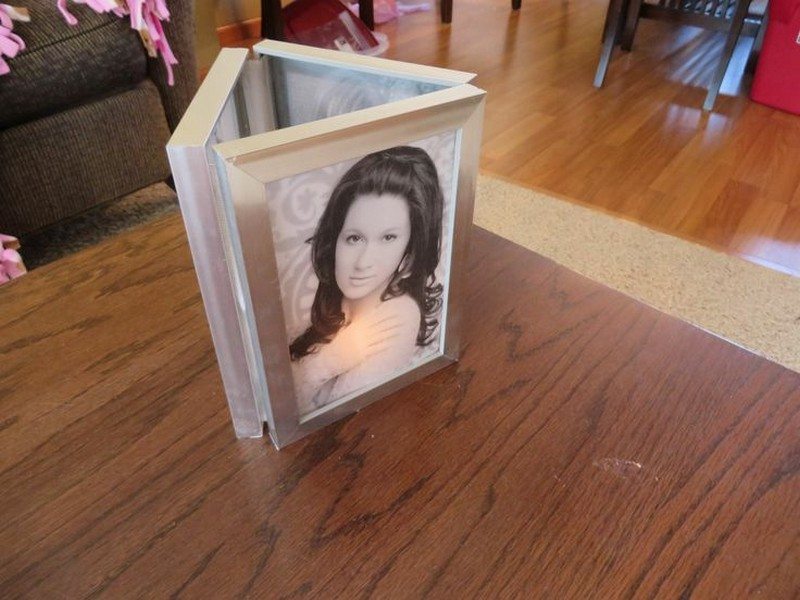
- Glass Jars or Vases / Identical Picture Frames
- Double-sided tape
- Tea Candles / LED Tea Lights
Tools
- Inkjet Printer
- Scissors
- Ruler
Instructions
Remember when you used to print out photos and put them in a photo album? Nowadays, it’s so easy to store photos digitally that we often forget to print them out. But there’s something special about having a physical photo that you can hold in your hand and look at whenever you want. So why not take a moment to choose a favourite photo, and print it out on regular printer paper?
1. Print a photo
Choose a photo that you love, and print it out on regular printer paper. You can use an online service or a local print shop. Just make sure to choose a high-quality photo so it will look great printed out!
Once your photo is printed, you can now move to the next step.
2. Select a jar or vase
Find a clear glass jar or vase that is big enough to fit your hand in, and remove the lid. Wash the inside of the jar and the lid with warm soapy water, then rinse it off and let it dry. You can also use a vase.
3. Trim & attach your photo
First, trim your photo to fit inside the glass jar. Next, use some glue to attach the photo to the inside of the jar. For an added touch of personality, attach a strip of washi tape around the edge of the photo.
4. Add the light
Candles can be added if desired. It will certainly look good at night. An extra touch of ambience can be achieved by lighting a scented candle. Besides smelling great, it will also make the room appear even better in the dark. Just make sure to blow it out before you go to bed!
Thanks to Our Best Bites for this project. You can get step-by-step instructions here…
Interactive Elements in Glowing Photo Luminaries
Glowing photo luminaries aren’t just beautiful decorations; they can also be interactive experiences that engage and connect people in unique ways. By incorporating modern technology into your luminaries, you can enhance their sentimental value and create a more dynamic display.
QR Codes
Incorporate QR codes into your glowing photo luminaries to add an interactive layer. Attach a small, unobtrusive QR code to the back of each luminary. When guests scan the QR code with their smartphones, they could be directed to a webpage displaying the story behind the photo or a video from the event where the photo was taken. This feature makes each luminary not just a light source but a portal to a cherished memory.
Augmented Reality
Take your glowing photo luminaries to the next level with augmented reality (AR). Use AR apps to allow viewers to see animated effects or additional content when they view the luminary through their phone screens. For example, you could make the people in the photos wave, smile, or even speak. This turns each glowing photo luminary into a living, speaking reminder of loved ones or special moments.
Interactive Displays
Set up your glowing photo luminaries as part of an interactive display at events. Arrange the luminaries in such a way that visitors can activate different lights or sounds by approaching certain luminaries. This can create a dynamic environment where each interaction tells part of a larger story, making the experience both magical and memorable.
Touch-Activated Stories
Enhance the magic of your glowing photo luminaries by integrating touch-sensitive technology. Equip each luminary with sensors that, when touched, play audio recordings. These could be brief narratives about the moment captured in the photo, a favorite song, or a personal message from the person who gifted the luminary. This touch-activated feature brings a personal voice to each glowing photo luminary, making it an even more precious keepsake.
Light Patterns with Motion Sensors
Incorporate motion sensors into your glowing photo luminaries to create interactive light patterns. As people move around the room, the luminaries could change their glow intensity or color based on proximity and movement. This dynamic interaction not only illuminates the space in a playful way but also highlights the glowing photo luminaries as focal points of technological creativity and charm.
Customization Apps
Offer a companion app that allows users to customize the light settings of their glowing photo luminaries. Through the app, they can adjust brightness, set timers for the lights, and even change colors if RGB LEDs are used. The app could also allow users to upload new photos to their luminaries, keeping the display current and personally relevant. This level of customization ensures that each glowing photo luminary can evolve with its owner’s changing tastes and preferences.
By adding these interactive elements, glowing photo luminaries provide not only light and decoration but also a unique, engaging experience for everyone involved. They become conversation starters and a high-tech way to share and relive memories.
Glowing Photo Luminaries as Personalized Gifts
Glowing photo luminaries offer a unique and heartfelt way to gift a piece of personalized art that combines sentimentality with functionality. Ideal for any occasion, these luminaries not only serve as charming decor but also as luminous reminders of shared memories and personal connections.
Tailoring the Luminary to the Recipient
When creating a glowing photo luminary as a gift, consider the recipient’s tastes and the significance of the photo you are using. Select images that hold special meaning for both of you, such as photos from a recent trip, family gatherings, or everyday moments that capture your shared history. Customize the design by choosing a jar or frame that matches the recipient’s home decor style, ensuring that the luminary adds both warmth and style to their living space.
Packaging and Presentation
The presentation of your glowing photo luminary is almost as important as the luminary itself. Choose elegant packaging that enhances its appearance and protects the luminary during delivery. Consider a high-quality gift box, decorative tissue paper, and a ribbon that complements the colors in the photo. Include a handwritten note explaining the story behind the photo and your reasons for choosing it, adding a personal touch that makes the gift even more special.
Adding Accompanying Notes
An accompanying note can significantly enhance the emotional value of a glowing photo luminary. Write a message that reflects on the moment captured in the photo, shares your feelings about the person receiving the gift, or expresses your wishes for them. This note not only personalizes the gift but also turns the luminary into a meaningful keepsake that the recipient can cherish.
Glowing photo luminaries make exceptional gifts because they are deeply personal, beautifully crafted, and functional. They light up rooms and hearts alike, making them perfect for birthdays, anniversaries, holidays, or simply as a thoughtful way to say, “I care.”
Conclusion
Making glowing photo luminaries is a delightful way to bring memories to life through light and creativity. This DIY project allows for endless customization, enabling you to infuse personal style and sentiment into each piece. Not only do these luminaries enhance any room with their soft, inviting glow, but they also serve as meaningful gifts that capture and celebrate special moments. Embark on this crafting journey to create unique, heartfelt luminaries that illuminate both spaces and hearts.
If you liked this project, you might also like to view these simple decorating ideas…