Last Updated on July 25, 2022 by teamobn

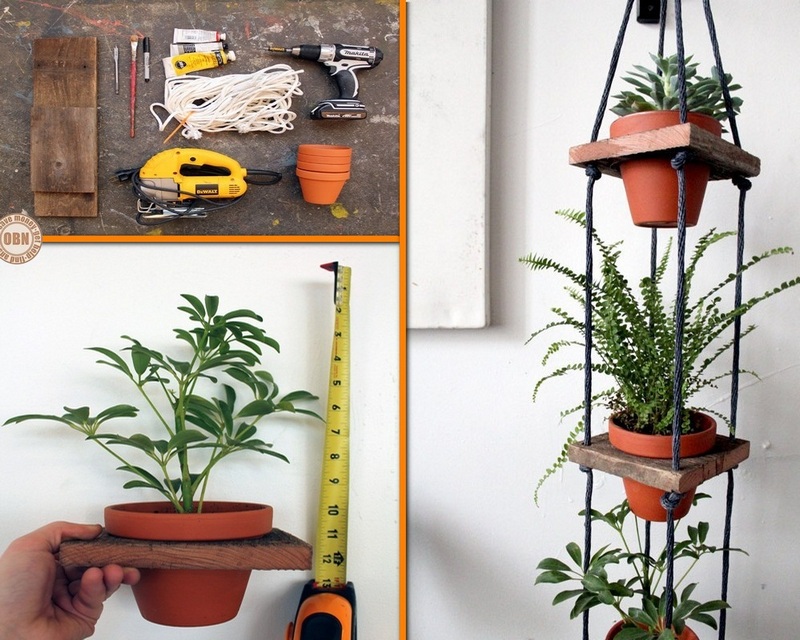
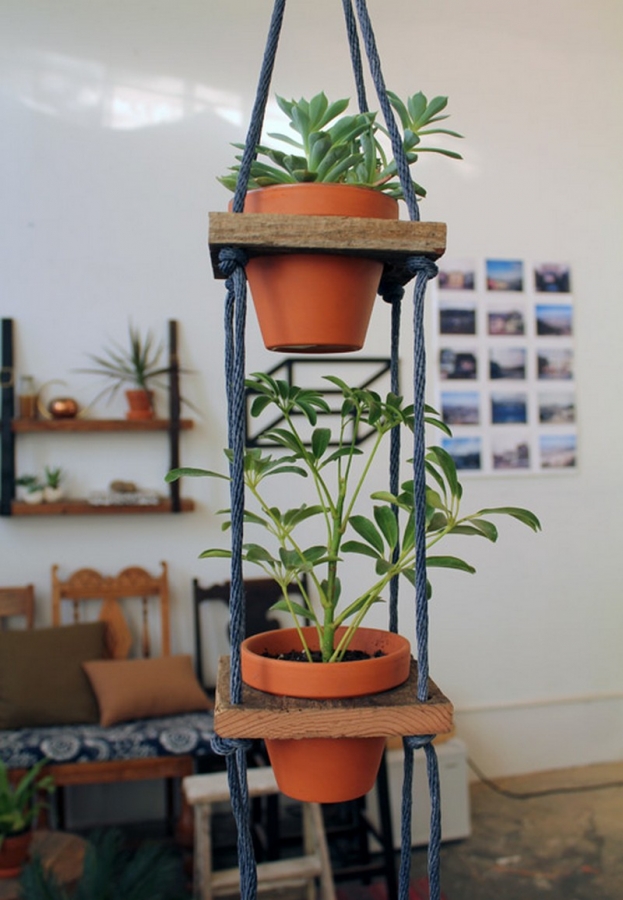
If you’re interested in going vertical with your greenery, why not make one of these tiered hanging pots? All you need is a bit of scrap wood, some rope, a few essential woodworking tools, and terracotta pots.
Vertical gardens are trending in gardening now and everyone is trying to find innovative ways to grow plants in a small space.
Hanging pots are one of the many vertical gardening techniques that are popular now.
Hanging planters have become a popular way to brighten up your home. Many people have found it easy and fun to grow plants in hanging pots. Hanging pots make gardening in smaller spaces relatively easy, as there is almost no space taken up.

A vertical planter offers a couple of advantages. It saves space, which makes it ideal for those of you who are living in apartments or studios. It’s also an efficient way of watering plants as excess water from the pots above drips into the ones below.
The Tiered Hanging Pot is an easy do-it-yourself project that practically anyone can accomplish. It is a great way to display your favourite potted plants and it is a way of adding colour and interest to a room.
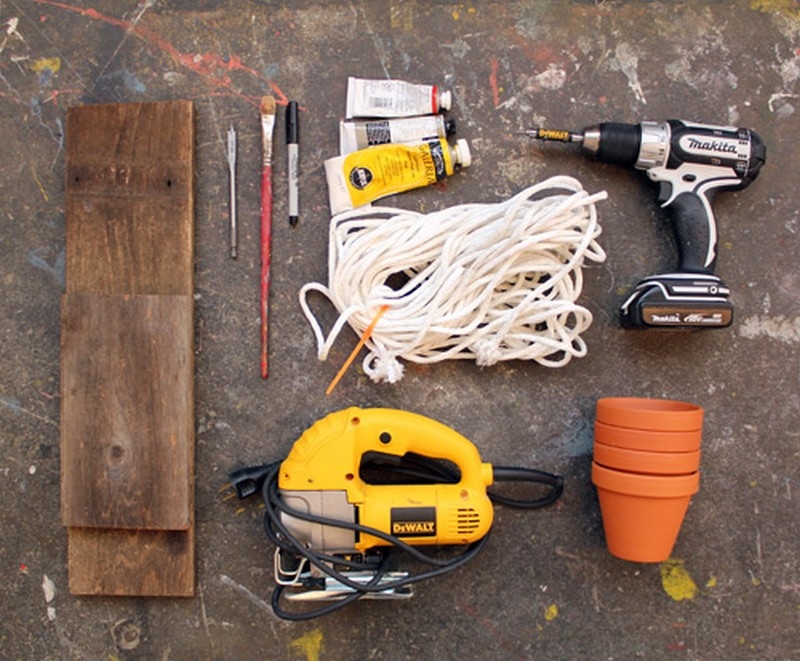
Materials:
- Scrap Wood
- Terracotta Pots
- Rope
- Plants
- Metal Ring
- Paint
Tools:
- 3/8” Boring Bit
- Paintbrush
- Drill
- Jigsaw
How to make your own DIY Tiered Hanging Pots?
Making your own vertical planter is not as difficult as you think. You may just need to unleash the creativity hidden inside you.
Vertical planters are preferred by people who have a limited amount of space in their homes. Vertical planters can go on your balcony, terrace, deck and other places where you can place them.

These planters are available in the market in different sizes and designs and are also easy to install. However, if you do not have a budget for buying a vertical planter, then you can easily make one for your house by using a few DIY vertical planter ideas.
You may need some essential woodworking tools like a drill with drill bits and a jigsaw. Then we have prepared the list of materials that you will need for this DIY project.
All you need to do is gather them s you can start your tiered hanging pots project.

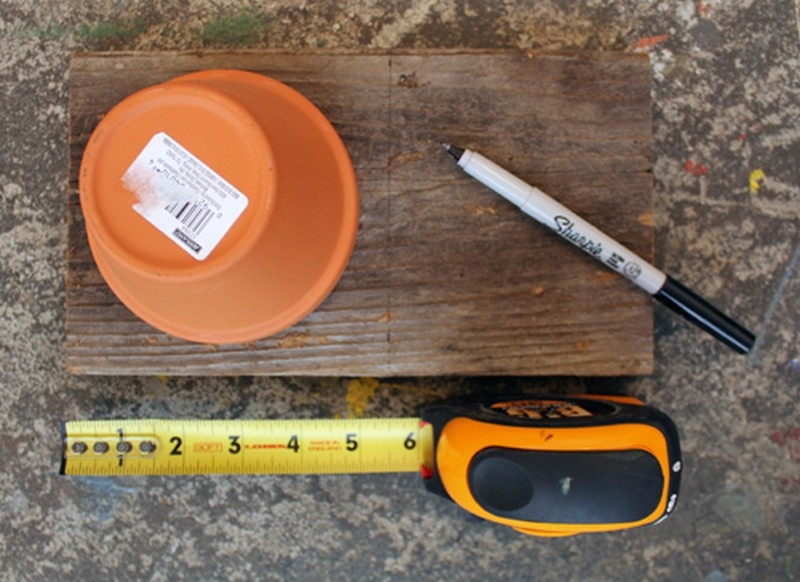
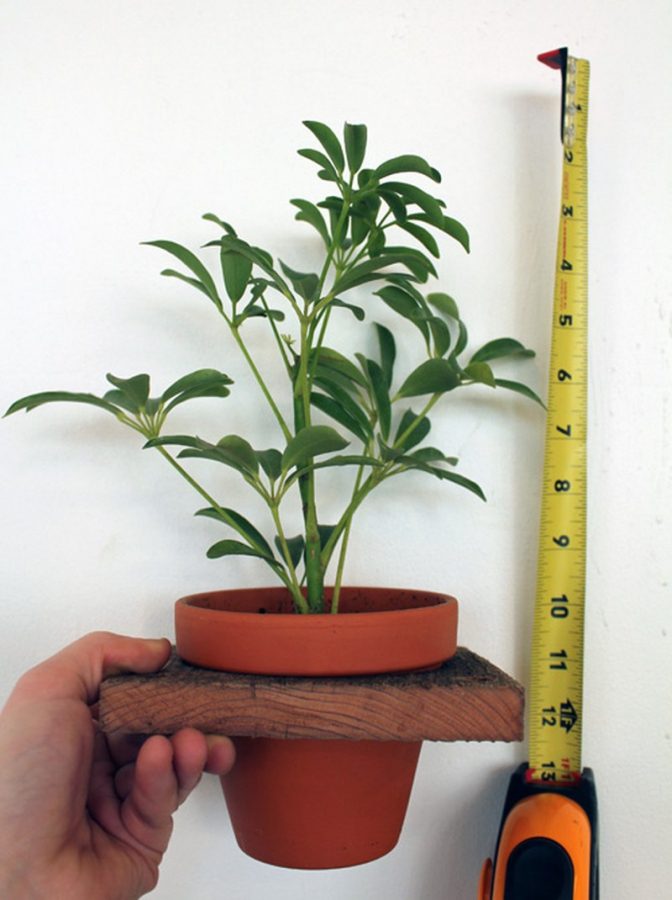
Start by cutting your scrap woods into pieces. Make sure that the length of your scrap wood is wider than the diameter of the lip of your terracotta pot.
This will ensure you enough space for the ropes that you will attach later.

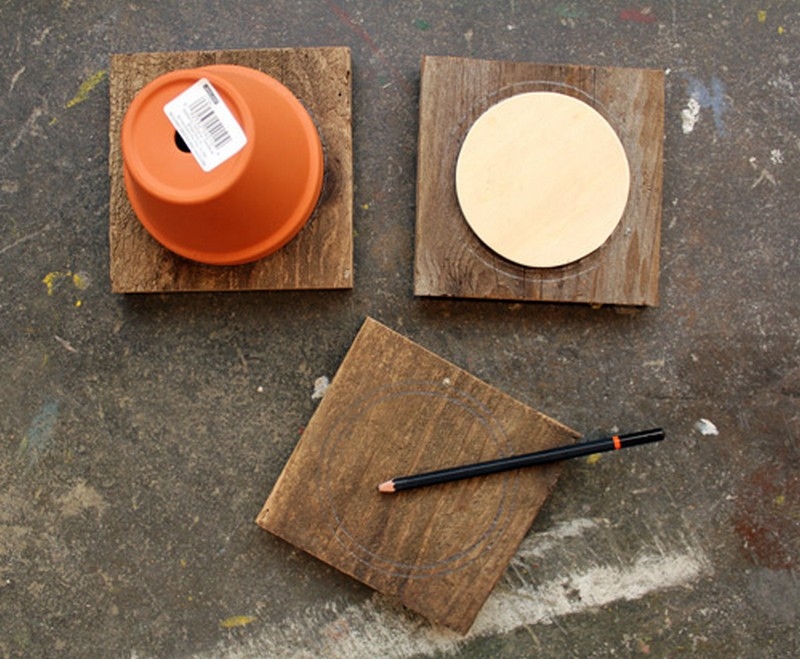
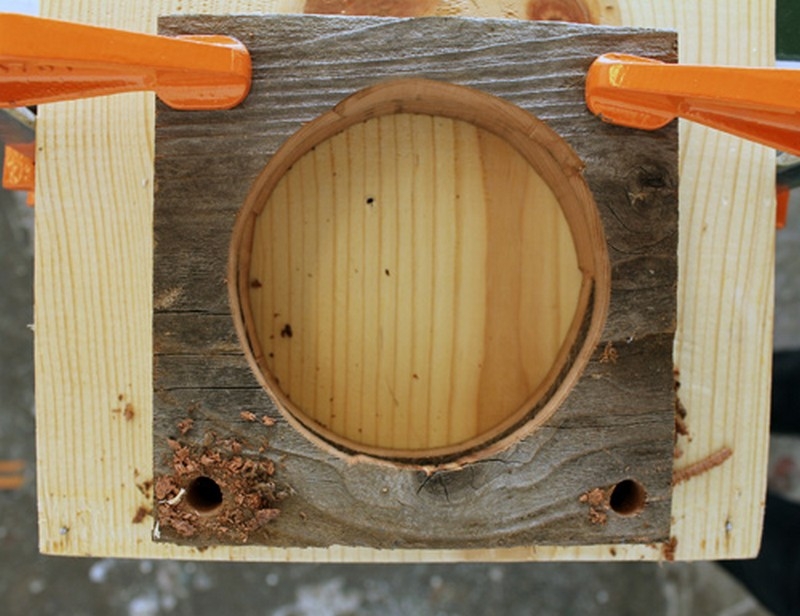
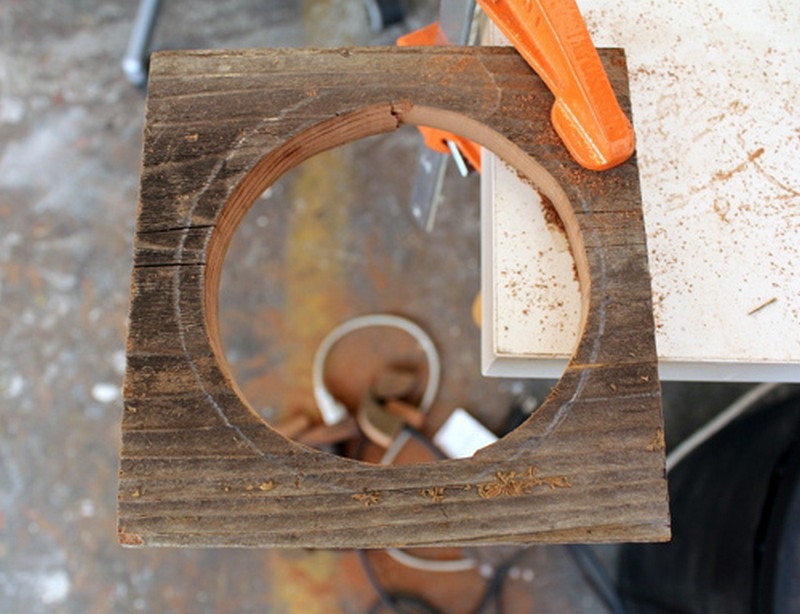
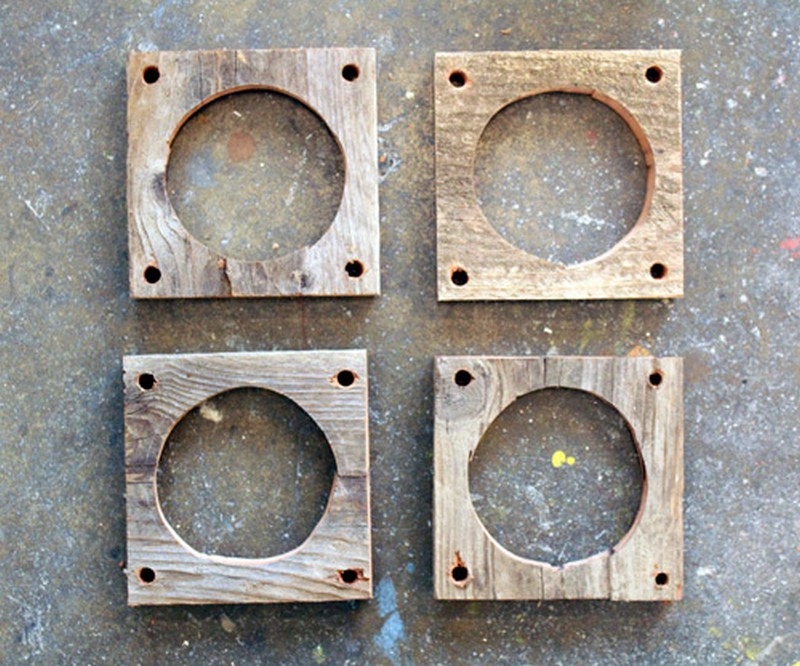
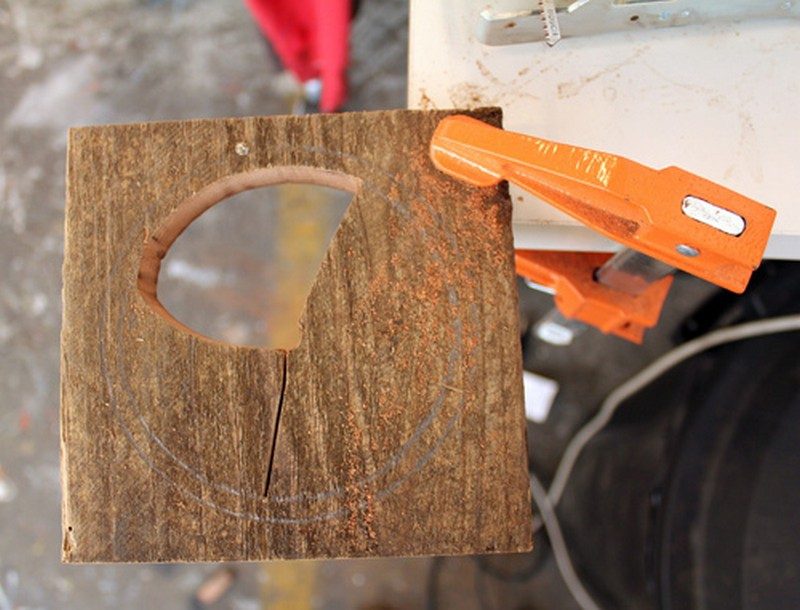
Then measure the diameter of the neck part of your pot, and trace them into the scrap woods that you cut earlier. Then using the jigsaw, cut out the part of the wood that you traced.
Make sure that the pot will fit securely into the whole of the wood. You don’t want your hanging pots hanging around unfastened.
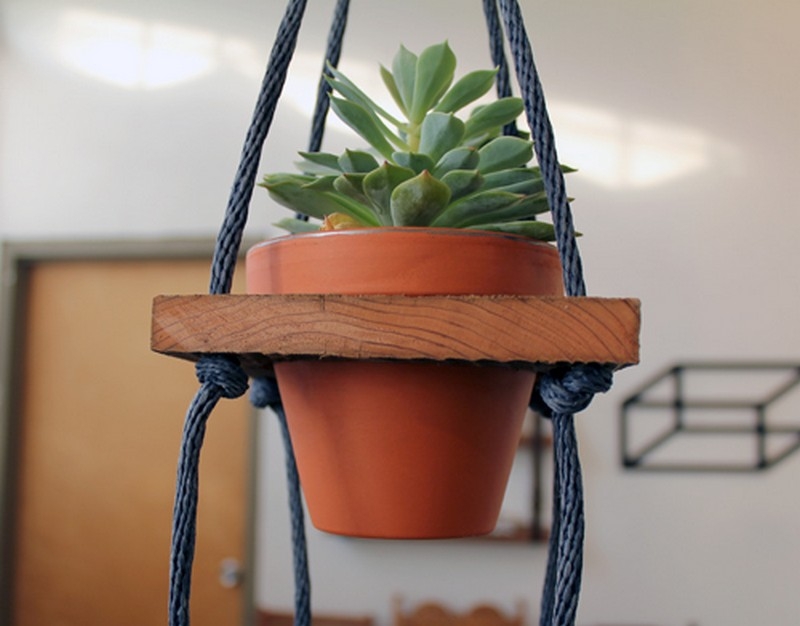
After making the holes in your scrap wood, stack them together, then drill holes in every corner of the wood. Ensure that the ropes will be able to go through the holes that you drill.
The diameter of the drill bit should be a little wider than that of the rope.

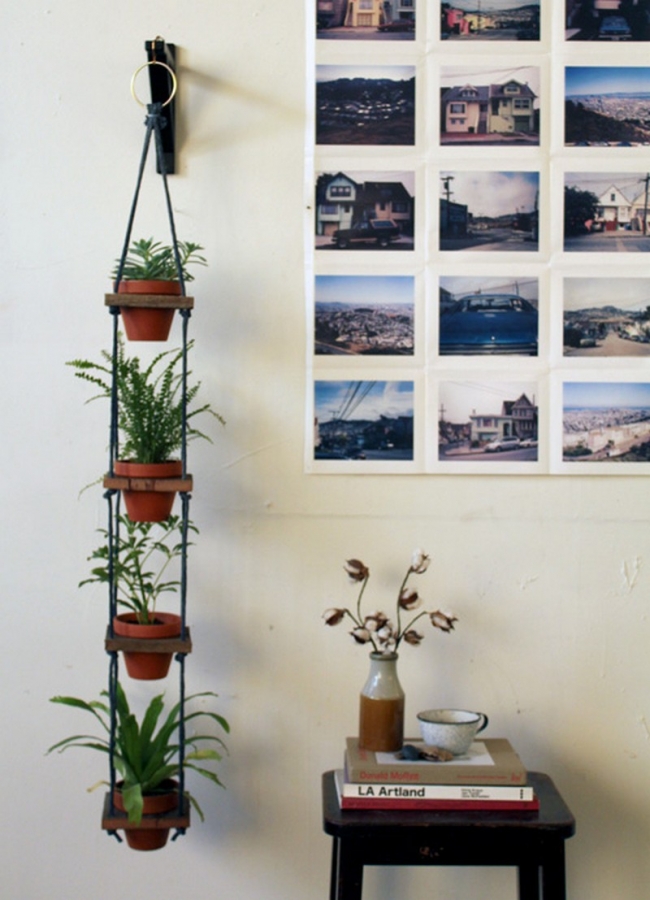
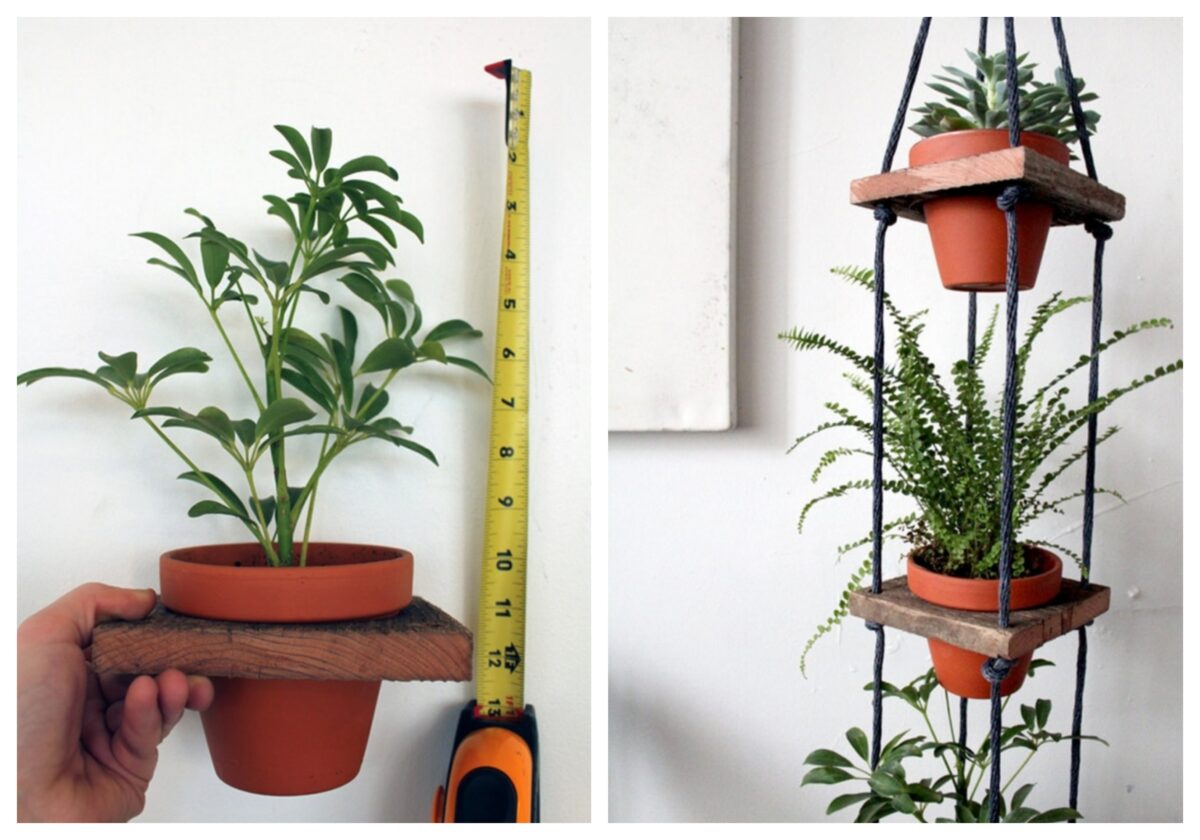
With this, you can start stacking them together to complete your DIY tiered hanging pots.
The distance of the pots should be at least 1 foot to give enough room for the plant to grow.
Want to add a bit of greenery to your home? Then learn how to make your vertical planter now!
Click on any image to start the lightbox display. Use your Esc key to close the lightbox. You can also view the images as a slideshow if you prefer 😎