Last Updated on January 27, 2025 by teamobn
Shelving units offer a number of advantages over other storage solutions. They are easy to install and can be reconfigured as needed to accommodate changing storage needs. Shelving units are also very versatile and can be used in a wide variety of settings, including home offices, garages, and even retail stores.
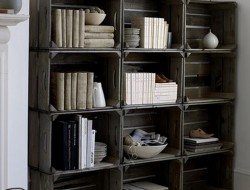
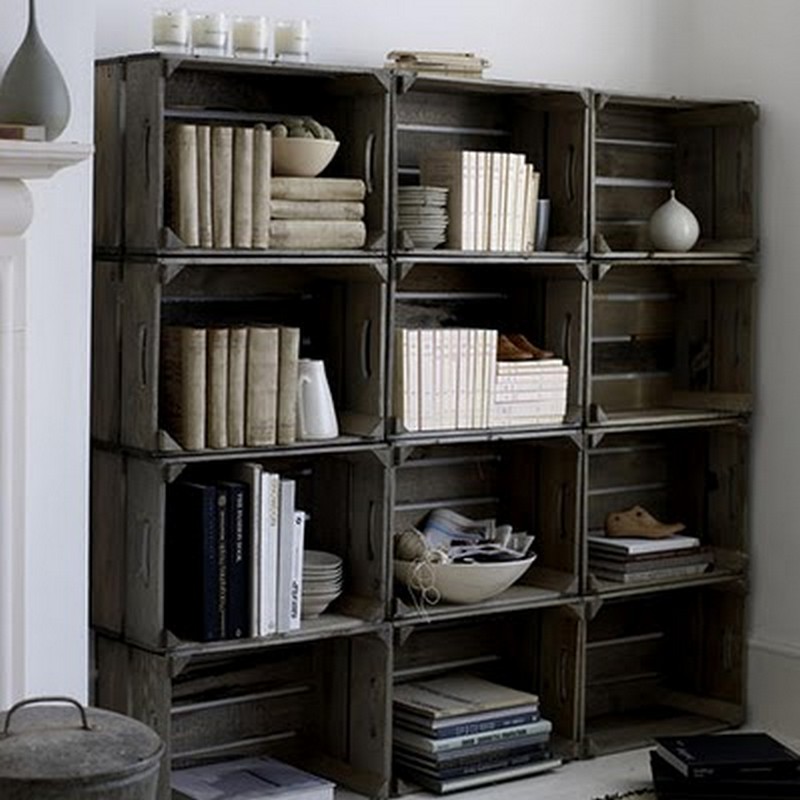
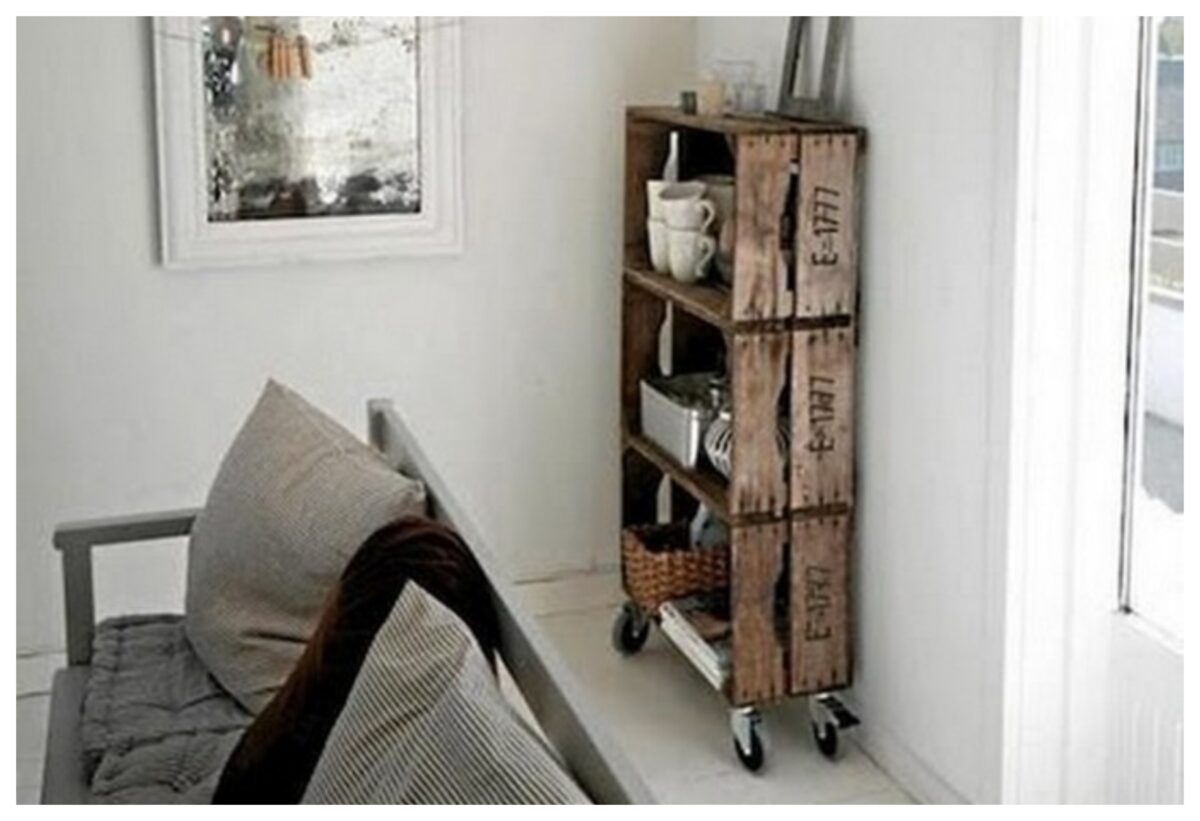
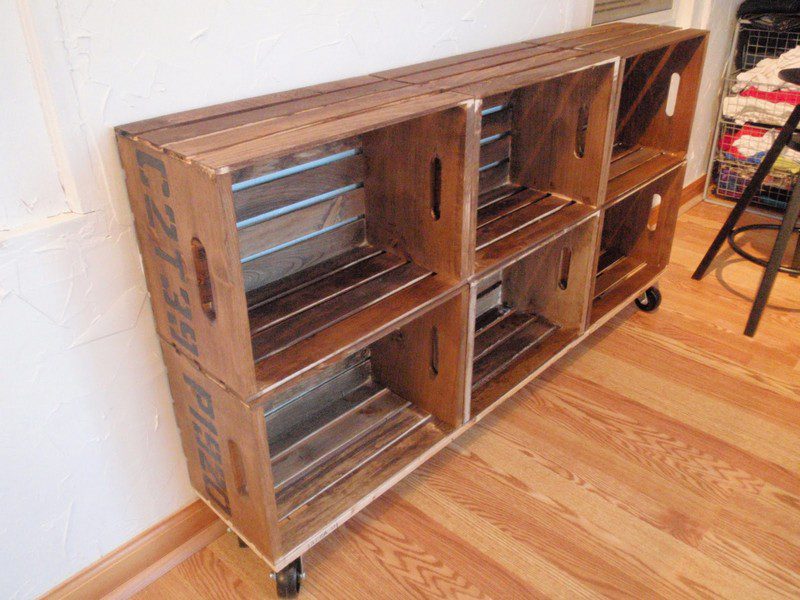
Stacked vintage timber crates can make a functional and decorative storage unit. If you’re lucky enough to find some vintage crates, they can make a great shelving unit that also has a bit of decorative flair.
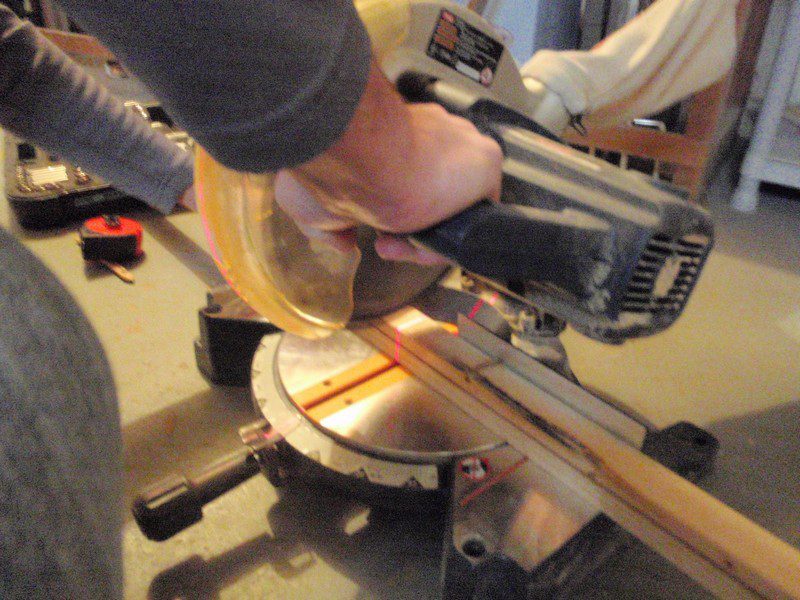
However, these crates can be quite hard to come by. You may be able to find them at antique stores or flea markets, but they can be quite pricey. If you’re willing to put in a bit of work, you can try making your own crates out of timber.
But, by building your own vintage crates, you’ll be able to cut down on the cost but still retain their vintage appearance. This may not have the same vintage charm, but it can still look great and be very functional.
You can build your own vintage crate, and here’s how you do it!
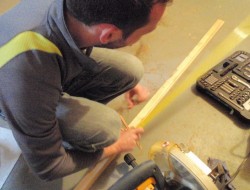
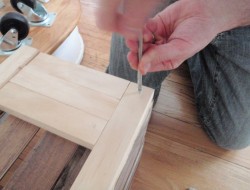
To create a rustic yet chic storage solution for your home, you can start by finding some old wooden crates, or creating them from scratch using new wood. But, if you are using old crates, make sure they are still in good condition, enough to be able to hold items to be stored in them.
After making sure that the old crates are still in good condition, you can now sand them down to remove any roughness and old paint.
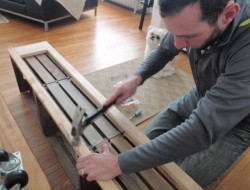
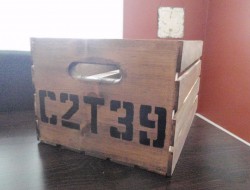
If you want to achieve a more vintage look for your wood furniture, you can try distressing the wood. This involves making the wood look old and worn, which can be done using various methods. There are a few ways to distress wood to give it a rustic look. One way is to use a chisel to create gouges and scratches in the wood. Another way is to use a hammer to dent the wood. You can also use a saw to create jagged edges.
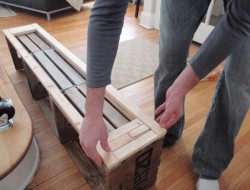
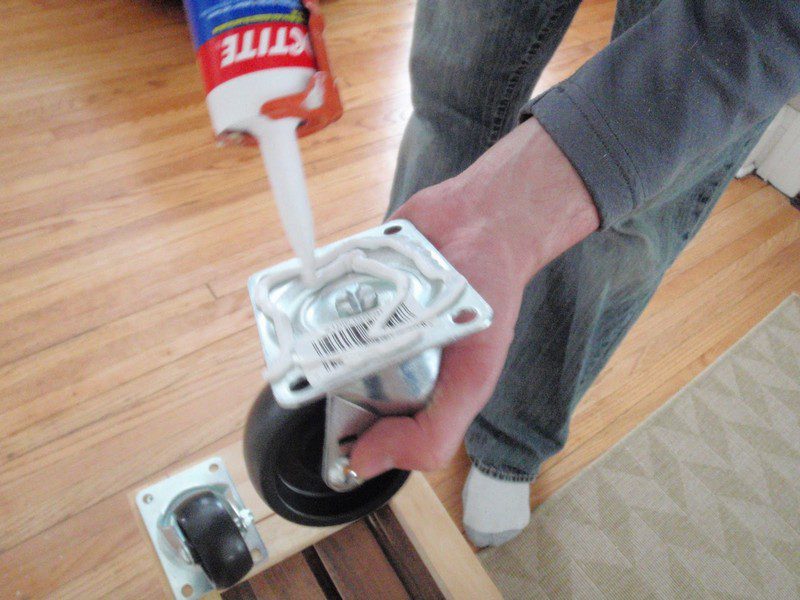
Once your DIY vintage crates are cleaned and sanded, you can stain or paint them in any colour you like. When you decide to just stain your project, you can select from different finishes to achieve the vintage look. Once the stain or paint is dry, add some hardware to the crate if you want. This could include handles, hinges, or wheels.
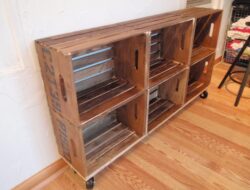
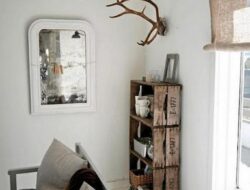
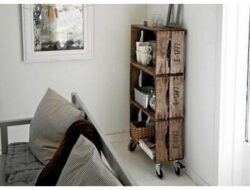
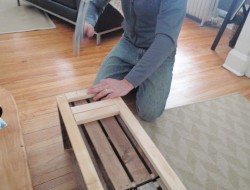
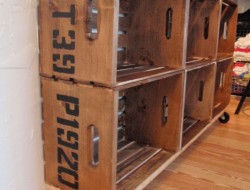
Once you’re done building the individual crates, stack them together to create a single shelving unit. Arrange the crates in a configuration that suits your needs, and use them to store anything from books to blankets. This unique storage solution is sure to add charm to any space.
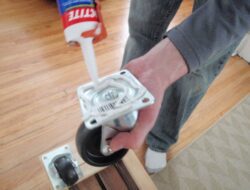
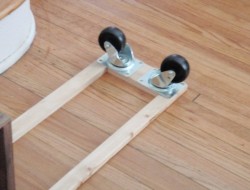
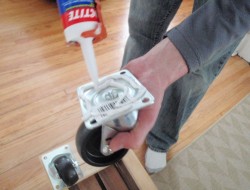
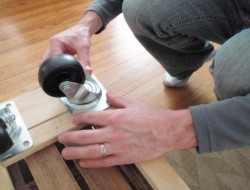
And if you find yourself needing more functionality for your DIY vintage crate, then casters are the way to go. You simply add these casters to the bottom of your crate and you’ll have a functional, stylish piece of furniture. Perfect for easy mobility of your DIY project.
This simple project can be done by anyone, and it’ll make it easy to move your crates around. Plus, it’s a great way to add some extra character to your home décor.
What do you think of this shelving unit? Let us know your suggestions on how this might be even better!
Materials
- Crates
- ¾” Wood
- 4 Wheel Casters
- Screws
- Nails
Tools
- Drill
- Saw
- Hammer
Click on any image to start the lightbox display. Use your Esc key to close the lightbox. You can also view the images as a slideshow if you prefer 😎