Last Updated on January 29, 2025 by teamobn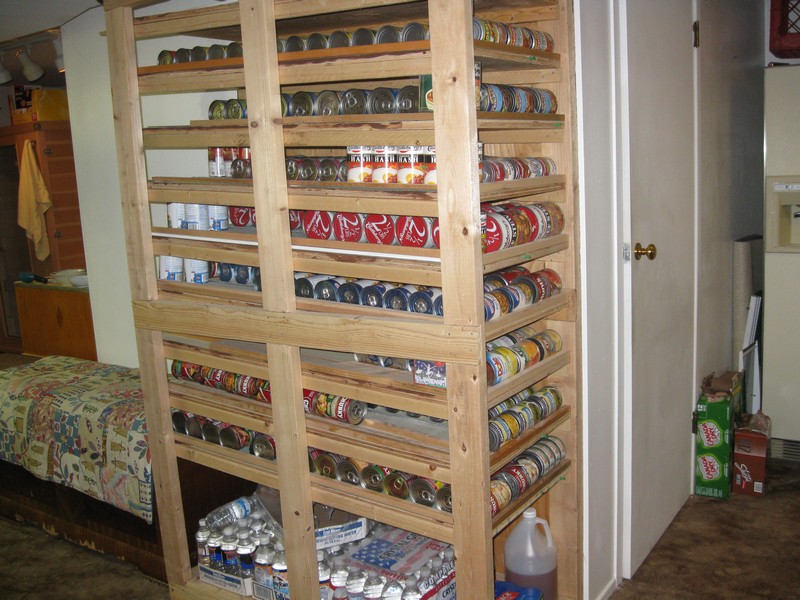
Do you like to bulk buy long-shelf-life food to save money? Or maybe, like us, you like to have an ’emergency food cache. The challenge, as always, is having the right storage system in your home. It’s not just about a place to keep it, but rather a place to be able to easily access what you want when you want it.
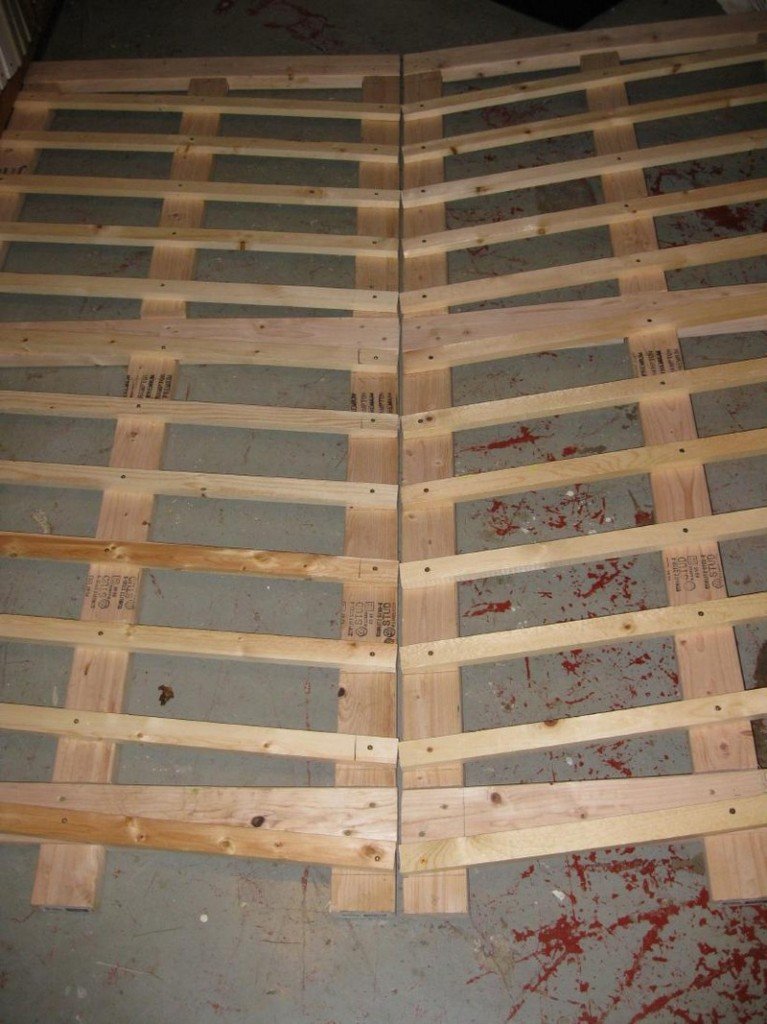
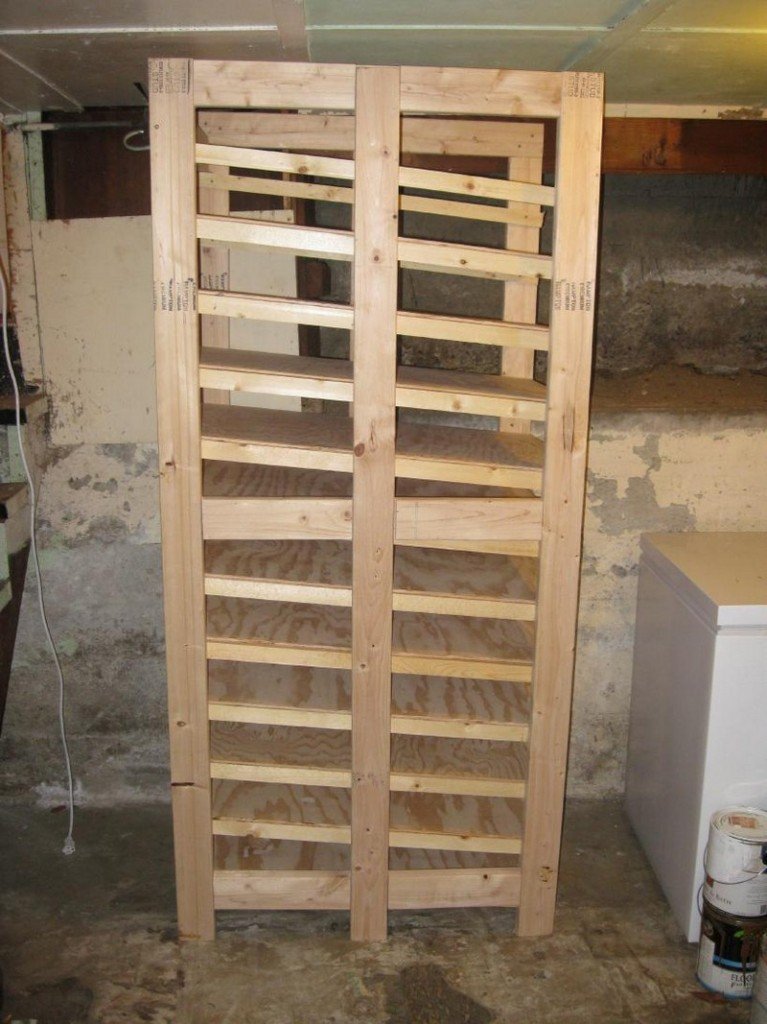
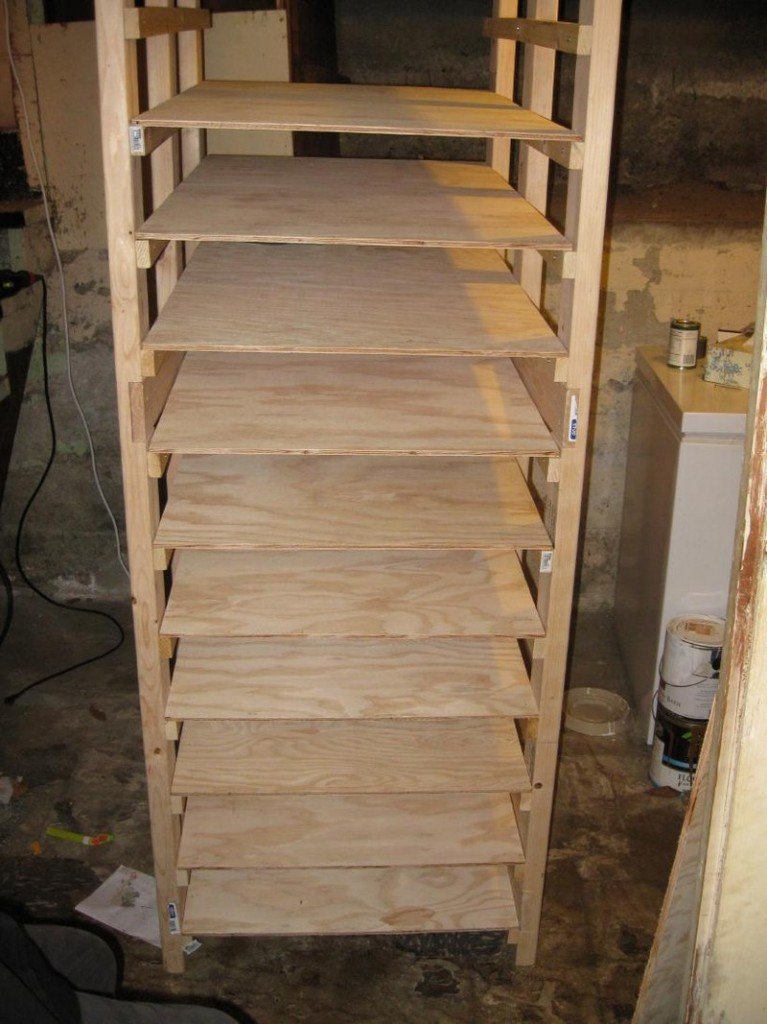
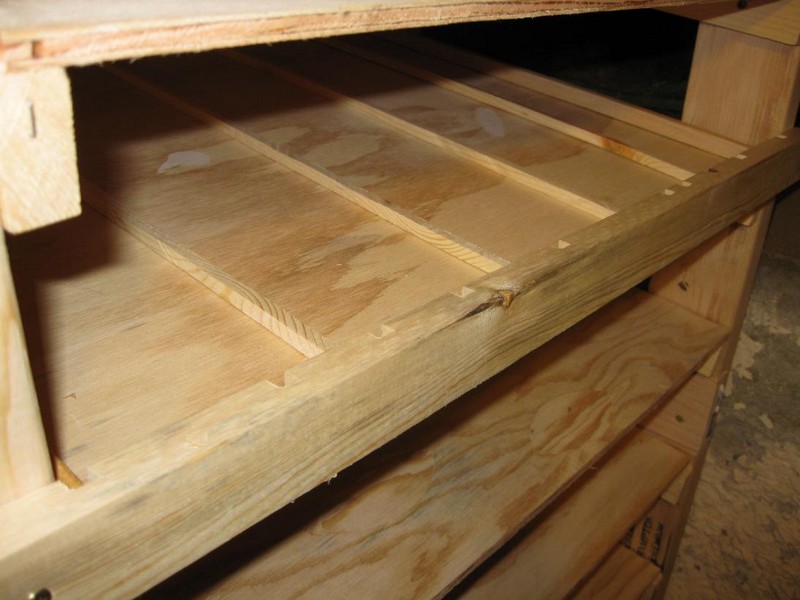
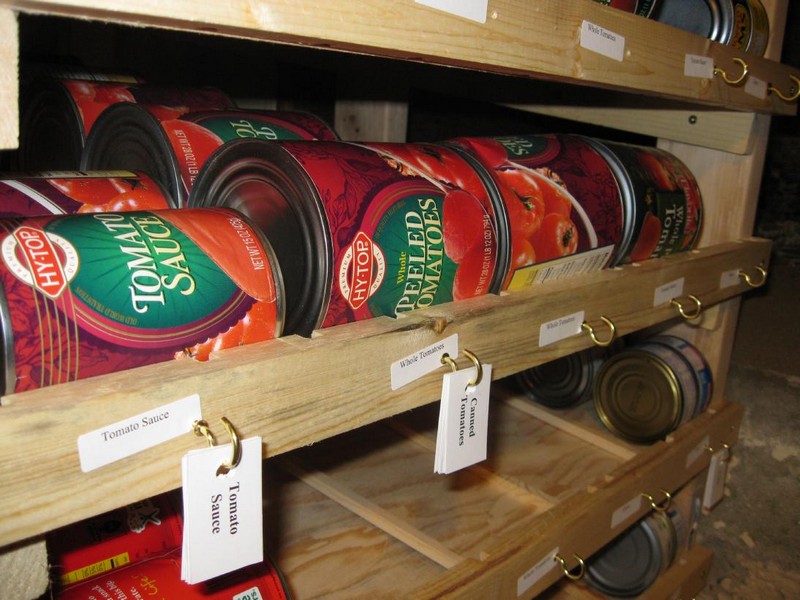
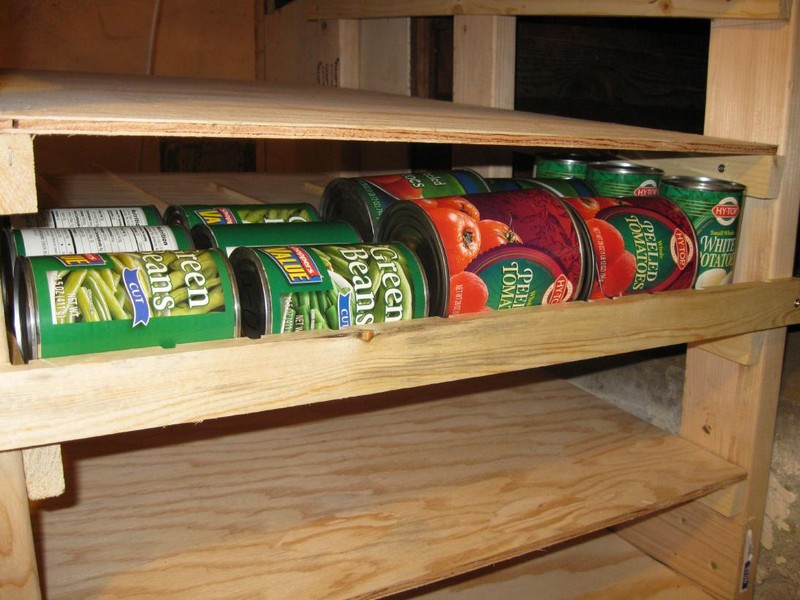
Building your own canned food rotation shelf is a great way to utilize maximum food storage capacity and maximize the shelf life of your emergency food stock. The slanted shelves are perfect for storing and rotating canned foods and provide easy access from all sides.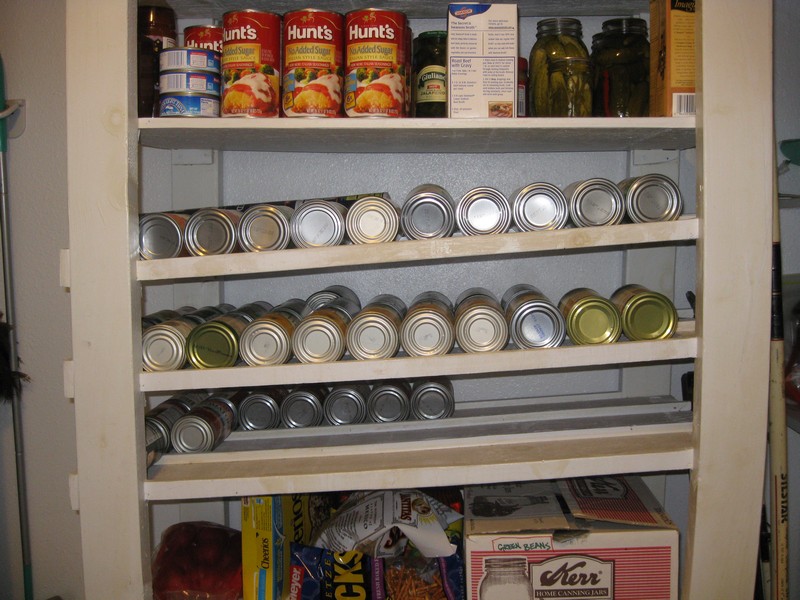
What are the materials needed to create a DIY Canned Food Shelf?
This rotation shelf uses the first-in – a first-out system where the cans are fed from one end and are dispensed on the other, ensuring that the oldest can is consumed first.
Is this the next project for your pantry or cellar?
Materials:
- 3 sheets of 4’x8’, 12” thick Plywood
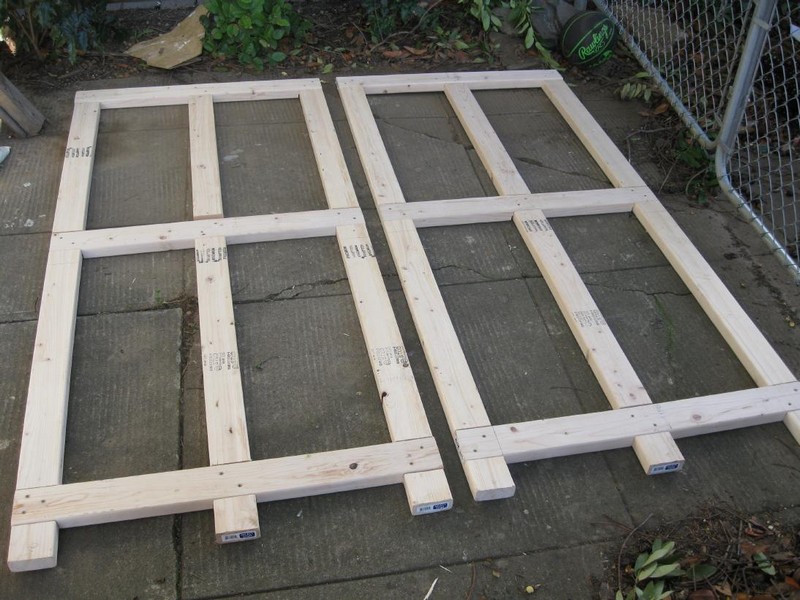
- 9 pcs of 2”x4”x8’ Boards – Shelf Frames
- 11 pcs 1”x2”x8” Boards – Shelf Supports and Can Stoppers
- 1-3/4” or 2” Wood Screws
- 1-1/4” Wood Screws
- 1” Nails
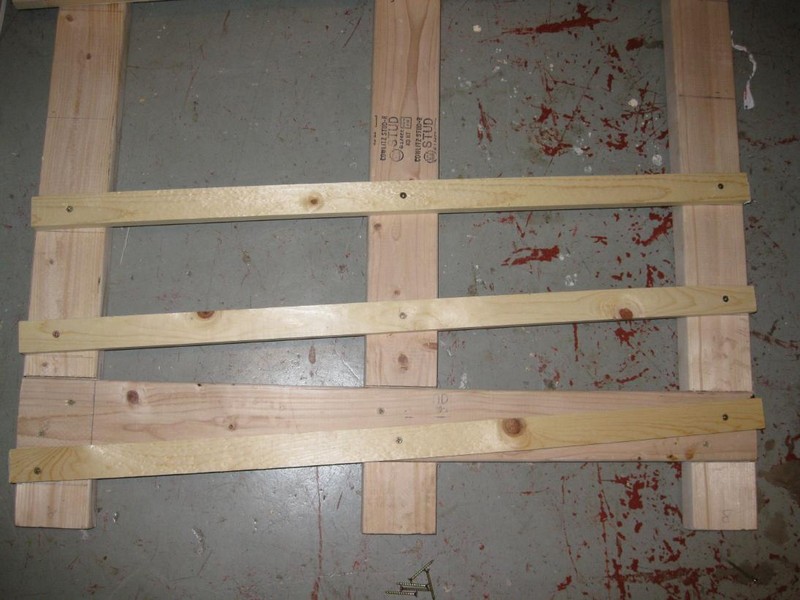
- 6 pcs/shelf of ¼”x36” Strips of Wood – Can Dividers
Tools:
- Power Drill
- Table Saw
- Nail Gun
- Dado Blade with Bench
- Sander
How to create a DIY Canned Food Shelf?
1. Measure and gather the materials
Before gathering the materials, determine the size of your shelf.
2. Making the shelves
Saw the plywood and cut the cardboard-based on your measurements. Use wood glue to attach them together with an angle. You can use a pneumatic staple gun before gluing the shelves.
3. Can stopper
Add braces on the top and bottom. Next, add the can stop on the front.
Thanks to Intelligent Living Poes for this great project. You can get the full step-by-step instructions here…
Click on any image to start the lightbox display. Use your Esc key to close the lightbox. You can also view the images as a slideshow if you prefer 😎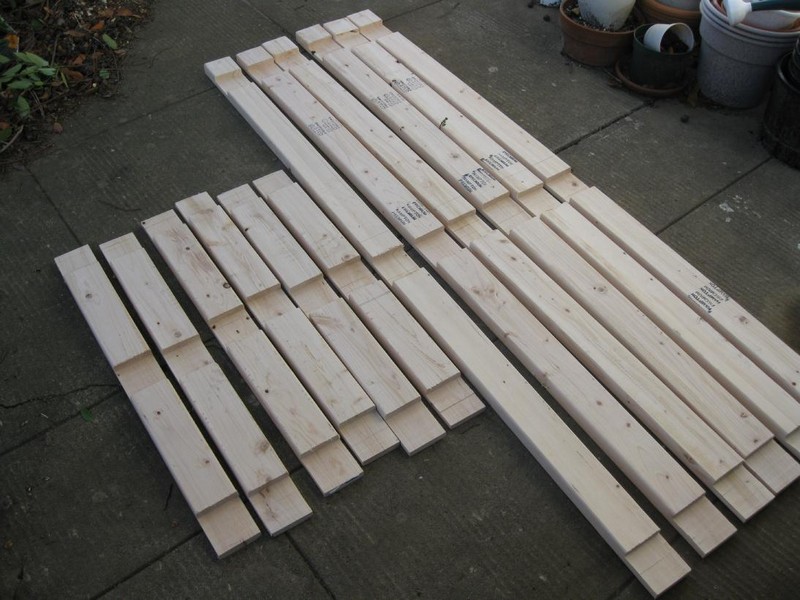



If you liked this project, you will also like to view these easy DIY projects…
Here’s a quick video tutorial…


