Last Updated on February 3, 2025 by teamobn

No matter where we spend our day, eventually, we come back to our home where we relax, eat, and spend time with our family.
We all want our home to look beautiful and clean. We feel proud when anyone praises our house for its decor and beauty. But – most of the time – finding good decor is neither easy nor cheap.
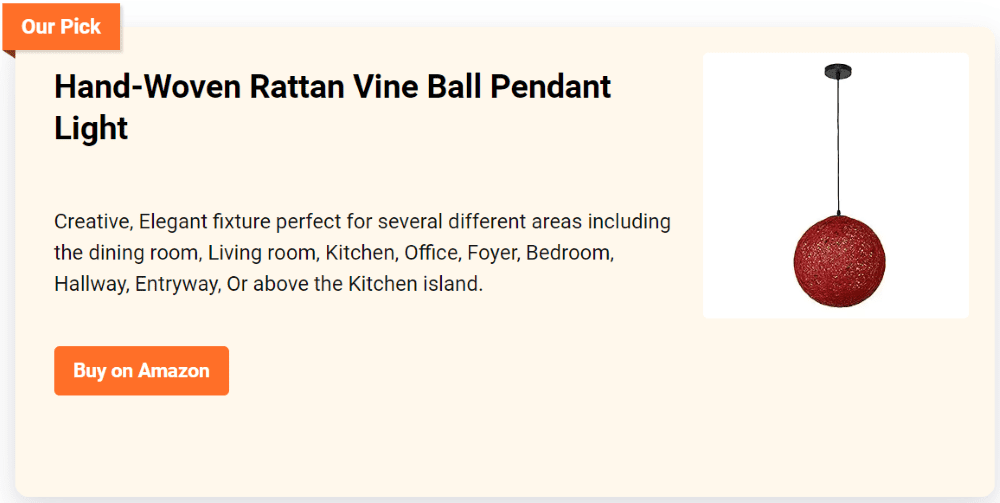
Is your good taste usually ahead of your wallet? If so – or you just like to be able to say “I made this, this light pendant project has your name stamped all over it. Light fittings like this can cost hundreds, depending on the name on the label so why not do your budget and your ego a favour and make them yourself!
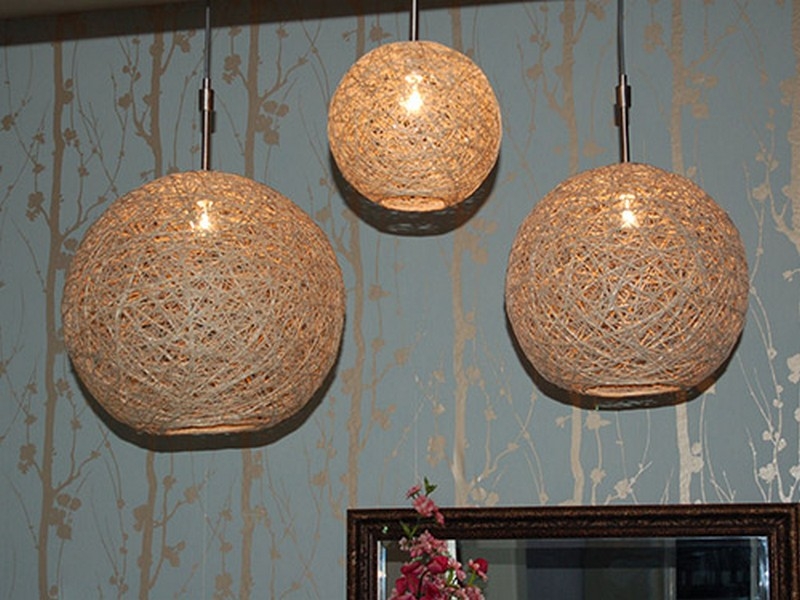
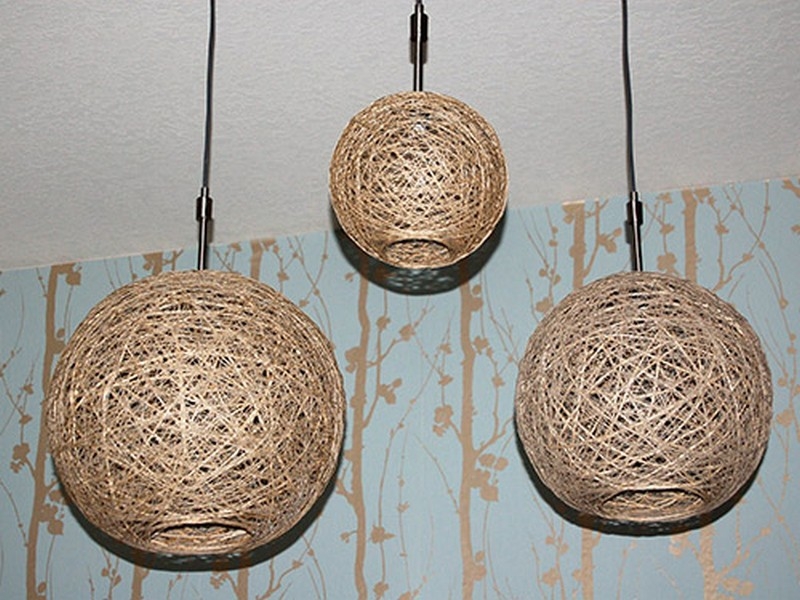
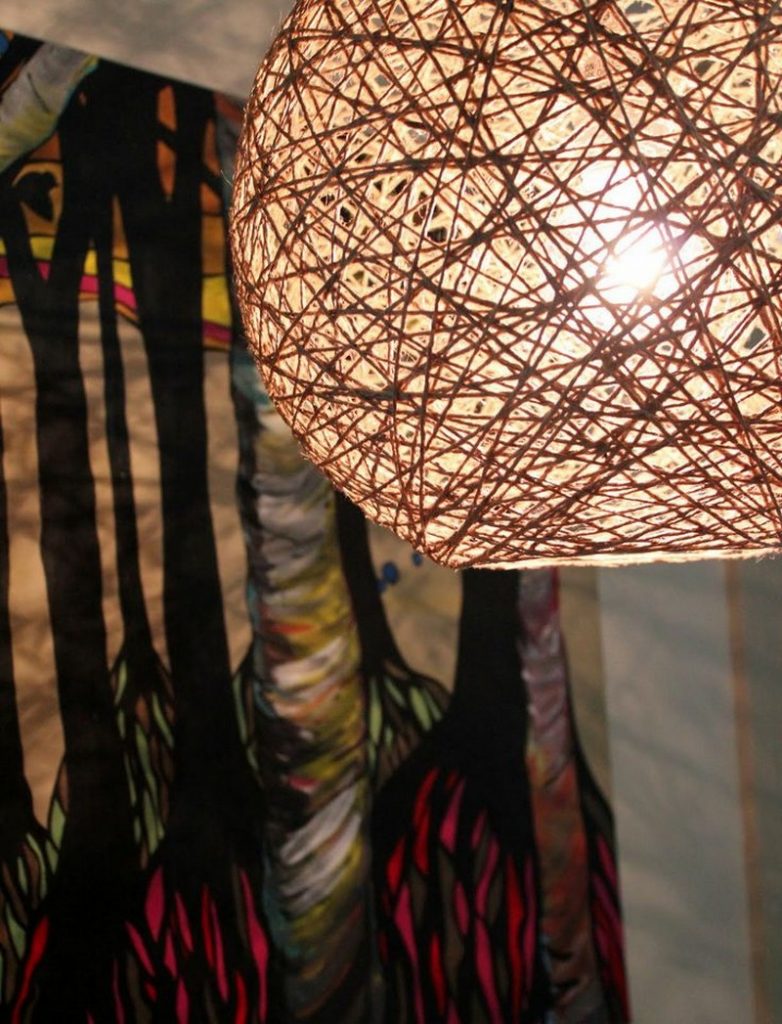
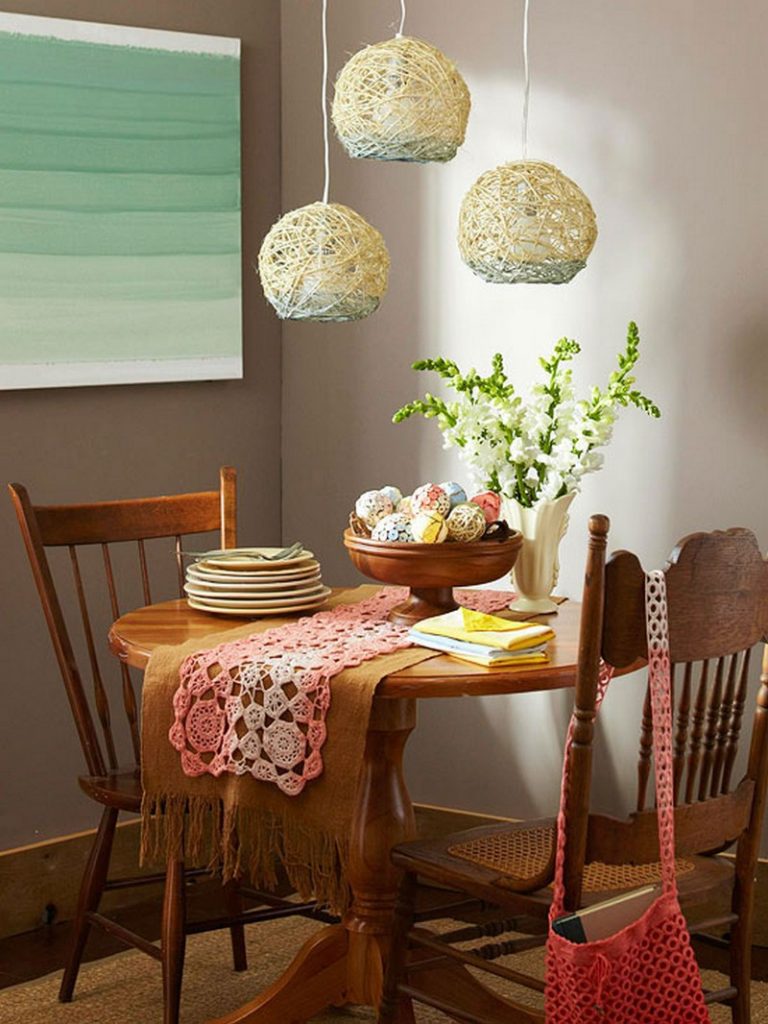
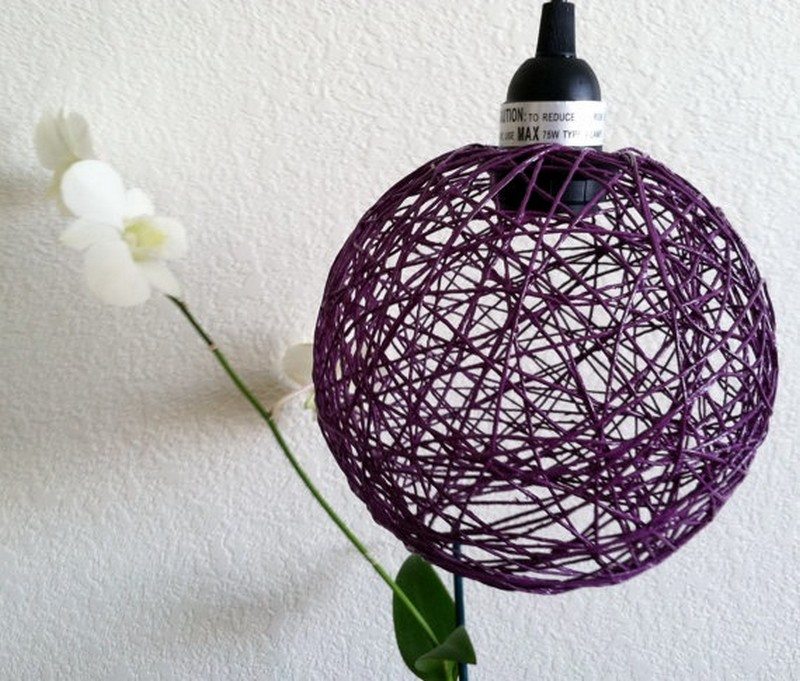
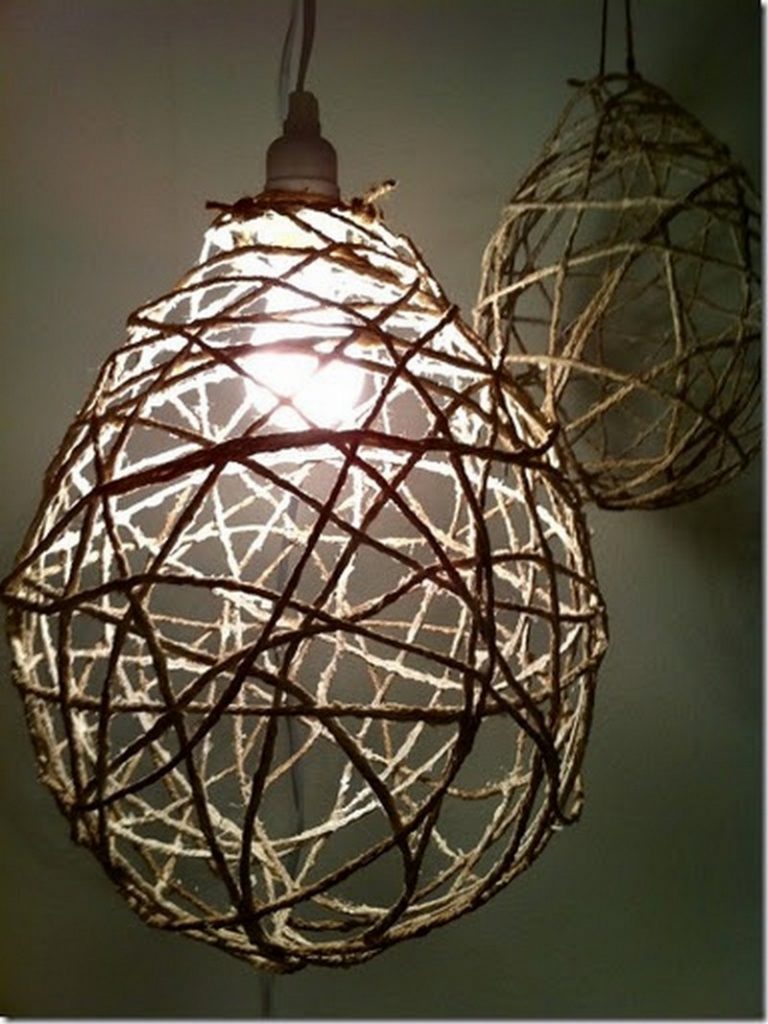
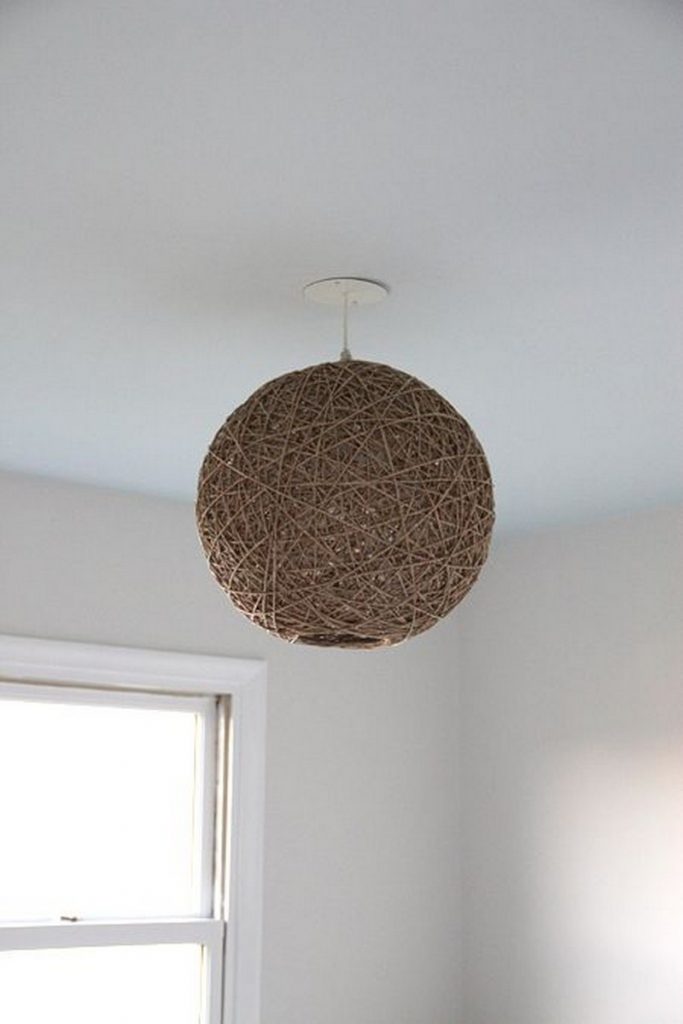
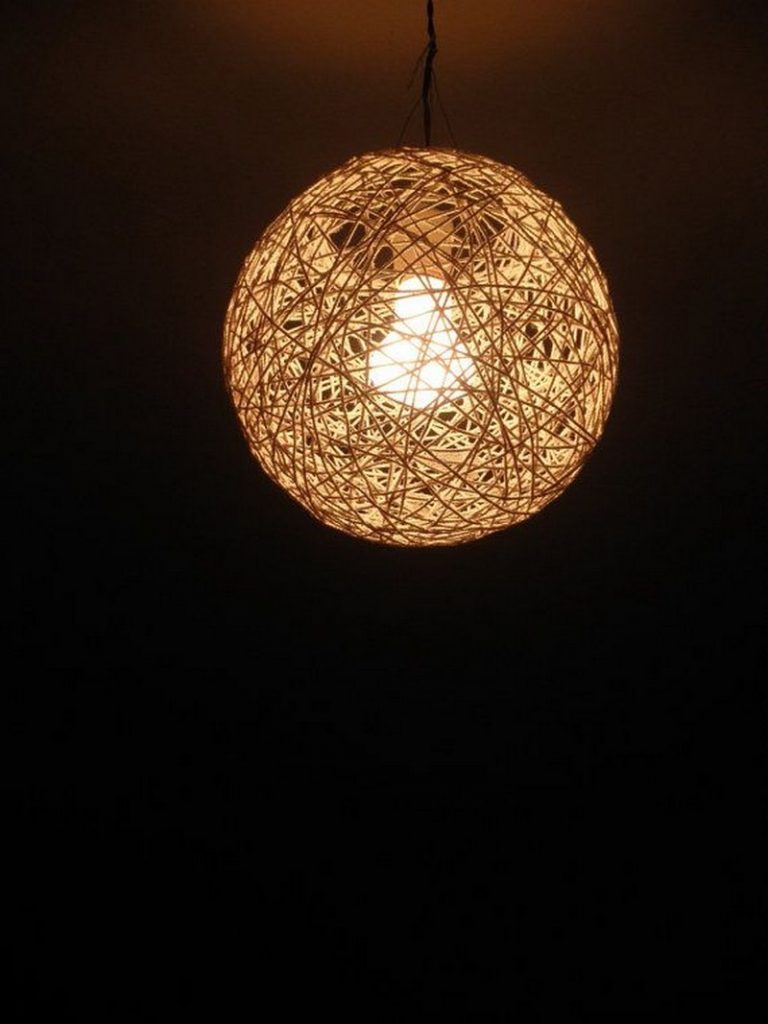
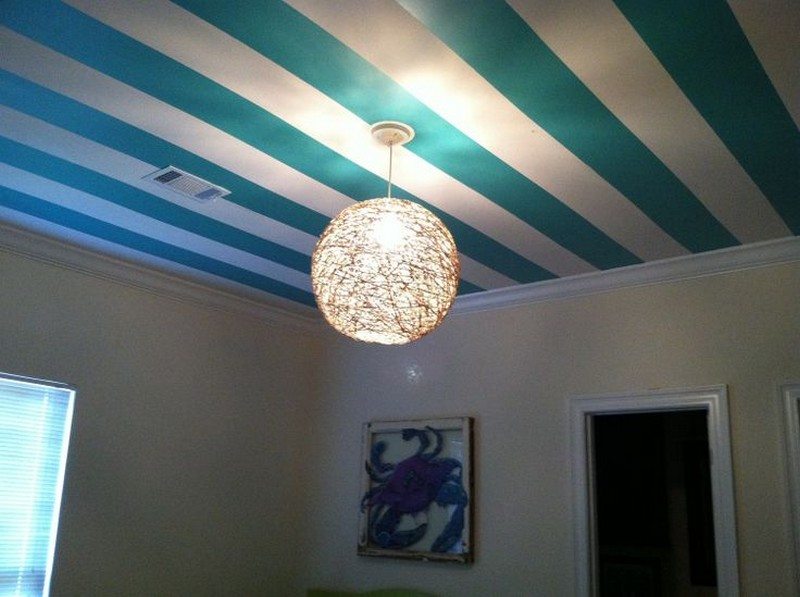
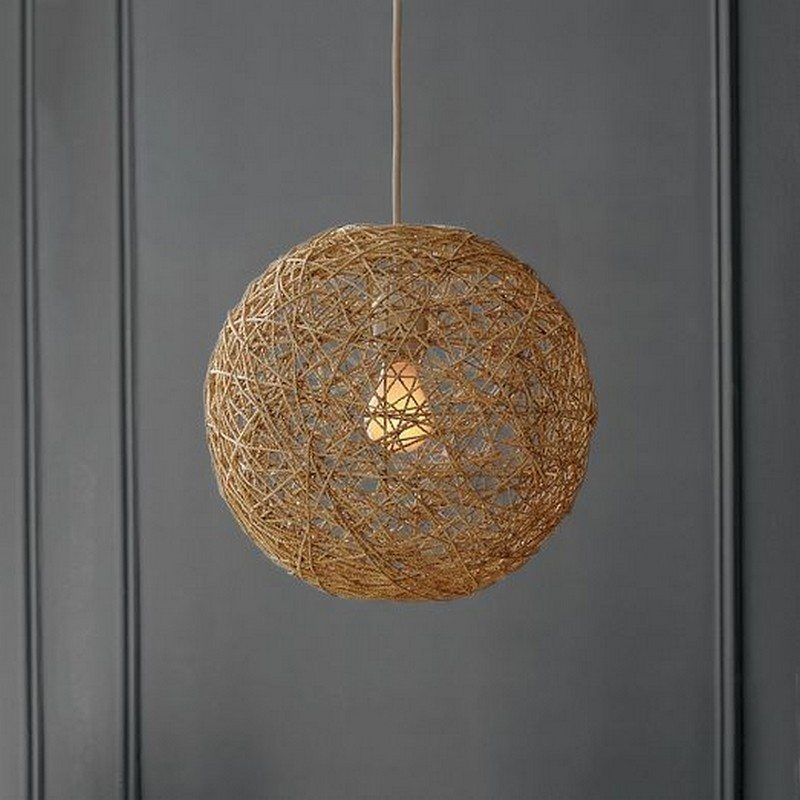
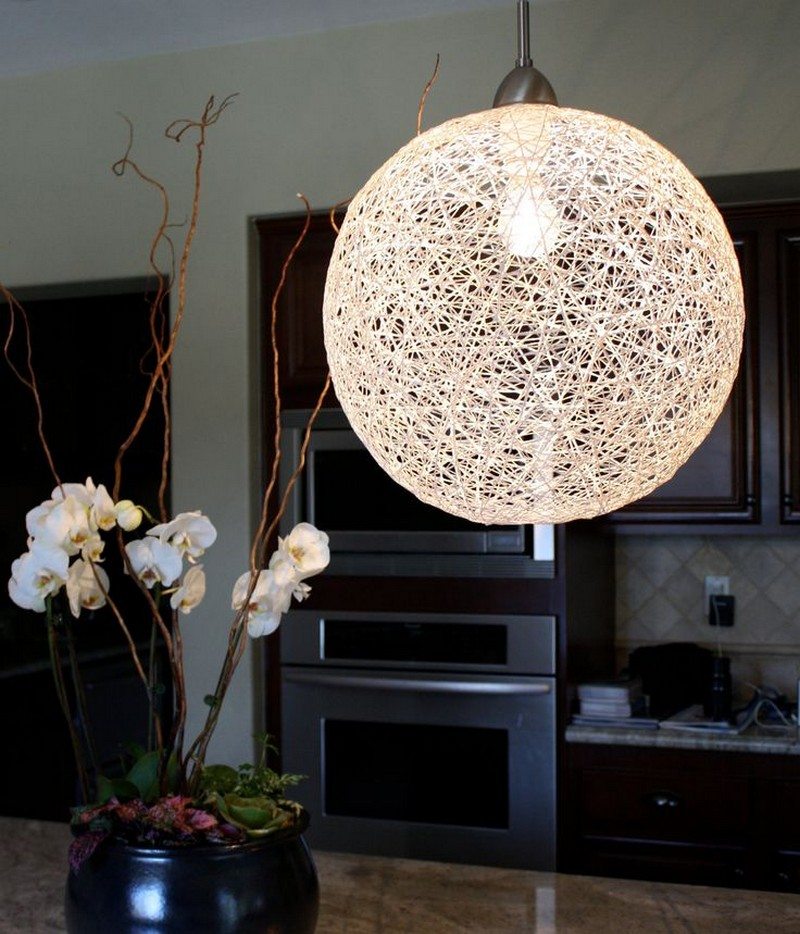
This elegant hemp pendant lantern is surprisingly one of the easiest projects you can do. You can even colour them whatever you like to match your home’s interior.
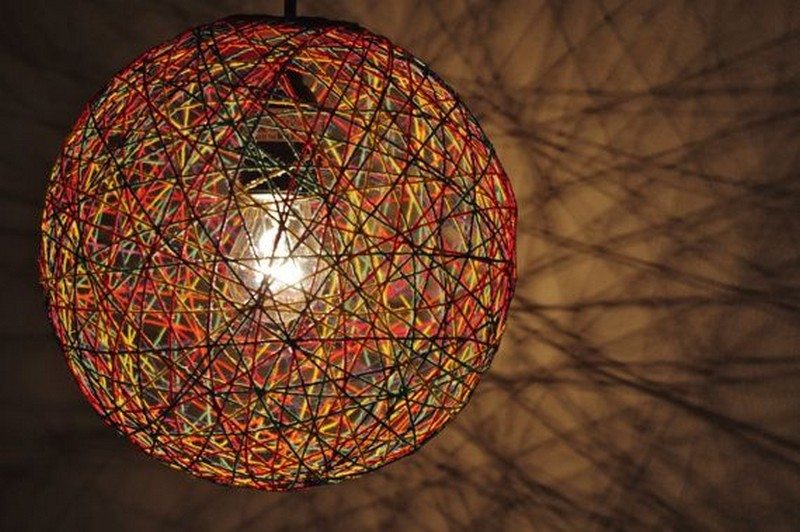
What are the materials needed to create a DIY hemp pendant lantern?
Why not make one for your living room, or dining room, or bedroom?
Materials:
- Plastic balls – different sizes
- Clear Drying Craft Glue – 1 bottle per ball
- 20 lbs Hemp String (16-inch diameter ball needs 400 yards)
- Trash Bag (or small drop cloth)
- Permanent Marker
- Ball Inflating Needle
- Light Fixture and Hardware
- Plastic Gloves (optional)
Tools:
- Scissors
- Drill – for installing the fixture in your ceiling
How to create a DIY hemp pendant lantern?
To make the hemp pendant lantern, make sure to gather all the materials and locate the area where you can hang these beautiful pendant lanterns.
1. Inflate
Inflate the balloon and tie a slip knot at the end of it. Then, secure one end of the crochet thread to the knot on the balloon by either loosely trying it, or taping it into place.
2. Saturate thread with Fabric stiffener
The Fabric stiffener is what keeps the thread in the shape of a sphere once the balloon is popped, so it’s pretty important. To coat the thread well we found that you need to allot around an entire 16oz. bottle of fabric stiffener per lantern globe.
3. Wrap the thread around the balloon
Wrap the balloon with the saturated thread trying to keep good tension the whole time. You want the thread to make loops around the largest circumference of the balloon as possible.
4. Over-inflate the balloon
Once the balloon has been completely wrapped with as much thread as you like, take out the slip knot that you previously tied and blow the balloon up as much as you can.
5. Dry
Dry the wrapped balloon for 24 hours in a temperature-stable environment. I placed some garbage bags down in my bathtub to protect against drips and hung the globes from some extra crochet thread.
6. Remove the balloon
First, pop the balloon with a pin. If you’re lucky, it will naturally start to shrink away from the string. Bit by bit, it will come away from the string and pretty soon it will come completely free.
7. Cut a hole and insert the bulb
Cut a hole in the top of the globe with scissors so that there’s enough space to insert the bulb and the light fixture.
8. Stopper
The easiest thing we came up with was to drill a small hole in the little plastic thing that manages the cable on the Ikea lamp and use some fishing line to tie the plastic cable manager to the top of the globe.
Once the hemp pendant lantern is affixed to the fixture, it’s ready to hang and light up your life!
Thanks to Crafty Nest and Instructables for this great lantern project. You can get the full step by step instructions here and here…
–
Click on any image to start the lightbox display. Use your Esc key to close the lightbox. You can also view the images as a slideshow if you prefer 😎

Here’s a quick video tutorial…


