Last Updated on July 23, 2024 by teamobn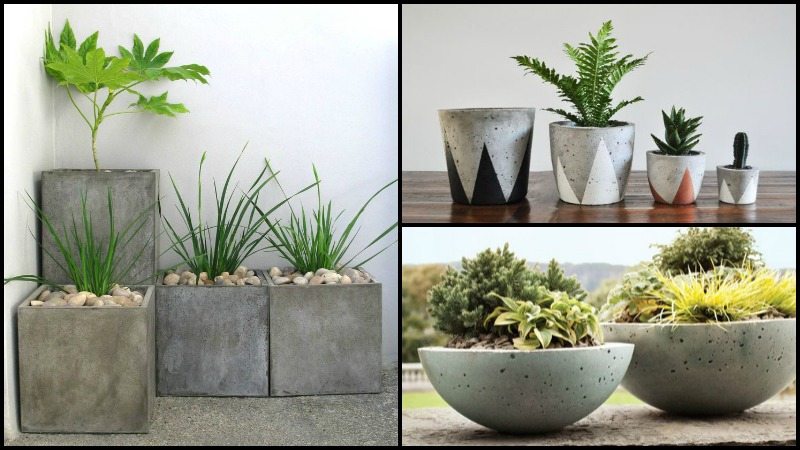
There are few things better than stepping outside to work in the sun and soil, whether we’re puttering about in large landscapes or hunched over a few containers on a front stop. We’re rewarded each day with sunshine, beautiful trees, shrubs, flowers, delicious fruits, and vegetables.
Planters are a wonderful addition to your outdoor setting. A stylish planter can enhance the colour and beauty of flowers or allow greenery to blend into the scenery of landscaped areas.
Planters come in many sizes, shapes, styles and materials. A large planter can allow you to grow an entire garden. Choose the size of a planter that will fit well into the space you have available.
But store-bought planters can be expensive, especially if you need a few for your garden. And what’s sold in your local hardware might not match the particular style or size you need. The solution is to make your own!
Planters come in a variety of materials. Planters made from ceramic or clay will last for many years and can be purchased from garden supply stores. Planters can be made of concrete or plastic and are less expensive than those made from ceramic or clay.
Why not make concrete planters. Concrete is a material that is easy to find – you can buy a bag in your local hardware store. Concrete is also easy to work with, you can use different moulds and achieve various shapes and designs.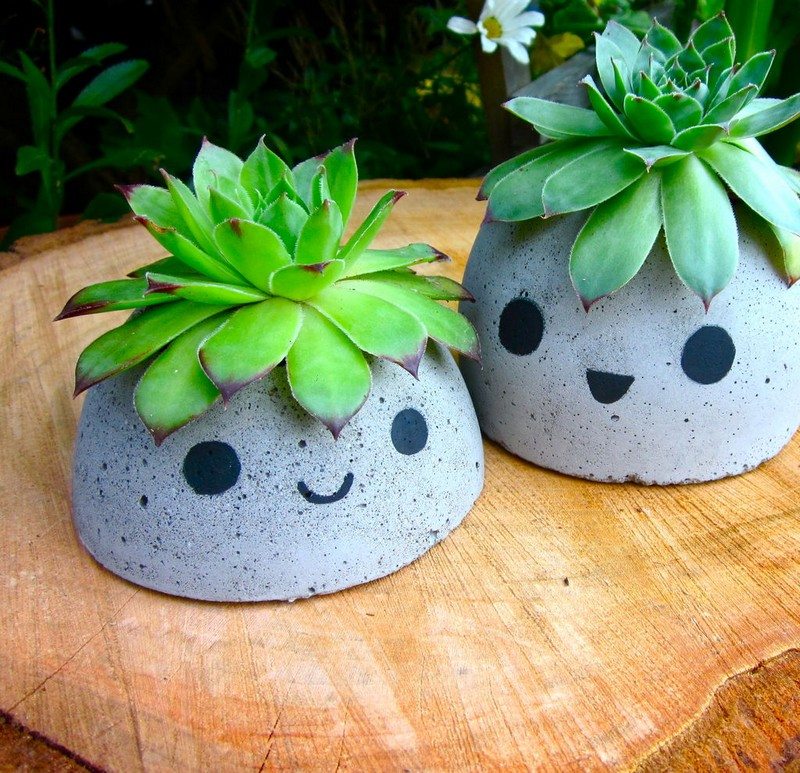
Compared to clay or terra cotta planters, concrete planters are more durable and less likely to break. Concrete planters are also easy to personalize, you can paint them whatever colour you want or put oxide into your mix.
Aside from planters, you can also turn them into bird baths and garden ornaments. Use what you have at home or buy your “moulds” from a thrift store, making this a cheap and cheerful project.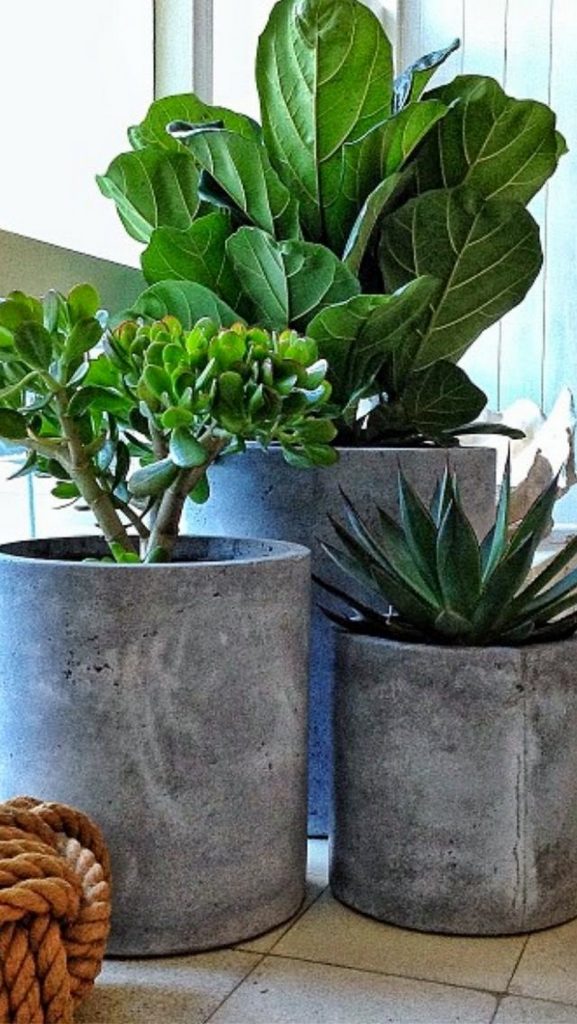
Making a DIY Concrete Planter
Find a good mould
Concrete planters can be made from a variety of moulds. The first step to designing a concrete planter is to choose a good mold.
Moulds can be used to make any shape, including the sides and base of a planter. Stepping stone molds can make round or rectangular planters, but not other shapes.
A good mould is a could be made of a foam core with a flexible rubber covering.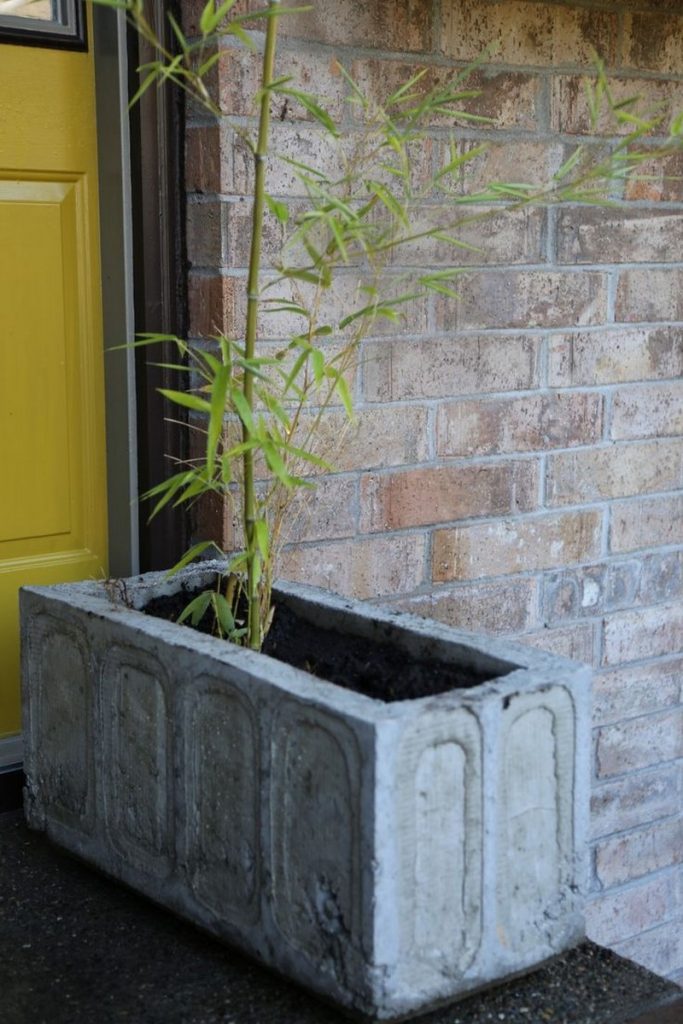
Fill the mould with concrete
After mixing your concrete, you’re ready to fill your mould. How you do this will depend on the type of concrete you’ve mixed.
If you used ready-mix concrete (which is what most people will do), you’ll pour it into the moulds. Pour the concrete in slowly, so that it doesn’t spill out the top and onto your lawn.
Concrete can crack or sag if it’s poured too quickly or if it’s not given time to cure, so take your time and make sure you don’t overfill your moulds.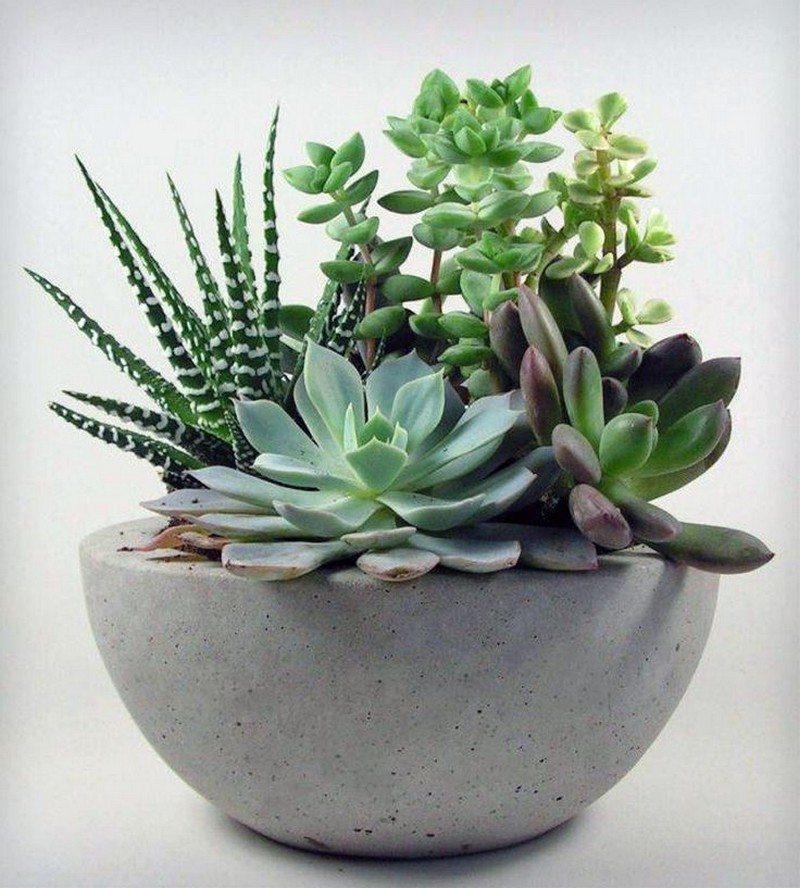
Paint the concrete
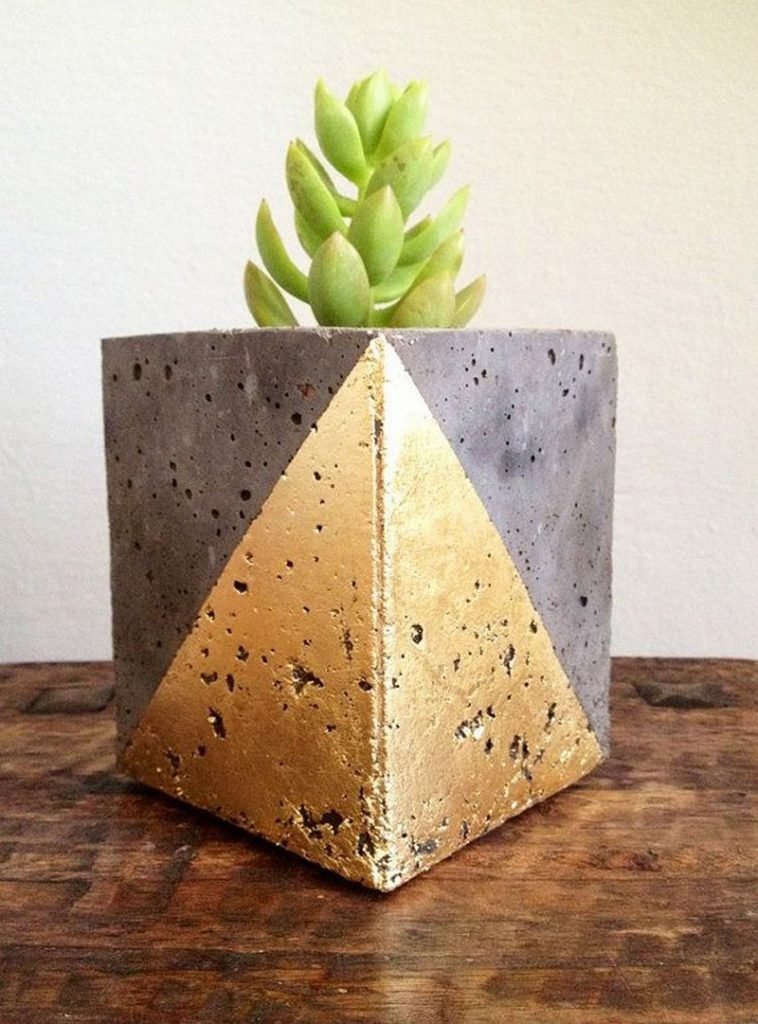
After the concrete has dried, you can remove it from the mould. You can paint with your preferred colors.
What would you plant in these DIY concrete planters?
Materials:
- Plastic Pop Bottle
- Drinking Straw
- Cooking Spray or Petroleum Jelly
- Tape
- Concrete Mix
- Water
- Container for Mixing
- Concrete Paint
- Coconut Fiber for potting soil
- Plants
Tools:
- Marker
- Utility Knife
- Gloves, Mask, Safety Glasses
- Garden Trowel or any material for mixing
- Paintbrush
Click on any image to start the lightbox display. Use your Esc key to close the lightbox. You can also view the images as a slideshow if you prefer ![]()

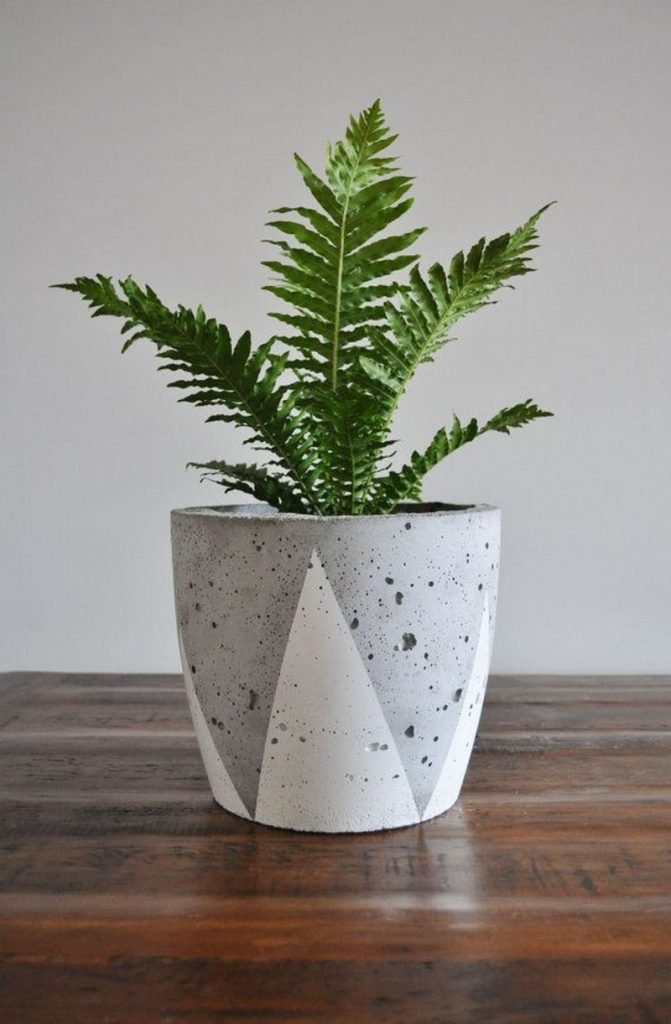
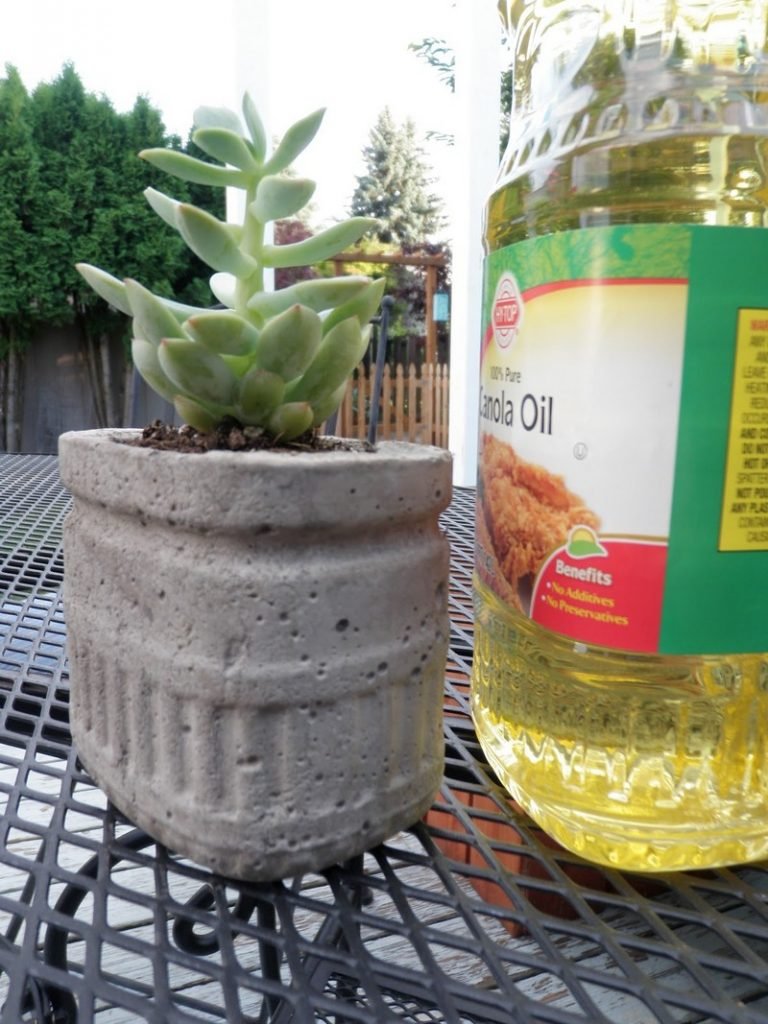
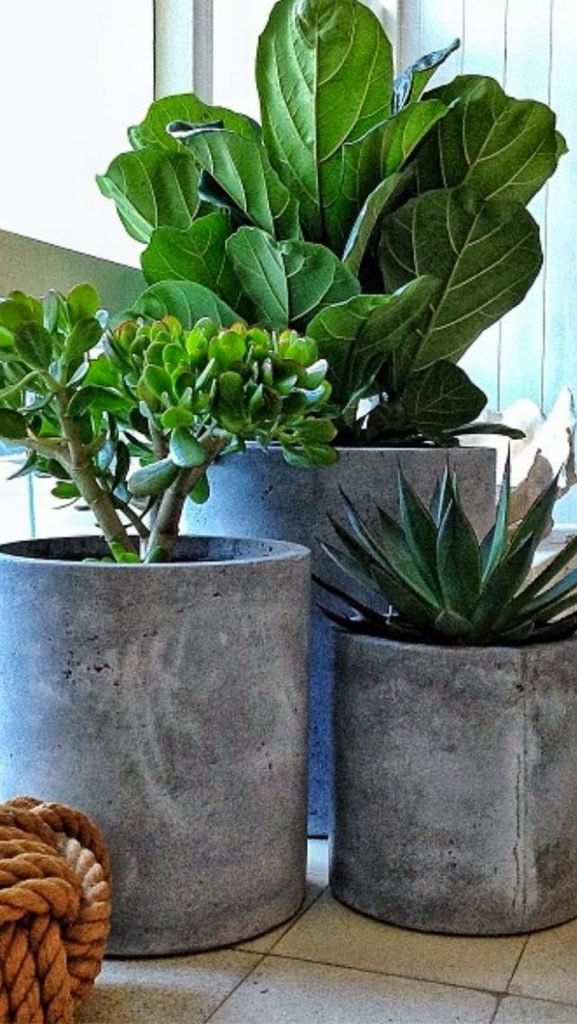
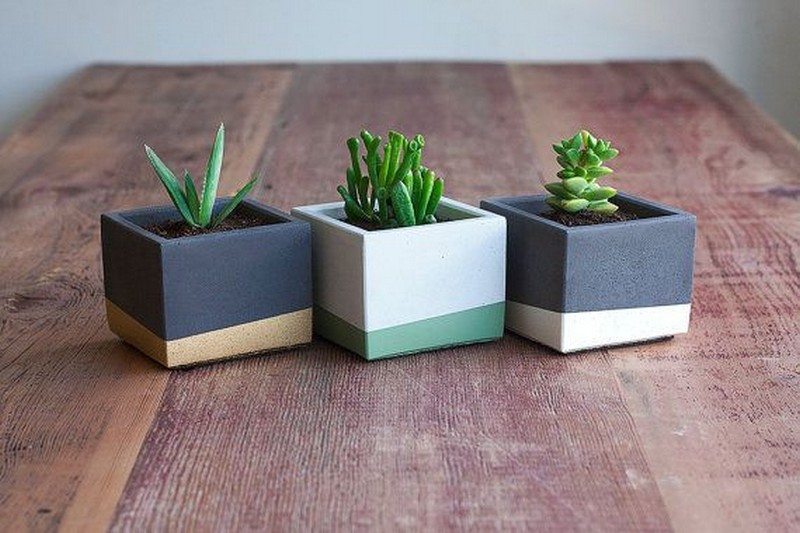
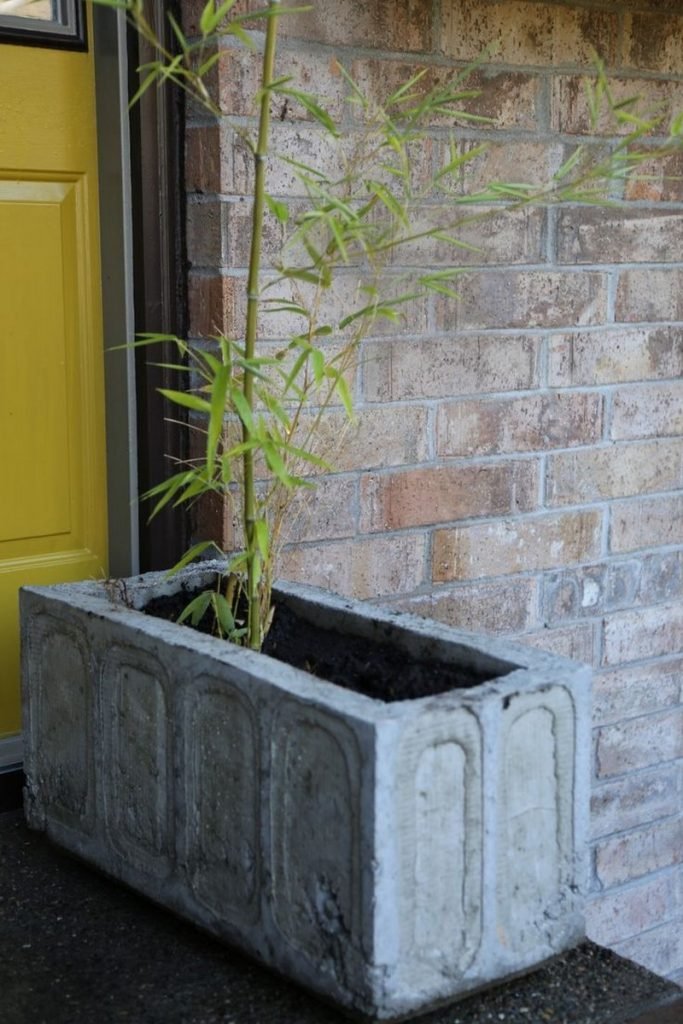
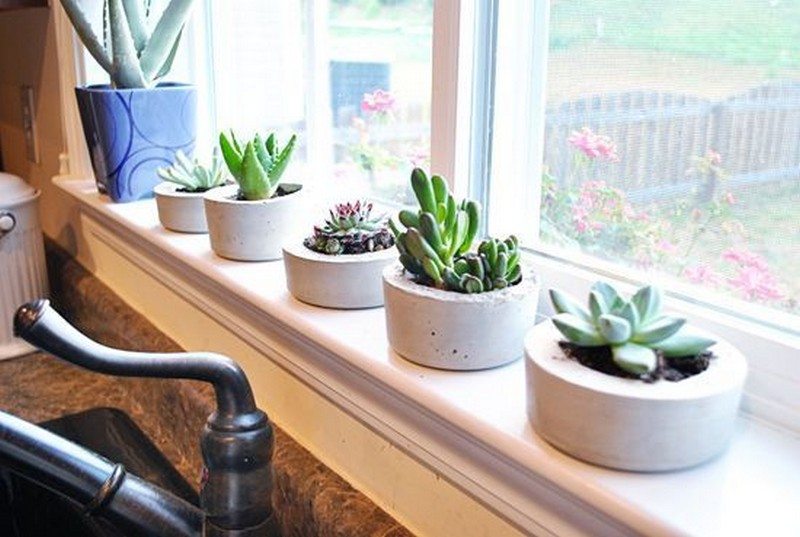

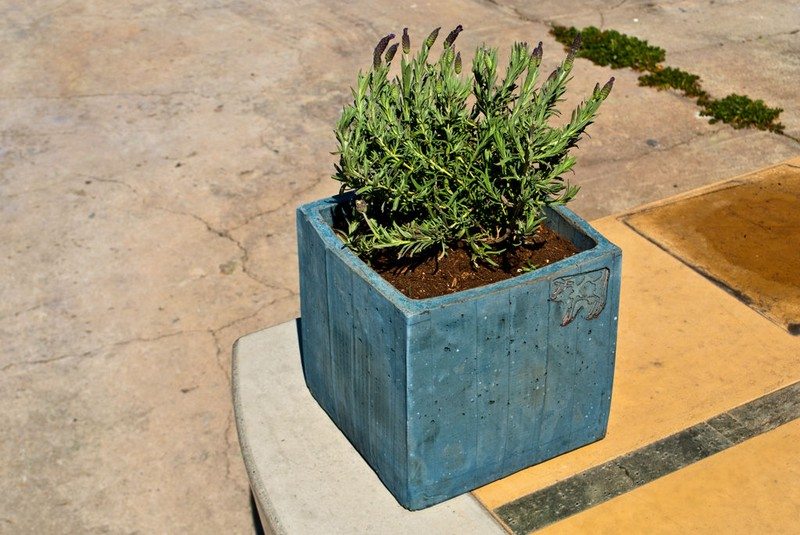
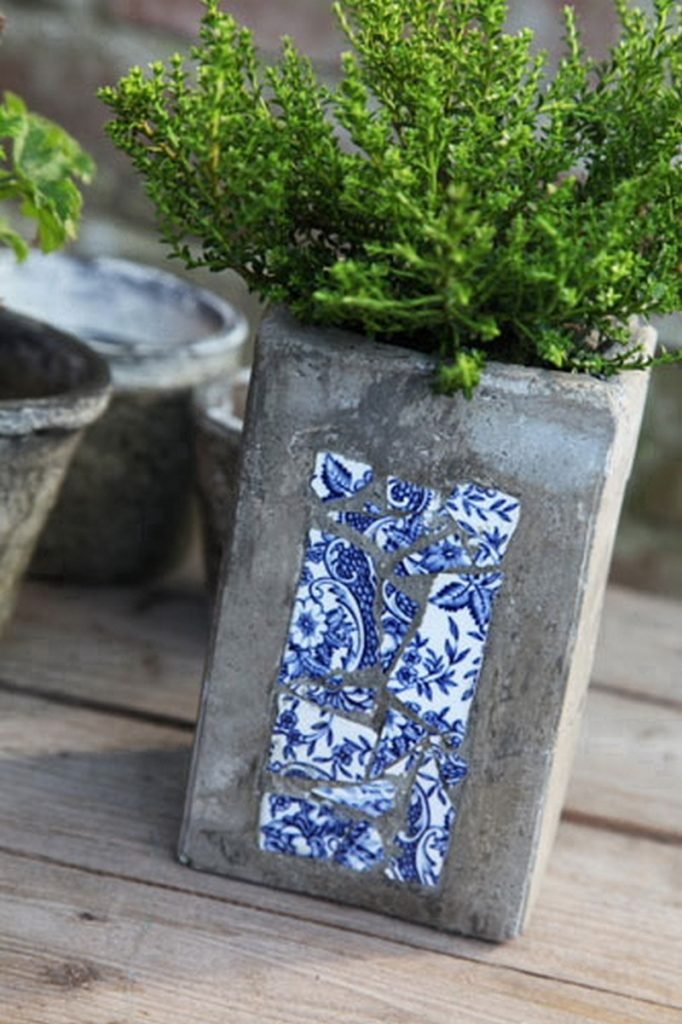
You can get more step-by-step instructions here…
Decorative Techniques for Concrete Planters
Concrete planters are a popular choice for both indoor and outdoor gardening due to their durability and aesthetic versatility. With a range of decorative techniques at your disposal, you can transform a simple concrete planter into an artistic statement piece. Below, we explore various methods to enhance the visual appeal of your concrete planters.
Stenciling
Stencilingis a straightforward and effective way to add intricate patterns to your concrete planters.
Choose from a variety of stencils available in craft stores or online, or create your own custom designs.Apply the stencil to the planter surface using adhesive spray to keep it in place. Use outdoor acrylic paint and a sponge or brush to dab paint over the stencil.
Once the paint dries, remove the stencil to reveal the design.This technique allows for repeated patterns or thematic designs that can be tailored to match your home décor.
Stamping
Concrete stamping involves pressing patterns into the wet concrete surface before it fully sets. You can use commercially available stamps or make your own from materials such as foam, rubber, or even thick cardboard for one-time use. Coat the stamp with a non-stick agent like petroleum jelly to prevent it from sticking to the concrete. Press the stamp firmly into the surface of the concrete, then gently remove it to see the pattern. Stamping is ideal for creating textured effects like faux stone, brick, or decorative motifs.
Embedding Objects
Consider embedding objects directly into your concrete planter for a truly unique look. This can include items like pebbles, sea glass, tiles, or even broken ceramics. Arrange your chosen objects on the bottom of your mold before pouring the concrete or gently press them into the surface of freshly poured concrete. Ensure they are partially submerged to adhere properly without affecting the structural integrity of the planter. This technique is perfect for creating a mosaic look or a personalized touch.
Carving
Carving gives a hands-on approach to customizing concrete planters. This technique is best done when the concrete has started to set but is still slightly malleable. Use tools like chisels, scrapers, or even old kitchen utensils to carve designs, patterns, or even inscriptions into the surface. Carving is particularly suited for creating relief effects or more sculptural features on your planter.
Painting
Paintingis perhaps the simplest way to add color to your concrete planters. Use concrete or outdoor paints for durability, especially if the planter will be exposed to the elements. For best results, apply a primer specifically designed for concrete to ensure the paint adheres well and lasts longer. You can apply solid colors, make patterns, or even paint detailed scenes or floral designs depending on your skill level and artistic preferences.
Leaf Imprints
Leaf imprints can create a natural and delicate pattern on your concrete planter. Choose leaves with pronounced veins for the best effect, such as maple, oak, or cannabis. Press the leaf into the wet concrete surface, vein-side down. Carefully peel the leaf off after setting it in place for a few minutes, ensuring not to disturb the concrete around it. This technique is great for achieving a botanical theme and can be combined with staining for more pronounced veins.
Acid Staining
Acid staining is a technique that reacts chemically with the concrete to create a variegated, translucent color effect.It is perfect for achieving a marble-like or weathered stone appearance. You can apply acid stains after the concrete has cured, and they are available in various colors. Make sure to use protective gear when handling acid stains and seal your planter afterward to maintain the color integrity.
Employing these decorative techniques elevates the aesthetic of your concrete planters, making them not only functional plant homes but also individualized works of art that reflect your personal style. Whether you prefer the simplicity of painting or the tactile experience of carving and embedding, there’s a method to suit every gardener’s creative flair.
Maintenance Tips for Concrete Planters:
Concrete planters are a robust and pleasing choice for showcasing indoor and outside plants. Like any garden tool, they do, however, need some maintenance if you want them to look and work throughout time.
These basic maintenance ideas will help you keep your concrete planters looking great.
Regular Cleaning
Regular cleaning is vital to stop biological growths like moss, algae, and grime. Scrub your planters’ surface with a gentle brush and a mixture of water and a light detergent. For tough stains or growths, mix one part bleach with nine parts water. To eliminate any soap or bleach residue—which can compromise plant health—rinse completely using clean water.
Sealing Concrete Planters
By sealing your concrete planters, you can guard them against moisture absorption, preventing cracking and deterioration. Usually, a concrete or stone sealant should be applied every one to two years, according to manufacturer recommendations. Before applying the sealant, ensure the planter is dry and clean. This will improve the color and finish of your planter and prolong its lifetime.
Weather Protection
Concrete is porous and may absorb water, but in colder areas, this can cause cracking during freeze-thaw cycles. Move your planters to a safe spot during severe weather or cover them with burlap or bubble wrap to guard against cold. In highly hot environments, consider placing them in somewhat shaded spots to slow down quick drying and avoid concrete cracking.
Drainage Management
Effective drainage is crucial to prevent water from accumulating at the bottom of the planter, preventing root rot and concrete damage. Make sure your planter has enough drainage holes. To encourage water movement, consider running gravel or ceramic shards along the bottom. Frequent checking and clearing of the drainage holes helps to avoid their blockage.
Repairing Cracks
Little concrete planter cracks can be fixed to prevent further damage. After carefully cleaning the crack, use a putty knife to fix it with concrete repair compound. Before painting or sealing the restored area, let the compound cure per the product directions.
If you liked this, you might also like these gardening ideas…


