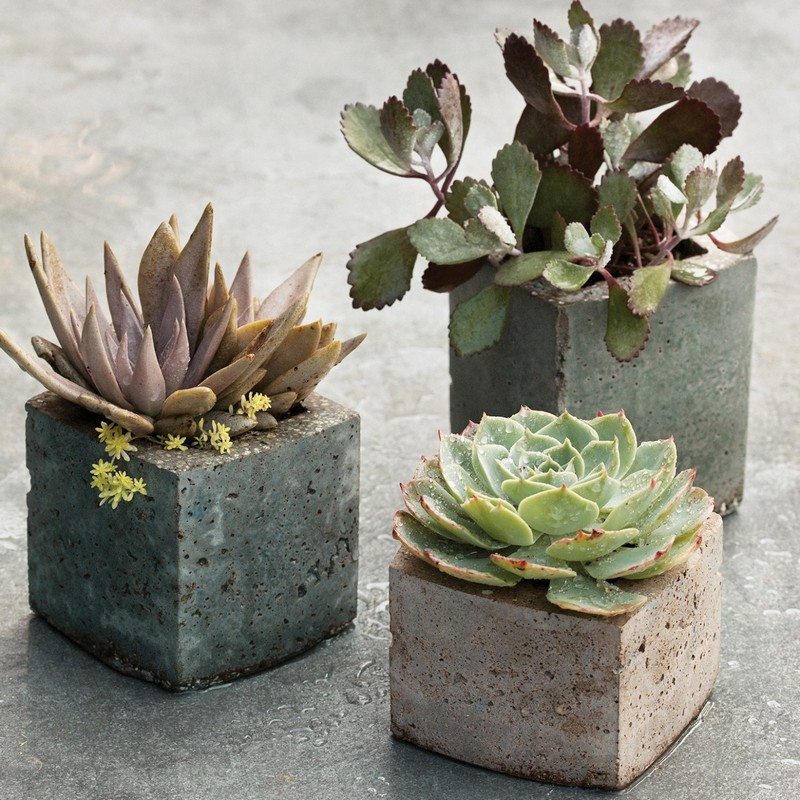
Want something different for your garden? These hypertufa planters could be the right one for you!
The pale gray and ivory monoliths jutting out on the shores of California’s Mono Lake may look like eerie art installations, but they occur naturally and are actually limestone formations.
The limestone is formed by the constant deposition of calcium-rich algae and other minerals in the lake. Over time, the limestone builds up and forms these strange-looking structures.
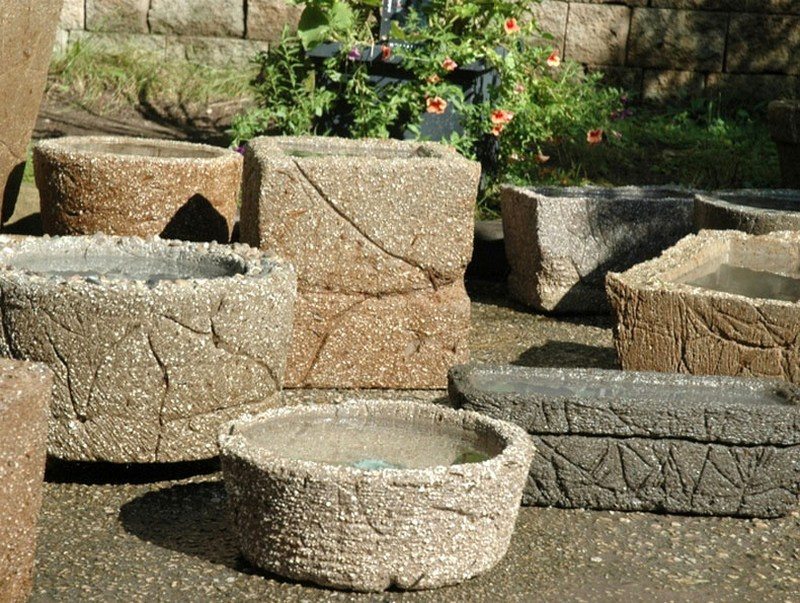
Tufa is a variety of limestone, and the Mono Lake rock formations are famous for their otherworldly beauty.
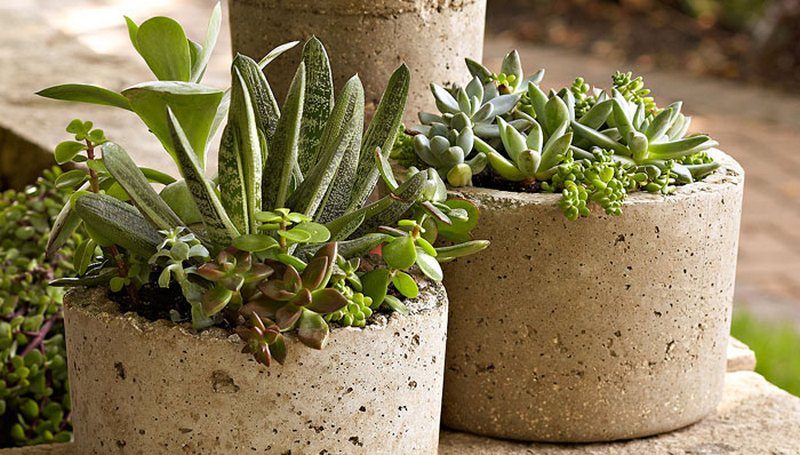
Over time, these deposits build up and form the spectacular rock formations that are so beloved by visitors. If you love the look of tufa limestone planters but don’t want to spend a fortune on them, you can make them on your own.
When you create DIY hypertufa planter, you can have it depending on the your desired design, making it a great project for anyone. This is one of the great things about DIY projects.
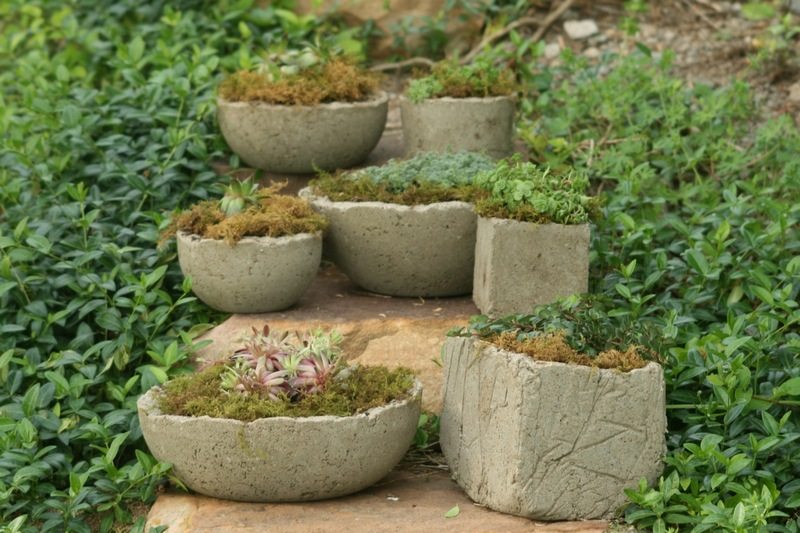
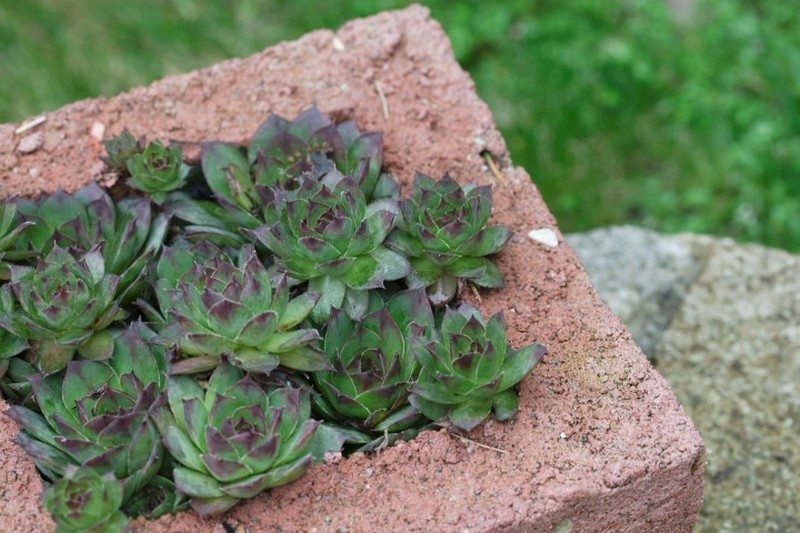
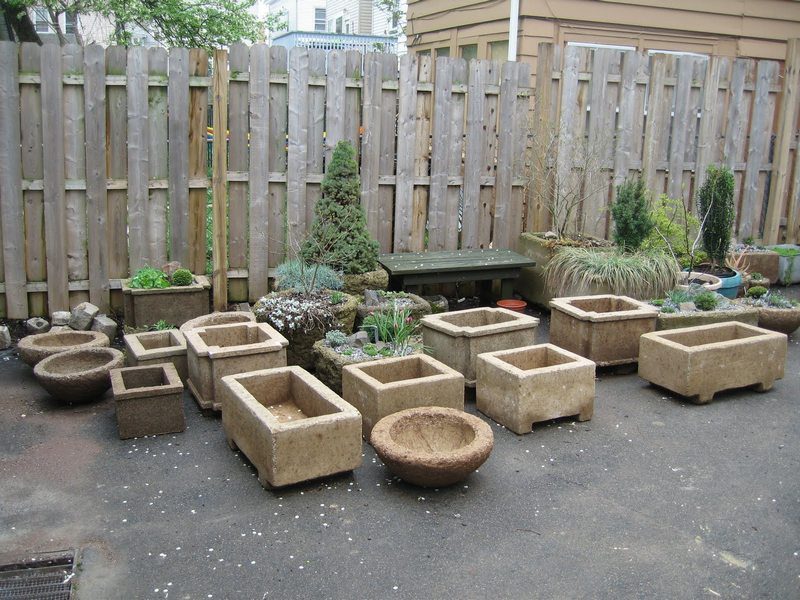
You can add interest to your garden by creating hypertufa planters in different sizes and shapes, and you can make them extra special by adding your own personal touch. By using different colors and textures of hypertufa, you can create a one-of-a-kind garden that will be the envy of your neighbors.
When you invest in high quality but inexpensive planters, you ensure that your plants will stay healthy and happy for years to come. You can create a hypertufa planter on your own preferences. It could be as huge as a large basin, or as tiny as a cup.
Hypertufa is a permeable substance produced from Portland cement and sphagnum peat moss. It is a mixture of topsoil, cement, and other aggregates and oxides (mineral fragments).
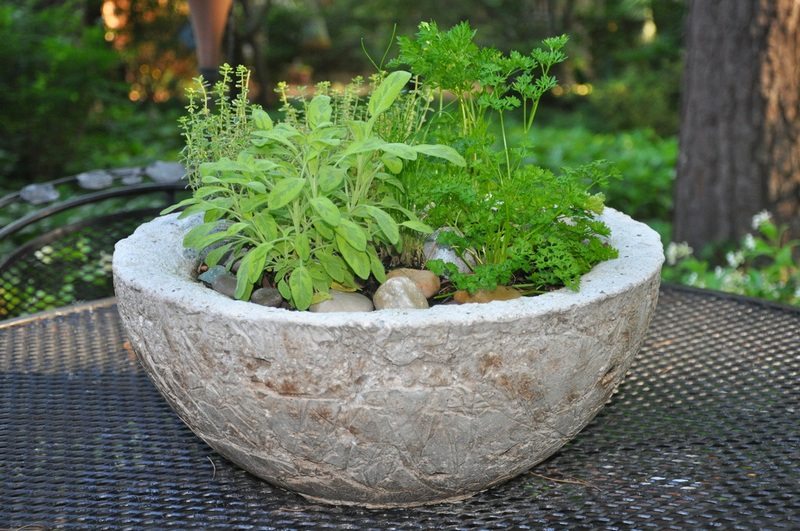
It is common to use hypertufa planter, especially in small garden spaces. These pots help conserve water and are long-lasting and usually less expensive than ceramic pots. It is light and porous, and has a ‘gritty’ texture that retains water well so it will allow your plants to breathe.

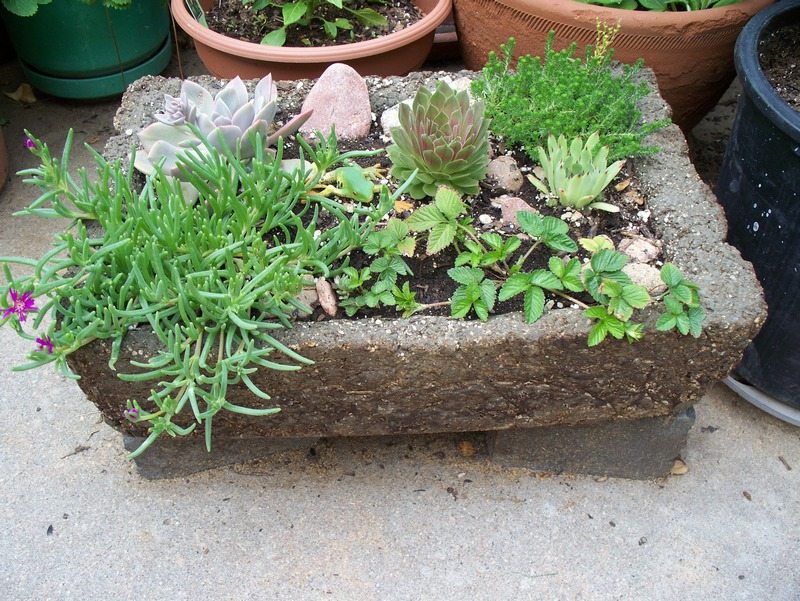
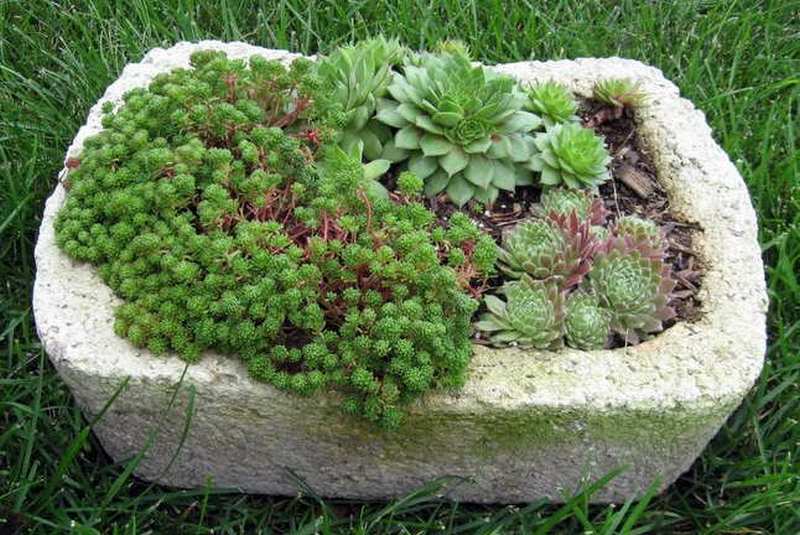
Hypertufa is commonly used for succulents, cacti, and orchids because it is produced from a very lightweight material, so it will not weigh down your plants.
Succulents, cacti and orchids all require good quality planters to hold their roots. This not only adds beauty to your home, but also prevents harm to the plant.
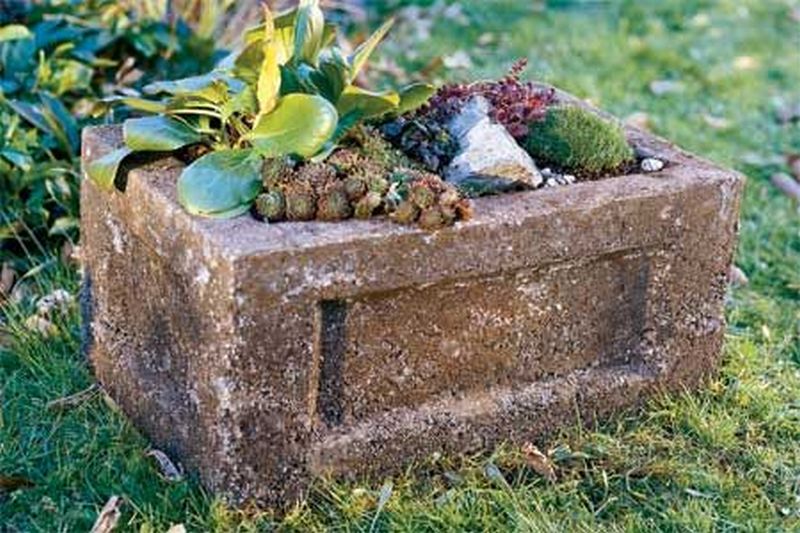
Hypertufa planters are a great way to add a touch of style to your home. They’re perfect for indoor or outdoor use, and they offer a unique way to display your plants.
Plus, they’re easy and fun to make. So whether you’re looking for a way to spruce up your yard or add a touch of class to your home, hypertufa planters are a great option.
If you’re looking for some inspiration, you can check out our gallery for your reference. There, you’ll find a variety of different images that might give you some ideas for your own hypertufa planter project.
You can create hypertufa planters that imitate the beauty of real tufa limestone by using the ingredients below.
Materials and tools you need to make hypertufa planters…
Materials:
- 2 parts Portland Cement
- 3 parts Perlite (or vermiculite)
- 3 parts Peat Moss (or sawdust)
- Water
Tools:
- Measuring Container
- Container for mixing dry ingredients
- Waterproof Gloves
Click on any image to start the lightbox display. Use your Esc key to close the lightbox. You can also view the images as a slideshow if you prefer 😎