Last Updated on June 20, 2023 by teamobn
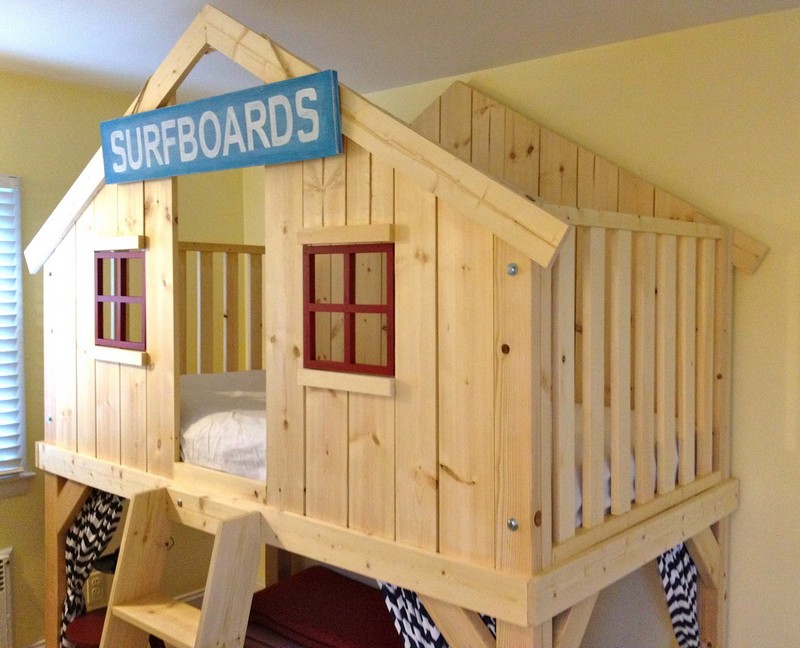
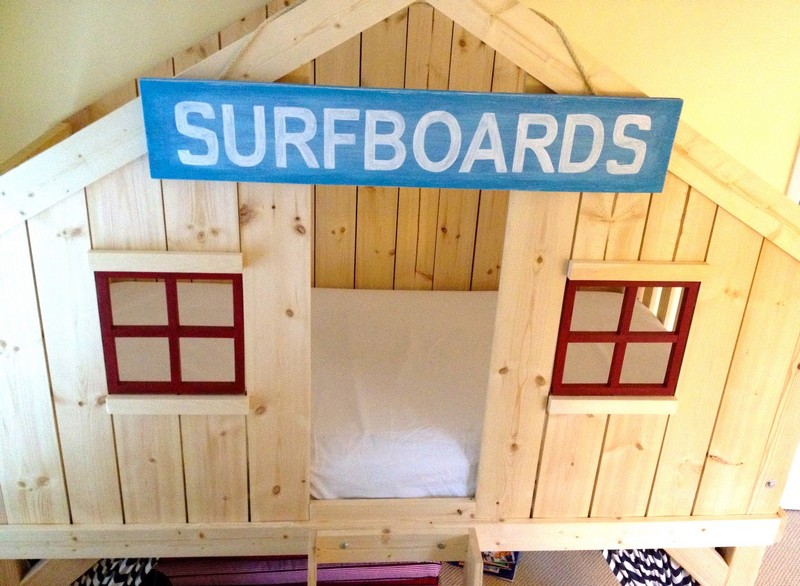
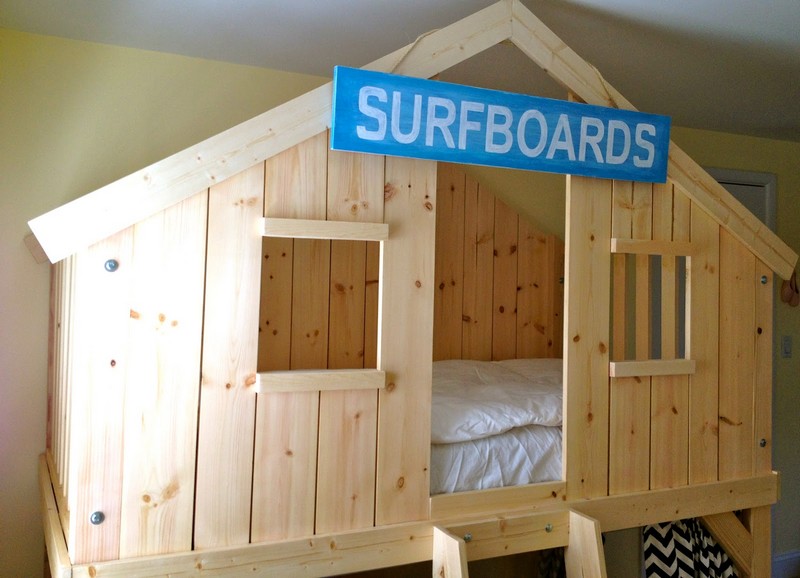
Want to make the little kids happy? This DIY Clubhouse Bed might just be what you are looking for!
Clubhouse beds like this could be expensive when store-bought. By building the kids’ own custom-designed bed, you could avoid unnecessary expenses.
What is a DIY clubhouse bed?
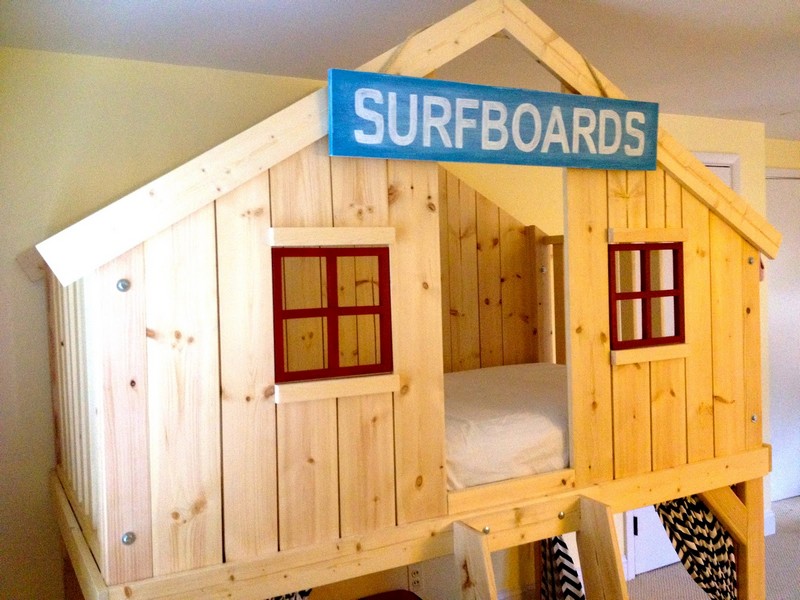
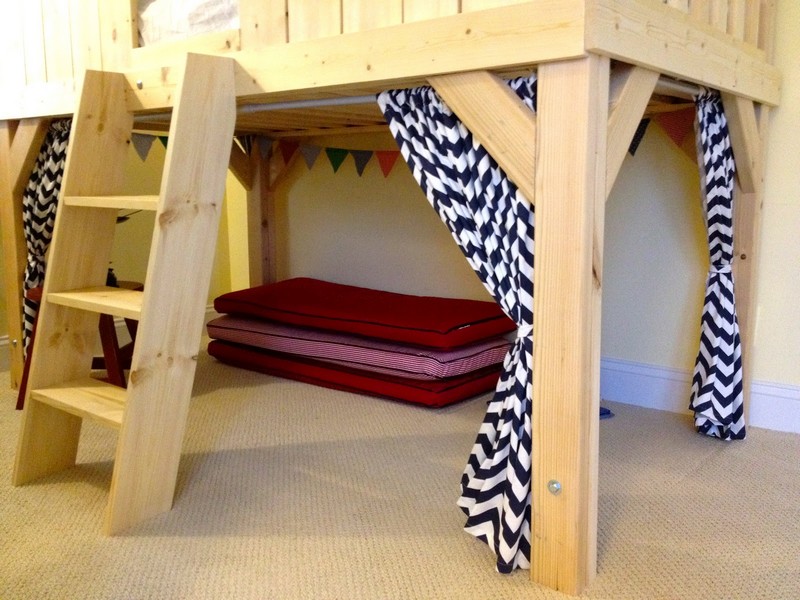
A DIY Clubhouse Bed is a loft bed. Loft beds are custom-made beds where the legs are built long and strong enough to hold a raised bed. These beds are raised to free up the space underneath for multiple purposes. The space beneath is usually used as a workstation, playing area, storage area and mini living room.
What are the materials needed to build a DIY clubhouse bed?
Plus, this particular bed is one easy DIY project. A fun weekend activity, so why not do it yourself? With a little bit of tweaking it could be turned into a castle, a treehouse, or anything else the kids would like.
Materials:
- 1” thick Lumber
- 2×4” Lumber
- 4×4″ Wooden Post
- 4-3/4” square Dowels
- Clear Satin Poly Seal
- 3/8” Hex Screws
- Washers and Nuts
- 3/8” Carriage Bolts
- Hinges
- 1-1/2” Screws
- Red Paint
Tools:
- Table Saw
- Sander
- Paintbrush
Hot to build a DIY clubhouse bed?
1. Preparing the lumber.
Saw the lumber for the side, back and front stepladder.
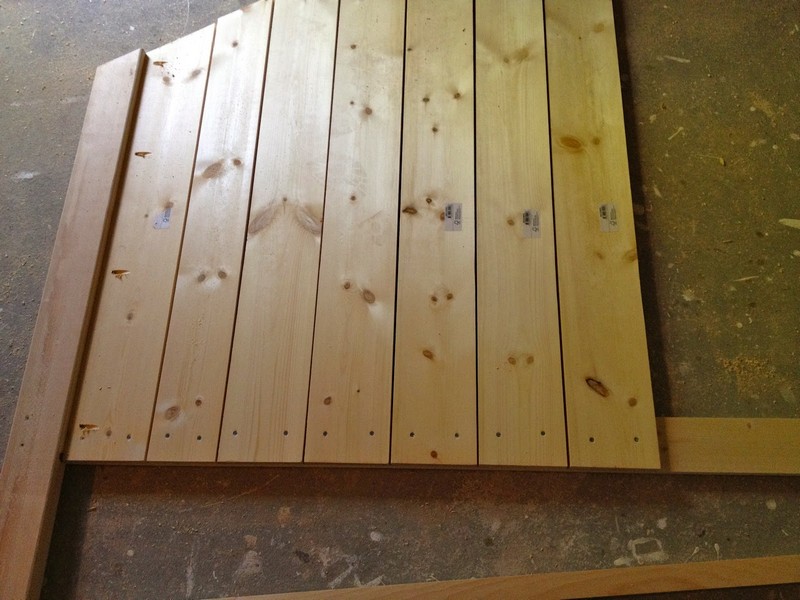
2. Build the sides.
Construct the side walls using 1×3” spaces on each side.
3: Attach the legs, the stretchers and the front trim.
Keep the front trim steady, then attach the legs by making the pocket holes.
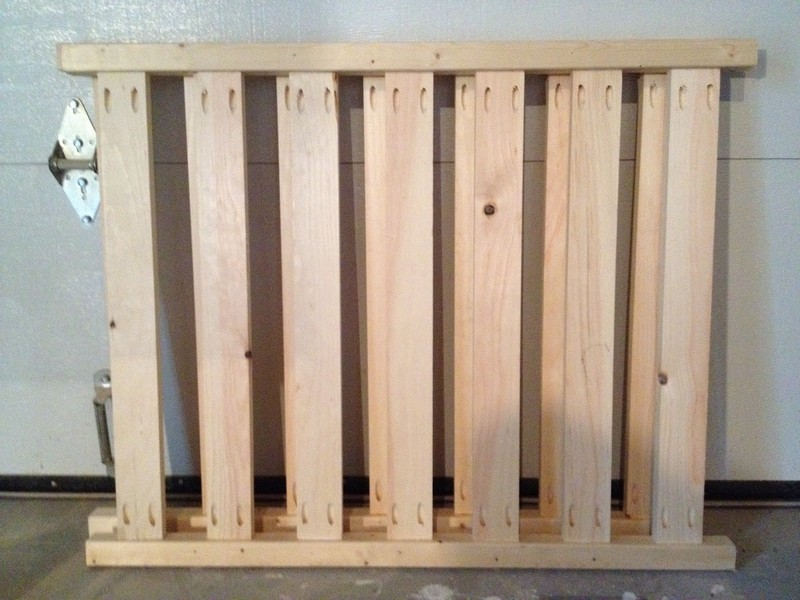
4. Build the rear wall.
First, attach the legs and slats to the sides using pocket holes. Next, secure the centre slat to the inside trim piece in the middle of the back. The remaining vertical slats can be spaced out after these are in place.
5. Attach the top trim on the slats.
Secure the slats and avoid the screws being shown.
6. Install the front wall.
Screw the top trim from the inside. Keep the trim piece steady by adding a horizontal 1×2 piece at the top seam.
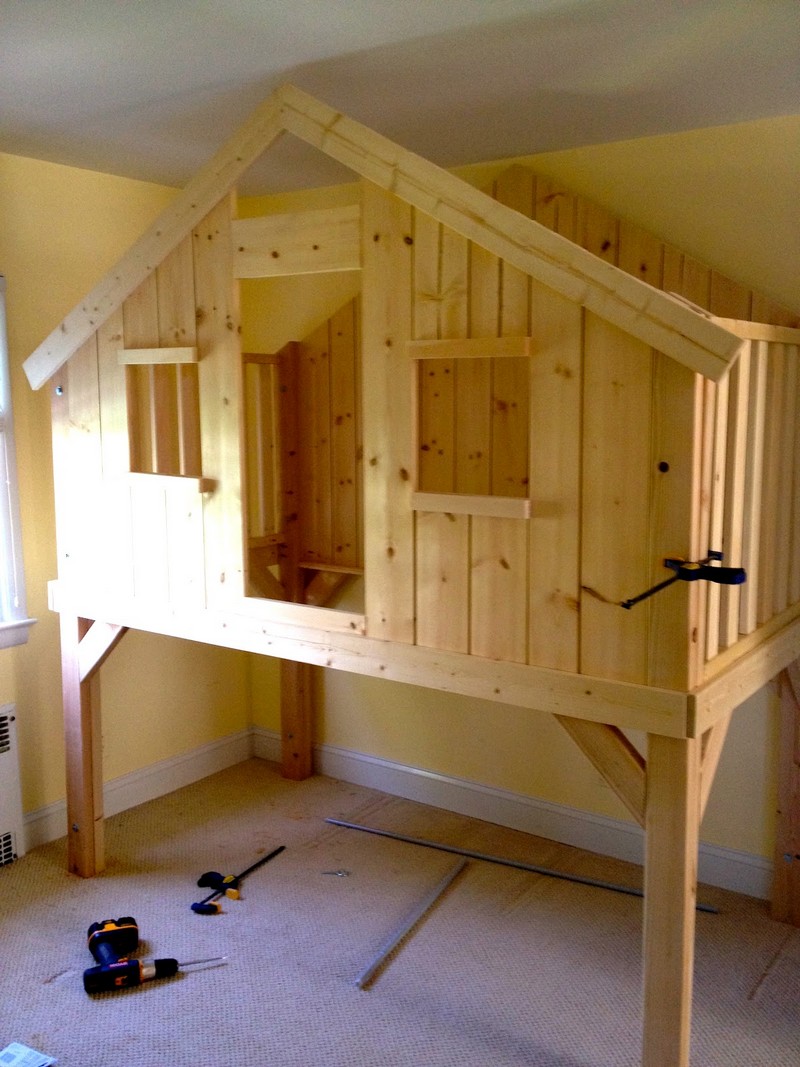
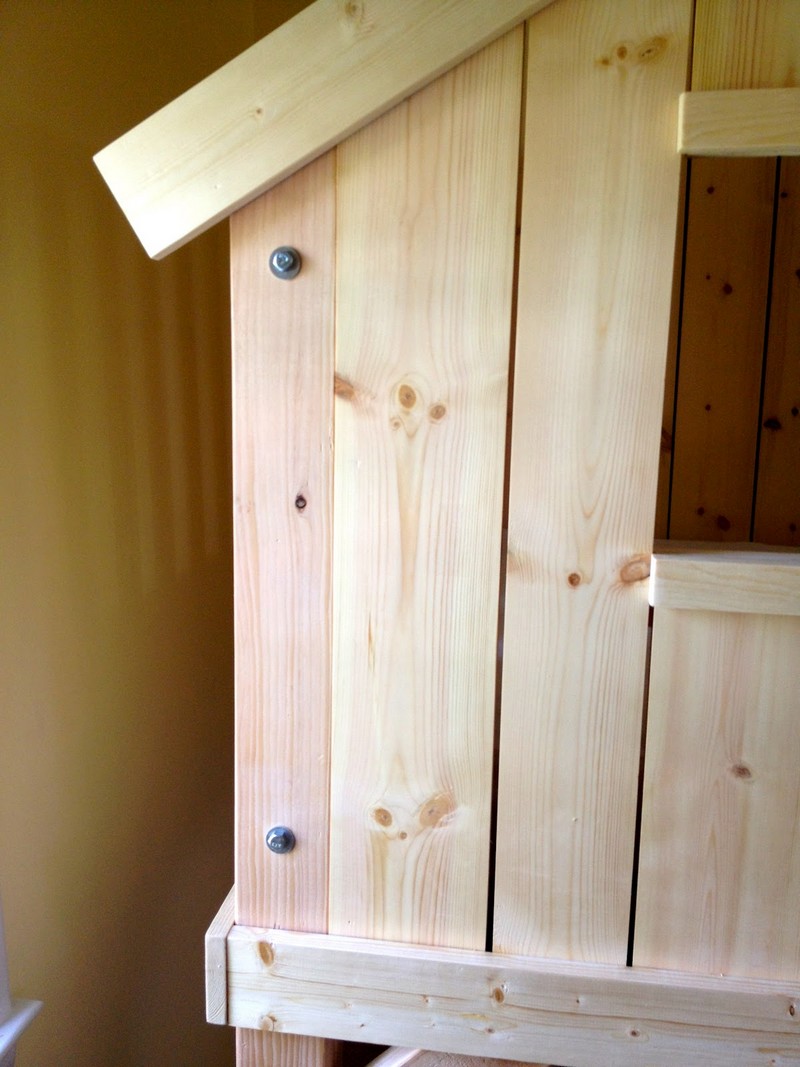
7. Secure the 2×4 legs together.
In order to install the four sides, use ⅜ inch hex screws and 3 ½ inch washers and nuts in three parts on every leg. Using clamps can hold the 2×4 legs together. After that, drill three 3/8″ holes, one near the top, one at the middle and one near the bottom.
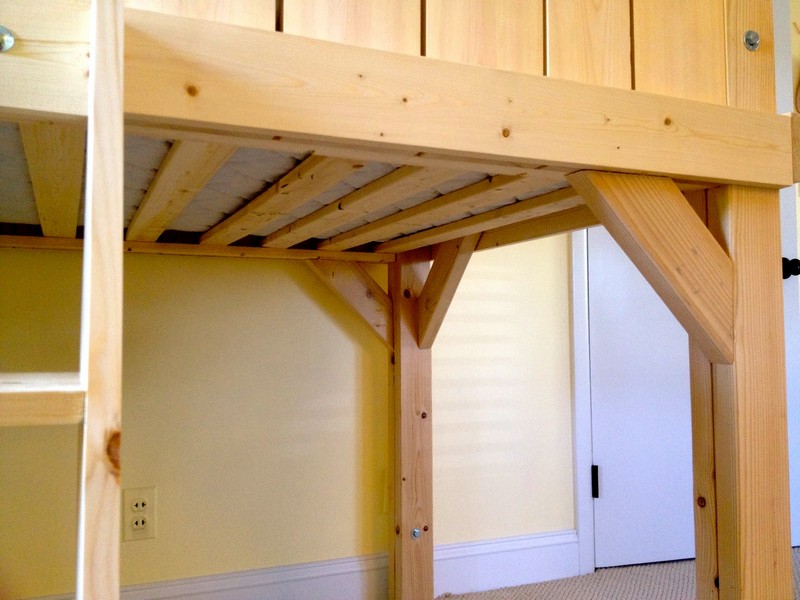
8. Connect the mattress slats.
Attach the slats starting from the edges to the middle.
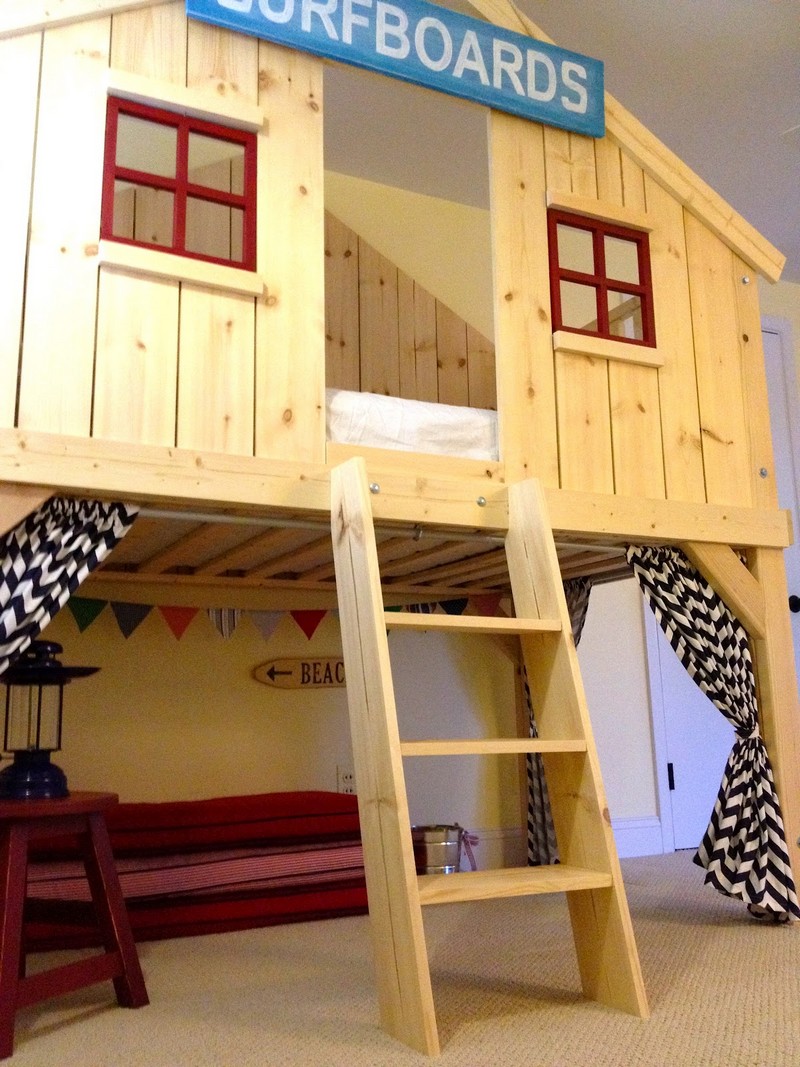
9. Secure the ladder.
Install the ladder by using a ⅜ inch carriage and 2 ¾”l with washers and nuts.
10. Add window grads.
Add a window grid as an additional design to your clubhouse bed.
Now, you and your kids can enjoy this cozy clubhouse bed! Have fun! 🙂
Thanks to That’s My Letter for this great project. You can get the full step-by-step instructions here…
–
Click on any image to start the lightbox display. Use your Esc key to close the lightbox. You can also view the images as a slideshow if you prefer 😎