Last Updated on October 30, 2025 by teamobn
A well-organized kitchen can save you time, reduce stress, and make cooking more enjoyable. While a complete overhaul might feel like a daunting task, you can achieve a professional level of organization in just a weekend with some strategic planning and a focused approach. Whether you’re tidying up for better functionality or considering kitchen remodeling down the line, these steps will help you transform your kitchen into a space that’s as efficient as it is inviting.

Contents
Step 1: Declutter and Assess Your Space
The first step to an organized kitchen is clearing out the clutter. This process will give you a clean slate to work with and help you identify what you truly need.
How to Declutter:
- Empty Cabinets and Drawers: Take everything out and sort items into categories (e.g., cookware, utensils, pantry items).
- Purge Unnecessary Items: Donate or discard anything you haven’t used in the past year, duplicates, or broken items.
- Assess Your Storage Needs: Take note of what you’re keeping and determine if additional storage solutions are necessary.
Decluttering not only makes space for essentials but also helps you envision a more organized layout. Another bonus is that you will spend less time looking for things!
Step 2: Group Items by Category
Once you’ve decluttered, group similar items together to make them easier to locate and access. This step ensures your kitchen flows logically and intuitively.
Suggested Categories:
- Cooking Essentials: Pots, pans, spatulas, and mixing bowls.
- Baking Supplies: Measuring cups, rolling pins, and cookie cutters.
- Pantry Staples: Canned goods, grains, and spices.
- Tableware: Plates, glasses, and silverware.
- Cleaning Supplies: Dish soap, sponges, and cleaning sprays.
Grouping items ensures everything has a designated spot, reducing clutter and confusion.
Step 3: Maximize Storage Space
Efficient storage is the backbone of a well-organized kitchen. Use creative solutions to make the most of your available space, even in smaller kitchens.

Storage Tips:
- Install Shelf Risers: Double the storage capacity of cabinets by adding risers to create additional levels.
- Use Drawer Dividers: Keep utensils, tools, and small items neatly separated.
- Hang Tools: Utilize wall space by hanging frequently used tools like spatulas or pans.
- Invest in Stackable Containers: Use uniform, clear containers for pantry items to save space and make contents easy to identify.
- Add Lazy Susans: Perfect for corner cabinets or pantries, Lazy Susans make it easy to access items in tight spaces.
These small adjustments can significantly enhance your kitchen’s storage potential and are easy to incorporate during a kitchen remodeling project.
Step 4: Prioritize Accessibility
Organizing your kitchen isn’t just about aesthetics – it’s also about functionality. Store items where they are most needed to streamline your workflow.
Zone Organization:
- Cooking Zone: Place pots, pans, and utensils near the stove.
- Prep Zone: Keep knives, cutting boards, and mixing bowls close to your primary workspace.
- Cleaning Zone: Store dish soap, sponges, and towels under the sink.
- Serving Zone: Locate plates, bowls, and silverware near the dining area.
You can think of your kitchen like a workstation. Every item should have a “home” based on how often and where it’s used. This setup can dramatically reduce your time and frustration spent walking back and forth between zones, especially during busy weeknight meals or when entertaining guests. It’s actually very simple, the more you align your storage with your natural movements in the kitchen, the smoother your entire routine becomes.
If your kitchen layout makes sense to you, but still feels outdated or cluttered, small upgrades like cabinet refinishing can go a long way toward enhancing both form and function. Freshly refinished cabinets can brighten your space, improve visibility, and help define your organizational zones more clearly (all without the cost of a full remodel).
If you have a large family or a shared kitchen, accessibility also means clarity for everyone involved. Try to label zones or create visual cues to make sure that every item ends up back where it belongs, even when multiple people are unloading the dishwasher or helping with meal prep. For example, color-coded drawer liners, picture labels for younger kids, or transparent bins with large-print labels can all make a big difference. These small touches can cut down on confusion and keep your kitchen running smoothly day after day.
If you or someone in your household has mobility limitations, you can work on that by using pull-out drawers, soft-close cabinets, or open shelving. Even very simple additions like step stools with handles or under-cabinet lighting can greatly improve safety and usability.
And lastly, don’t forget the emotional side of accessibility. A well-placed coffee station, snack drawer, or prep area for kids can encourage independence and daily rituals that make the kitchen feel more welcoming. When your kitchen is designed with thoughtful accessibility in mind, it can become more than just a space for cooking. You can transform it into a space where everyone can participate, feel comfortable, and enjoy time together.
Step 5: Label and Maintain Your System
After everything is in its place, labeling your storage can help maintain the organization over time. It’s especially useful for shared kitchens where multiple people need to find and put away items.
Labeling Tips:
- Pantry Containers: Use clear, simple labels for items like flour, sugar, and snacks.
- Drawer Contents: Add small labels inside drawers to guide placement of utensils and tools.
- Shelving: Label shelves in the fridge or pantry to keep everything organized by category.
Consistent labeling reinforces habits and ensures your system stays in place.
Step 6: Add Finishing Touches
A few final details can elevate your kitchen organization and make the space feel polished and welcoming.
Finishing Touches:
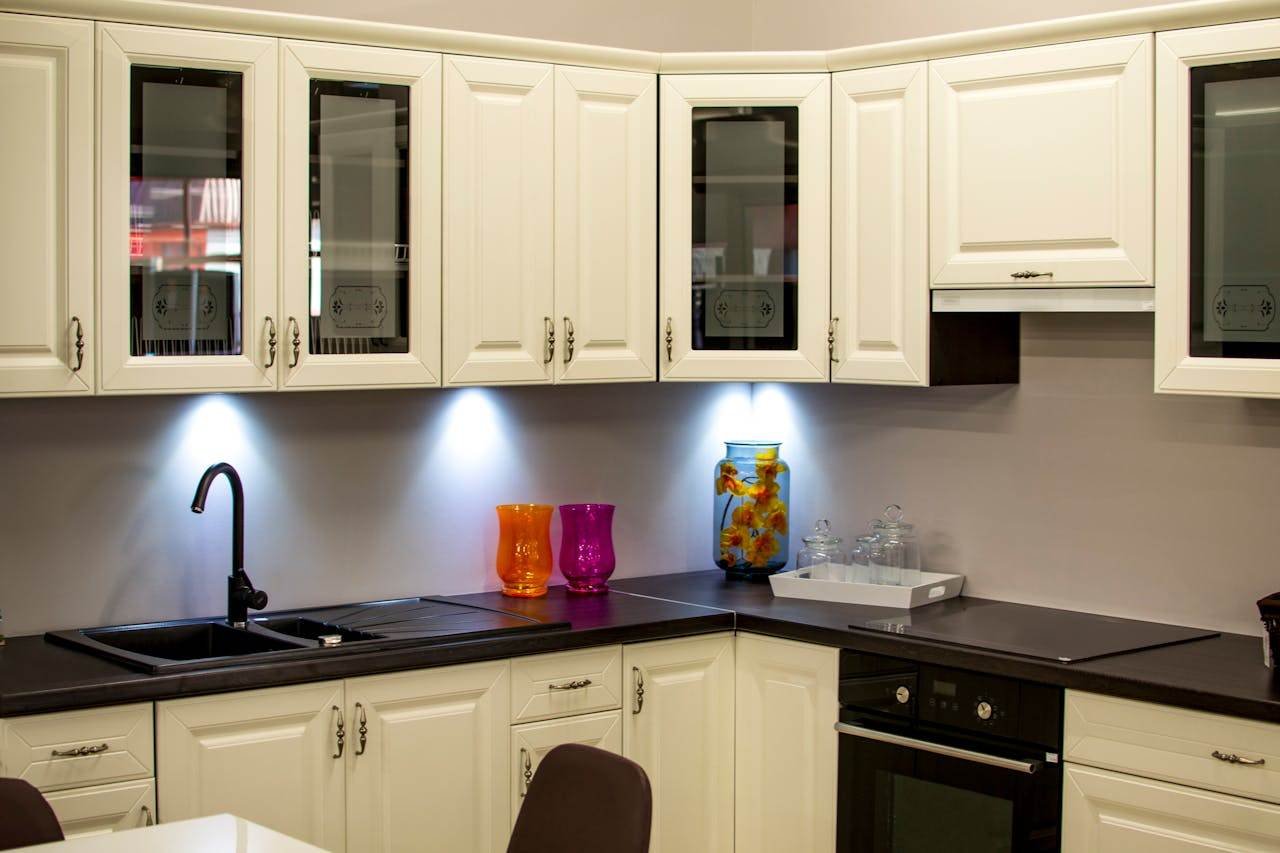
- Add Lighting: Install under-cabinet lights to brighten workspaces and enhance visibility.
- Incorporate Decorative Storage: Use stylish baskets or bins for items like produce or napkins.
- Keep Counters Clear: Limit countertop items to essentials like a coffee maker or frequently used cutting board.
These small upgrades can make a big difference in how your kitchen looks and feels.
A Weekend of Transformation
With just a weekend and a clear plan, you can organize your kitchen like a pro. From decluttering and maximizing storage to creating functional zones and adding finishing touches, these steps will transform your kitchen into a space that’s efficient, tidy, and enjoyable to use. Whether you’re preparing for a future kitchen remodeling project or simply improving your current setup, the results will be well worth the effort. A well-organized kitchen is the key to smoother cooking, easier clean-ups, and a more harmonious home.


