Last Updated on October 29, 2024 by teamobn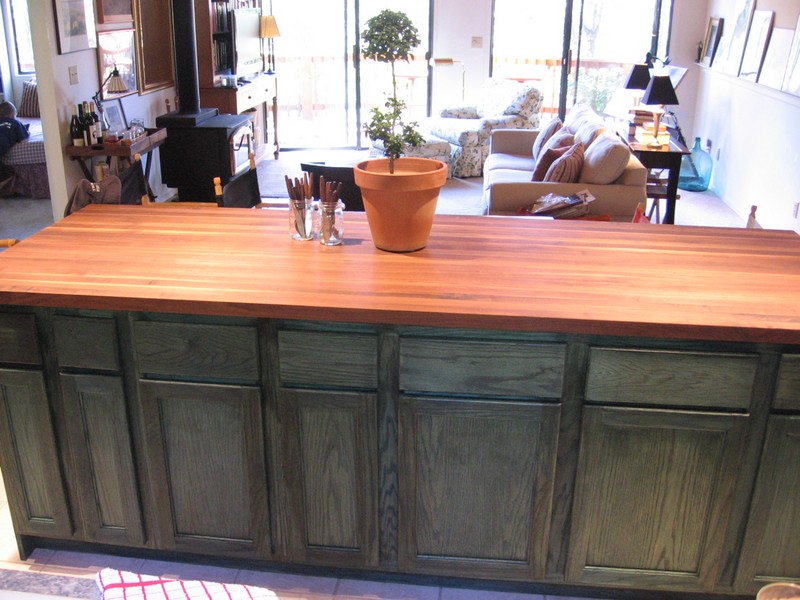
If you’re looking to make your kitchen more distinct, adding a kitchen island made from cabinets is one good way to achieve it.
And just like the owners of this kitchen, you can DIY your kitchen island for a less costly home improvement that would only take a week or two.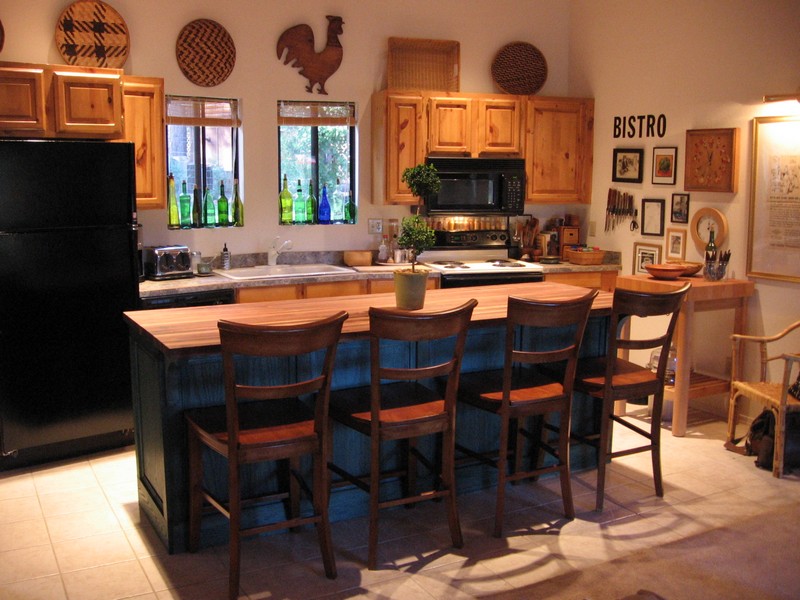
A kitchen island is generally placed in the middle of the room, so it can support the activities of people in the kitchen. It is usually constructed from wood, granite, stainless steel or a combination of these materials.
A kitchen island made from cabinets is a workbench that is installed in the kitchen. It is usually built so that it can provide storage space and a place to prepare and serve food.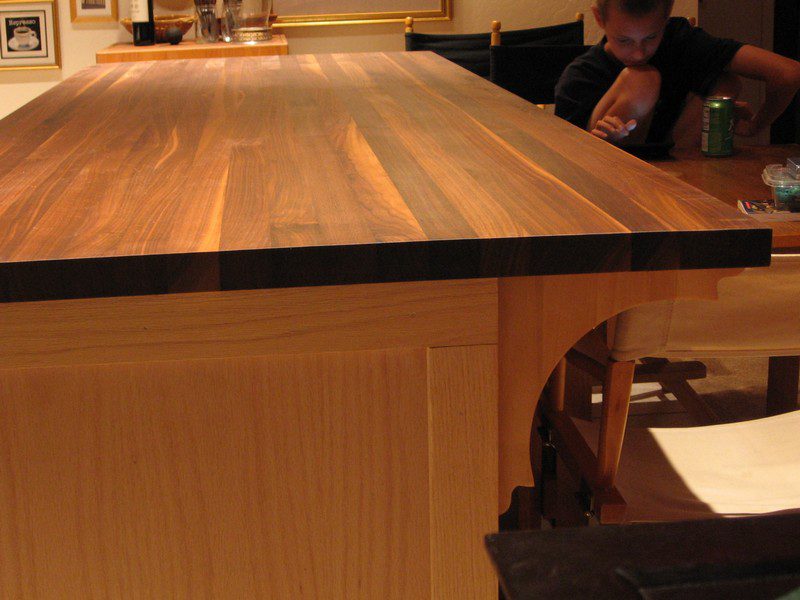
A kitchen island made from cabinet is typically larger than normal kitchen countertops, but they are also much more versatile. You can use them to store all the items that are used regularly, and those that are used less frequently.
A kitchen island made from cabinets is designed to have storage drawers or cabinets. In some cases, these cabinets can be used as a microwave oven or a mini fridge. This kitchen island cabinet adds storage space to your kitchen.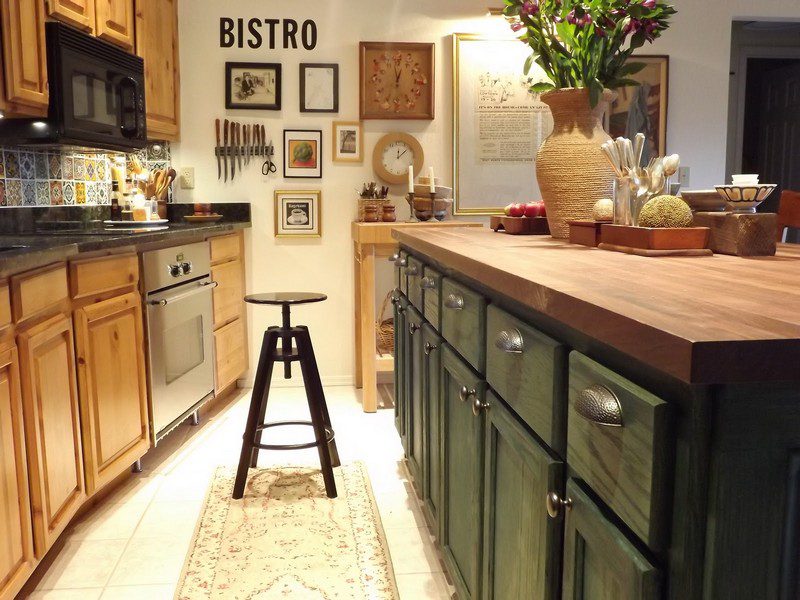
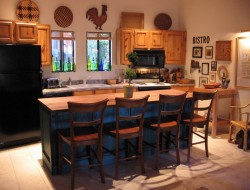
In most cases, it is a single solid worktop but it can also be a counter-height table with stools. Kitchen Island Cabinets are very versatile and can be used for an array of tasks that kitchens and other areas of the home may require.
Kitchen island cabinets are a great addition to any kitchen and can provide an additional work surface for food preparation and prepping and for serving food when there are additional guests. Islands are often used as a serving and preparation area for special occasions and can also be used for everyday use.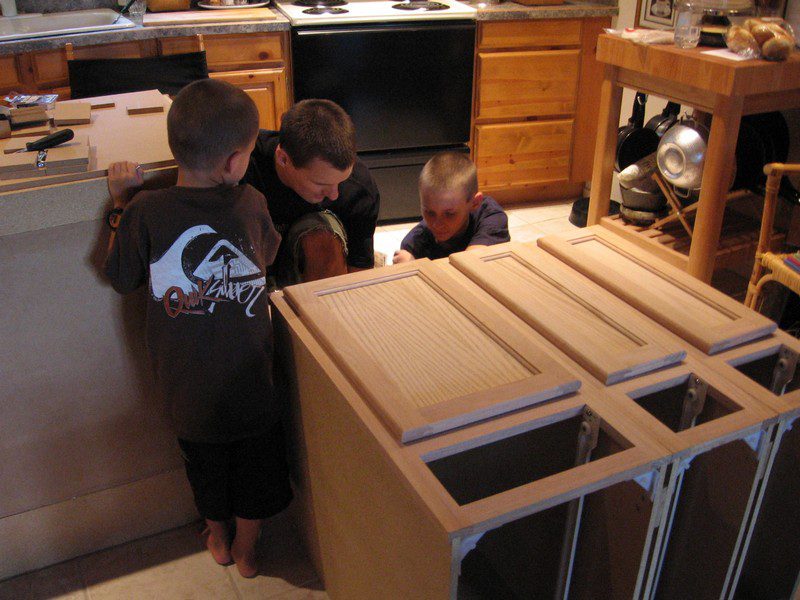
What’s great about building the kitchen island made from cabinets on your own is that you get to model and construct it with details according to your needs. Plus, you get to make finishing touches that would fit the existing design of your kitchen.
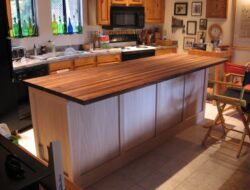
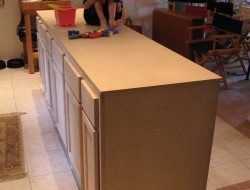
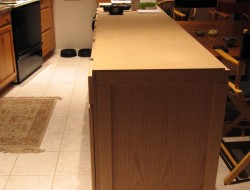
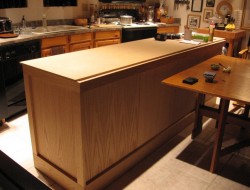
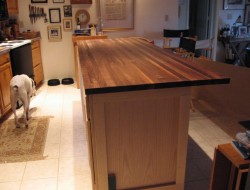
The kitchen island cabinet in this particular project is made with detailed planning, from the materials used, to the process of incorporating the cabinets with the kitchen island, to the careful assembly of the parts.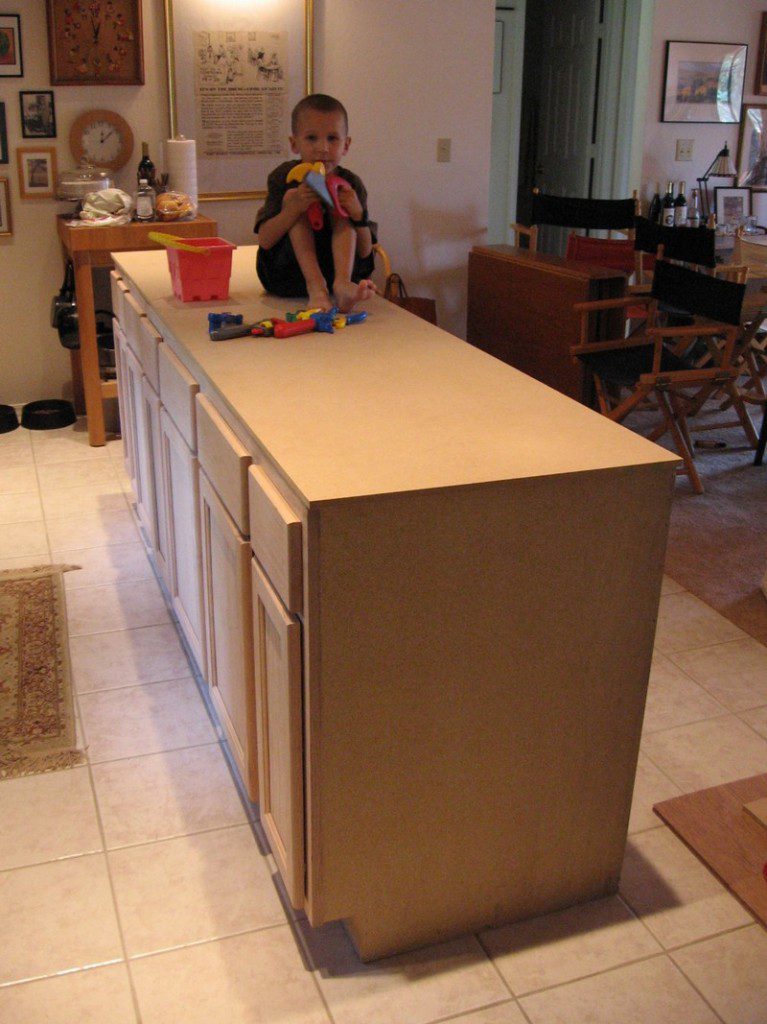
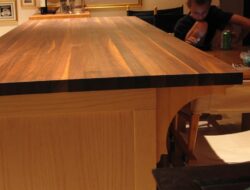
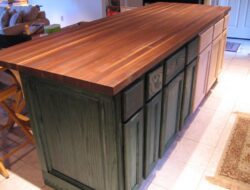
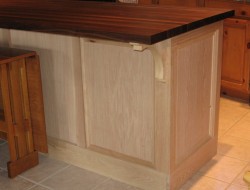
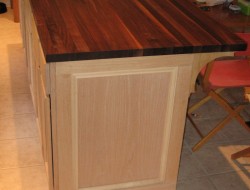
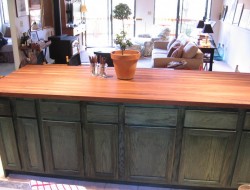
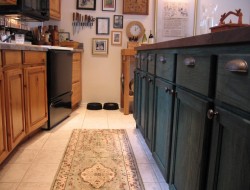
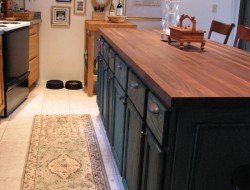
The kitchen island was made after the cabinets were installed. The cabinets were made out of walnut wood board and particle boards and had six doors at the bottom. The doors were inset by two inches so that they could be installed either way and still look good.
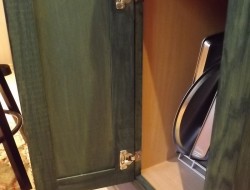
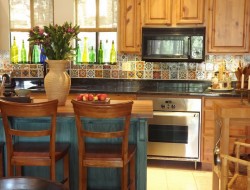
The doors were finished with green wood stain. Three of the cabinets had three adjustable shelves for storage and the other three are just plain storage without shelves. The backs of the cabinets had decorative moulding which added a nice touch. awesome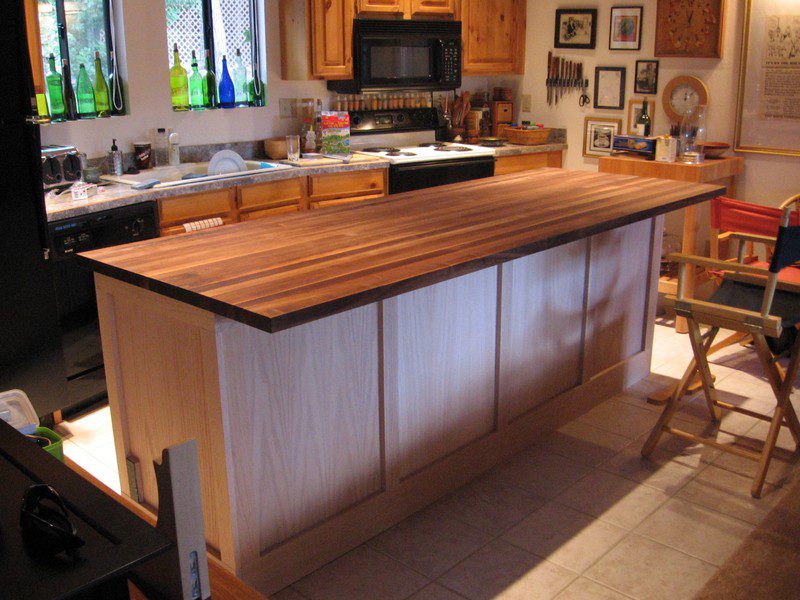
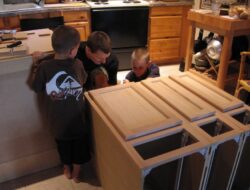
There were also six drawers for kitchen utensil storage or any other item that can fit. The first drawer held the knife holder, which held all of our knives. The second drawer contained a salad bowl and some other bowls that could fit. The third drawer contained some plates and cups.
The fourth drawer contained all of our silverware. The fifth drawer contained our mugs and glasses. The sixth drawer contained our cutting boards, can opener, and other small kitchen appliances or whatever you want to store. A kitchen island made from cabinets is perfect for any space.
Building a Kitchen Island Made From Cabinets
Materials:
- Particle Boards
- Walnut Wood Board
- Wood Filler
- Wood Screws
- Wood Brackets
- Wood Trims
- Hinges
- Green Wood Stain
- Drawer Pulls and Door Handles
Tools:
- Table Saw
- Drill
- Sander
Step 1: Prepare the Cabinets
- Choose and Measure Cabinets: Decide on the number and configuration of cabinets to use. Measure the dimensions to ensure they fit your desired kitchen island size.
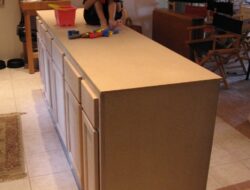
- Attach Cabinets: Place the cabinets back-to-back (or side-by-side if that suits your layout). Secure them using wood screws to create a single island unit.
Step 2: Build a Base Frame
- Cut and Assemble Base Frame: Use particle boards to construct a base frame matching the footprint of the cabinets. This will raise the island and add stability.
- Attach Frame to Cabinets: Secure the cabinets to the base frame with wood screws. Ensure the base is level for a balanced structure.
Step 3: Add Walnut Wood Panels
- Cut Walnut Wood Panels: Measure and cut the walnut wood board to cover the exposed sides and back of the island. These panels will create a polished, unified look.
- Attach Panels: Use wood brackets and screws to attach the walnut panels to the sides and back of the cabinets. Add wood filler to any visible screw holes for a seamless finish.
Step 4: Attach Trims
- Cut and Apply Wood Trim: Measure and cut wood trim to outline the top edges and corners of the island. This adds a decorative touch and hides raw edges.
- Secure Trim with Wood Screws: Attach the trim with wood screws or wood glue. Sand any rough edges to ensure a smooth surface.
Step 5: Install Drawers and Doors
- Attach Hinges and Doors: Position and attach the hinges to the door fronts of each cabinet. Ensure doors are level and open smoothly.
- Install Drawer Pulls and Handles: Securely attach the drawer pulls and handles to each door and drawer for ease of use.
Step 6: Stain and Finish
- Sand the Entire Island: Use a sander to smooth out any rough surfaces and edges.
- Apply Green Wood Stain: Use a cloth or brush to evenly apply green wood stain across the walnut wood panels and trim. Let the stain dry completely.
- Apply Wood Filler as Needed: Fill in any gaps or nail holes with wood filler. Once dry, sand lightly to ensure a smooth, uniform surface.
Step 7: Secure the Island in Place
- Position the Island: Move the island to its final location in your kitchen. Ensure it’s centered and level.
- Anchor the Island: Use additional wood screws to secure the island to the floor if necessary for stability.
Following these steps will help you build a durable, stylish kitchen island made from cabinets. Adjust dimensions based on the space and add custom touches as needed.
Click on any image to start the lightbox display. Use your Esc key to close the lightbox. You can also view the images as a slideshow if you prefer 😎
Thanks to Dusty Coyote for this great project. You can find the step by step instructions here…
Countertop Overhang Options for a Kitchen Island Made from Cabinets
Adding a countertop with the right overhang to a kitchen island made from cabinets enhances its functionality and aesthetics. The overhang provides extra workspace, seating areas, and adds a stylish element to the island’s design. Below are common overhang options to consider when planning your kitchen island.
Standard Overhang for Workspace
The standard overhang for a kitchen island countertop is generally 1 to 1.5 inches. This option keeps the countertop flush with the cabinet edge, creating a streamlined look. For kitchen islands made from cabinets, this approach works well if the island is primarily used for prep and storage, as it minimizes extra material and keeps everything accessible without the need for extensive support.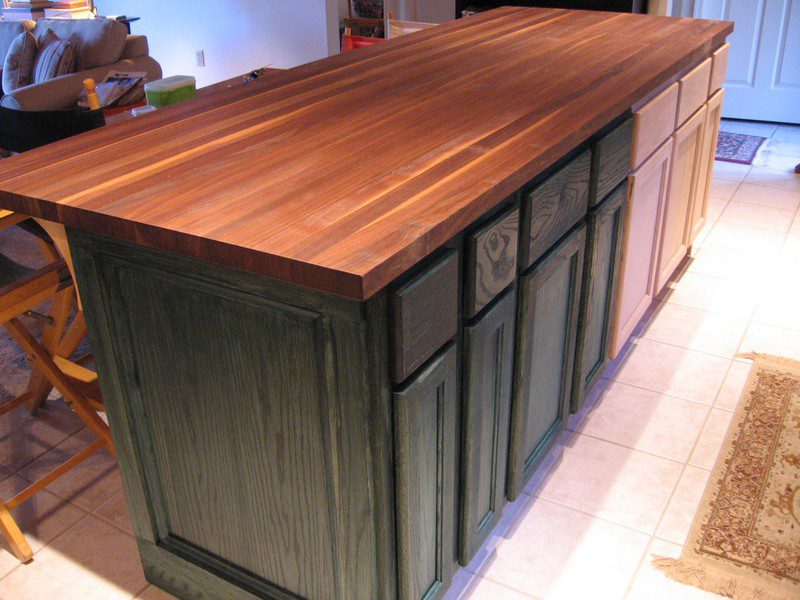
Seating Overhang
If you plan to add seating to your kitchen island made from cabinets, a countertop overhang of 12 to 15 inches is ideal. This allows enough space for stools or chairs, providing comfortable knee room for anyone seated at the island. Be sure to account for countertop thickness and the overall weight, as longer overhangs may require support brackets or legs for stability.
Extended Overhang for Breakfast Bar
An extended overhang, typically ranging from 18 to 24 inches, can turn your kitchen island into a full breakfast bar. This option transforms a kitchen island made from cabinets into a versatile dining and prep area, ideal for larger kitchens. To prevent sagging, it’s essential to support extended overhangs with corbels, legs, or a hidden metal brace system.
Waterfall Edge Overhang
For a modern and luxurious appearance, a waterfall edge countertop is a stylish choice. This design involves extending the countertop down the sides of the kitchen island, creating a seamless “waterfall” effect. While it doesn’t provide a functional overhang for seating, it highlights the natural beauty of the countertop material and pairs beautifully with a kitchen island made from cabinets in open-concept kitchens.
Minimal Overhang for Tight Spaces
For smaller kitchens or areas with limited space, a minimal overhang of 0.5 to 1 inch is a practical choice. This provides just enough overhang for aesthetics without taking up additional room. A kitchen island made from cabinets with this minimal overhang offers a compact, seamless look that works well in narrow kitchens.
Rounded or Bullnose Overhang
A rounded or bullnose overhang creates a soft, curved edge on the countertop, which is safer in family kitchens or high-traffic areas. This design also minimizes wear on the edges. Using a bullnose edge on a kitchen island made from cabinets provides a smooth finish while reducing the risk of accidental bumps or scrapes, making it ideal for households with children.
Custom Multi-Level Overhang
A multi-level overhang option is ideal for those who want both a work surface and a raised bar area. In this setup, the countertop is split into two levels, with one side acting as a food prep area and the other as a bar-height seating area. This custom design allows you to maximize space and function on your kitchen island made from cabinets, catering to different uses in one centralized area.
Deep Overhang with Open Shelving
A deep overhang on one side, often 15 to 20 inches, can also create room for open shelving underneath. This configuration is excellent for extra storage, allowing you to display items or keep frequently used kitchen tools accessible. For a DIY kitchen island made from cabinets, this option adds a unique, functional storage component to the island’s design.
Incorporating the right countertop overhang based on your needs ensures that a kitchen island made from cabinets becomes a functional and visually appealing centerpiece in your kitchen.
Conclusion
Creating a kitchen island from cabinets offers a practical way to expand both workspace and storage in your kitchen. This DIY project allows for customization that reflects your unique style and kitchen needs. With the right materials and design approach, your kitchen island can become the functional centerpiece of your kitchen, blending seamlessly with your overall decor.
If you liked this project, you will also like viewing these kitchen ideas…

