Last Updated on August 22, 2024 by teamobn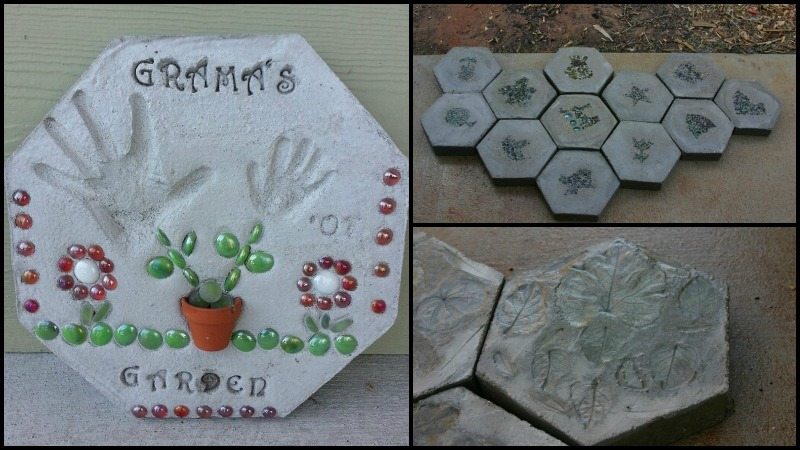
Hexagon stepping stones are a great way to accent the hardscaping in your garden or yard. They can be used to add personality to the design, and to help create a theme throughout your yard.
Stepping stones can be used to build a path, or to decorate around a pond or fountain. Hexagon Stepping stones are a great way to liven up your garden, patio, or walkway.
They can be used to create a path or to make a seating area. Stepping stones can be arranged in a variety of patterns, colours, and materials to achieve a great effect, whatever you are looking for.
Making your own stepping stones is a practical and fun way of upgrading your home. By making your own stepping stones you can choose to personalise them in various ways.
Making your own stepping stones is a great opportunity for every member of the family to get involved allowing them to display their creativity.
Hexagon stepping stones are created by using a hexagon-shaped mould (or liner) and then using the form to make the stones.
A hexagon is an interesting shape because it has three sides of equal length and three sides of equal width. It is therefore a shape that provides a good visual for creating stepping stones.
The hexagonal stepping stones shown here would look great in any environment as they lead family and friends up the garden path 😉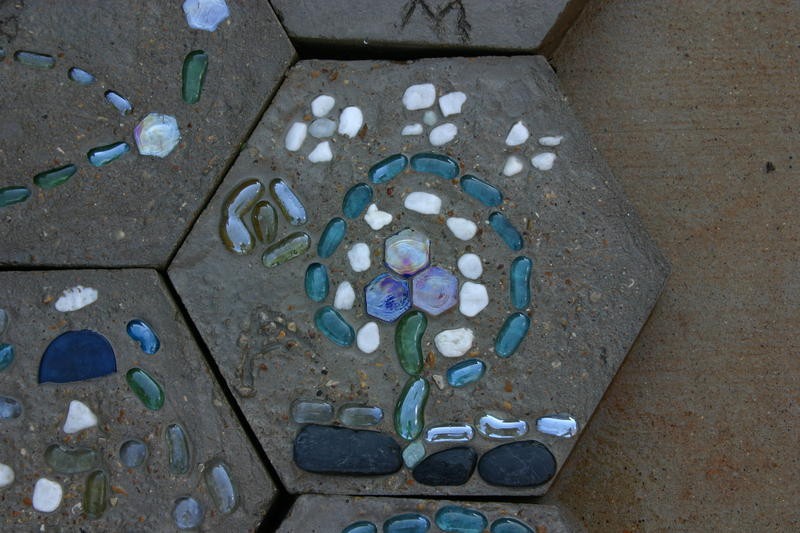
You can make them to any size you can manage and can also be used as pavers. They’ll stand the test of time as they’re made from durable materials yet inexpensive and easy to make.
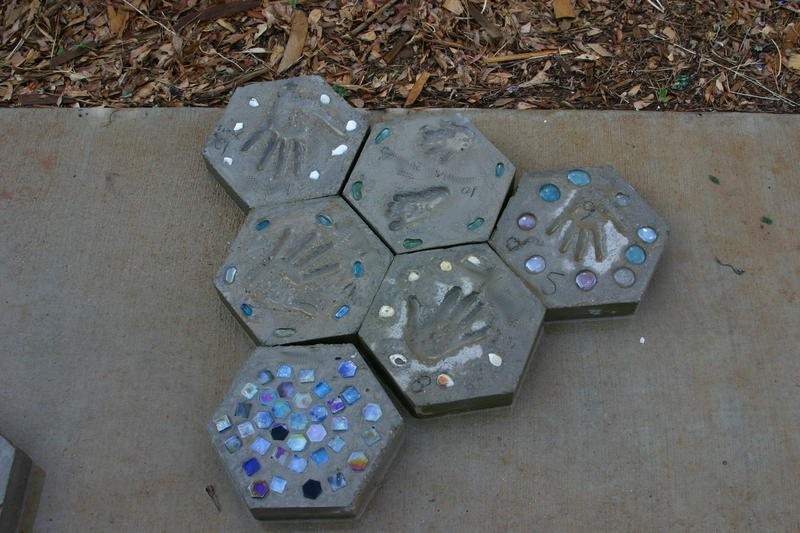
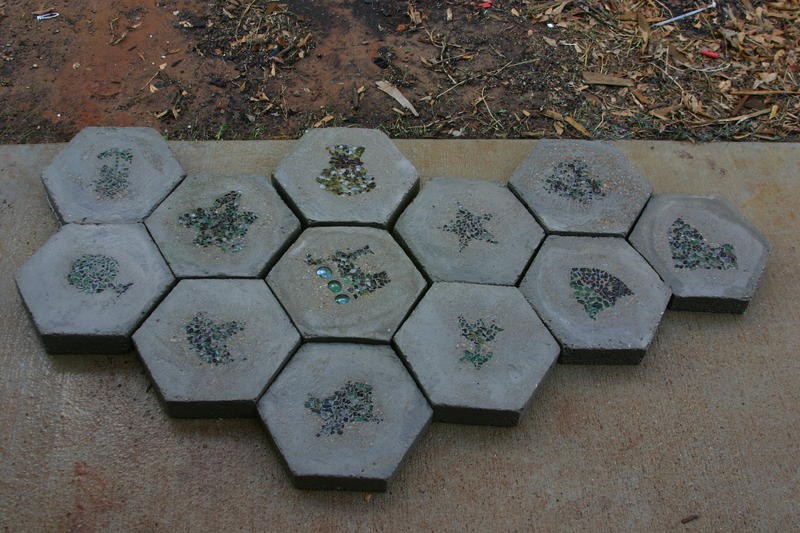
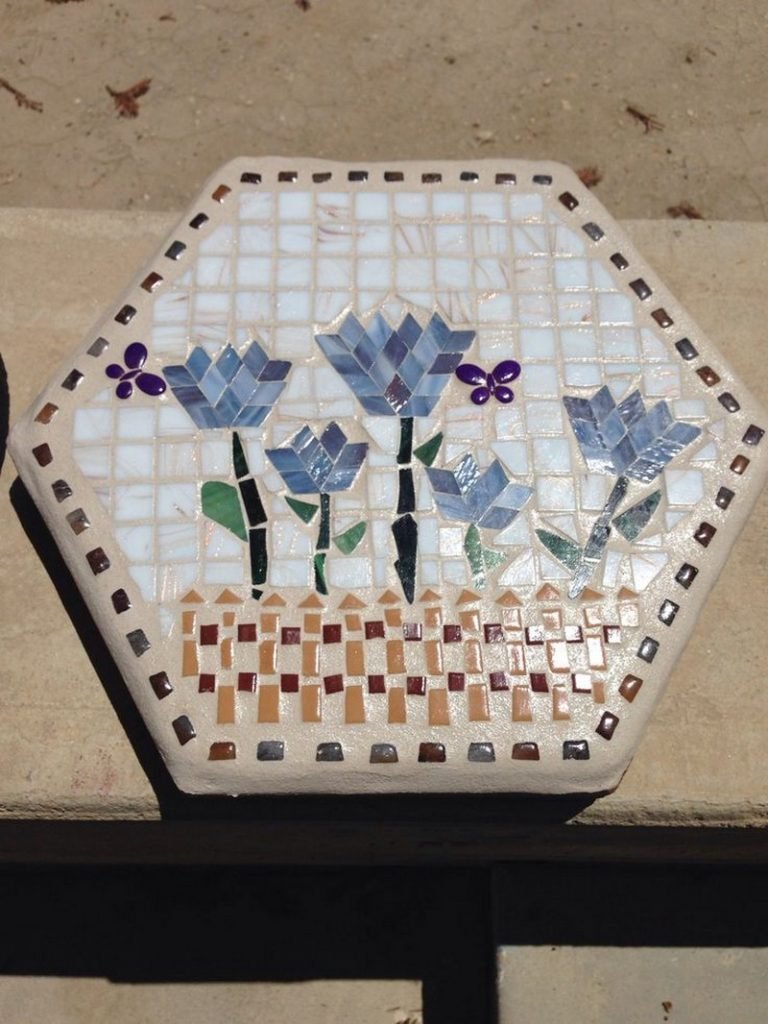
If you want to incorporate your hexagonal stepping stone as a patio decoration, you can also integrate them with broken glass, colored pebbles, and glass, or marble pebbles for the designs.
The stepping stones would look nice when they are combined with a variety of colours in the stepping stones and accessories in the garden.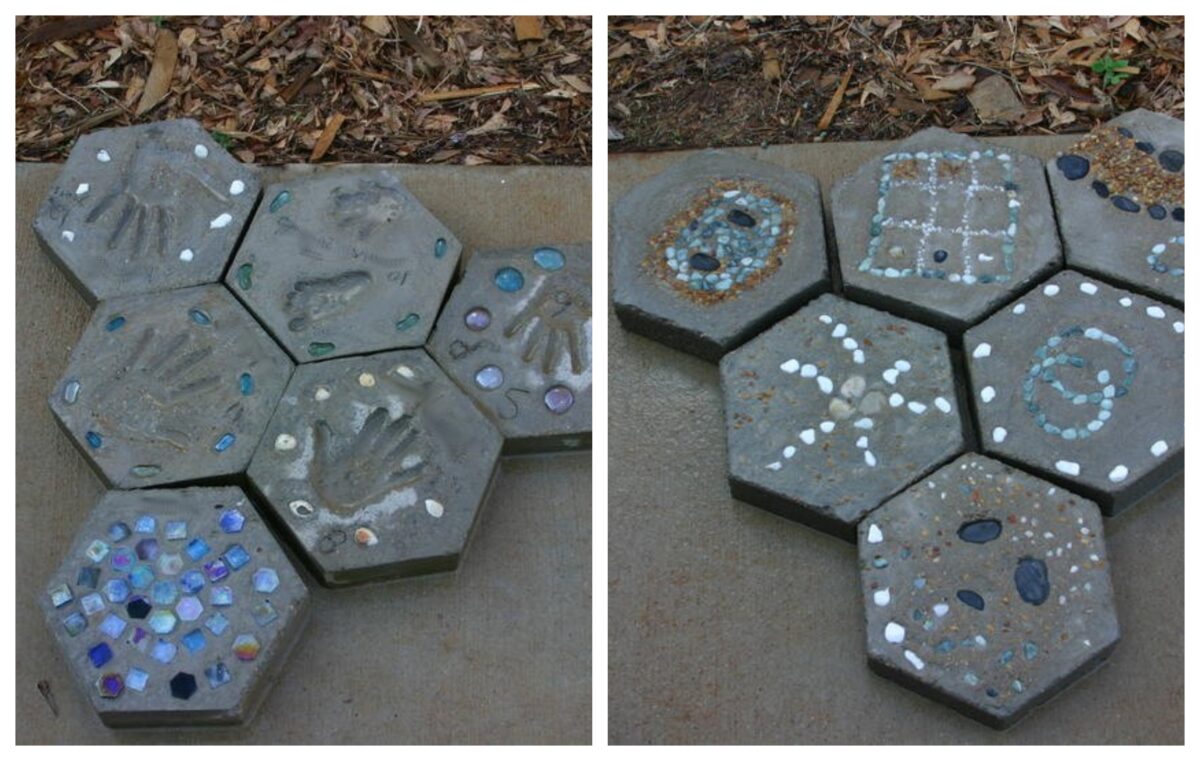
You can design your garden with a nice, neat look. The hexagonal stepping stones are also ideal for use on stone or brick walls.
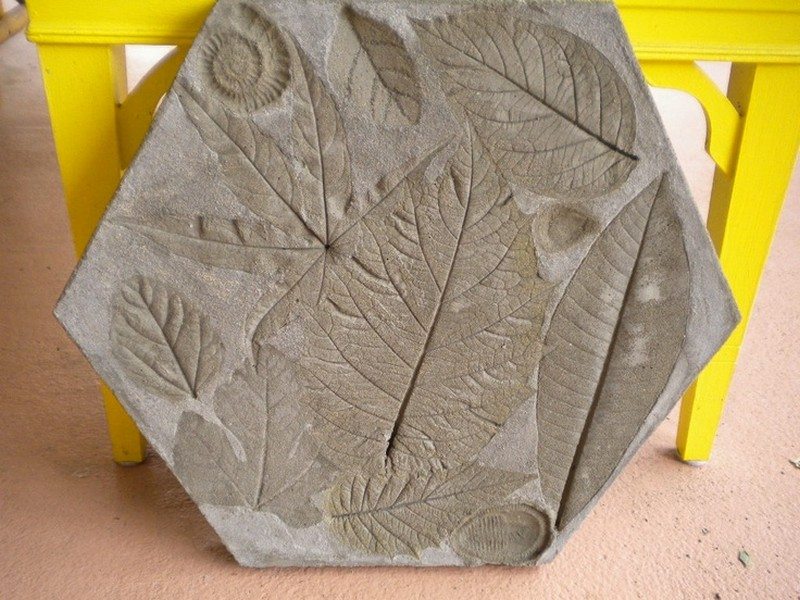
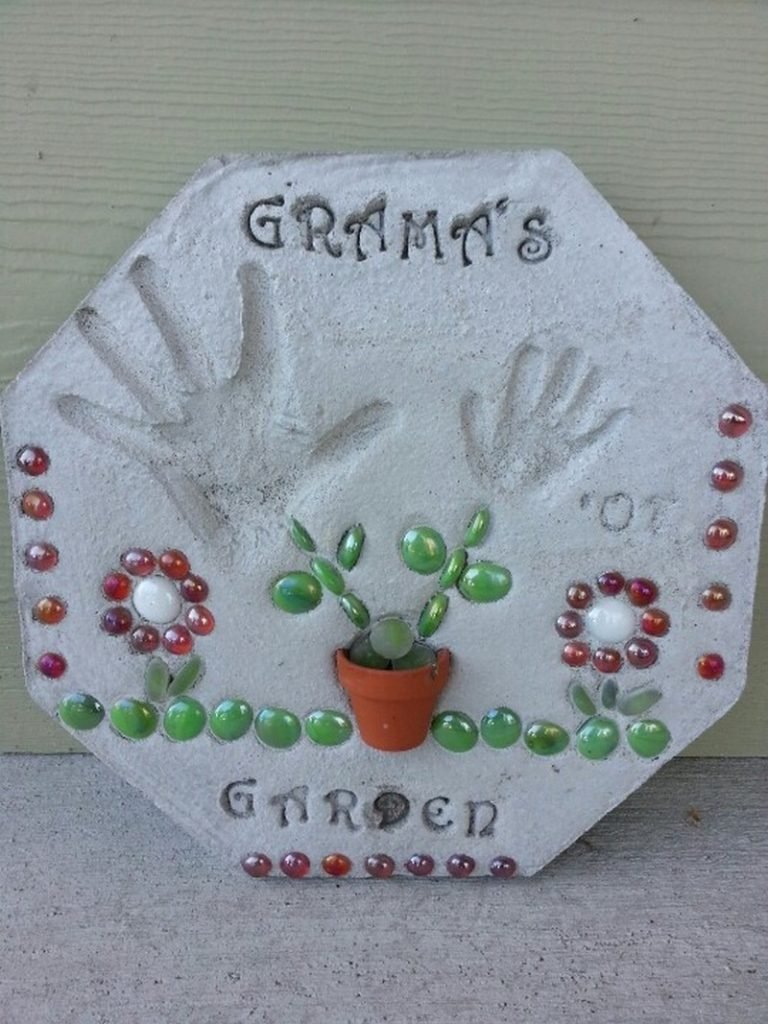
You can even leave your and your child’s handprints while the concrete has not dried up yet in the mould. Dried leaves can be a good choice too, you can also make a random pattern with leaves as designs for your hexagon stepping stone.
You can also experiment with how you’re going to arrange your decorations on your stepping stones. But with this, you will need to work with your designs a little faster while the mixture is still wet.
You will definitely have a hard time decorating it when the mixture of your hexagon stepping stone in the mould has already dried. 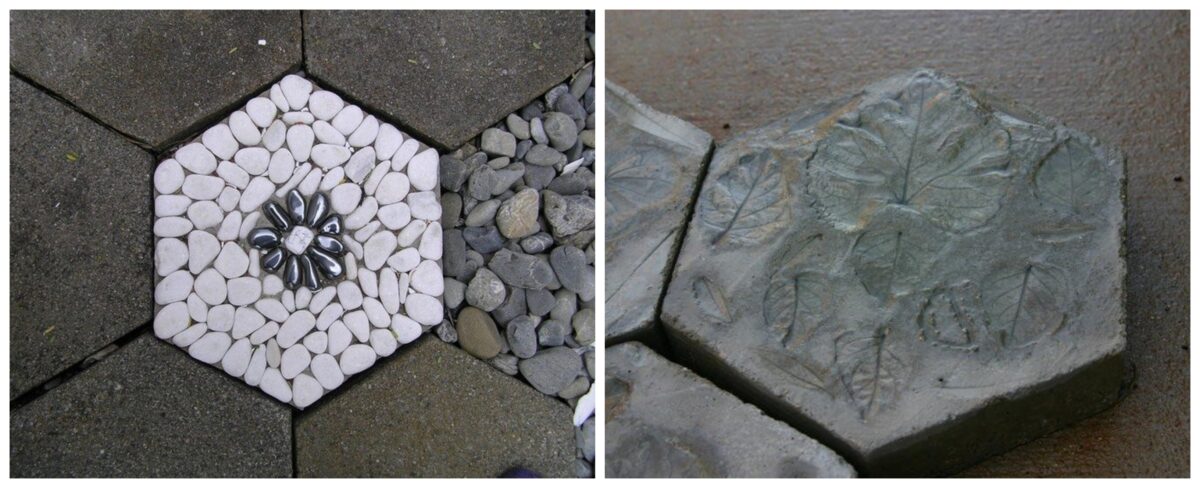
But when your stepping stone has dried out already, and you were not able to decorate it yet. You don’t need to worry, you can still decorate it to make it look pretty. Have your hexagon stepping stones painted with random designs or patterns that you desire.
Crafting Hexagong Stepping Stones
Materials
- Broken Glass
- Hexagon Mold
- Plastic Laminate
- 80 lb bag of Concrete — for 6 hexagon stones
- Wheelbarrow
- Metal Wires – reinforcement
Tools
- Razor Blade
- Shovel
- Trowel
Instructions
Prepare the Mold:
- Cut the plastic laminate to size using the razor blade to line the inside of the hexagon mold. This will help in easily removing the concrete stepping stone once it’s set and provide a smooth surface.
Mix the Concrete:
- In your wheelbarrow, mix the concrete according to the package instructions. Use the shovel to combine the concrete mix with water until you achieve a thick, moldable consistency.
Add Reinforcements:
- Cut metal wires to fit inside the hexagon mold. Lay these wires within the mold before pouring the concrete. This step is crucial as it strengthens the stepping stones, helping them withstand weight and weather conditions.
Pour the Concrete:
- Carefully pour the concrete into the mold. Use the trowel to spread it evenly, ensuring the surface is flat and fills the mold completely. Tap the sides of the mold gently to remove any air bubbles.
Add Decorative Elements:
- Before the concrete begins to set, gently press bits of broken glass into the wet concrete’s surface. Arrange the glass pieces in your preferred design such that they are buried sufficiently to remain in place yet still clearly visible.
Let it Set:
- Let the concrete set in the form. Usually, this process takes 24 to 48 hours at least. To guarantee the stepping stone sets correctly, leave it undisturbed during this period.
Remove the Stepping Stone:
- Carefully take the stepping stone out of the mold once the concrete is completely cured. Should it be lined with plastic laminate, it should come out easily without adhesiveness.
Cure Further:
- Place the stepping stone in a dry, shaded area to cure further for about a week. This additional curing time helps the stone to fully harden and develop strength before being placed outdoors.
Install Your Stepping Stones:
- Choose the location for your stepping stones. You can use them to create a path through your garden or place them strategically among your landscaping for decorative accents.
- Dig a shallow hole in the ground for each stone, making sure each fits snugly and is level with the ground to prevent tripping hazards.
Seal the Stones (Optional):
- To protect the glass and concrete from weather elements, consider sealing the stepping stones with a concrete sealant. This will enhance the color and protect the embedded glass pieces from moisture and frost.
Click on any image to start the lightbox display. Use your Esc key to close the lightbox. You can also view the images as a slideshow if you prefer 😎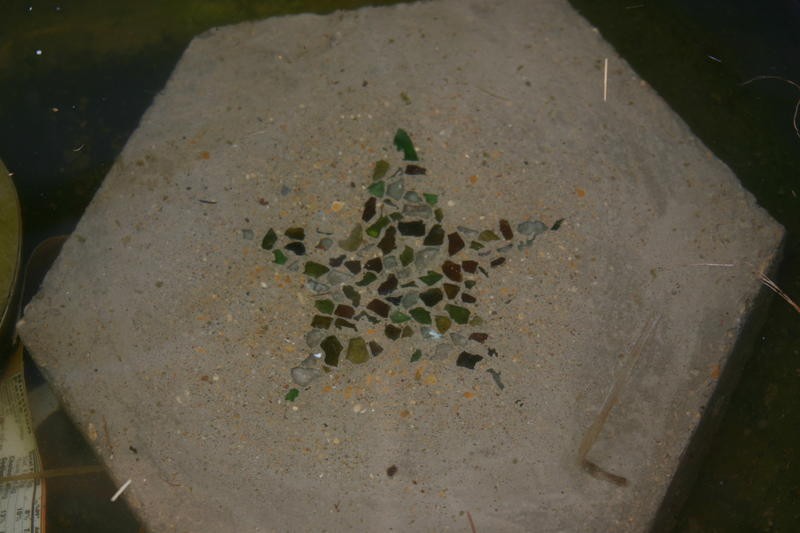
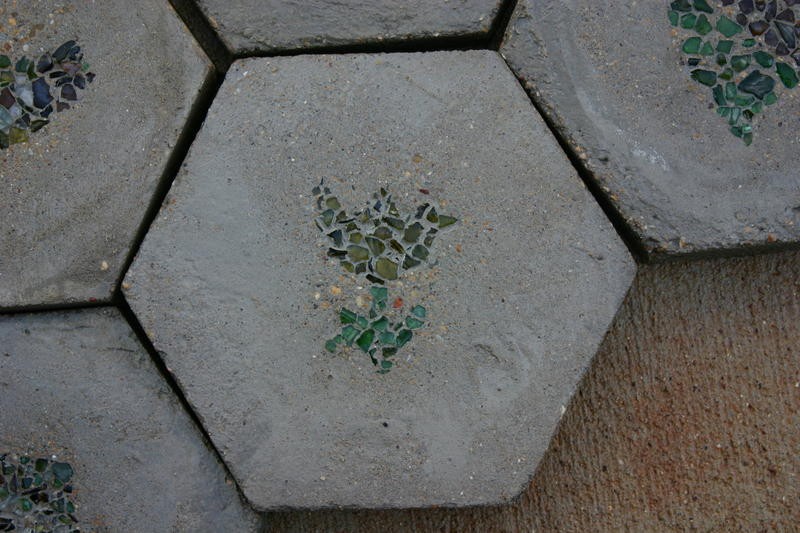
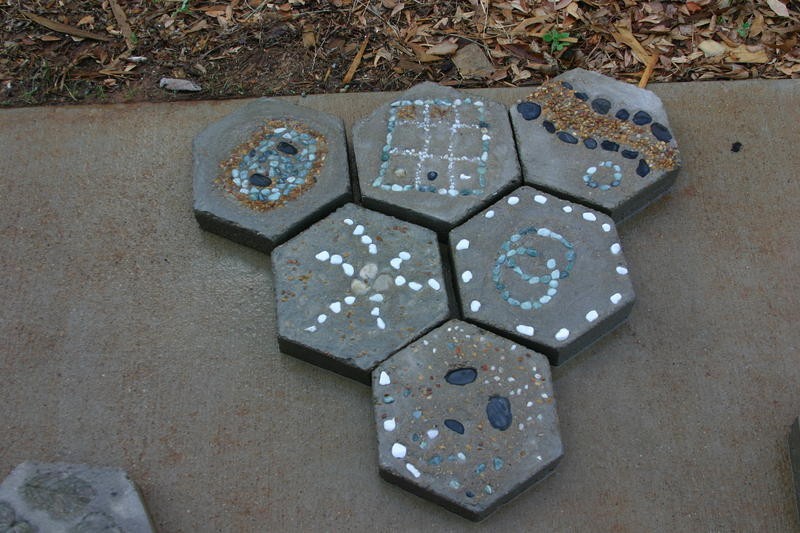
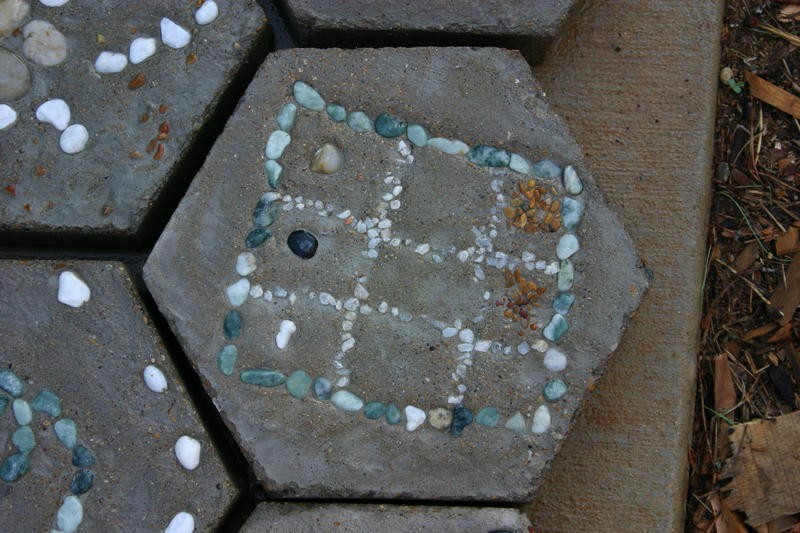

You can get more step-by-step instructions here…
Maintenance and Care for Hexagon Stepping Stones
Hexagon stepping stones are a charming addition to any garden, pathway, or outdoor living space. Like all architectural elements, they require a bit of maintenance to keep them looking their best and to ensure their longevity. Whether you’ve crafted your own or chosen pre-made designs, understanding how to care for your hexagon stepping stones will enhance their durability and appearance through the seasons.
Regular Cleaning
The most basic and essential maintenance for hexagon stepping stones is regular cleaning. Dirt, debris, and algae can accumulate on the stones, especially in damp, shaded areas. To clean your hexagon stepping stones, simply sweep them regularly with a stiff brush. For more stubborn dirt or stains, wash the stones with a solution of mild detergent and water, using a scrub brush to remove any buildup. Rinse them thoroughly with clean water to prevent any soapy residue.
Weed Management
Weeds can be more than just an eyesore; they can also cause structural issues if they grow between or underneath your hexagon stepping stones. To manage weed growth, regularly pull out weeds by hand when they first appear. For a more preventative approach, consider applying a weed barrier around the stepping stones or using a natural herbicide to keep the area clear. Ensuring that the gaps between the stones are properly filled with sand or fine gravel can also help minimize weed encroachment.
Checking for Movement and Stability
Hexagon stepping stones can become unstable over time due to soil erosion or settling. Periodically check each stone to ensure it is firmly in place and level with the ground. If a stone wobbles or has shifted, it may need to be repositioned. Lift the stone, add or remove soil as needed to level the base, and then replace the stone firmly. Tamping down the soil around it will help keep it stable.
Sealing the Stones
To protect your hexagon stepping stones from moisture and weather-related damage, consider sealing them with a concrete or stone sealant. This is especially recommended if your stones are made of porous materials like concrete or natural stone. Sealing your hexagon stepping stones can enhance their color, reduce moss and algae growth, and prevent cracking during freeze-thaw cycles. Apply a sealant according to the manufacturer’s instructions, typically every two to three years.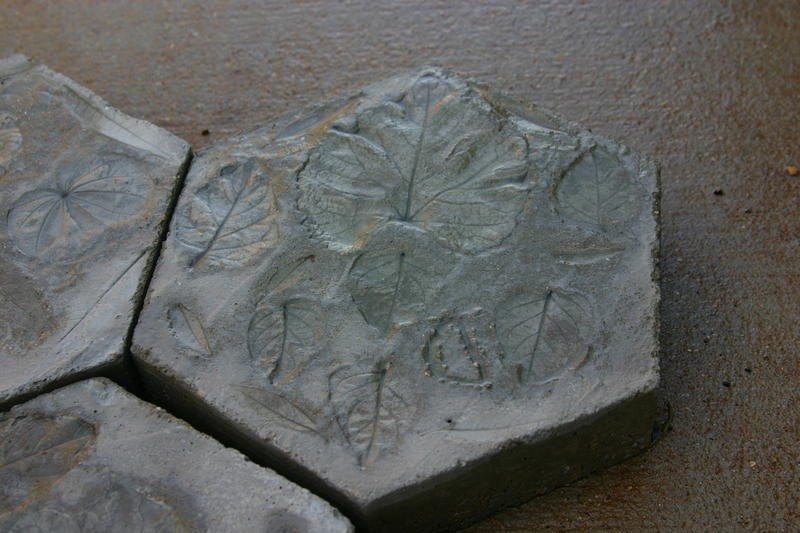
Repairing Damaged Stones
Despite your best efforts, hexagon stepping stones can sometimes crack or chip due to heavy use or environmental stresses. Inspect your stepping stones annually for any signs of damage. Small cracks can be filled with a concrete patching compound, while larger damages may require the stone to be replaced entirely. Keeping a few extra stones on hand when you first install your path can ensure that you have a matching replacement if needed.
Winter Care
In colder climates, hexagon stepping stones are susceptible to damage from freeze-thaw cycles. Water can seep into the pores of the stone and expand when it freezes, leading to cracks and breakage. To protect your hexagon stepping stones during winter, ensure they are well-sealed and keep them free of standing water. If snow and ice accumulate on the stones, avoid using chemical deicers, as these can damage the stone surfaces. Instead, use sand or kitty litter for traction.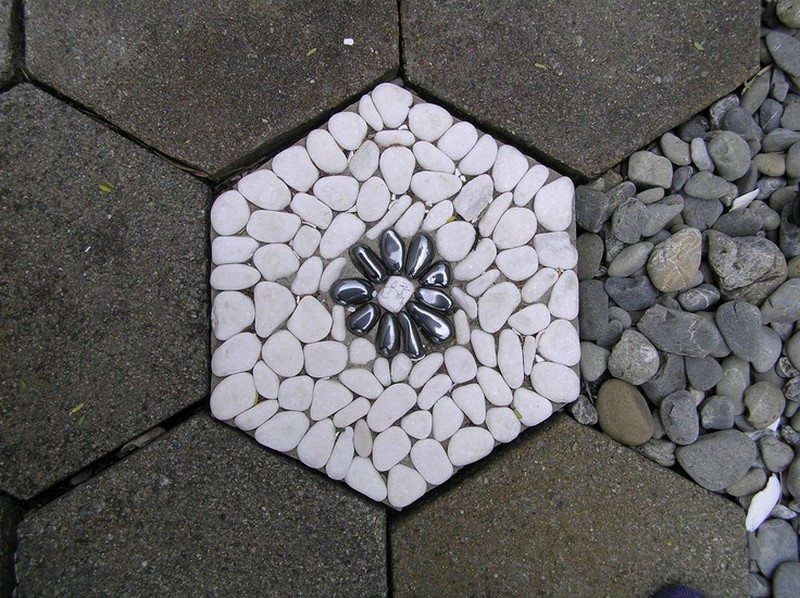
Aesthetic Enhancements
To keep your hexagon stepping stones visually appealing, you might also consider aesthetic enhancements. This can include updating the surrounding landscape with fresh mulch or plants, adding solar-powered lights for nighttime visibility, or even painting stones that have faded over time with concrete-approved paint.
Maintaining your hexagon stepping stones with these care tips will not only keep them functional and safe but also preserve their beauty, making them a lasting feature in your outdoor decor. Regular maintenance ensures that these practical decor elements continue to add value and charm to your home year after year.
Conclusion
Caring for your hexagon stepping stones ensures they remain both functional and aesthetically pleasing through the years. Regular maintenance, such as cleaning, repositioning, and sealing, helps prevent damage and preserves the beauty of each piece. With these steps, your hexagon stepping stones will continue to enhance your garden or pathway, providing a durable and charming walkway.
If you liked this project, you will also like viewing these DIY stepping stones and pathway projects…


