Last Updated on December 2, 2024 by teamobn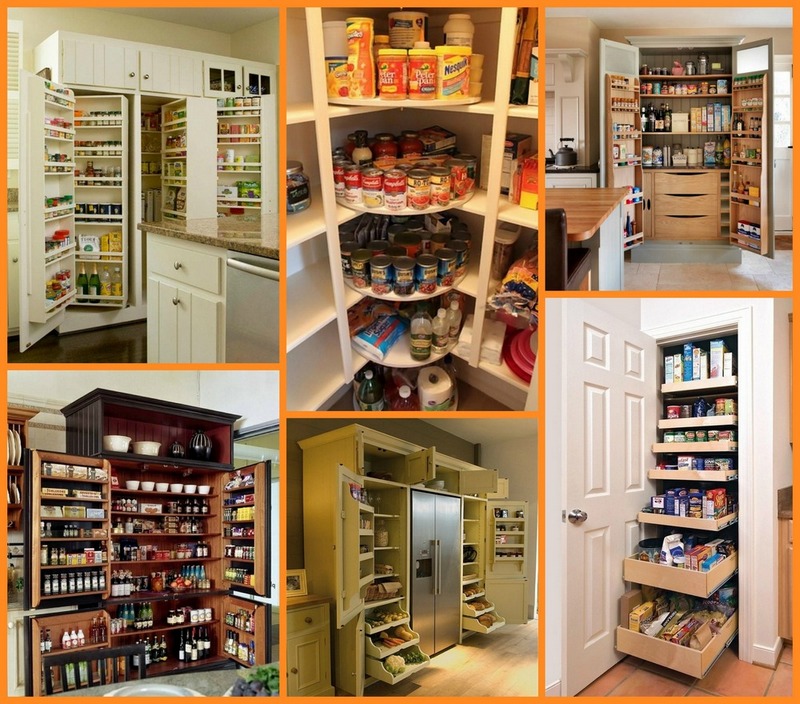
A well-designed kitchen pantry cabinet can be an absolute blessing, providing ample storage space for all of your food items, small appliances, and more.
Having a designated space for everything can help to keep your kitchen organized and tidy, making meal prep and cooking a breeze. Plus, with a little bit of creativity, your pantry can also be a stylish addition to your home décor.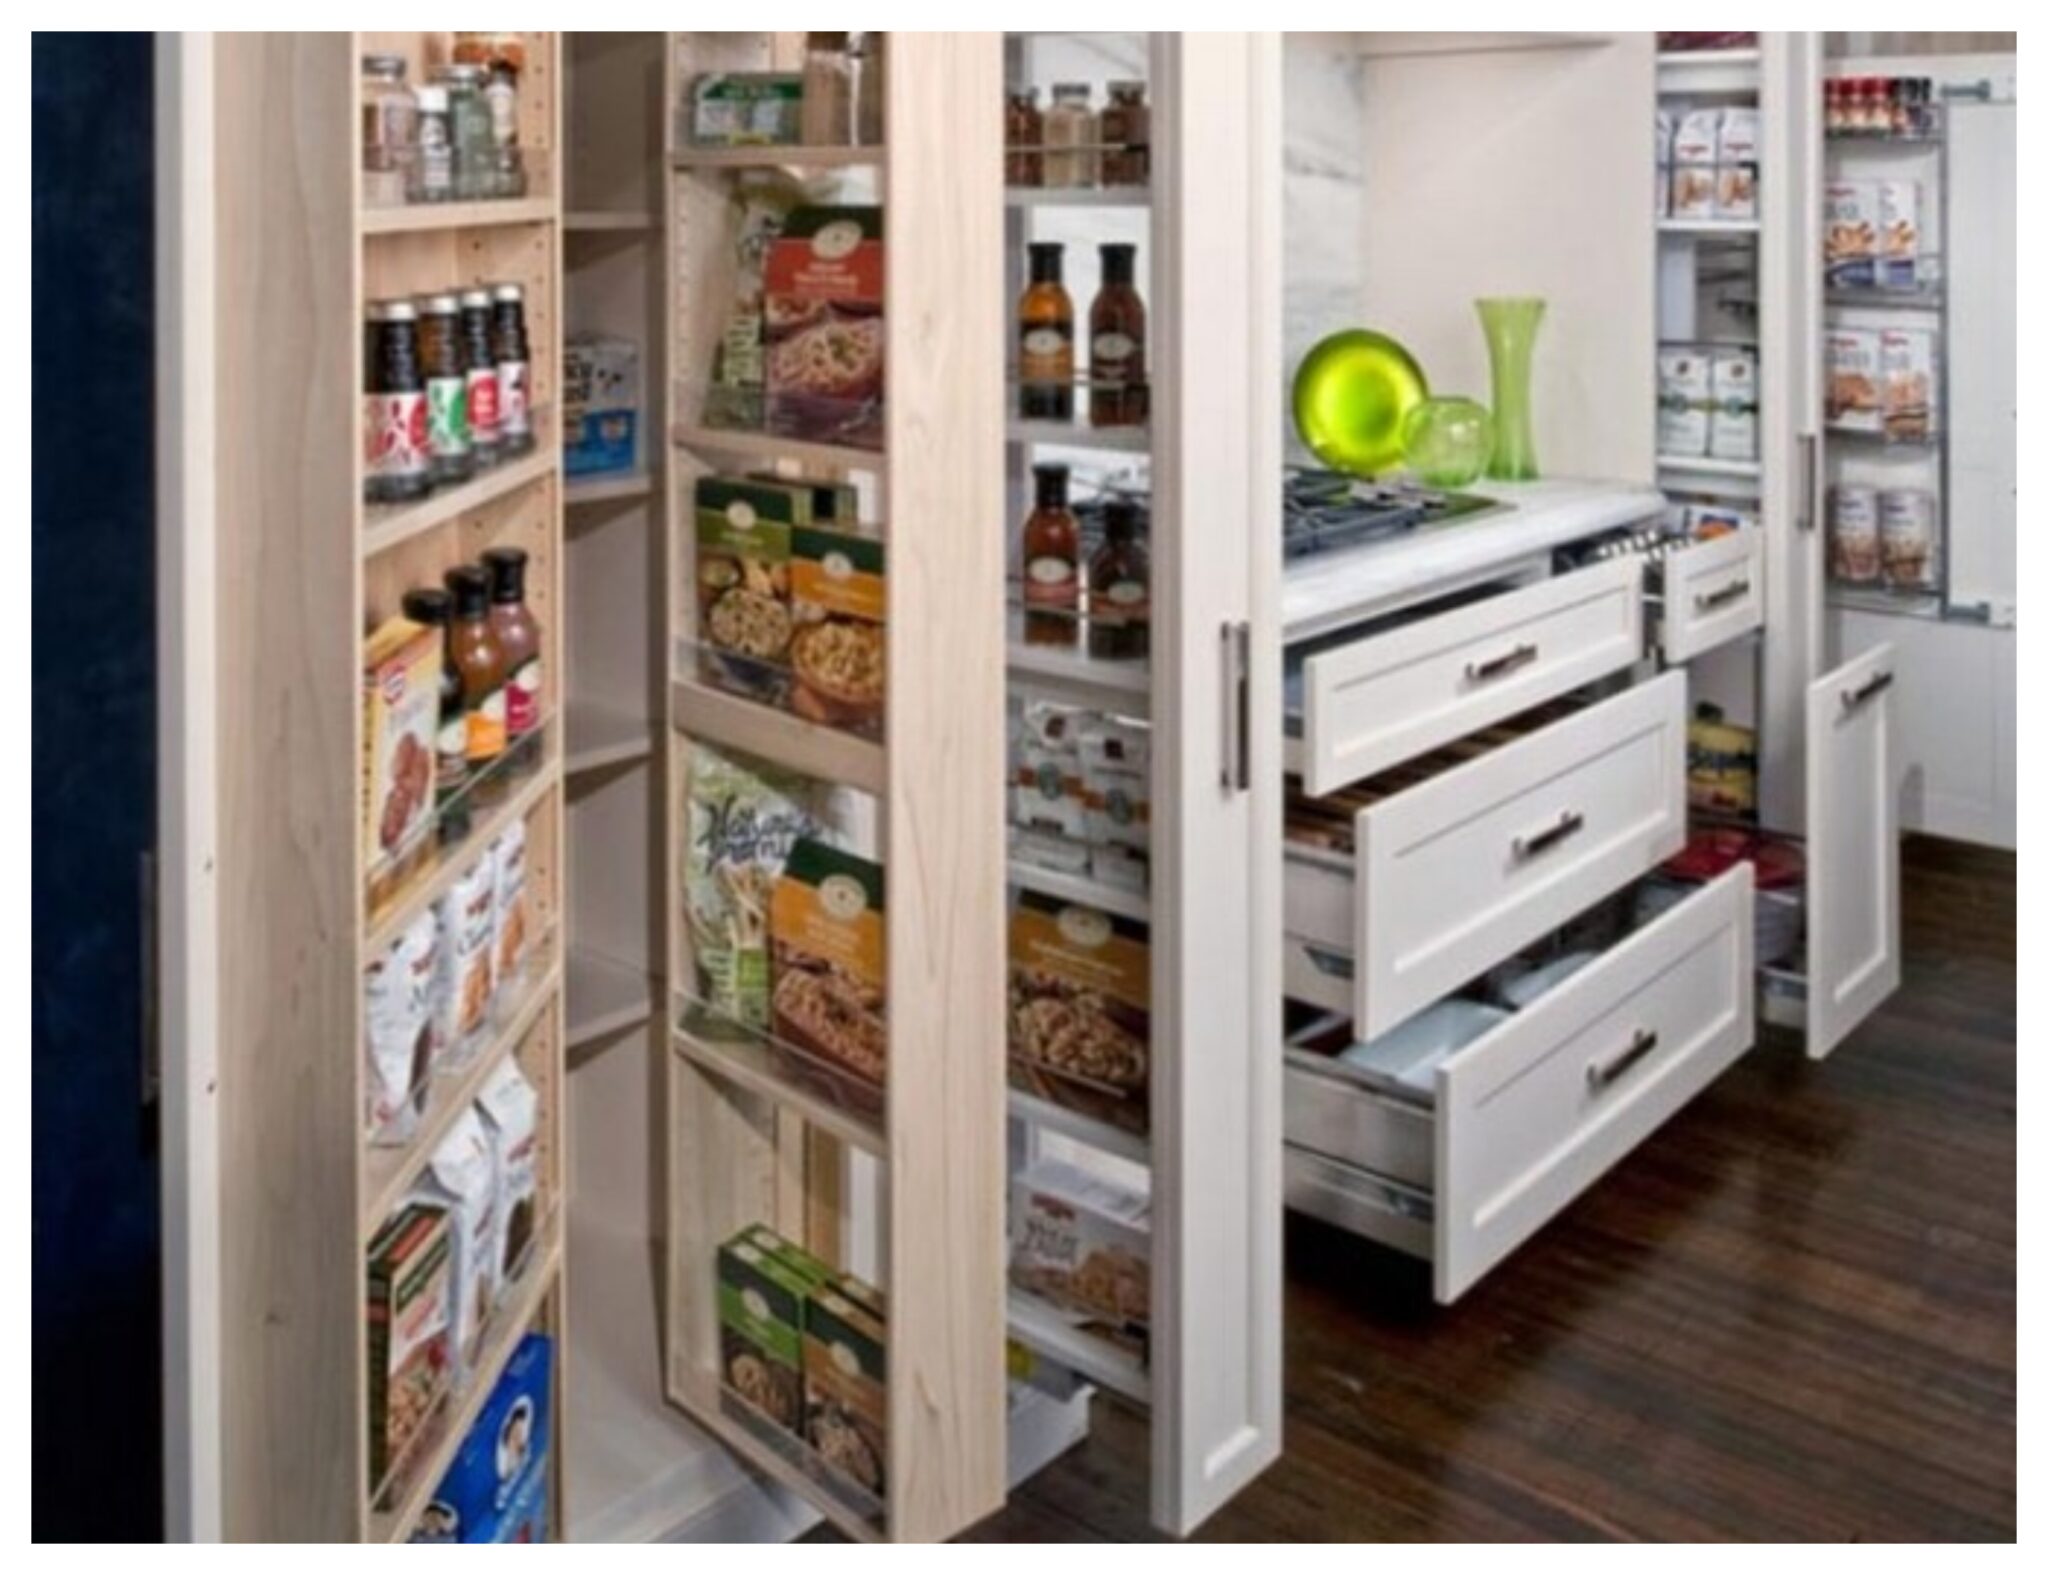
Whether you use your pantry to store bulk shopping or just like to be able to see the ingredients you need at a glance, there are many clever ways to make this sort of cabinetry work for you.
Pantry cabinets are an important part of any kitchen. They provide storage for non-perishable food items, as well as small appliances and dishes. Having a well-organized pantry can help make mealtime easier and less stressful.
These cabinets are available in a variety of styles and materials, so you can find one that fits your needs and match your kitchen’s decor.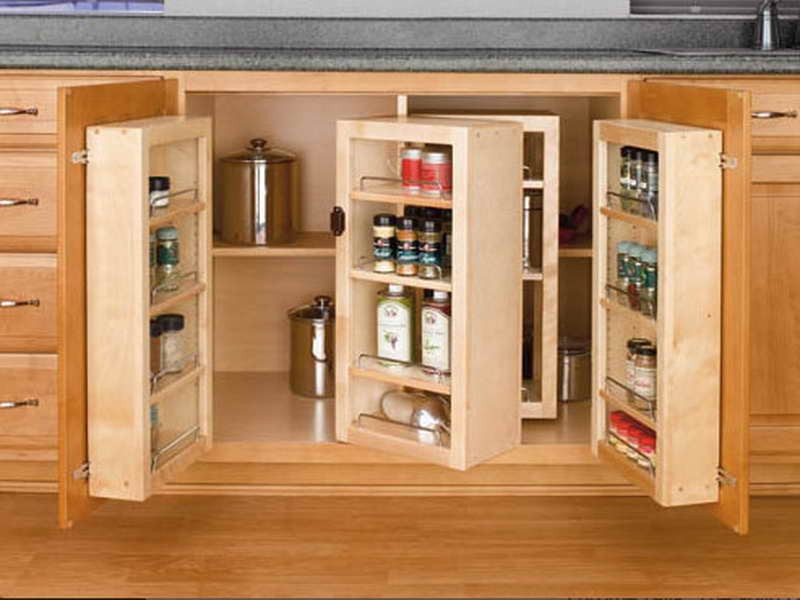
Importance of a Kitchen Pantry Cabinet
Keeping your pantry organized, especially if your home isn’t blessed with spacious storage areas, isn’t at all easy. It may be because you unpack your grocery shopping in a rush or because you love to experiment with exotic recipes and have a collection of odd ingredients.
Whatever the reason, it is important that you don’t give up on having an organized pantry! Here are just some of the compelling reasons why you should keep on top of it:
- Provides quick access, which ensures efficiency during meal preparation.
- Reduces the risk of expired items and food waste.
- Saves money by avoiding duplicate purchases.
- The clear visibility it provides leads to better ingredient utilization and creativity.
- Helps create a stress-free, aesthetic kitchen environment.
According to the Food and Agriculture Organization of the United Nations, improper storage, over-preparing, overbuying, poor planning, and date label confusion are some of the reasons behind such high percentages of consumer food waste. But when it comes to improving the way you store and manage your ingredients, it may be challenging to keep on top of a filled pantry.
That’s where the ideas below can help – before diving in, however, keep in mind these strategies that should be at the core of any pantry organization method you wish to use:
- FIFO (First-In, First-Out): Rotate items so that the oldest stock is used first, reducing the chance of expiration.
- Zoning: Group similar items together (e.g., baking supplies, canned goods) to streamline finding and inventorying pantry contents.
- Using Containers: Use clear, labeled, and air-tight containers for bulk items to maintain freshness and eliminate packaging clutter.
If you love to keep your dinner table varied with exotic and complex recipes every once in a while, look for alternatives to buying ingredients that you are not likely to use again. For example, using the right meal kit promo code, you can take advantage of meal kit subscription services at a fraction of the costs. These services will deliver the exact ingredients you need to your doorstep, curbing food waste, excessive spending, and meal repetition!
Take a look at these kitchen pantries we collected for you
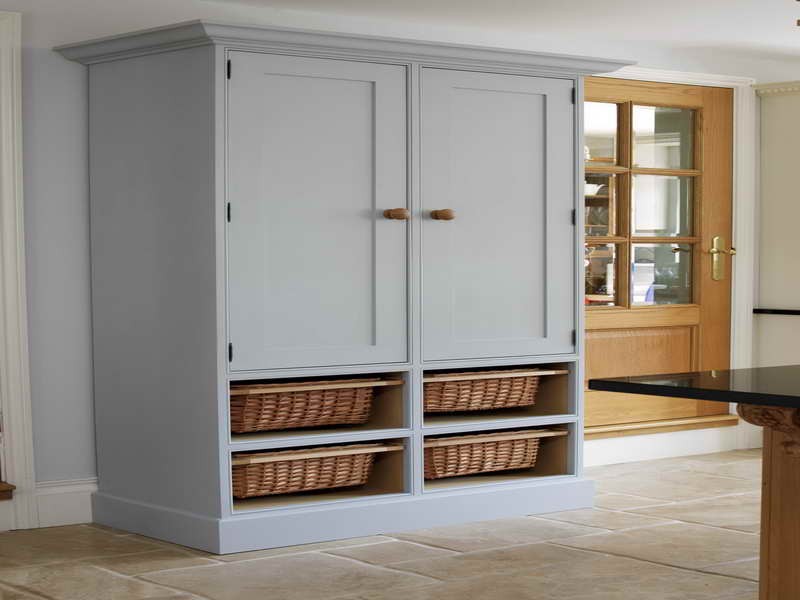
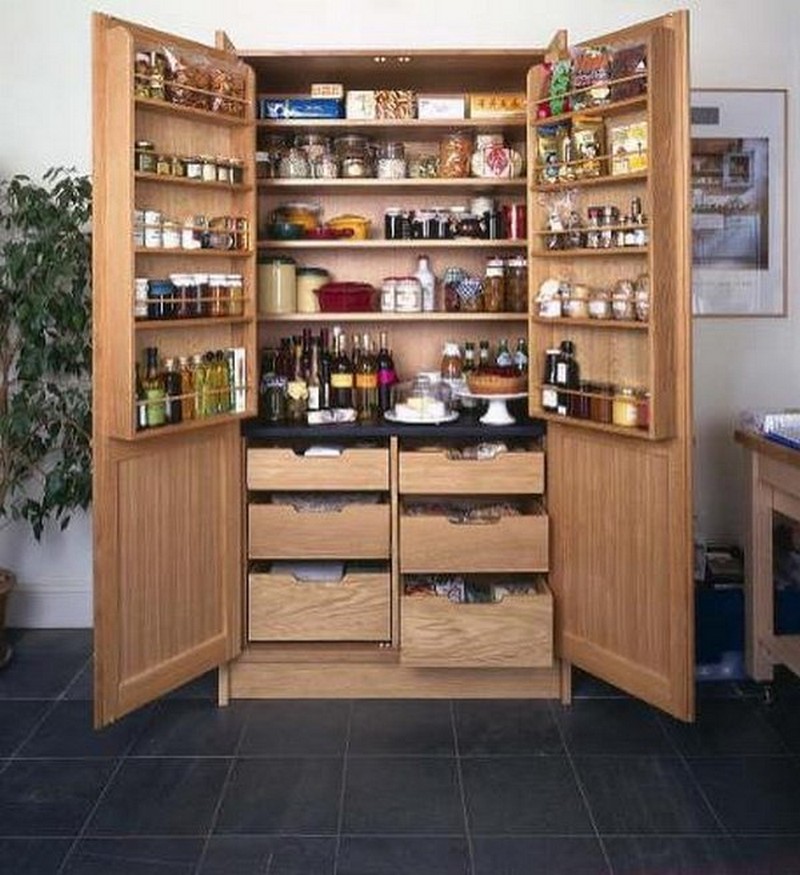
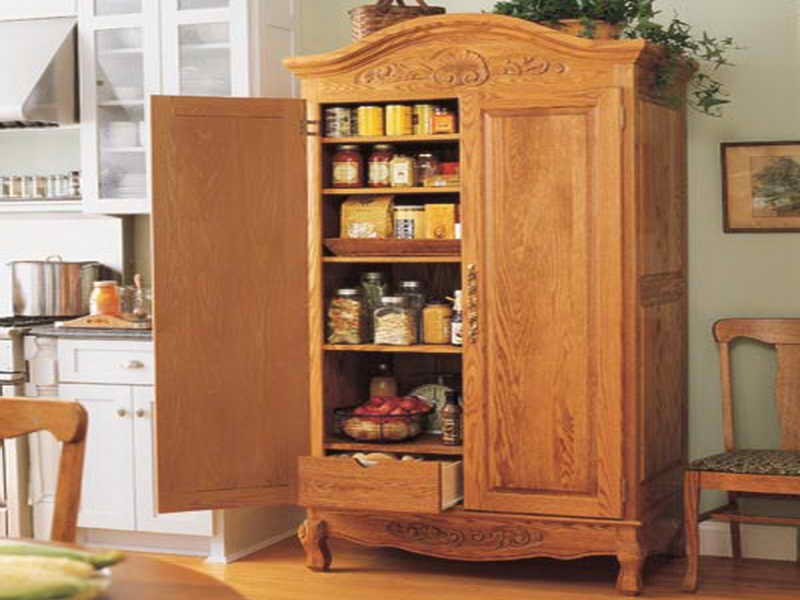
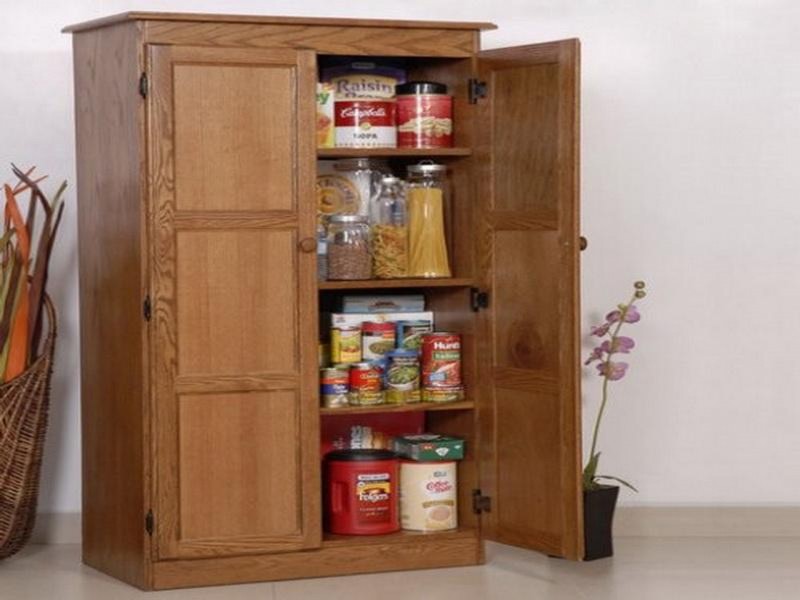
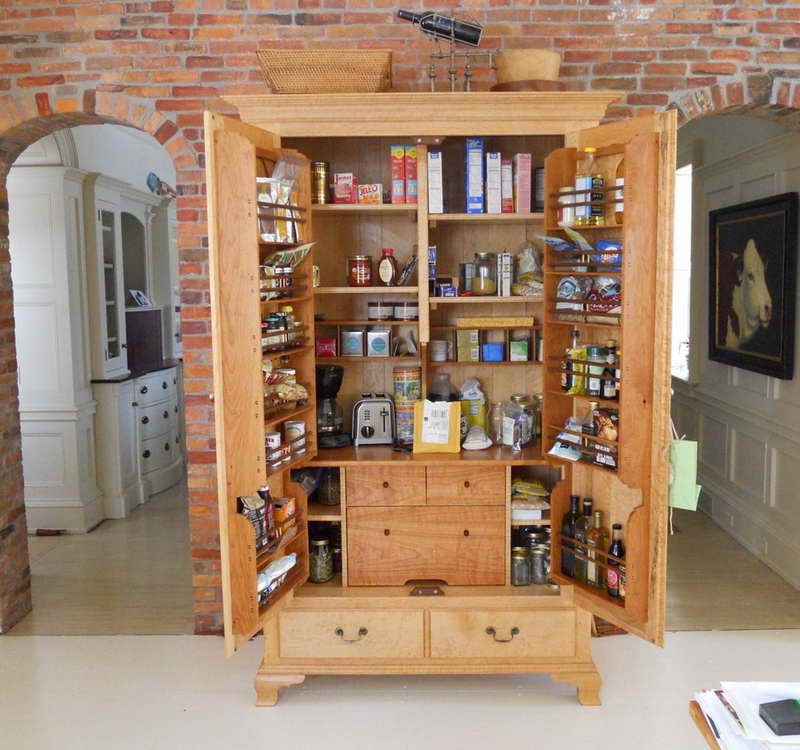
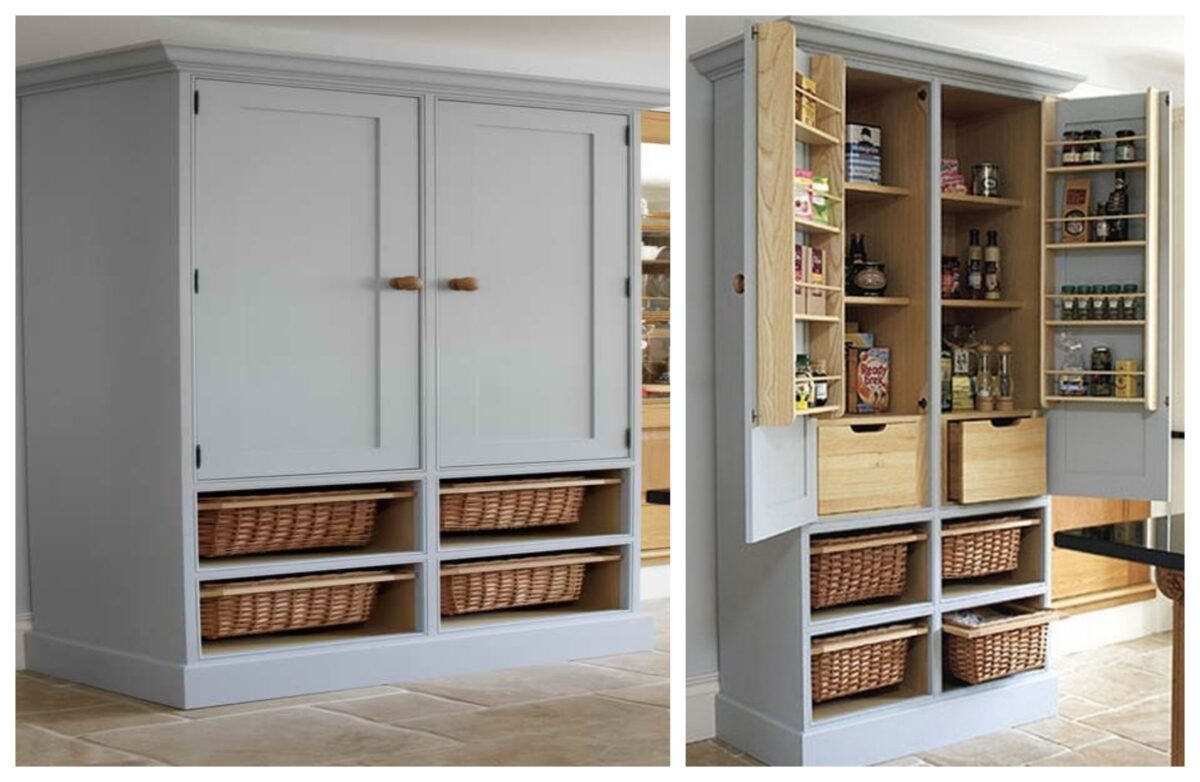
Free-standing Kitchen Cabinet
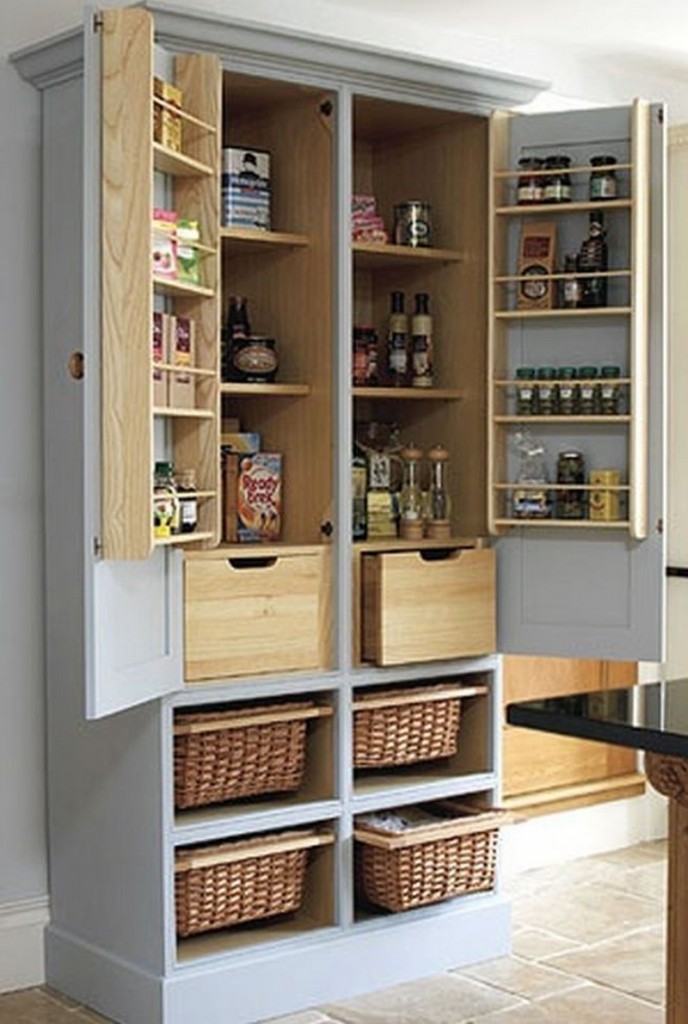
When considering kitchen cabinet options, many homeowners opt for free-standing cabinets. There are several reasons for this choice, as free-standing cabinets offer a number of advantages. One of the main benefits of free-standing pantry cabinets is that they are highly versatile.
They can be placed just about anywhere in the kitchen, and can even be moved to a different location if desired. This flexibility is ideal for small kitchens or for those who like to change up the layout from time to time.
Another advantage of free-standing cabinets is that they tend to be quite sturdy and durable. Well-made cabinets can last for many years, making them a wise investment for the home.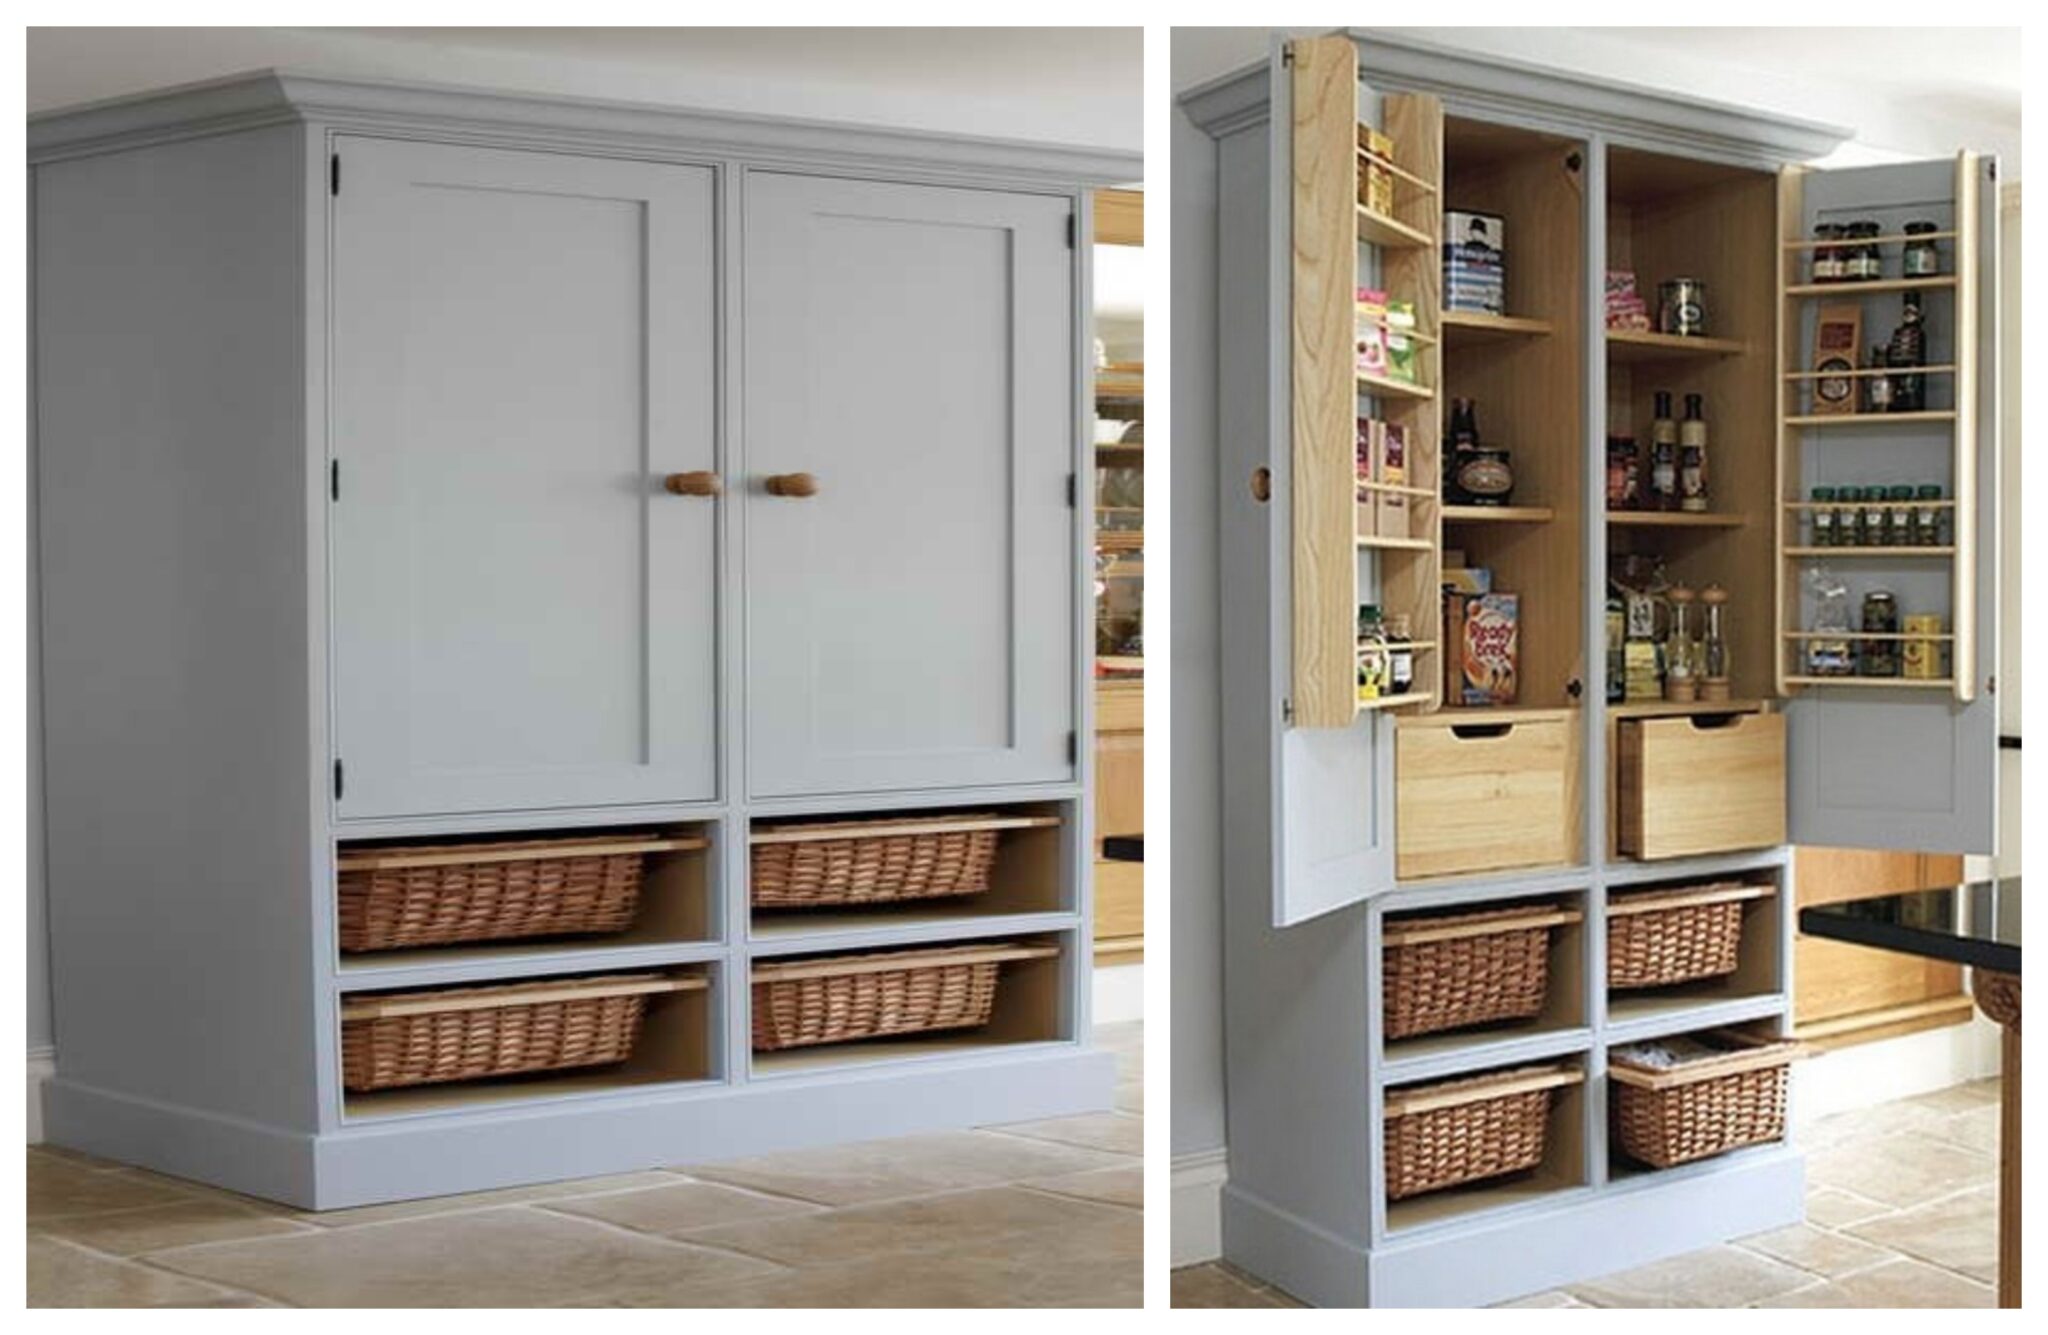
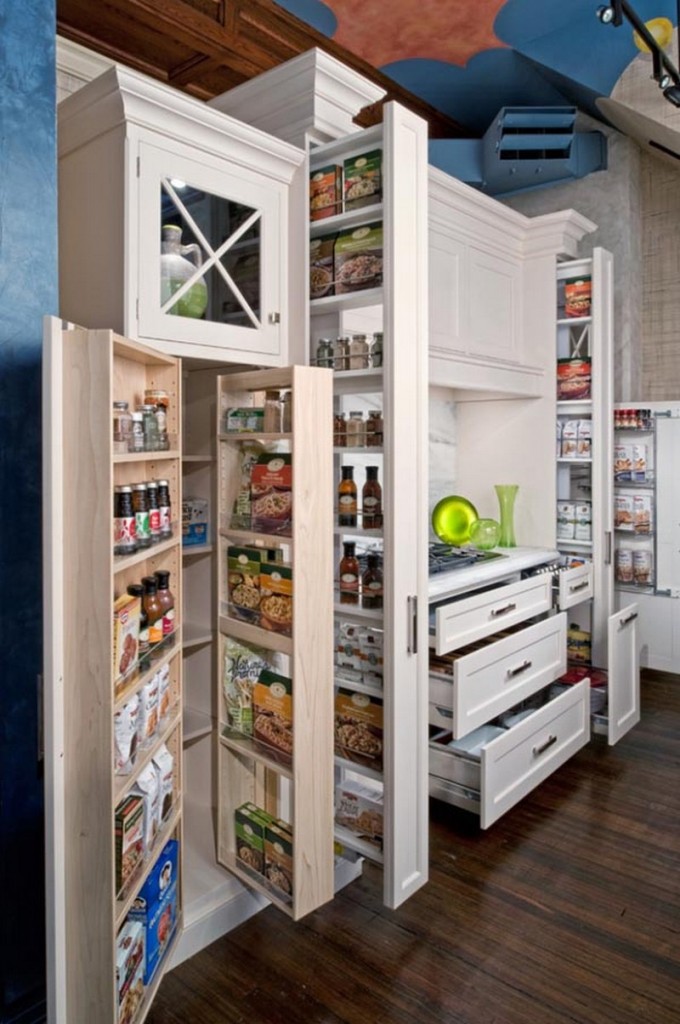
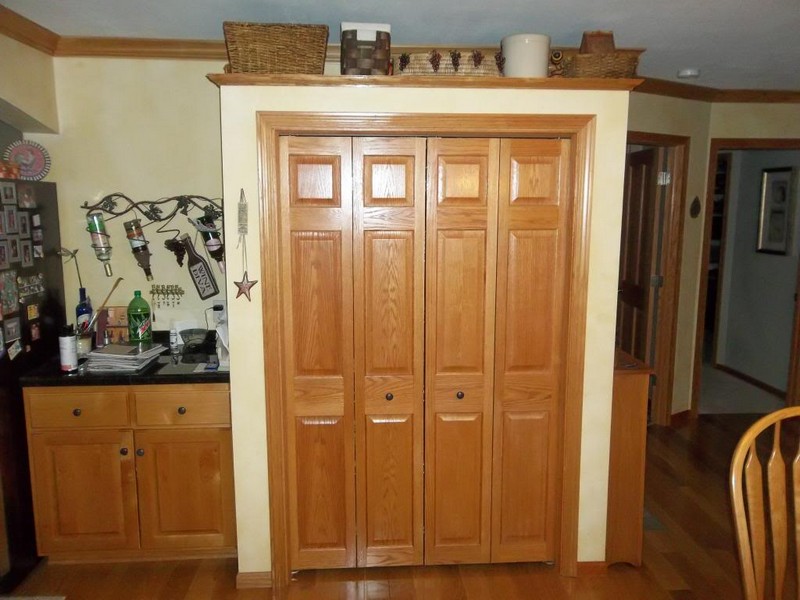
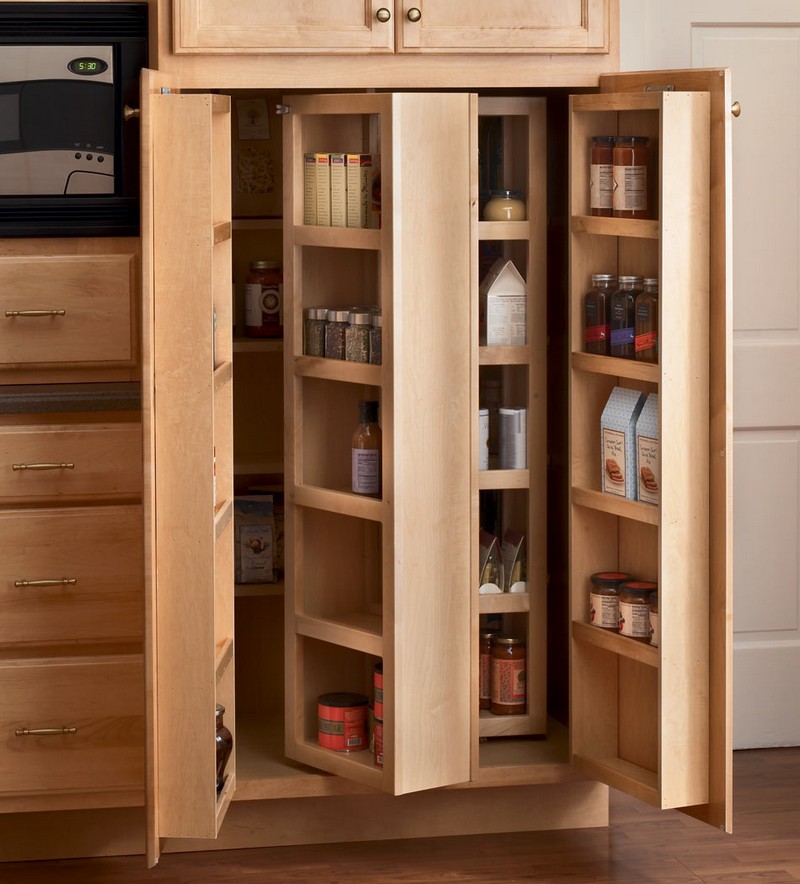
Hidden Pantry
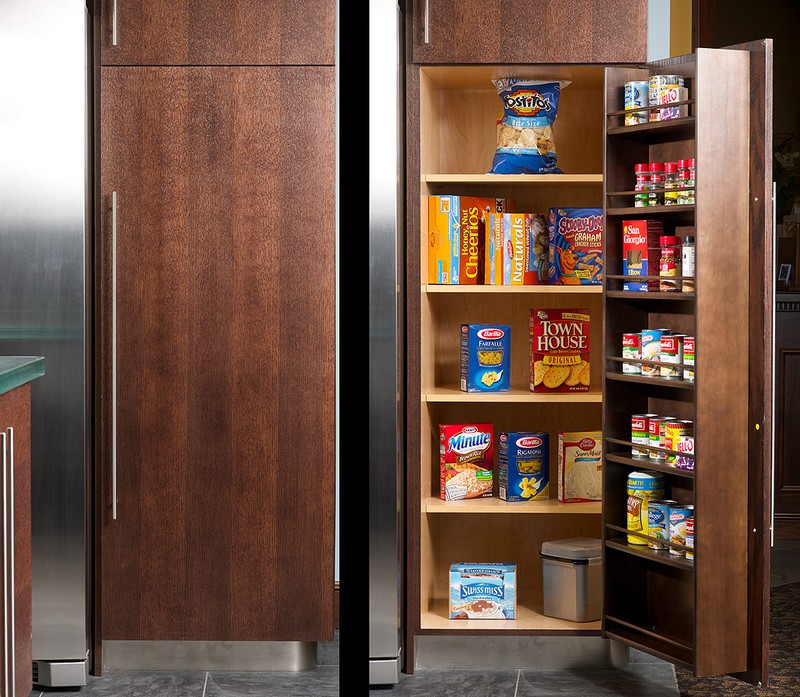
These cabinets are sometimes called hidden pantry cabinets. They are designed to hide away your cutlery, crockery, pots, pans, food and other kitchen items from view.
They help keep your kitchen neat and tidy and allow you to hide away items that you do not use as often, such as your seasonal or emergency food supplies. These cabinets can be built into an existing cupboard, or built into a wall, depending on how big you want them.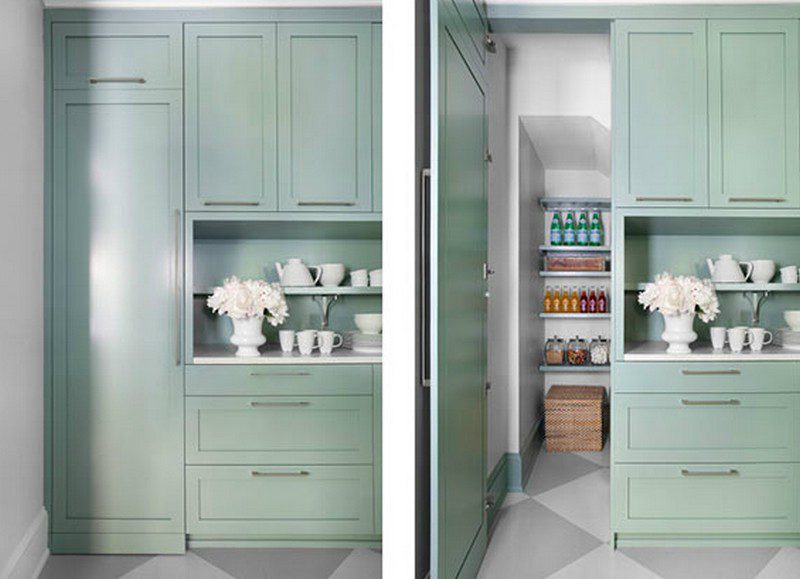
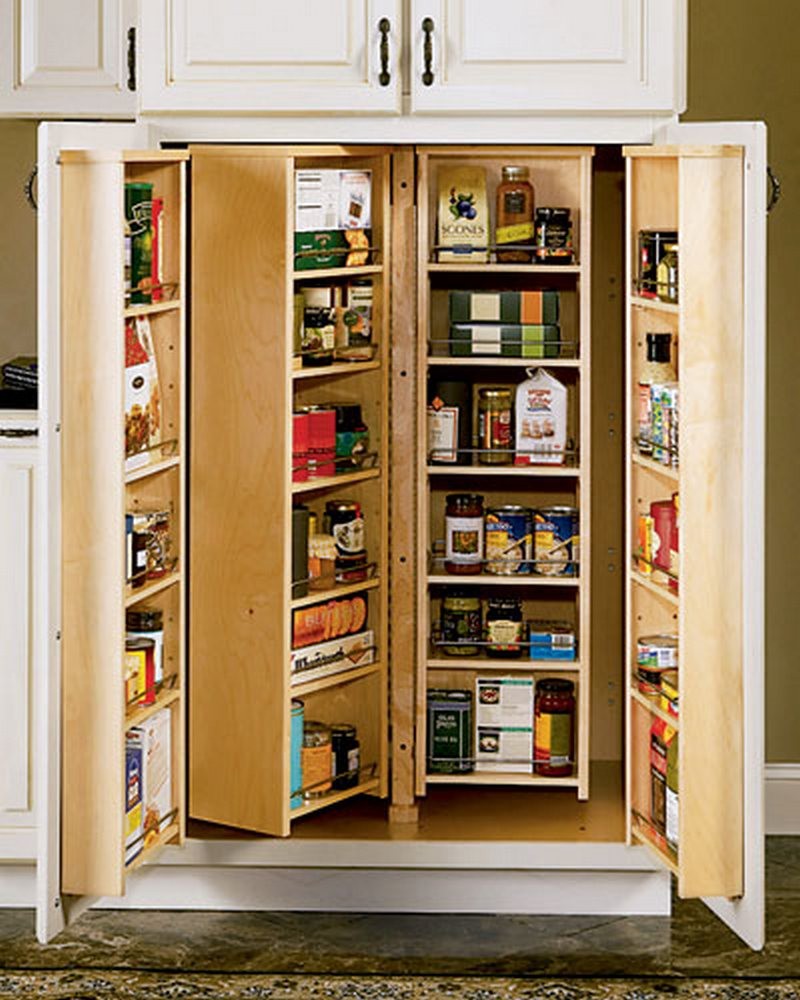
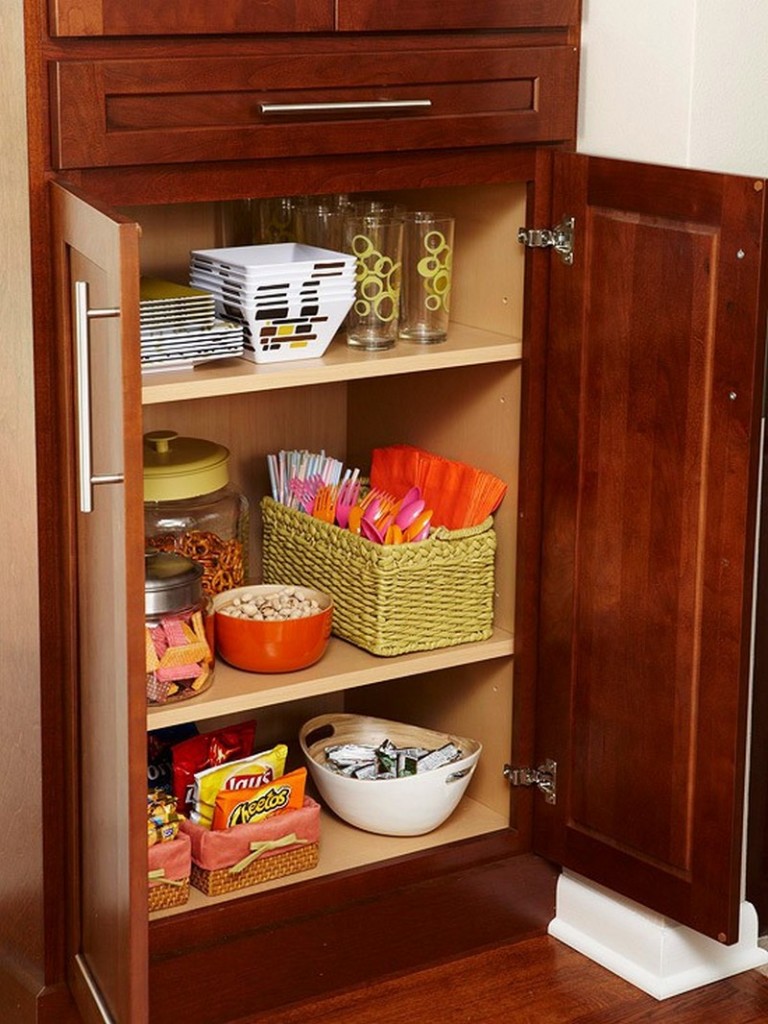
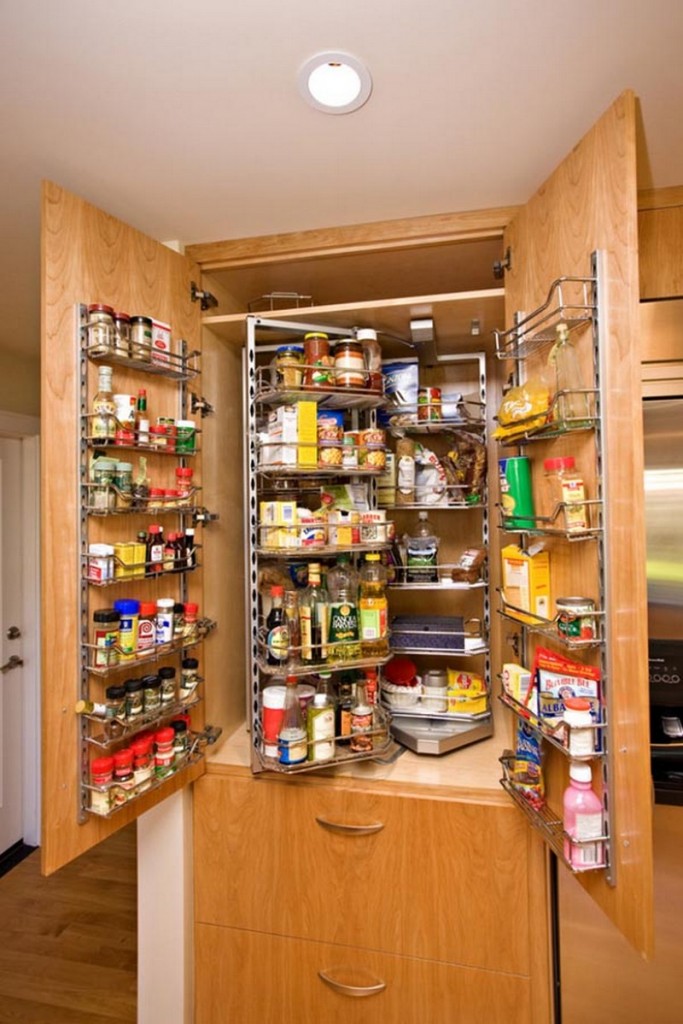
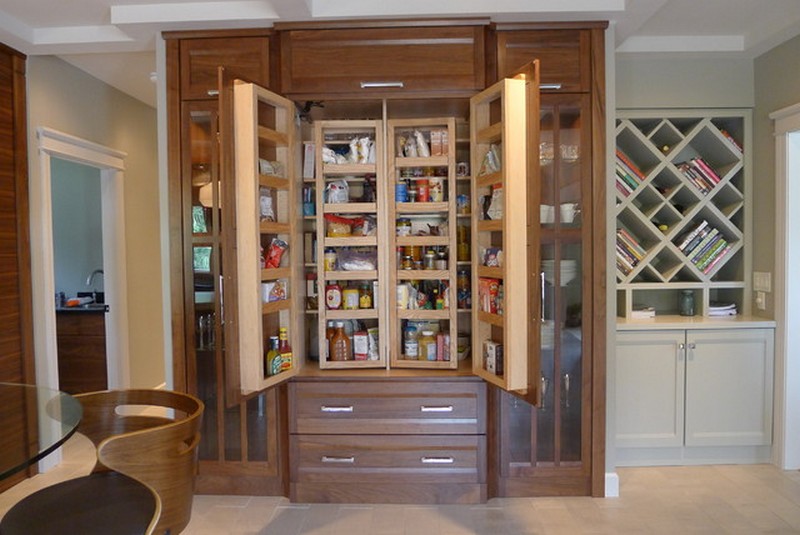
Shelves on Cupboard Doors
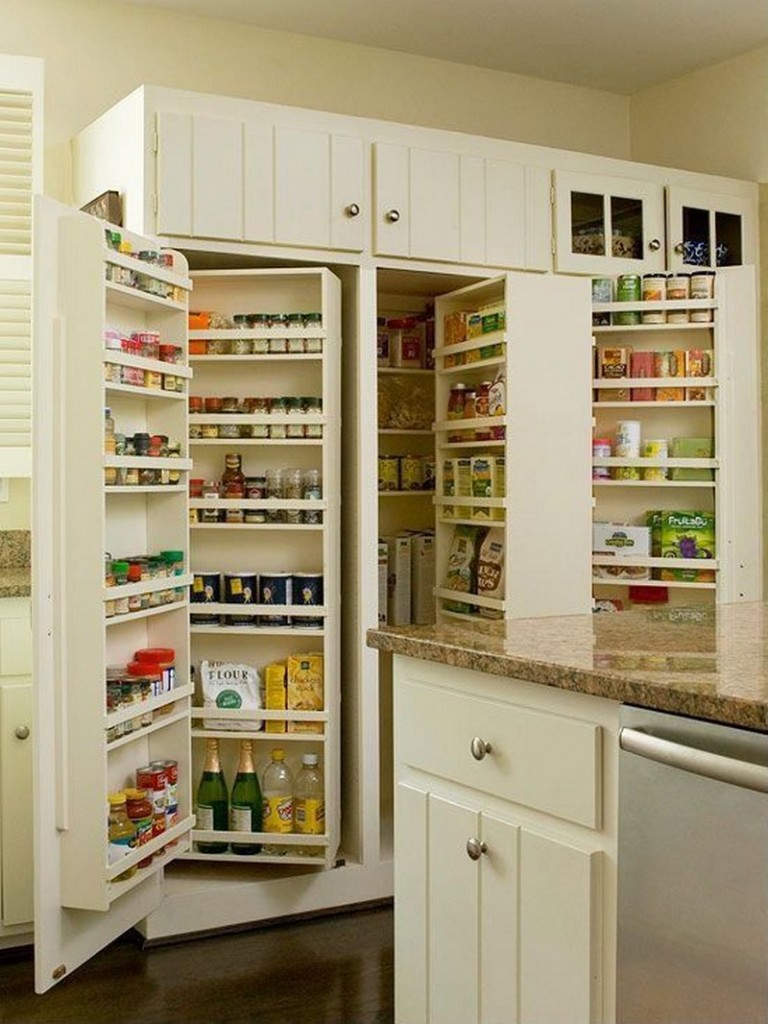
Shelves on cupboard doors are a great way to store and organize items in your home. They can be used to store food, dishes, towels, cleaning supplies, and much more.
Shelves on cupboard doors help to keep your home organized and tidy. They also help to free up space in your cupboards and make it easier to find what you need.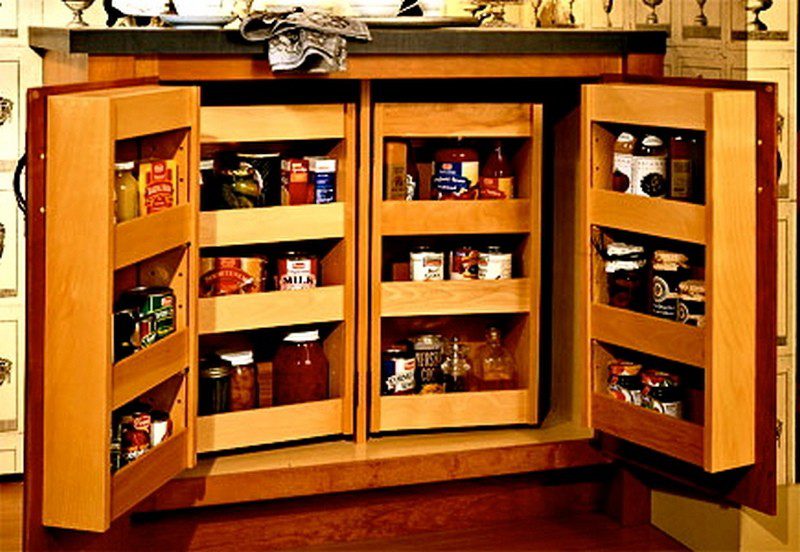
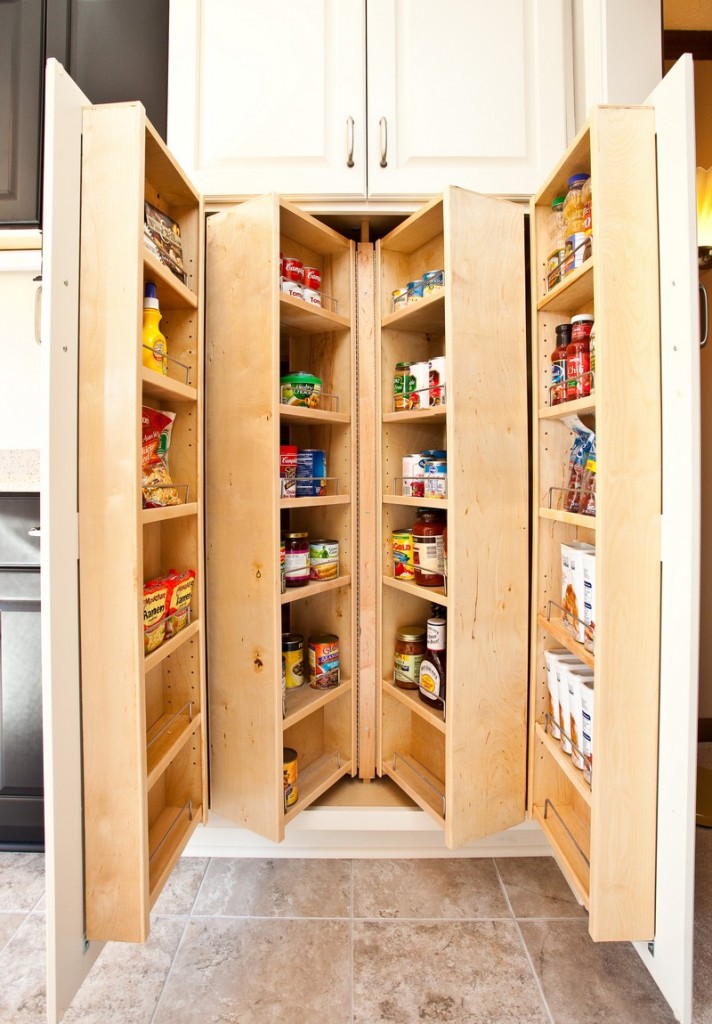
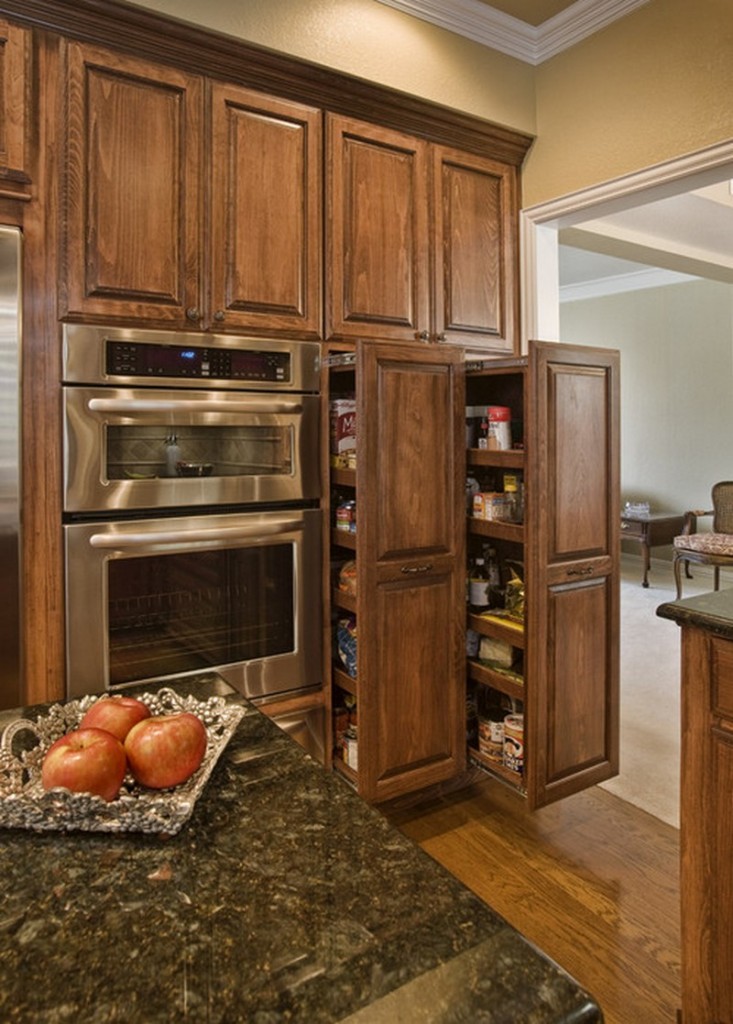
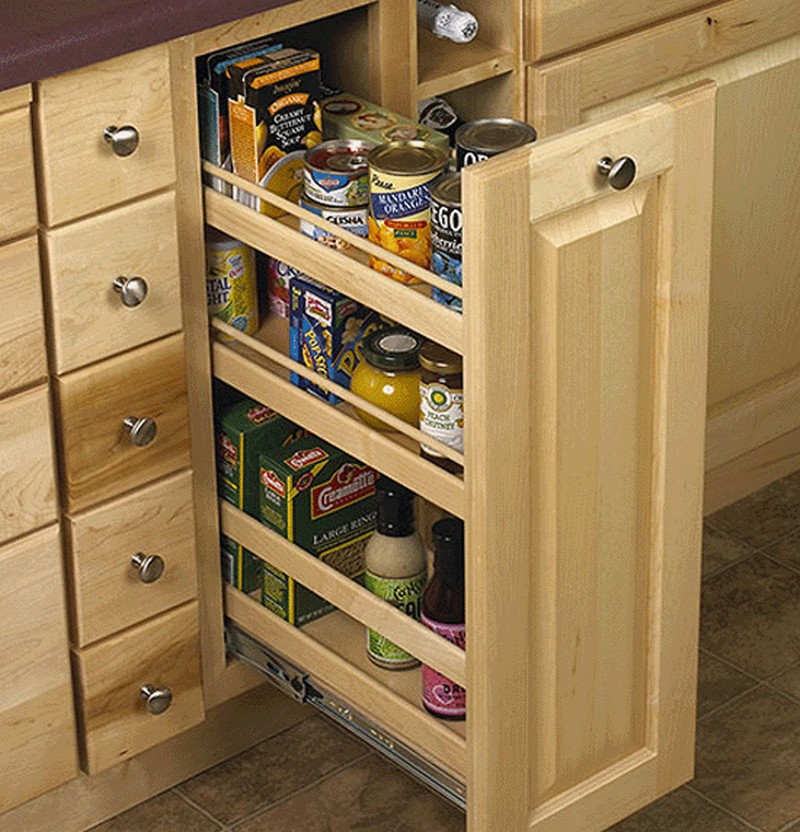
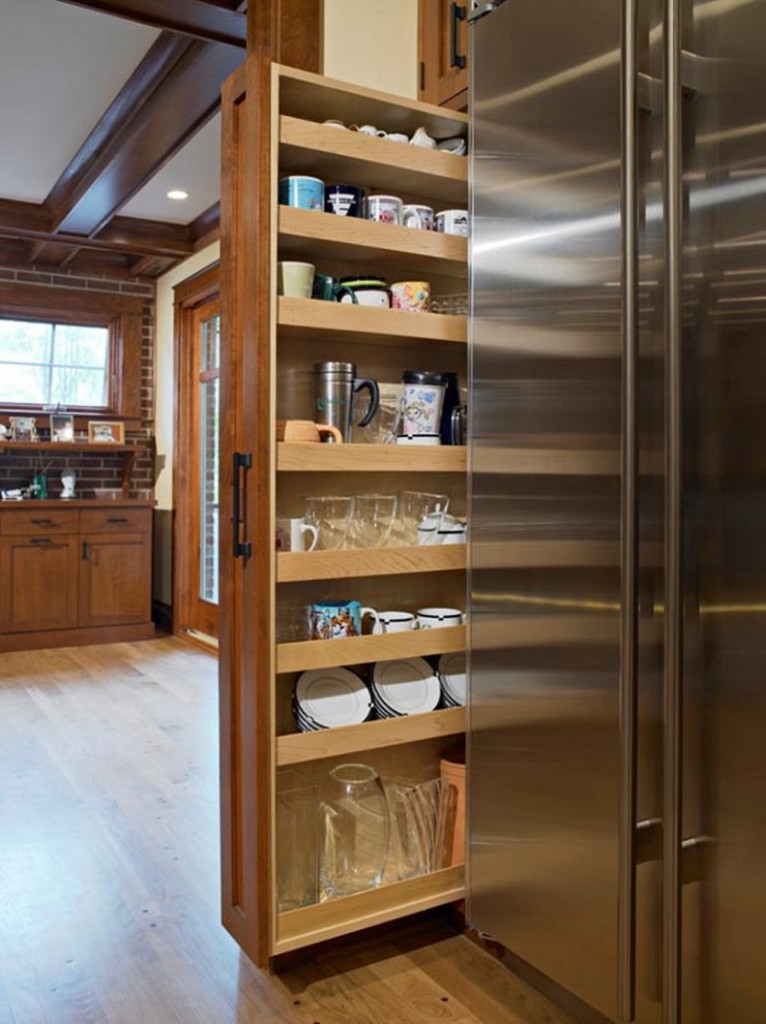
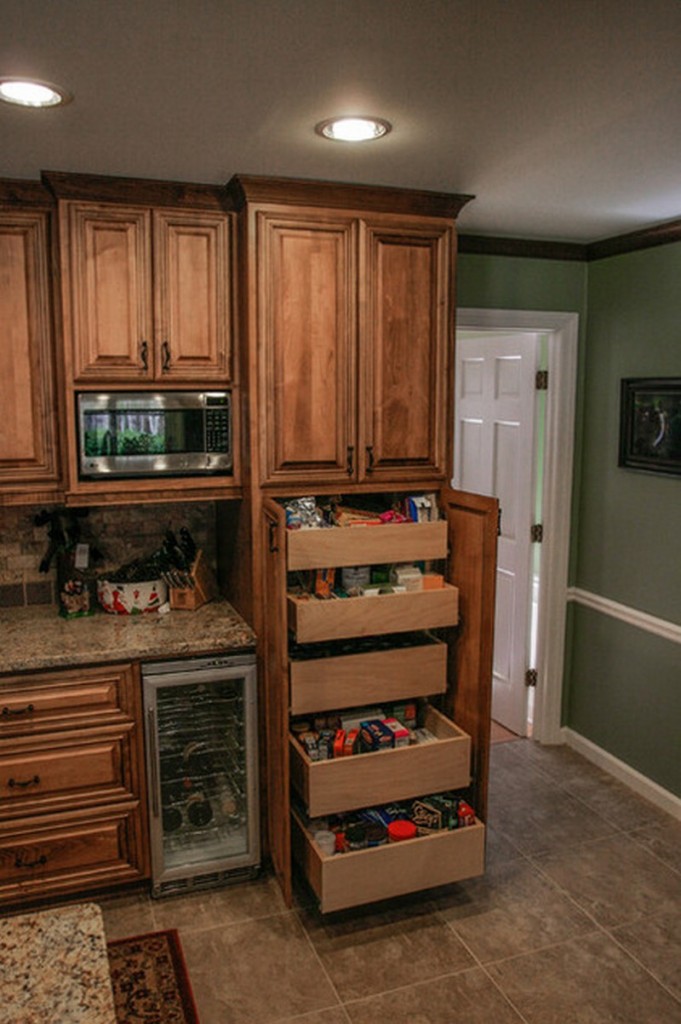
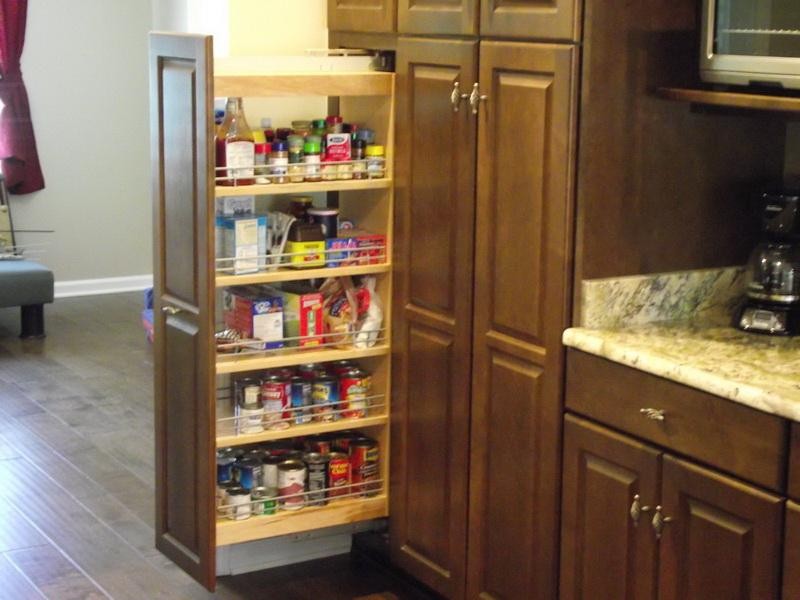
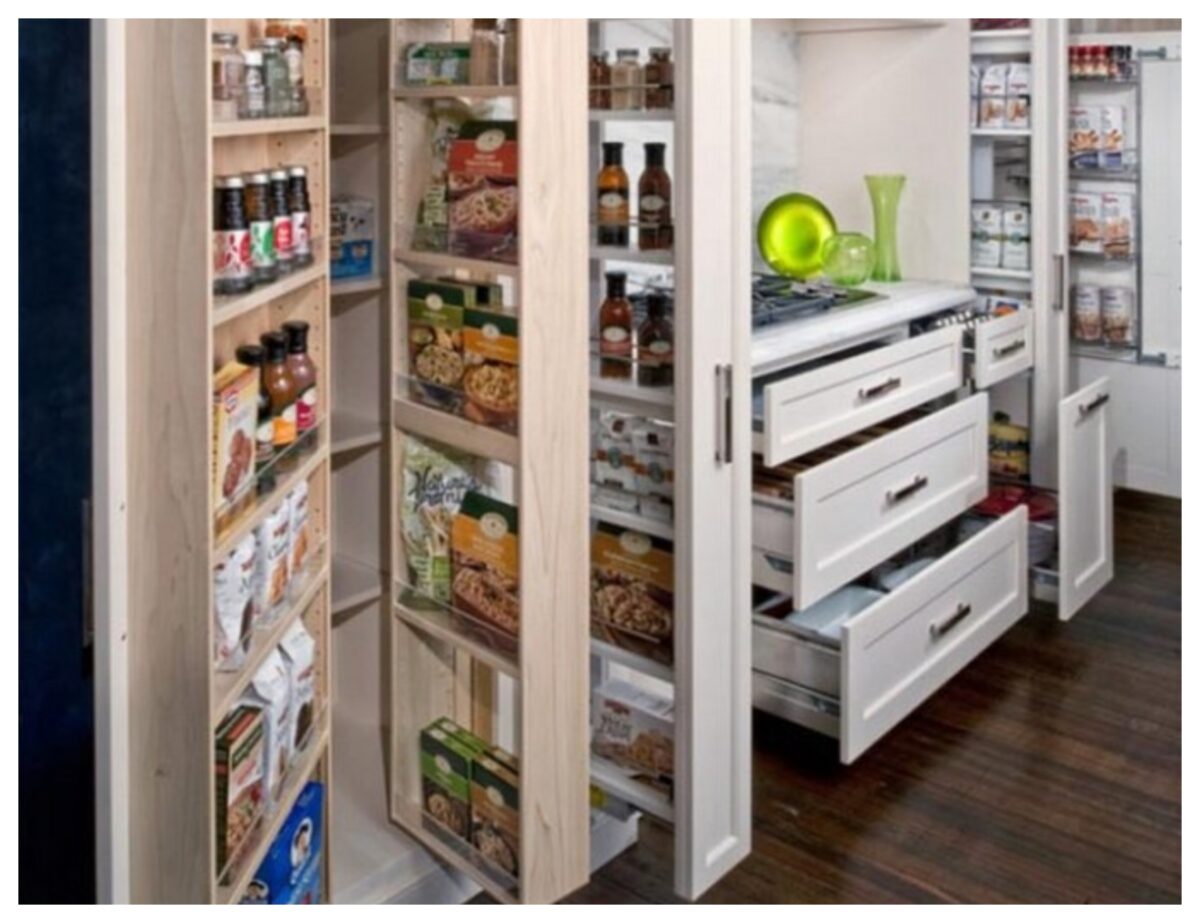
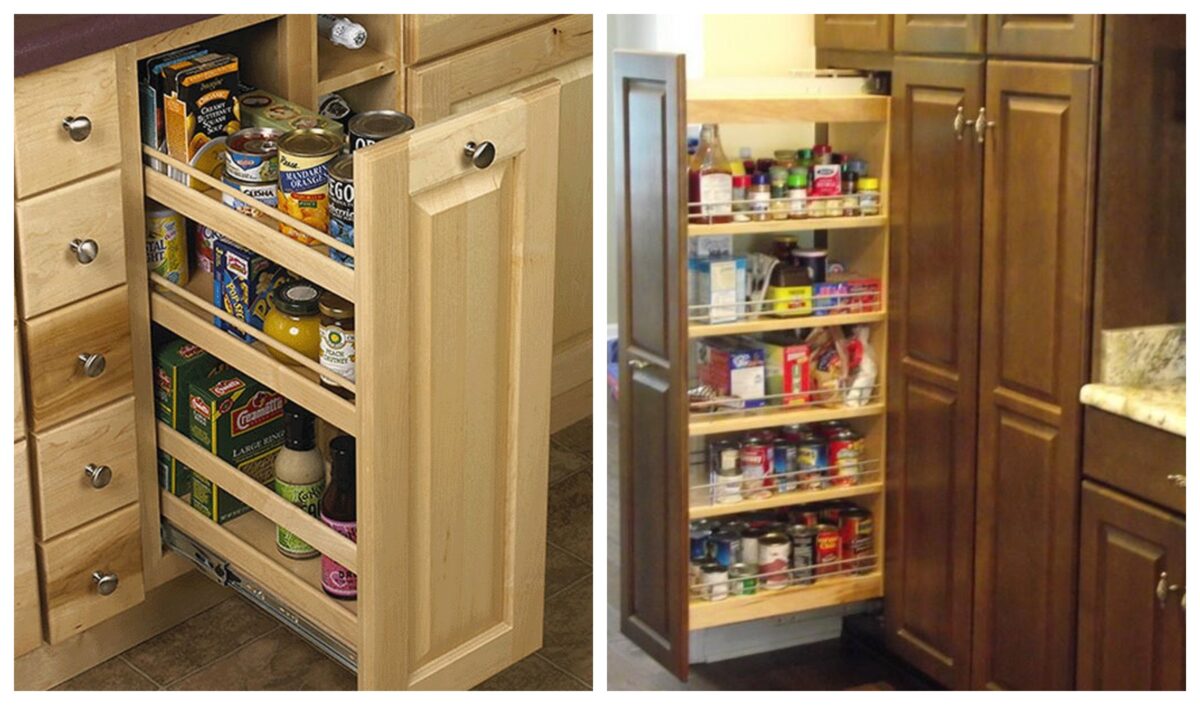
Pull-out Shelves
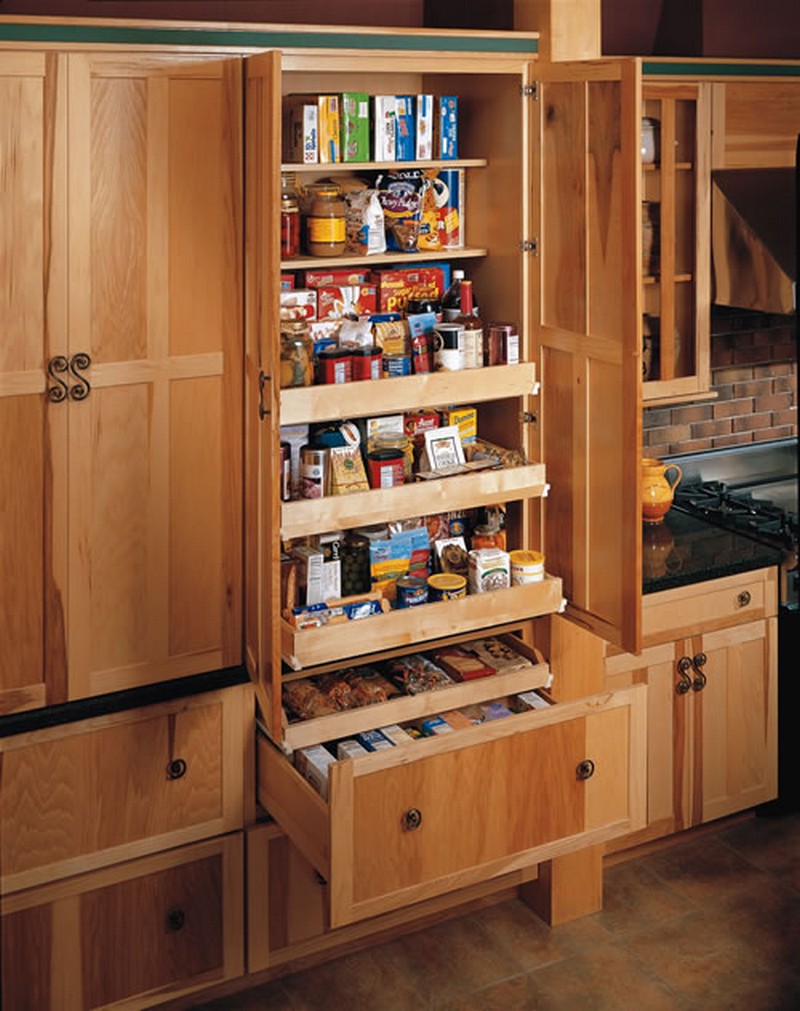
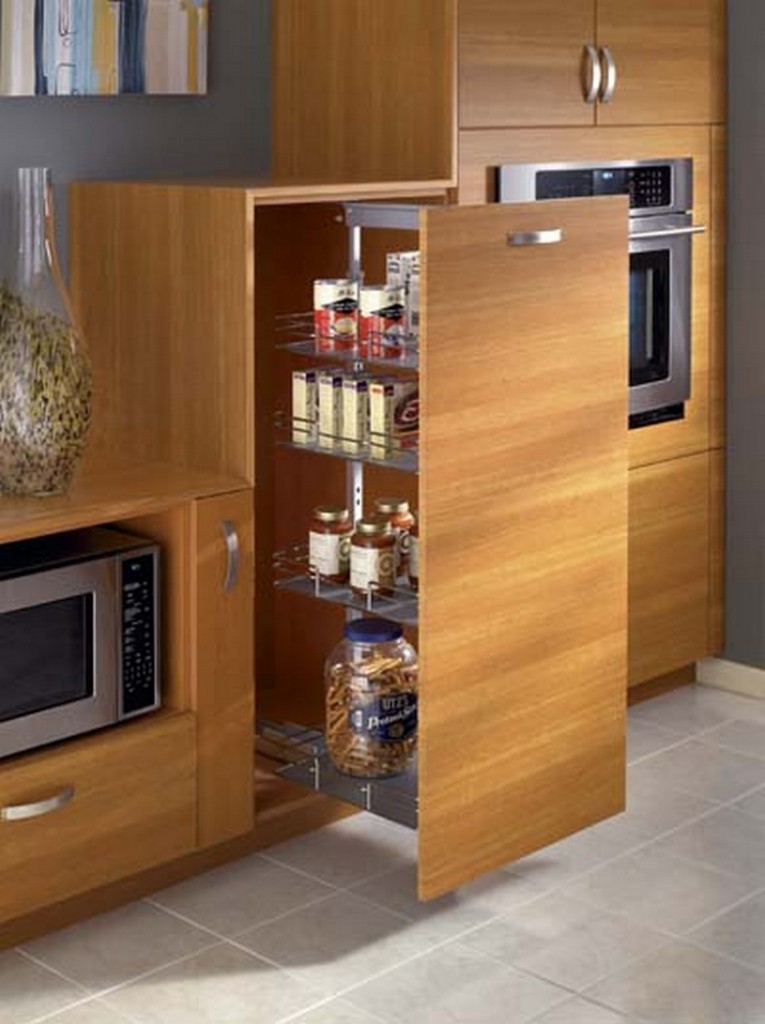
Pull-out kitchen shelves are a great way to organize your kitchen and make it more efficient. They can be used to store pots and pans, dishes, silverware, and other kitchen items. Pull-out shelves make it easy to access these items and make your kitchen more organized.
Pull-out shelves are easy to mount to the wall and have an adjustable feature that allows them to be pulled all the way out for easy access.
Wall Mounted
A wall-mounted kitchen pantry is a type of kitchen storage unit that is typically mounted to the wall. Wall-mounted kitchen pantries can be made from a variety of materials, including wood, metal, or plastic.
They are often used in place of traditional kitchen cabinets, as they take up less space and can be more easily customized to fit a specific need or style. Wall-mounted kitchen pantries typically come with a variety of shelves, drawers, and other storage features that make organizing your kitchen a breeze.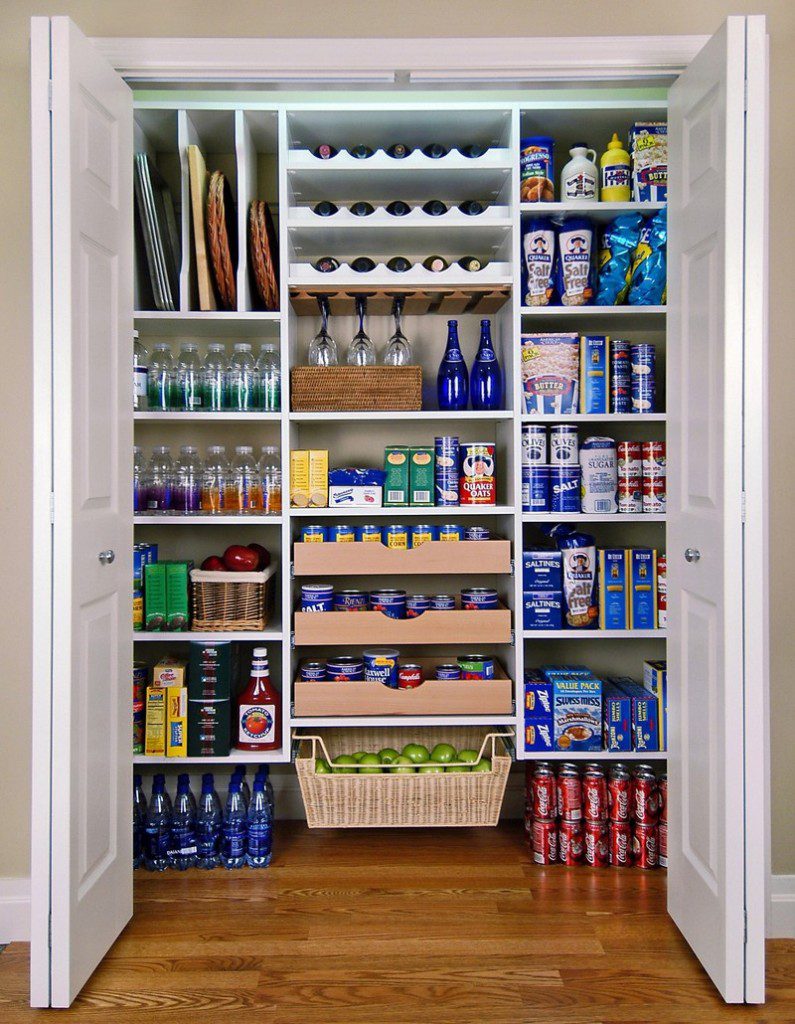
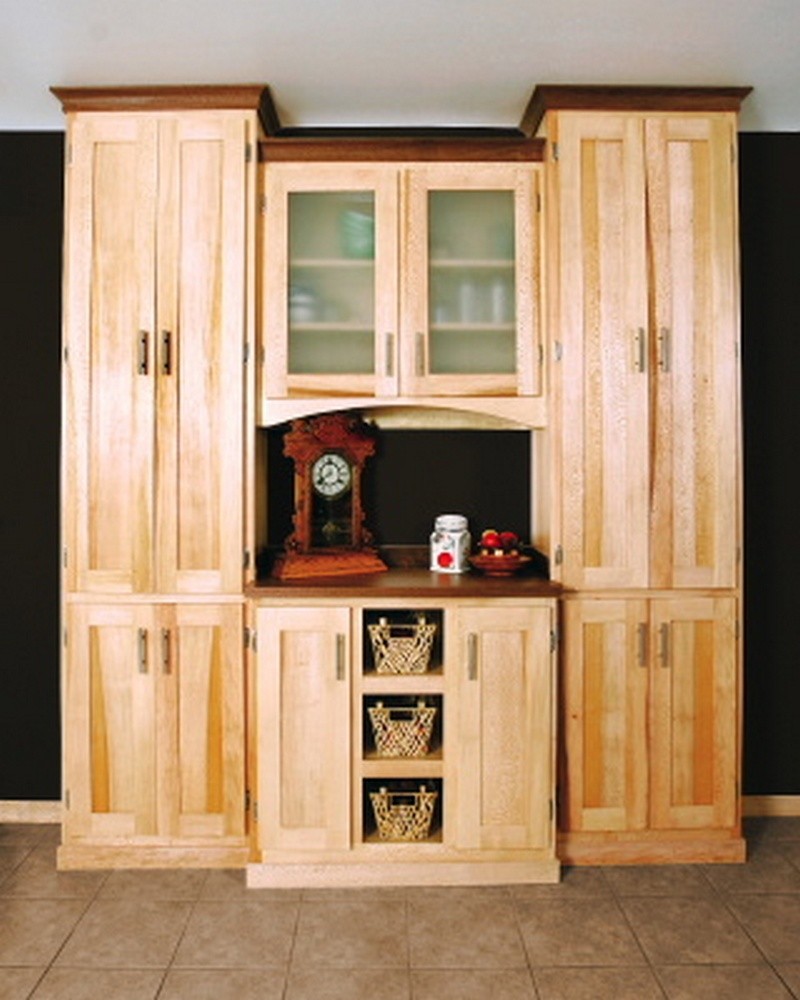
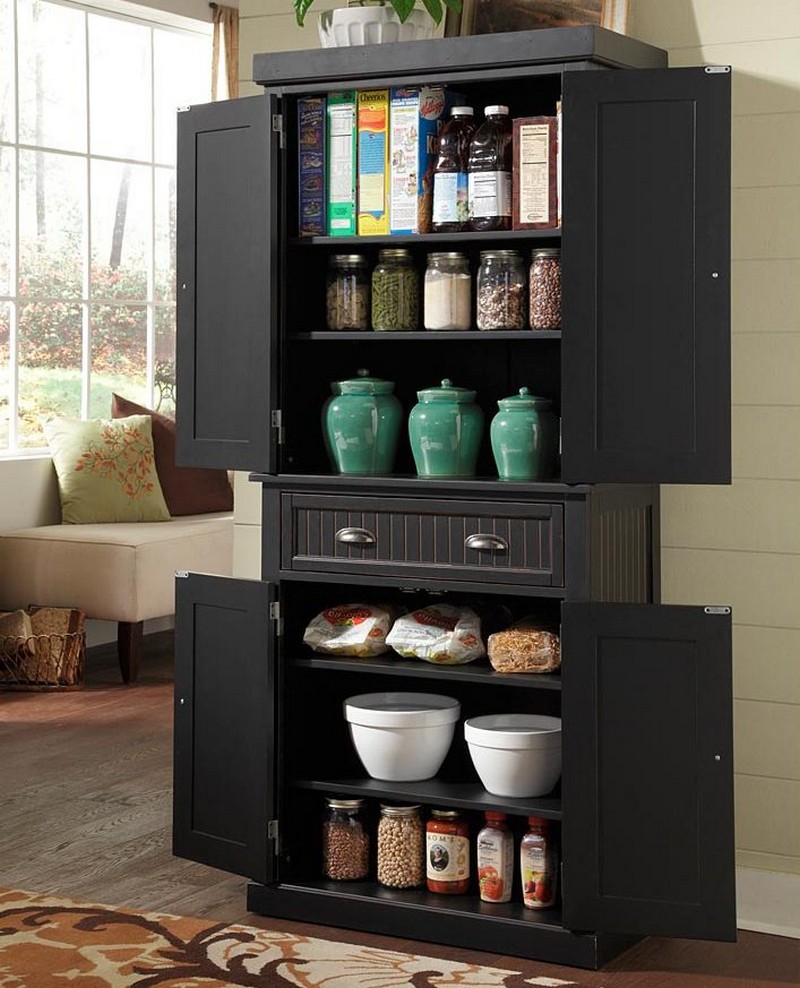
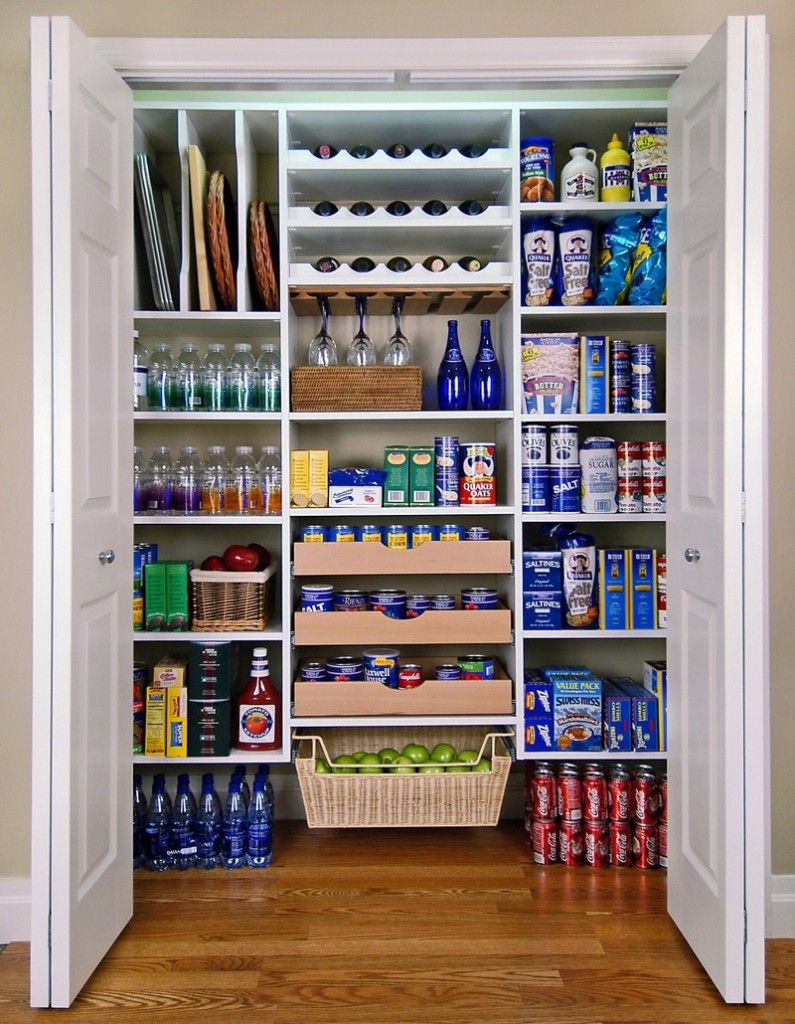
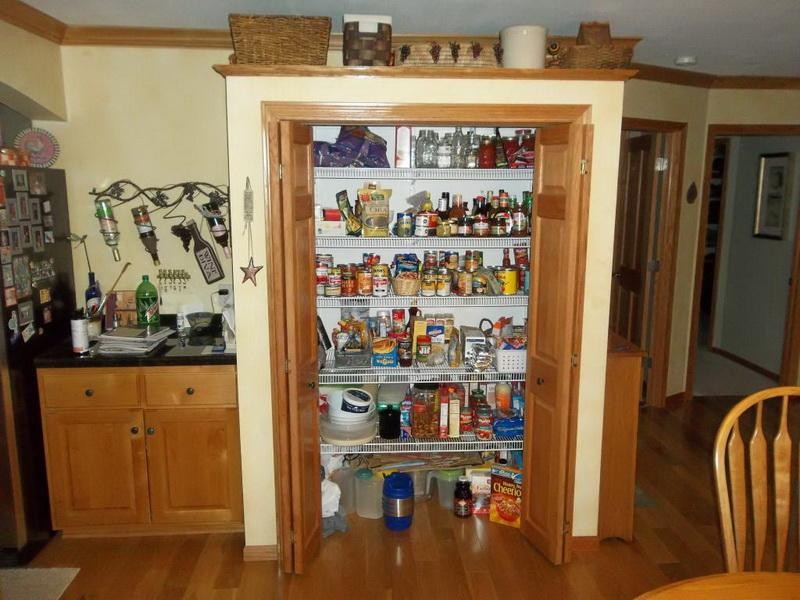
If you need more of these pantry cabinets’ inspiration, check out our gallery.
Click on any image to start the lightbox display. Use your Esc key to close the lightbox. You can also view the images as a slideshow if you prefer 😎







How to Build a DIY Pantry Cabinet with Free Plans
Building your own pantry cabinet is a rewarding project that combines functionality with personal craftsmanship. With just some plywood and the right tools, you can create a custom storage solution for your kitchen. Here’s how to do it:
Materials
- 3/4” plywood for the body, shelves, and drawer supports
- 1/2” hardwood plywood for the door back
- 1/4” hardwood plywood for the cabinet back
- 1×3 boards for the face frame
- 1×4 boards for the base of the face frame and optional drawer sides
- Edge glued panel for the cabinet top
- Bender board or 1/4” craft boards for door trim
- Wood glue, 1.25” pocket hole screws, and brad nails
Tools
- Table saw
- Power drill with pocket hole jig
- Clamps
- Measuring tape
- Square
- Pencil
Step-by-Step Instructions:
- Construct the Cabinet Body:
- Begin by cutting the long sides, bottom, and middle shelves from 3/4” plywood. If you’re adding adjustable shelves, drill shelf pin holes in the side panels before assembly. Use wood glue and 1.25” pocket hole screws to attach the shelves to the sides.
- Attach Back Support:
- Cut a support board for the back, which will help secure the cabinet to the wall. Drill 3/4” pocket holes along its edges and fix it to the side panels with wood glue and screws.
- Build the Face Frame:
- Create the face frame using 1x3s for the top and sides and a 1×4 for the bottom. Assemble it using pocket hole screws and wood glue, ensuring it’s flush with the cabinet front.
- Construct the Door:
- Cut a 1/2” plywood piece for the back of the door. Use bender boards or craft boards for trim, securing with wood glue and brad nails. Diagonal boards can be cut and attached in the same manner.
- Install the Top Panel:
- Use an edge glued panel for the cabinet top. Attach with wood glue and screws through the top support piece.
- Secure the Back Panel:
- Cut a piece of 1/4” plywood for the back. Nail it using brad nails or staples. Optionally, install this after fitting the drawers for easier access.
- Fit Adjustable or Fixed Shelves:
- For adjustable shelves, cut them slightly smaller to accommodate shelf pins. If fixed, attach them with pocket screws.
- Create Drawer Supports:
- Cut additional 3/4” plywood for the drawer supports, installing them with pocket screws. These will hold your drawer slides.
- Build and Install Drawers:
- Use 3/4” plywood or 1x4s for drawer sides. Form each drawer box with glue and brad nails. The base should be 1/2” plywood. Install using slides on the drawer supports.
Once completed, you have a sturdy, custom-made pantry cabinet ready to store your kitchen essentials! Optimize space according to your needs by adjusting the number of shelves and drawers. Happy building!
FAQ: DIY Kitchen Pantry Cabinet
- How do you create adjustable shelves for the kitchen pantry cabinet?
- Adjustable pantry cabinet shelves provide versatile and efficient storage. Your configuration determines whether you use pocket hole screws or shelf pins to secure 3/4″ plywood shelves. To level and snugly fit shelves in the cabinet, drill or screw equally spaced pin holes.
- How are the drawers for the kitchen pantry cabinet created and installed?
- Built-in pantry drawers increase kitchen organization and practicality. Use pocket holes, wood glue, and screws to build durable drawer supports from 3/4″ plywood. Wood glue and brad nails secure 3/4″ plywood sides and a 1/2″ plywood foundation to make drawer boxes. For smooth functioning and a stylish storage solution, align the drawer slides.
- What are the steps to build the box of the DIY kitchen pantry cabinet?
- Building the box for a DIY pantry cabinet ensures its stability. For adjustable shelving, cut 3/4″ plywood for the sides, bottom, and shelves and drill shelf pin holes. Build the sides and shelves with wood glue and pocket hole screws, then add a back support for stability and wall mounting.
- What are the steps to build supports for the drawers in the pantry cabinet?
- Strong drawer supports for your pantry cabinet provide functionality and reliability. Cut 3/4” plywood to precise measurements and glue and pocket hole screw top boards to cabinet sides. Maintain symmetry and alignment while adding vertical boards to support drawer slides.
- What are the instructions for building the face frame of the cabinet?
- Building the face frame for your cabinet adds a polished finish. Use 1×3 boards for the top and sides, and a 1×4 for the bottom, drilling pocket holes for assembly. Attach the frame to the cabinet with wood glue and screws, ensuring it aligns flush with the cabinet’s top and sides for a seamless fit.
- What materials are used to build the cabinet doors?
- To construct cabinet doors, use 1/2-inch hardwood plywood for the core and decorative trim like bender board or 1/4-inch craft boards. Cut the plywood to the desired dimensions, then measure and cut the trim pieces to size. Attach the trim with wood glue and 5/8-inch brad nails for a secure and polished finish.
- How is the back of the pantry cabinet constructed?
- The pantry cabinet’s back is constructed using a 1/4-inch piece of hardwood plywood. To begin, cut the plywood to match the size of the cabinet’s back panel. Once sized appropriately, secure the plywood to the frame with 3/4-inch brad nails or staples.
- How is the face frame attached to the front of the cabinet?
- Attaching the face frame to a cabinet ensures stability and a polished look. Clean the cabinet edges, apply an even layer of wood glue, and align the frame flush with the top and sides. Secure the frame with 1.25” pocket hole screws inserted from inside the cabinet for a strong and seamless finish.
- How are the diagonal boards for the door trim measured and attached?
- To measure and attach diagonal boards for door trim, start by cutting them to 1.5-inch width using a table saw for a uniform look. Hold each board in position on the door, marking the exact cut points for a custom fit. Secure the boards with wood glue and 5/8-inch brad nails for a strong and polished finish.
- What is used for the top of the pantry cabinet?
- The top of the pantry cabinet is crafted from an edge-glued wood panel. These panels are widely available in various sizes, providing flexibility for different cabinet dimensions. They arrive primed for either staining or painting, allowing for a customized finish to match your décor.
- How do you attach the back support board to the pantry cabinet?
- Attaching the back support board to your pantry cabinet ensures stability and prepares it for wall mounting. Drill 3/4-inch pocket holes along the top and sides of the back support board, then apply wood glue to the contact edges. Secure the board to the side panels with 1.25-inch pocket hole screws, ensuring a firm and stable connection for future cabinet top attachment.
- Where can one find drawer slides, door pulls, and hinges for the pantry cabinet?
- Outfitting your pantry cabinet with quality hardware is key to functionality and style. For drawer slides, explore brands like Accuride and Liberty Hardware on Amazon or Home Depot, ensuring smooth operation. Add stylish door pulls from Wayfair or Overstock, opting for trusted names like Amerock or Franklin Brass. Reliable hinges from brands like Blum and Hettich can be found at Build.com or Menards for long-lasting performance.
If you liked this project, you will also like viewing these kitchen storage ideas…

