Last Updated on August 30, 2022 by teamobn
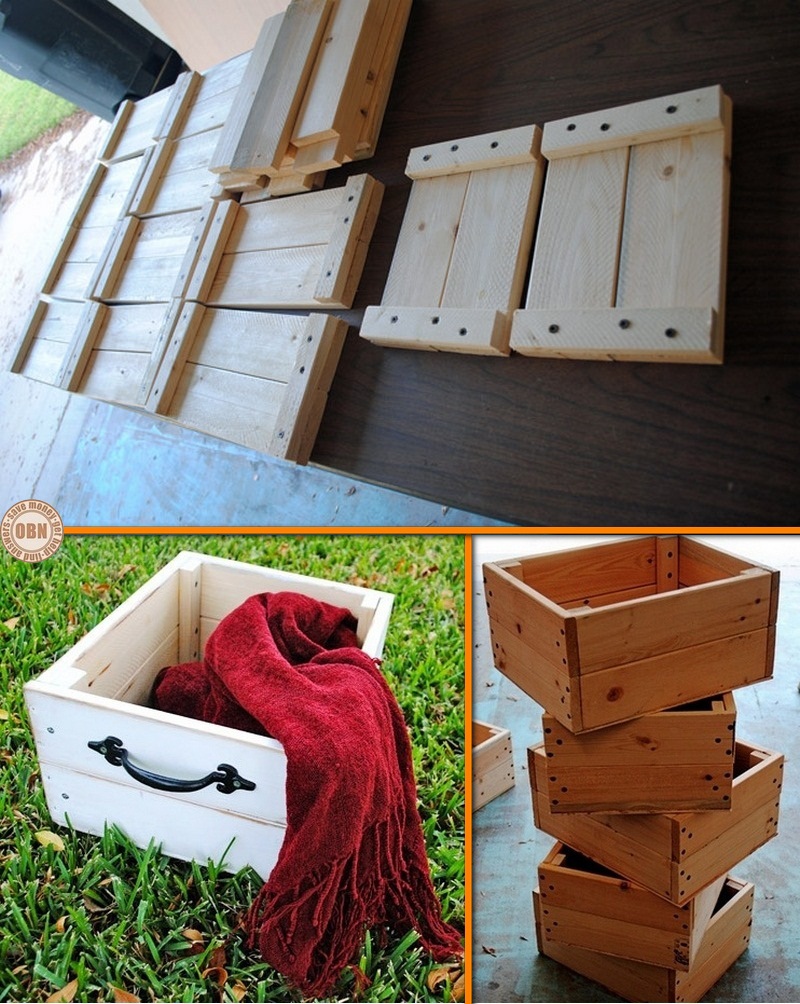
Solid crates are a great way to store items in just about any room of the house. And when you make your own, they can be designed to fit a specific space.
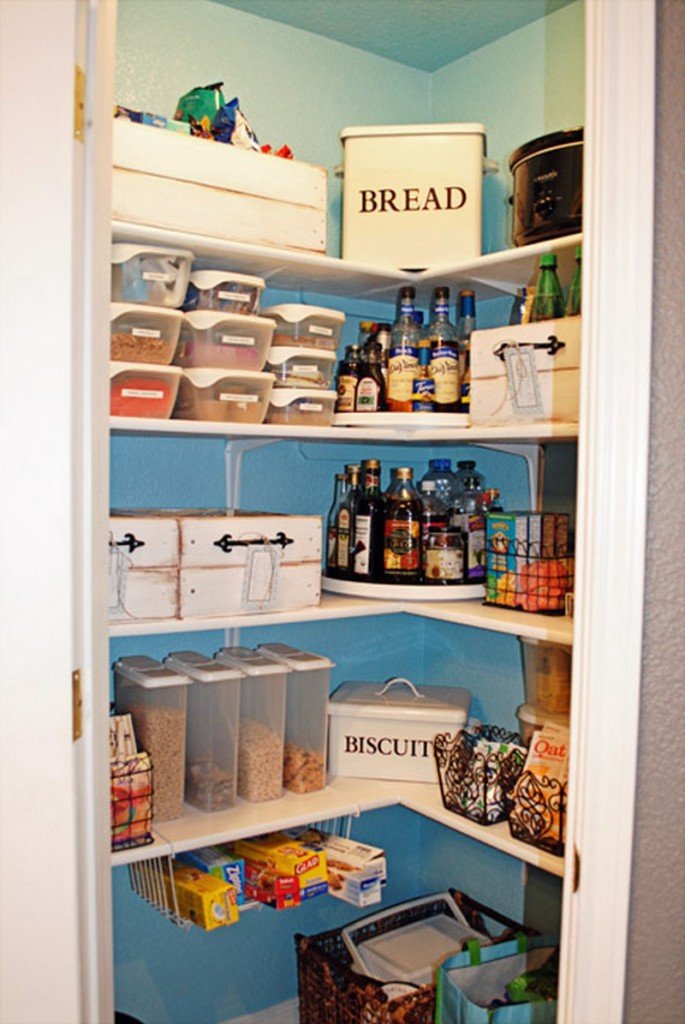
If you’re looking for a way to organize your pantry, consider using solid crates. They are an inexpensive and versatile storage option that can be used to store food, small appliances, and other household items.
You could use them as canned food or ingredients container inside the pantry. Plus, they’re easy to stack and can be labelled for easy organization. How about storage for your scarves or accessories?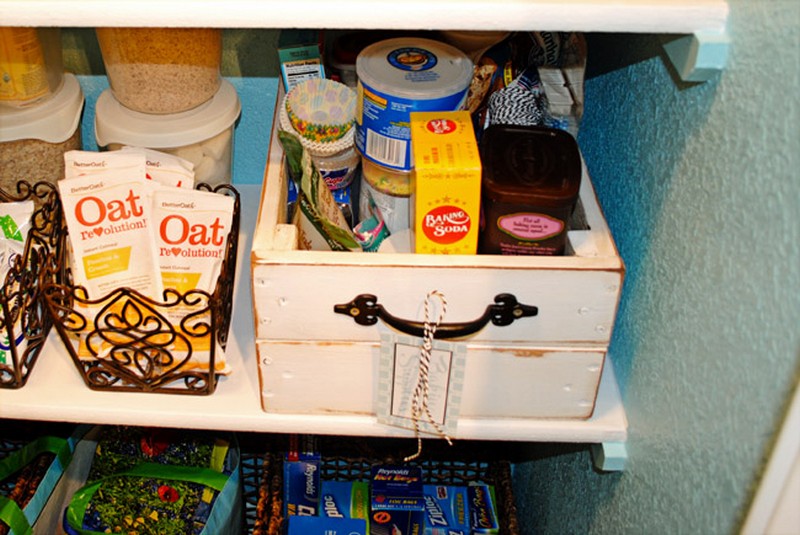
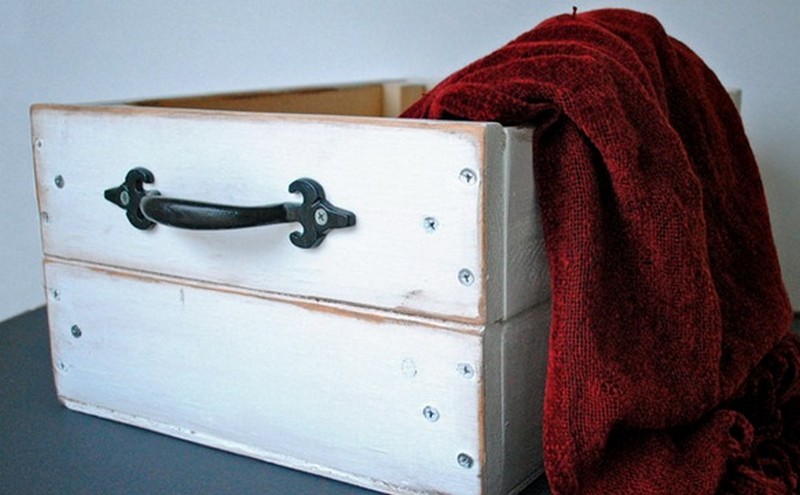
If you are fond of vintage or rustic looks, this tutorial would show you how to make just that! Could this be your next storage project?
Materials:
- 1×4 Boards
- 1×2 Boards
- 1/8” Plywood
- 1-1/2” Screws
- Wire Nails
- Wood Glue
- White Latex Paint
- Dark Walnut Wood Stain
- Old Cloth
- Drawer Handles
Tools:
- Drill
- Table Saw
- Sander
- Circular Saw
- Paintbrush (big and small)
How to build your own solid crates?
Building your own crates can be a great way to save money and get exactly the size and style you need for your home or business. But before you start nailing boards together, there are a few things you need to know to ensure your projects are strong and safe.
Choosing the right board
When choosing the right wood for your crate, it is important to consider the weight of its contents as well as the overall dimensions of the crate.
For example, oak is a very strong and durable hardwood, making it ideal for large or heavy crates. Maple is also a strong hardwood, but is more lightweight than oak, making it a good choice for smaller crates.
Pine is a softwood, and while it is lighter weight than hardwoods, it is more likely to warp or break under the weight of a heavy load or large crate.
Cut the lumber to size
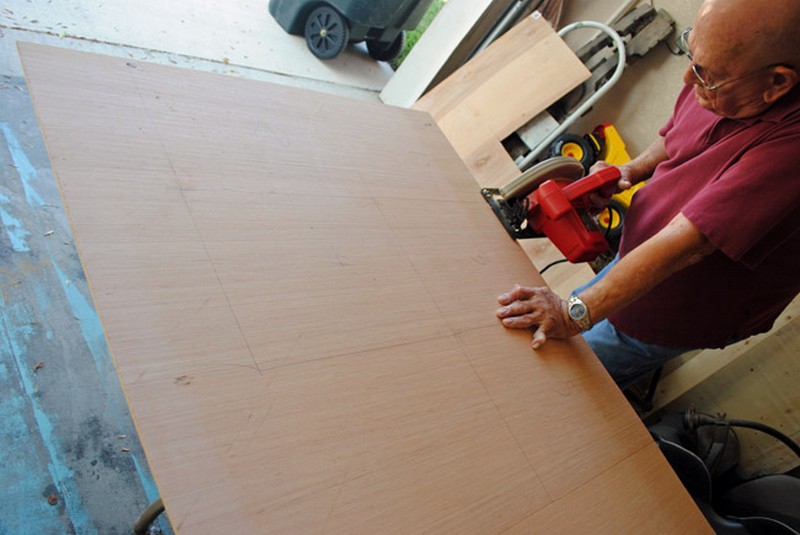
The next step is to cut the lumber to size. Depending on the size of the crate you want to create, you will need to adjust the measurements of your cuts accordingly. 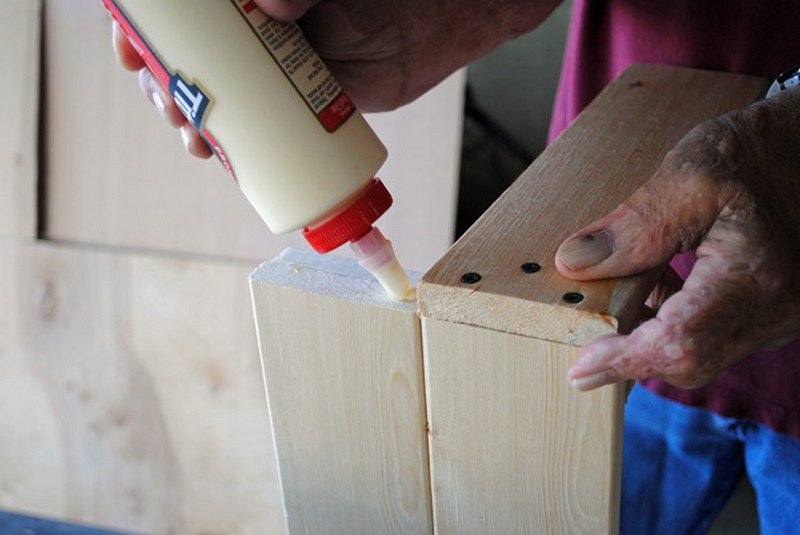
Assemble
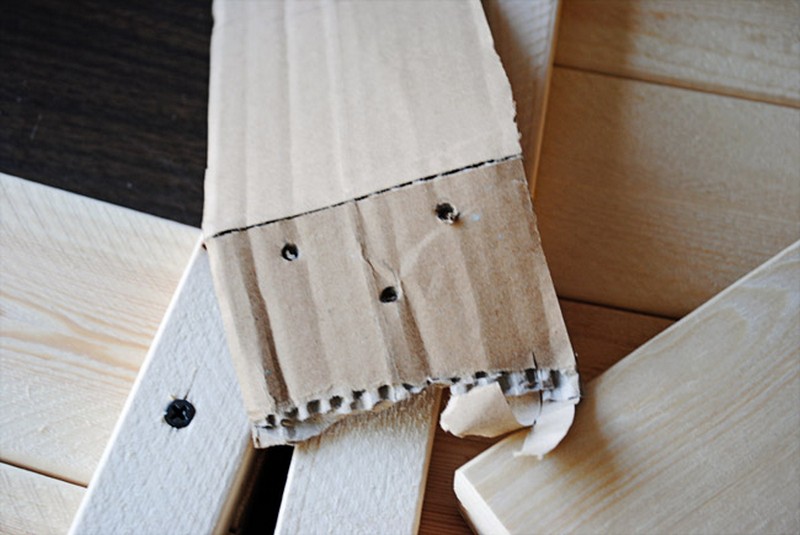
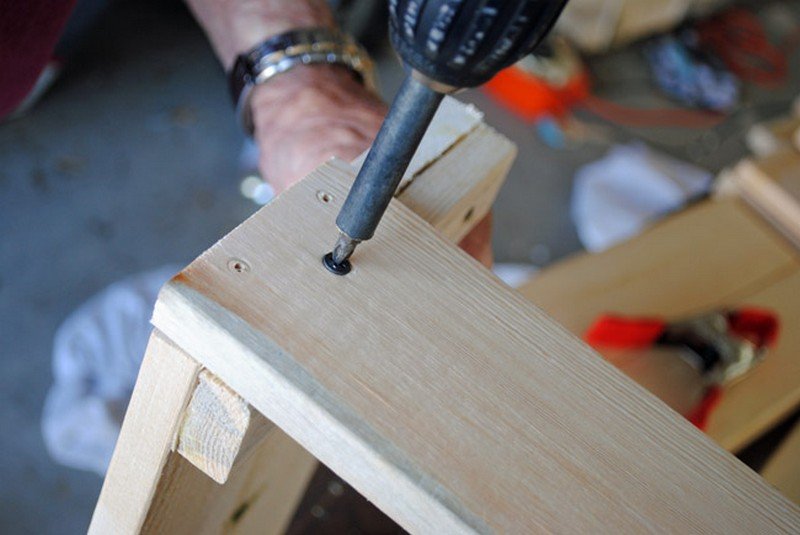
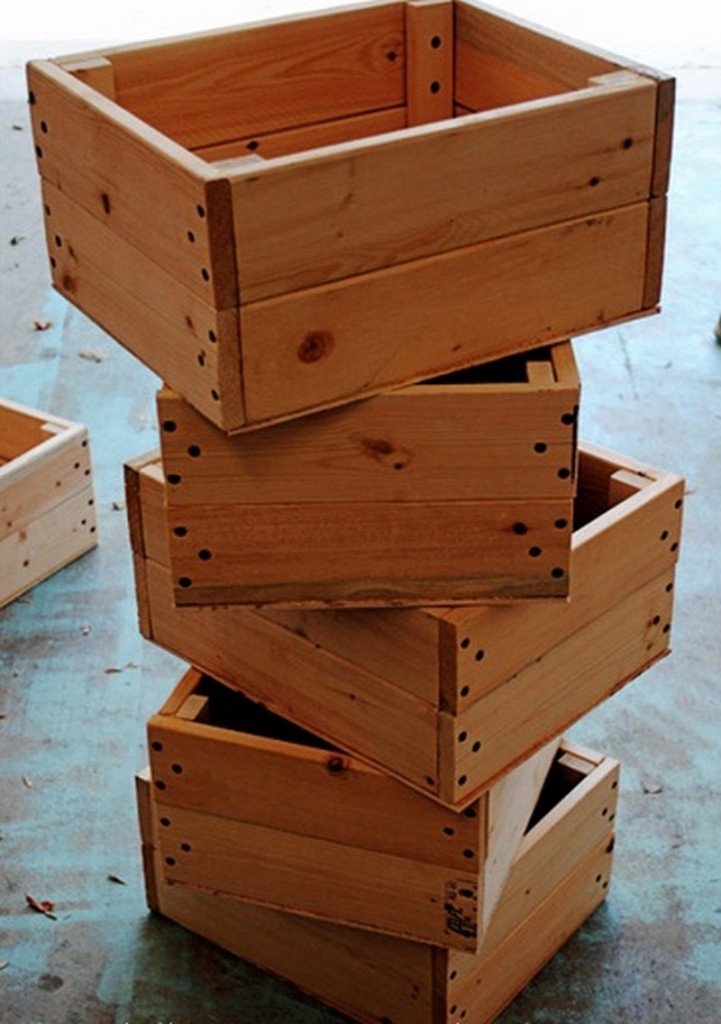
After you have cut the lumber to the desired size, you will need to assemble the pieces together. To do this, you will use nails, screws, and glue to attach the pieces together. This will ensure that the structure is sturdy and will not fall apart easily.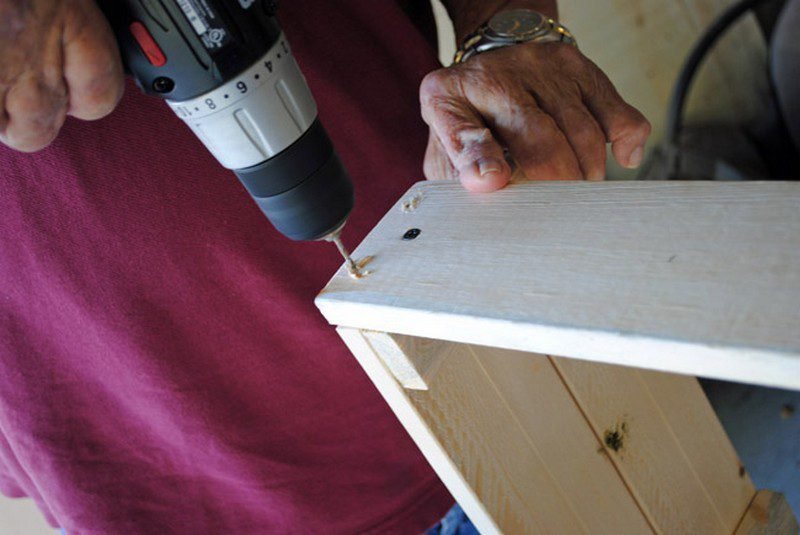
Sanding
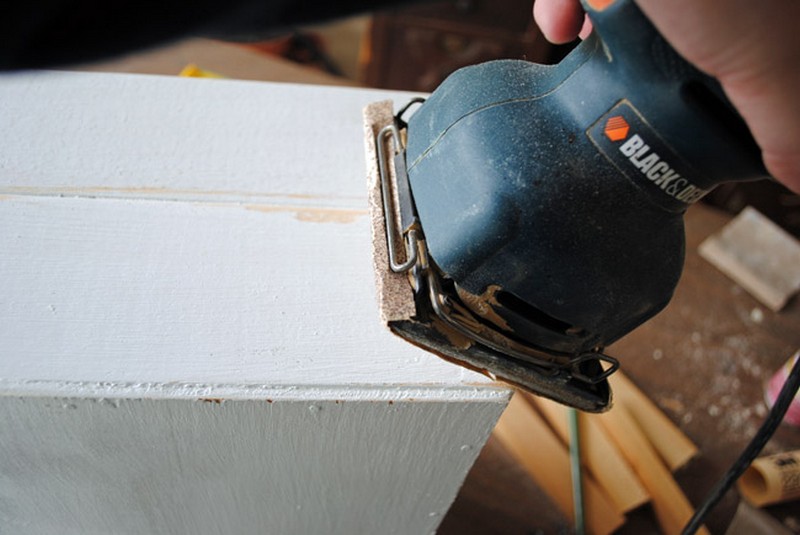
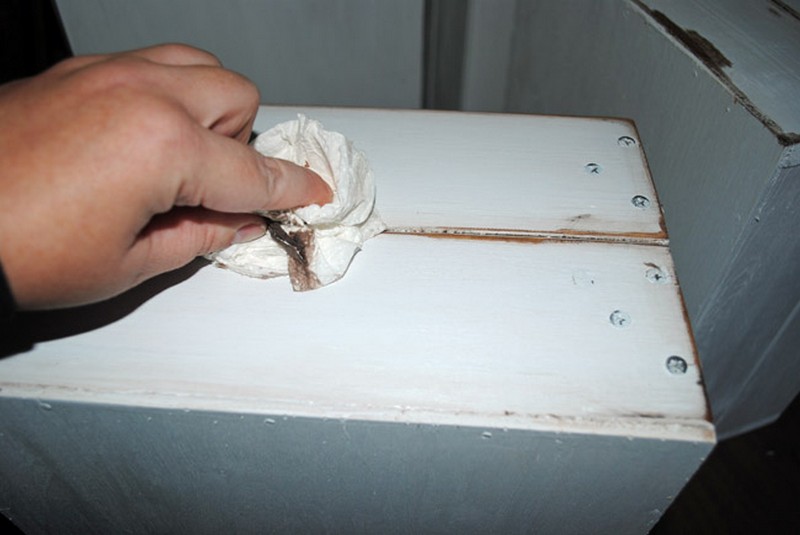
Right after you assemble the pieces together, you can now sand them. Sanding is a necessary part of the refinishing process. It helps to create a smooth, even surface that is ready to be stained or painted.
Depending on the type of project, different sanding techniques may be used. For example, hand-sanding is often used for smaller projects, while larger projects may require the use of power sanders.
Finishing
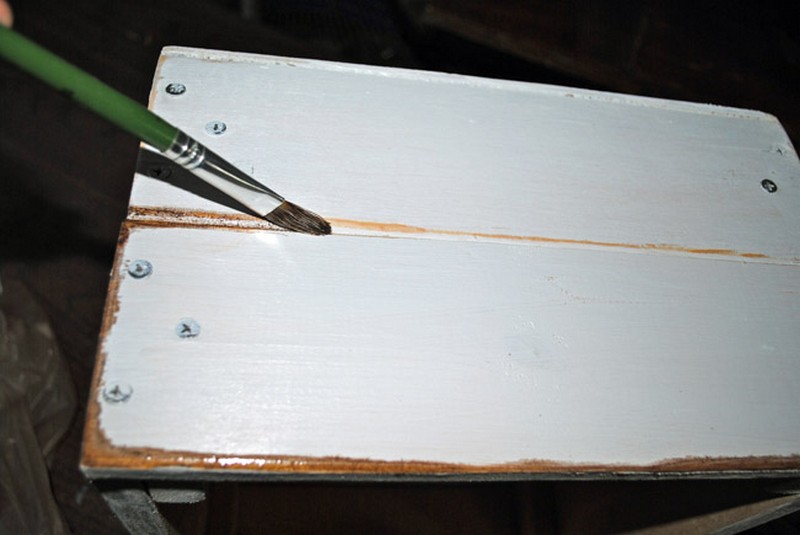
When it comes to deciding how to finish your wooden crates, you have two main options: a clear finish, or painting them with the colour of your choice. If you want your crates to maintain a natural look, then opting for a clear finish is likely the best option.
This will also help to protect the wood from dents and scratches. Painting your crates with a colour of your choice is a more creative approach, and can add some extra character to your living space.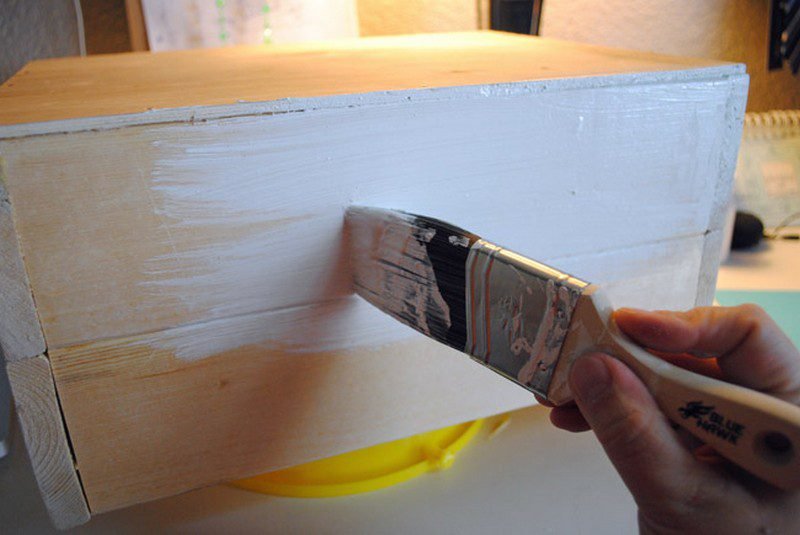
Click on any image to start the lightbox display. Use your Esc key to close the lightbox. You can also view the images as a slideshow if you prefer 😎
