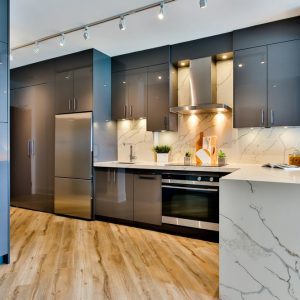
Most kitchens hold potential for improved functionality, storage, and style, but too many don’t utilize the space efficiently. A dresser kitchen island is not only a beautiful and modern way to update your kitchen, but it also permits an array of functional benefits.
By adding a dresser kitchen island to your home, you can create more storage space, have a larger work surface, and update the overall look of your kitchen.
If you have a little set aside in the bank and are thinking of investing in home improvement, then a dresser kitchen island would be an excellent idea.
But if you don’t have the budget for a spanking new one, why not turn an old dresser into a kitchen island?
This DIY project is a great option for those who are looking to save money. By using an old dresser that is just lying around, or by asking a friend who may have one that is not being used anymore, you can save a lot of money on this project.
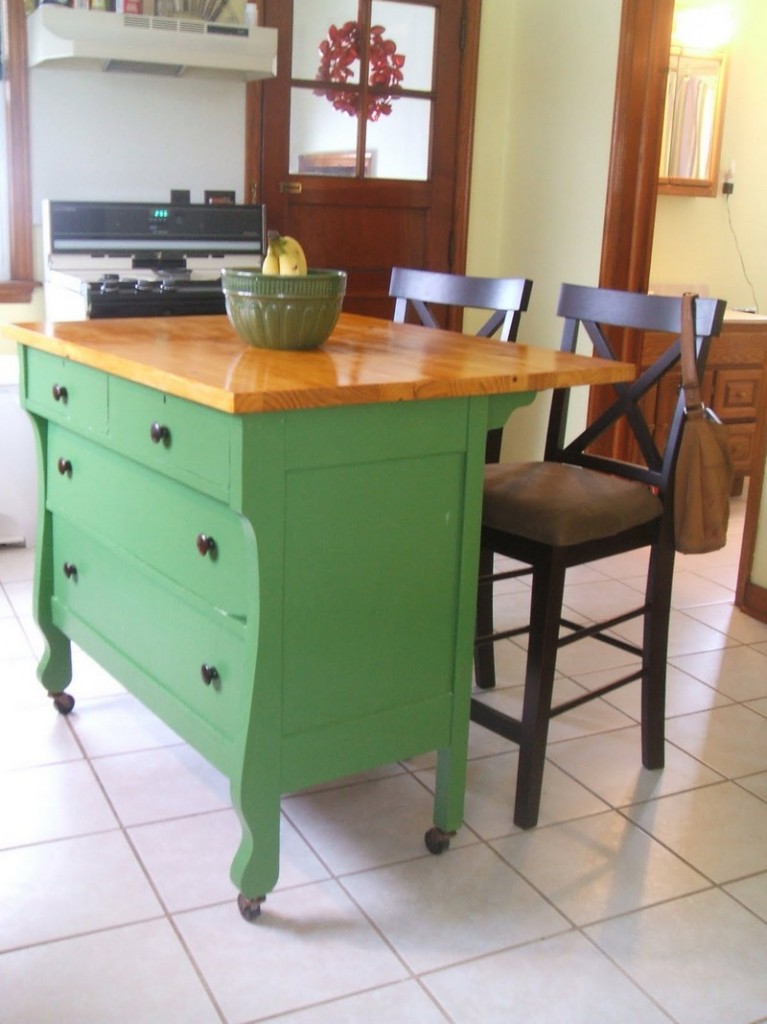
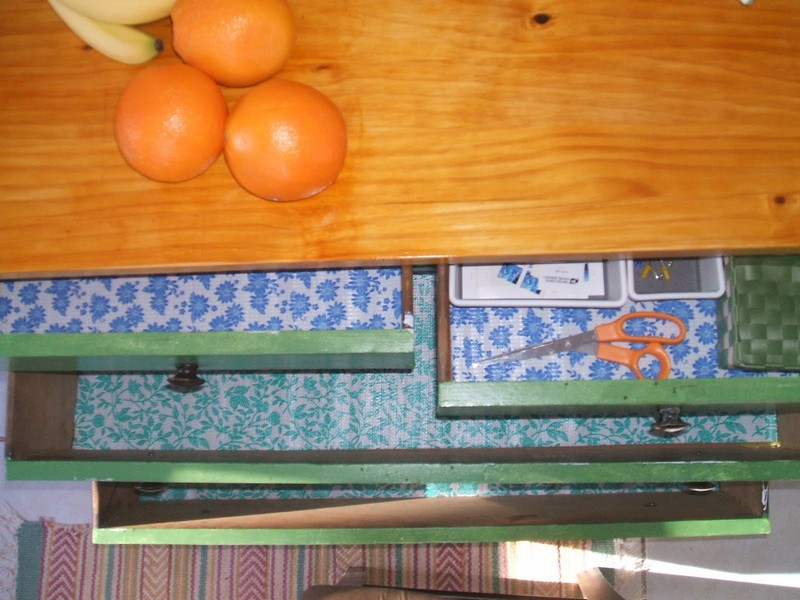
You can keep its drawers as storage for other kitchen essentials. You can also expand its top so you can have more workspace and some leg space for when you place chairs on one side.
You can use it as a buffet when you have parties or as a makeshift kitchen island when you need more counter space.
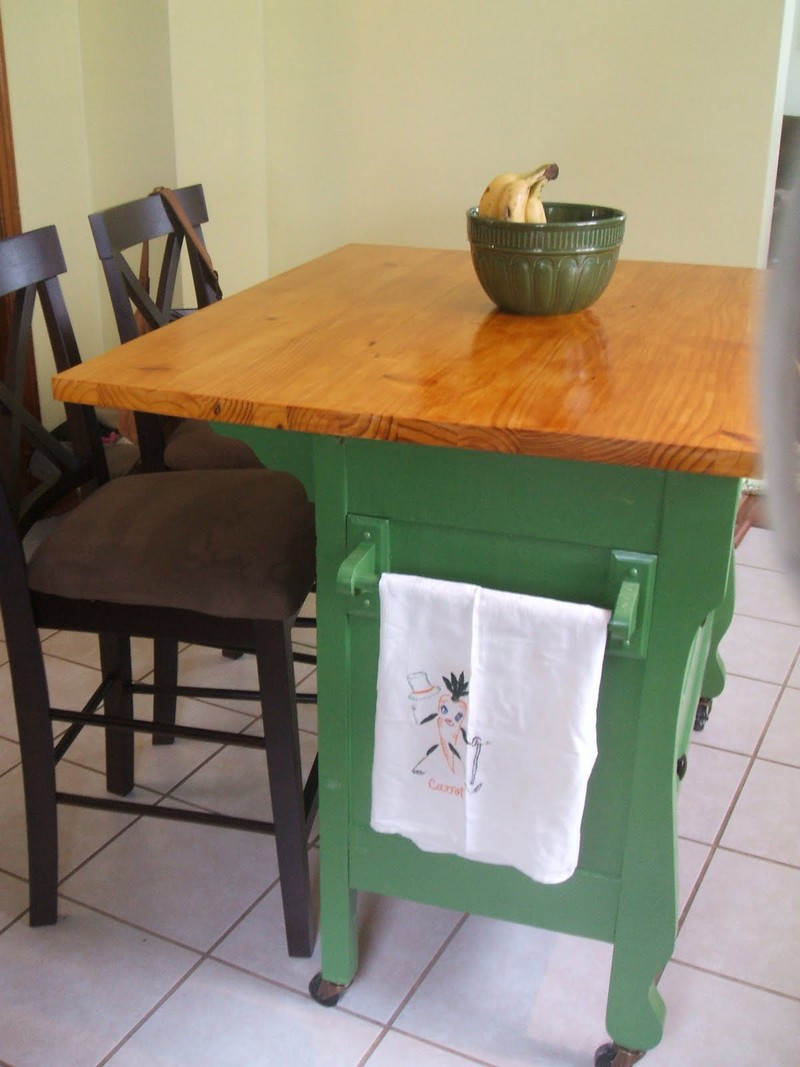
This stunning dresser kitchen island can double as a breakfast bar or extra prep space in a pinch. You can also install caster wheels on your kitchen island so you can move it around as needed to create more space in your kitchen.
Plus, the extra storage in the dresser kitchen island is perfect for all of your kitchen needs. It’s also possible to paint your old dresser kitchen island.

However, depending on the quality of the dresser you have, it may not be the best idea. If you have an old dresser that’s in decent shape, you might be able to leave it as is.
Otherwise, you’ll need to paint it in order to turn it into a kitchen island that matches your style. This option isn’t for everyone, but it’s an option that can turn out well for those who take it on.

If you have a large family or entertain often, the dresser kitchen island is the perfect solution for you.
You can cook other stuff while your kids eat on the kitchen island/breakfast bar since you have enough workspace across the table. Plus, you can also use it as a homework station where they can work on their artwork, play games, or a place to pay bills since it provides ample counter space.
It’s perfect for the busy mom who has to do a gazillion things!

Do you have an old dresser that’s waiting for you to turn into a kitchen island? Maybe you’ve been meaning to do it for a while, but you’re not quite sure how to go about it.
Well, luckily, we’ve got a few tips to help you out! Check out our gallery for ideas.
Building a Dresser Kitchen Island
Materials
- Old Dresser
- Primer
- Paint
- Dowel Rods
- Wheel Casters
- Screws
- Wood Glue
- Wood Stain and Coat
- “T” Metal Brackets
Tools
- Drill
- Paintbrush
- Screwdrivers
Instructions
Step 1: Preparing the Dresser
- Select a Suitable Dresser: Choose an old dresser that fits the size and height suitable for a kitchen island.
- Clean the Dresser: Thoroughly clean the dresser, removing all dirt and grime.
Step 2: Sanding and Priming
- Sand the Dresser: Sand the dresser to create a smooth surface. This helps the primer and paint adhere better.
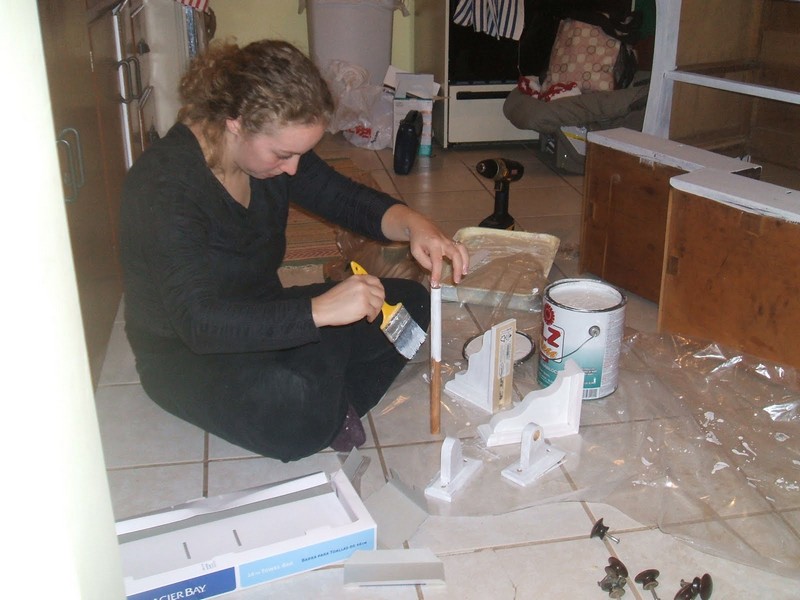
- Apply Primer: Using a paintbrush, apply a coat of primer to the dresser. Let it dry as per the instructions on the primer can.
Step 3: Painting
- Paint the Dresser: Once the primer is dry, paint the dresser in your chosen color. You may need multiple coats. Allow each coat to dry completely before applying the next one.
Step 4: Adding Functionality
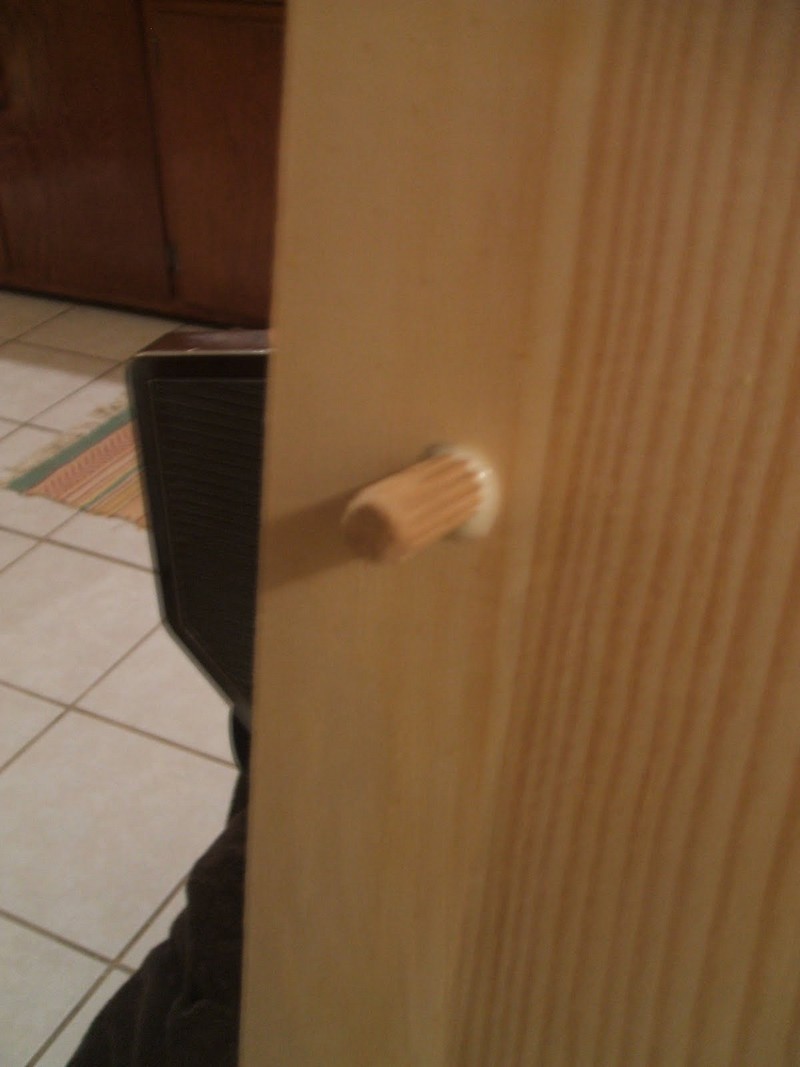
- Install Dowel Rods: If you plan to use the dresser for hanging utensils or towels, install dowel rods on one side.
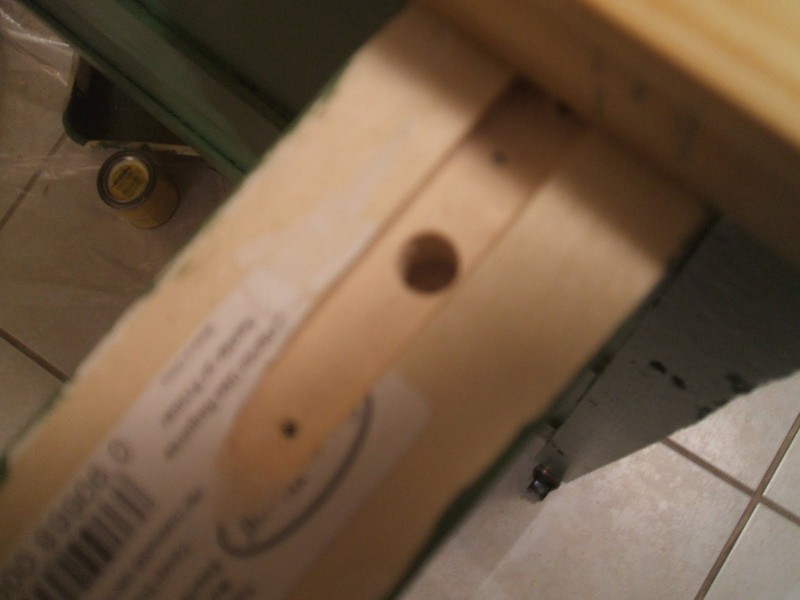
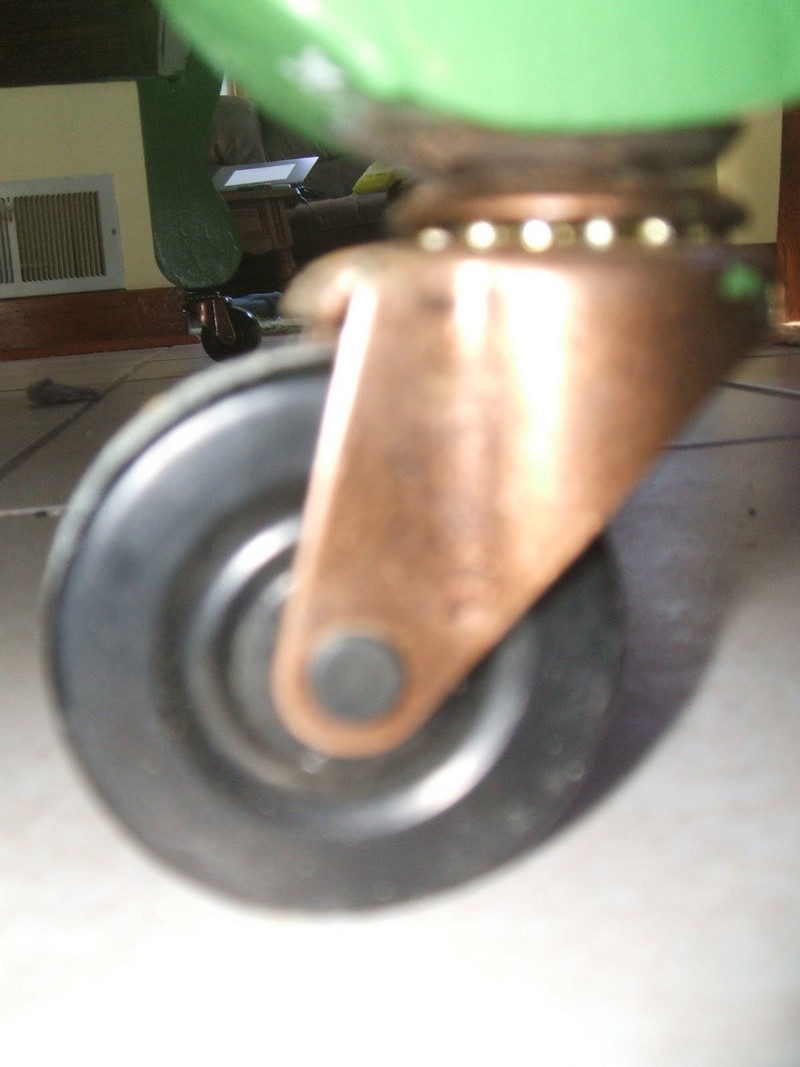
- Attach Wheel Casters: Turn the dresser upside down and attach wheel casters to each corner. This will make your kitchen island mobile. Make sure the screws used are appropriate for the thickness of the dresser’s bottom.
Step 5: Enhancing the Work Surface
- Expand the Top: If you need more workspace, consider attaching a larger top. You can use a piece of plywood or a butcher block. Secure it using wood glue and reinforce with screws from underneath.
- Apply Wood Stain and Coat: If your new top is made of wood, apply a stain for color and a coat for protection. This is especially important if you plan to use it for food preparation.
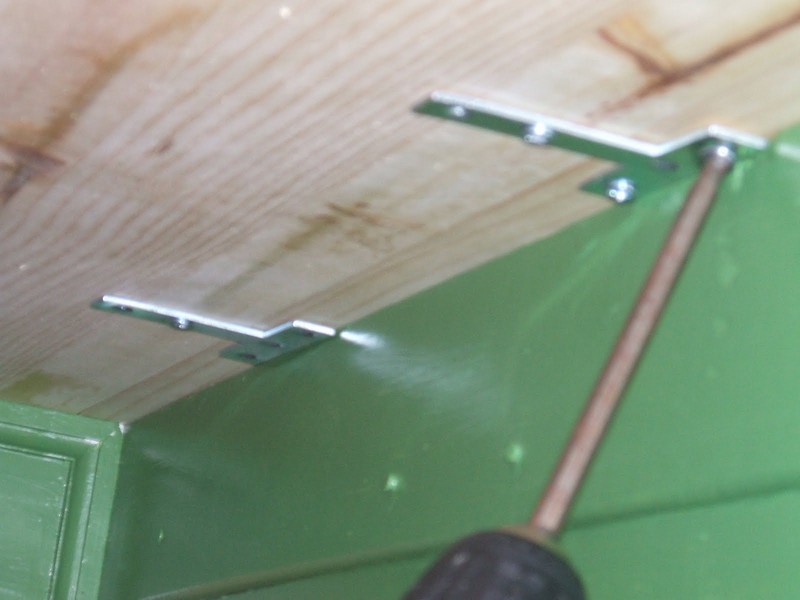
Step 6: Adding Strength and Stability
- Install “T” Metal Brackets: For additional stability, install “T” metal brackets where the top meets the dresser. This will ensure the top doesn’t shift or wobble.
Step 7: Final Touches
- Inspect and Touch-Up: Once everything is assembled, inspect your kitchen island. Check for any missed spots in painting or areas that might need extra reinforcement.
- Customize: Add your personal touches, like unique knobs or handles, to give your kitchen island a custom look.
Step 8: Setting Up in Your Kitchen
- Place the Island: Carefully place the kitchen island in its desired location in your kitchen.
- Final Check: Ensure that the island is stable and the wheel casters lock in place, if applicable.
Customizing Your Dresser Kitchen Island
Transforming an old dresser into a kitchen island adds functionality to your kitchen and provides an opportunity for personalization. Customizing your dresser kitchen island matches it with your kitchen’s decor and caters to your specific needs. Here are some creative ways to customize your dresser kitchen island.
Choose a Color Scheme
- Complementary Colors: Look at your kitchen’s current color palette and choose a paint color for the dresser that complements it. For instance, if your kitchen has a lot of cool tones, like blues or greens, select a color in a similar hue for the dresser.
- Neutral Tones: For a more subtle and timeless look, opt for neutral tones like whites, beiges, or grays. These colors work well in most spaces and can blend seamlessly with various decor styles.
- Consistent Theme: Think about the overall theme of your kitchen. Whether it’s modern, rustic, or country, choose a color that reinforces this theme, enhancing the cohesive appearance of your space.
- Statement Colors: If you prefer your kitchen island to stand out, consider using a bold or statement color. Bright shades like red, yellow, or teal can transform the island into the centerpiece of your kitchen.
- Contrasting Colors: A contrasting color can add depth and interest to your kitchen. If your kitchen palette is mostly neutral, a dark color like navy or black can make a striking impact. Conversely, a bright color can pop against a darker kitchen scheme.
- Experiment with Finishes: Apart from color, the paint’s finish can also make a big difference. Glossy finishes reflect light and create a vibrant look, while matte finishes offer a more understated and elegant appearance.
Upgrade the Hardware
- Style Selection: The type of knobs and handles you choose can significantly alter the dresser’s appearance. For a modern look, consider sleek, minimalist designs in materials like brushed nickel or stainless steel. If your kitchen has a more traditional or vintage vibe, ornate handles or classic knobs in brass or bronze can complement this style.
- Color and Texture: Don’t be afraid to experiment with color and texture. Colored glass, ceramic, or even uniquely textured metal can add an interesting visual element to your kitchen island.
- Mix and Match: For a more eclectic look, mix and match different styles of knobs and handles. This approach can work well if your kitchen has a bohemian or shabby chic theme.
- Hooks and Bars: Adding hooks or a towel bar to the side of the dresser enhances its utility and keeps essentials like kitchen towels and utensils within easy reach. This is particularly useful if space is limited on the countertop.
- Magnetic Strips: Consider attaching a magnetic strip to one side of the dresser for a sleeker look. This can hold knives or other metal tools, saving drawer space and adding a professional touch to your kitchen setup.
- Pull-Out Rails: If you’re handy with tools, installing pull-out rails on the dresser’s sides can provide additional room for utensils. These can be retracted when not in use to maintain the clean lines of the island.
Top It Off
- Butcher Block: This option offers a warm and natural look. It’s ideal for those who do a lot of chopping and food preparation. Butcher block countertops require regular maintenance, like oiling, but they can be sanded and refinished to remove any scratches or marks.
- Granite: For a more elegant and durable option, granite is an excellent choice. It’s heat resistant and adds a touch of luxury to your kitchen. Each granite slab has unique patterns, ensuring your kitchen island is one-of-a-kind.
- Stainless Steel: If you’re going for a modern or industrial look, stainless steel is perfect. It’s hygienic, easy to clean, and resistant to heat and bacteria. Stainless steel can scratch and show fingerprints, offering a professional kitchen look.
- Overhang for Seating: If you have the space, extending the countertop beyond the dresser’s frame can create a breakfast bar or casual dining area. Ensure you provide enough overhang for comfortable legroom if you plan to use this space for seating.
- Additional Serving Area: This extended space can also serve as an extra serving area during parties or gatherings. It’s convenient for setting out appetizers, drinks, or buffet-style meals.
- Support for Extended Countertops: Add adequate support to prevent sagging or damage when extending the countertop. Brackets or additional legs can support the extended portion, especially if you’re using heavy materials like granite.
Add Storage Options
- Drawer Dividers: Use dividers in the drawers to create separate compartments. This is ideal for organizing smaller kitchen items like utensils, measuring spoons, or spice jars. Adjustable dividers offer flexibility to accommodate different-sized items.
- Bins and Containers: Place bins or containers inside the drawers for better organization. These can be used to store items you don’t use daily, like special baking tools or seasonal kitchen gadgets.
- Lining Drawers: Consider lining the drawers with non-slip liners. This keeps items in place and protects the interior of the drawers from spills and stains.
- Underneath Shelves: Utilize the space under the countertop by adding shelves. These can store larger items like pots, pans, or mixing bowls. If the shelves are open, use baskets or bins for a neater appearance.
- Side Baskets or Racks: Attach baskets or racks to the sides of the island for additional storage. These are great for items you need to access frequently, like kitchen towels, cutting boards, or cookbooks.
- Hanging Storage: If the design allows, install hooks or a hanging rack under the countertop. This space can hang mugs, utensils, or a dish drying rack.
Personalize with Decor
- Rustic Theme: For a rustic theme, consider natural materials like wood and stone for the countertop. Decorate with vintage kitchenware and antique decor items to complement the theme.
- Modern Style: If your kitchen has a modern design, opt for a sleek and minimalistic countertop, possibly in materials like polished granite or concrete. Accessorize with contemporary art pieces or metallic accents.
- Farmhouse Flair: A farmhouse-themed kitchen island can feature a butcher block countertop adorned with traditional pottery, fresh flowers, or gingham-patterned decor elements.
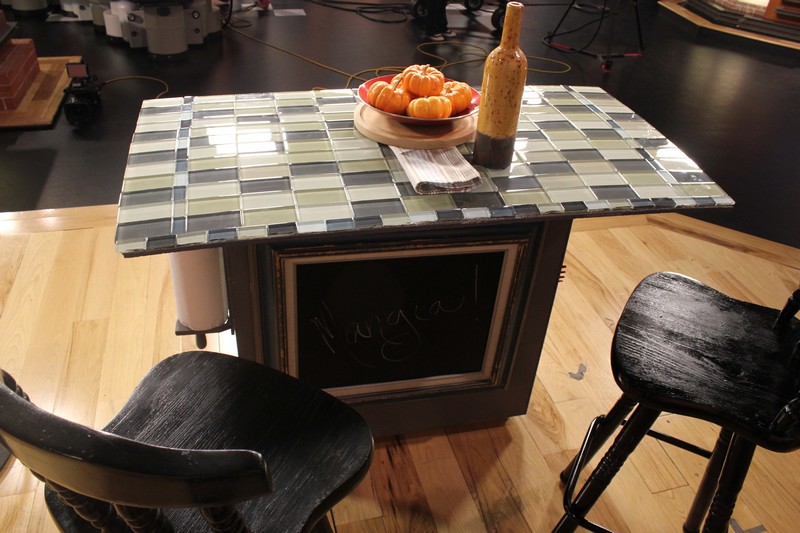
- Countertop Display: Utilize the countertop space to display decorative items that reflect your style. This could be anything from a unique fruit bowl, an elegant vase, or a collection of cookbooks.
- Plant Arrangements: Adding plants or herbs to the countertop of your dresser kitchen island not only brings a touch of nature to your kitchen but also makes fresh herbs readily available for cooking.
Lighting Over the Countertop: Enhance the ambiance by installing pendant lights or a unique lamp over the kitchen island countertop. This not only illuminates the workspace but also acts as a decorative element.
Click on any image to start the lightbox display. Use your Esc key to close the lightbox. You can also view the images as a slideshow if you prefer 😎


Space-Saving Tips for Small Kitchens
Transforming a small kitchen into a functional and stylish space can be achieved with the right strategies, especially when incorporating a dresser kitchen island. Here’s how to optimize space in your kitchen with a dresser kitchen island.
Vertical Storage Solutions Above the Dresser Kitchen Island
In a compact kitchen, it’s essential to utilize vertical space. Installing shelves or racks directly above your dresser kitchen island can create extra storage space. Consider a hanging pot rack above the dresser kitchen island, which saves space and adds a decorative element.
Enhanced Storage within the Dresser Kitchen Island
The dresser kitchen island itself can be a powerhouse of storage. Utilize its drawers and cabinets efficiently by adding dividers or under-shelf baskets. This transforms your dresser kitchen island into a well-organized storage hub for kitchen essentials.
Multi-Functional Furniture Integration with Dresser Kitchen Island
In small kitchens, furniture that serves multiple purposes is invaluable. Opt for a dresser kitchen island with foldable or extendable parts to maximize functionality. Choose stools tucked under the dresser kitchen island to save floor space.
Streamlined Appliance Placement with the Dresser Kitchen Island
Select appliances that complement the size and functionality of your dresser kitchen island. Compact or multi-functional appliances work best in small spaces. Integrating an appliance garage into the dresser kitchen island can keep small appliances out of sight but within easy reach.
Decluttering and Organizing Around the Dresser Kitchen Island
Regular decluttering and efficient organization around your dresser and kitchen island are key. Keep the surface clear for food preparation and ensure everything has a specific place. Organize items in the dresser kitchen island based on how frequently they are used, with the most commonly used items being the most accessible.
FAQ for Dresser Kitchen Island
What is the best size for a dresser kitchen island in a small kitchen?
The ideal size for a dresser kitchen island in a small kitchen depends on the available space. Generally, a medium-sized dresser is a good choice, as it provides ample workspace and storage without overwhelming the room.
Can I install a sink or stove top in my dresser kitchen island?
You can install a sink or stove top in a dresser kitchen island. However, this requires additional plumbing or wiring, and you should consult with a professional to ensure it’s done safely and according to building codes.
How can I maximize storage in my dresser kitchen island?
To maximize storage, utilize the drawers effectively with dividers and organizers. You can also add shelves or racks above the dresser kitchen island or use the sides to hang utensils or towels.
What types of materials are best for the countertop of a dresser kitchen island?
Durable materials like butcher block, granite, or stainless steel are great for the countertop of a dresser kitchen island. Choose a material that fits your kitchen’s style and your cooking needs.
How do I ensure the dresser kitchen island is stable?
Ensure stability by properly anchoring the dresser to the floor, especially if you’re adding a heavy countertop or appliances. Also, check that the original structure of the dresser can support any additional weight.
Can I move my dresser kitchen island around?
You can add casters to the bottom of your dresser kitchen island for mobility. Just make sure they’re lockable to keep the island stable when in use.
How do I protect the dresser kitchen island from water damage and stains?
Apply a protective finish to the wood, especially the countertop, to safeguard against water damage and stains. Regular maintenance and immediate cleaning of spills can also help protect it.
Conclusion
A dresser kitchen island is a versatile and stylish addition to any kitchen. It offers ample storage, enhances workspace, and can be personalized to suit your style and needs. With the right planning and design, a dresser kitchen island serves as a practical kitchen feature and becomes a charming focal point in your home.
If you liked this project, you will also like viewing these kitchen ideas…