Last Updated on October 30, 2025 by teamobn
Have you ever found yourself staring at your garage, wondering if it could be more than just a storage room for random stuff? Well, picture this: turning your ordinary garage into a fully functional DIY workshop! Whether you love tinkering with tools, working on woodworking projects, or just need a dedicated space for all your creative endeavours, converting your garage into a workshop is the way to go. Here’s a step-by-step guide on how to make that transformation happen.
Contents
- 1 1. Clear the Clutter – Start Fresh
- 2 2. Plan Your Garage Layout – Function Meets Flow
- 3 3. Workbenches and Surfaces – The Heart of the Workshop
- 4 4. Tool Storage Solutions – Stay Organised
- 5 5. Lighting – Don’t Work in the Dark
- 6 6. Electrical Outlets and Power Management – Power Up
- 7 7. Ventilation and Safety Measures – Breathe Easy
- 8 8. Storage for Materials – Maximise Your Space
- 9 9. Personal Touches – Make It Yours
- 10 10. Keep It Flexible – Evolve with Your Projects
1. Clear the Clutter – Start Fresh
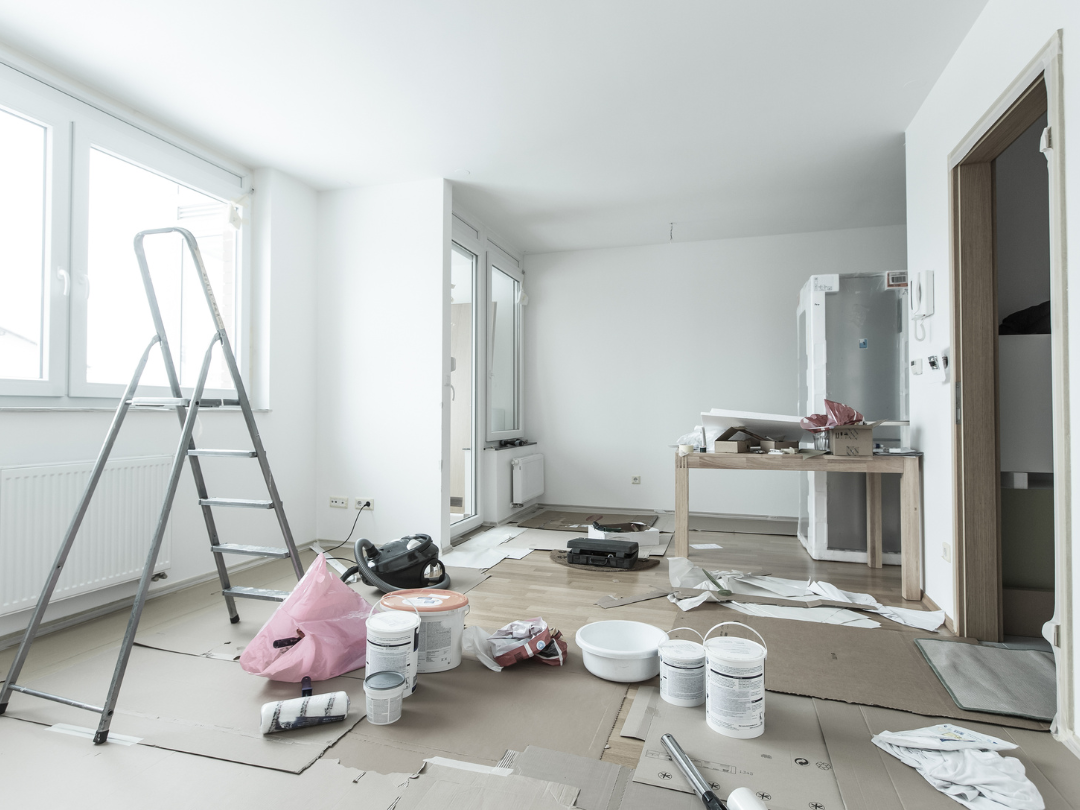
First things first, clear out all the clutter. Garages have a notorious habit of becoming dumping grounds for everything from old furniture to holiday decorations. Start by sorting through your stuff. Keep what’s necessary, donate or recycle what’s not, and make sure you leave room for your workshop essentials.
Once you’ve cleared the space, give the area a good clean. Sweep the floors, dust off the shelves, and wipe down any surfaces. A clean slate will make it easier to envision your workshop setup and feel motivated to move forward.
2. Plan Your Garage Layout – Function Meets Flow
Now that you’ve got a blank canvas, it’s time to plan the layout of your ultimate DIY workshop. Consider the types of projects you’ll be working on. If you’re into woodworking, you’ll need space for saws, sanders, and wood storage. If you’re more into crafting or electronics, you’ll need a different arrangement for your tools and materials.
Make sure to think about workflow. You want your workspace to be efficient. For example, keep your frequently used tools within arm’s reach of your workbench. If you have larger equipment, like a table saw, make sure there’s enough clearance for you to use it safely. Sketching out your layout on paper or using design software can help you visualize the best use of space.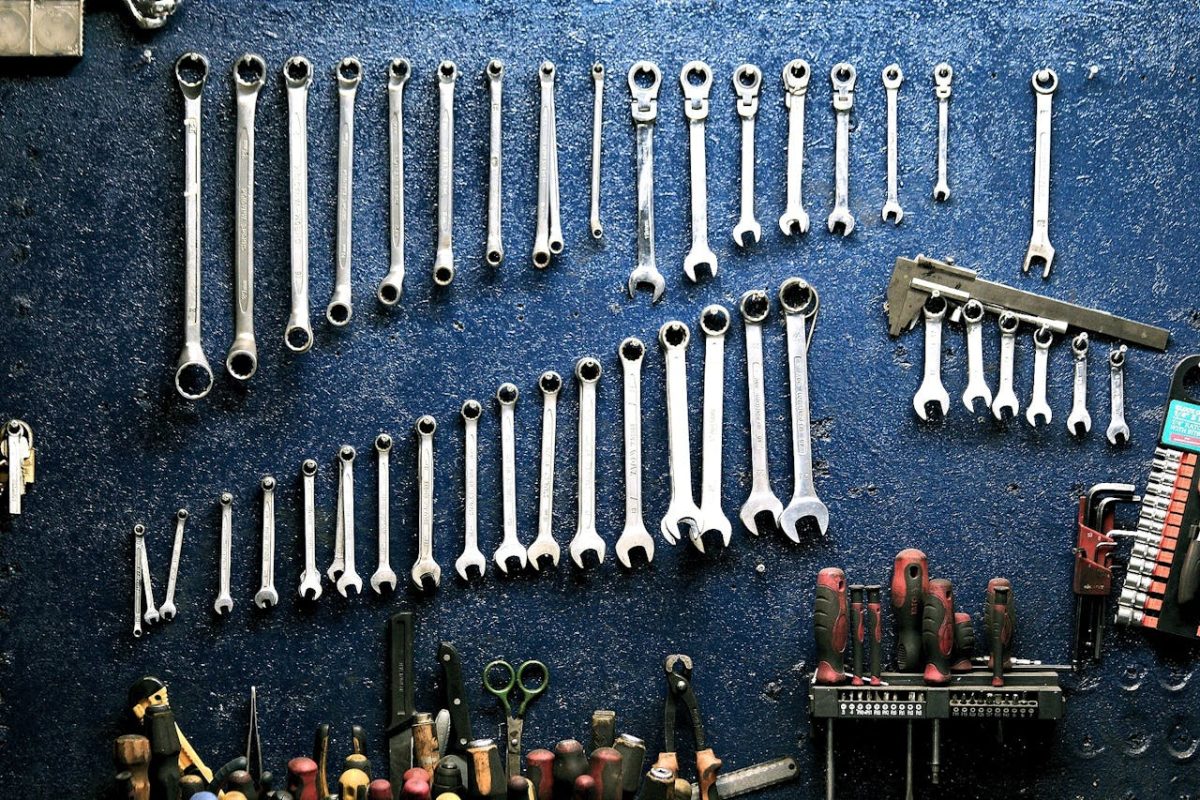
3. Workbenches and Surfaces – The Heart of the Workshop
The workbench is where the magic happens. Whether you build your own or purchase a ready-made one, it needs to be sturdy and spacious enough to handle your projects. A good workbench should have ample surface area and be at a comfortable working height.
Consider adding a few different work surfaces if your space allows. You could have one for cutting and drilling and another for painting or assembling. Adding a vice or clamps to your workbench can also help with securing materials while you work.
If you’re short on space, a foldable workbench might be a smart option. These can be stowed away when not in use, freeing up room for other activities.
4. Tool Storage Solutions – Stay Organised
One of the most important aspects of a DIY workshop is having your tools organised and easily accessible. You don’t want to waste time rummaging through piles of equipment when inspiration strikes.
Start with wall-mounted storage. Pegboards are a classic and functional way to keep your tools in view and within reach. You can customize them with hooks, shelves, and baskets to fit your specific needs.
For smaller tools, consider using a tool chest or a mobile tool cart. These allow you to keep everything in one place and can be wheeled to different parts of the garage as needed. Magnetic strips are also great for storing metal tools like screwdrivers and pliers – they’re easy to grab and put away.
If you have a collection of larger power tools, such as drills, sanders, or saws, dedicate a specific area for them. Use shelving or cabinets to keep them organised, but make sure they’re still easy to access when you need them.
5. Lighting – Don’t Work in the Dark
Good lighting is essential in a DIY workshop. You want to be able to see your projects clearly, especially when working with detailed materials or sharp tools. Natural lighting is always a plus, so if your garage has windows, maximize their use. Keep them clear of obstructions and consider installing blinds that let in light without too much glare.
For artificial lighting, overhead fluorescent or LED lights are a great option. They provide bright, even illumination across the entire workspace. Task lighting is also key. Install adjustable lamps over your workbench or in any areas where you’ll need extra focus.
Lastly, don’t forget about outdoor lighting if you plan to work during the evening hours. A well-lit garage door area is helpful for getting materials in and out, especially if you’re working late on a big project.
6. Electrical Outlets and Power Management – Power Up
Power tools and equipment will need reliable access to electricity, so check the number and placement of outlets in your garage. You may need to add a few extra outlets to avoid running long extension cords, which can be a tripping hazard.
Consider installing outlets on every wall and at your workbench for convenience. For safety, make sure all outlets are grounded and can handle the load of your tools. If you’re not confident in electrical work, consult a professional to help with installation.
7. Ventilation and Safety Measures – Breathe Easy
DIY projects, especially those involving chemicals, paint, or wood dust, can create fumes or particles that aren’t great for your health. That’s why proper ventilation is crucial.
If your garage has windows, consider installing fans to improve airflow. For more enclosed spaces, installing a vent system may be necessary. You might also want to look into portable air filters or dust collectors to keep the air clean.
Safety first! Keep a first aid kit handy, and ensure your workshop is equipped with fire extinguishers. Wear safety goggles, gloves, and ear protection when using power tools. Lastly, make sure your smoke and carbon monoxide detectors are functioning properly.
8. Storage for Materials – Maximise Your Space
Your workshop will need to house not just tools, but also materials. From wood and metal to screws and nails, having a place for everything will keep your space tidy and functional.
Wall-mounted shelves, overhead storage racks, and sturdy bins are great for storing materials. Keep heavier items lower down and lighter items on higher shelves for easy access. Label your storage containers to avoid confusion, especially when working on multiple projects at once.
9. Personal Touches – Make It Yours
Your workshop is a reflection of your personality and interests, so don’t forget to add a few personal touches. Whether it’s hanging up artwork that inspires you, setting up a small radio for background music, or having a comfortable chair for brainstorming sessions, make it a space where you feel motivated and creative.
Incorporating some greenery can also bring life to the space. Even a couple of potted plants by the window can make a big difference in brightening up your workshop.
10. Keep It Flexible – Evolve with Your Projects
Finally, remember that your workshop will evolve as your projects and interests change. Stay flexible with your layout and storage solutions so you can adapt your space to new challenges. Having a functional yet adaptable workspace will keep your creativity flowing for years to come.
With these tips, you’ll transform your ordinary garage into the ultimate DIY garage workshop – a place where ideas take shape, and projects come to life. Ready to roll up your sleeves and get started? The garage is waiting!