Last Updated on September 12, 2022 by teamobn
Vertical gardens just make so much sense. They are an excellent way to save water and fertilizer while also providing excellent drainage for plants that need it. By growing plants vertically, you can take advantage of gravity to help water and nutrients reach the roots more effectively. Additionally, vertical gardens can help save space in small gardens or yards.
Have you ever thought of ways to plant efficiently even when you do not have enough space? Well, you can still do this by using a vertical gardening technique.
One way to garden efficiently is to use a vertical gardening technique, even when space is limited. This can be done by planting in layers, using hanging baskets, or by growing upward on a trellis or other support. 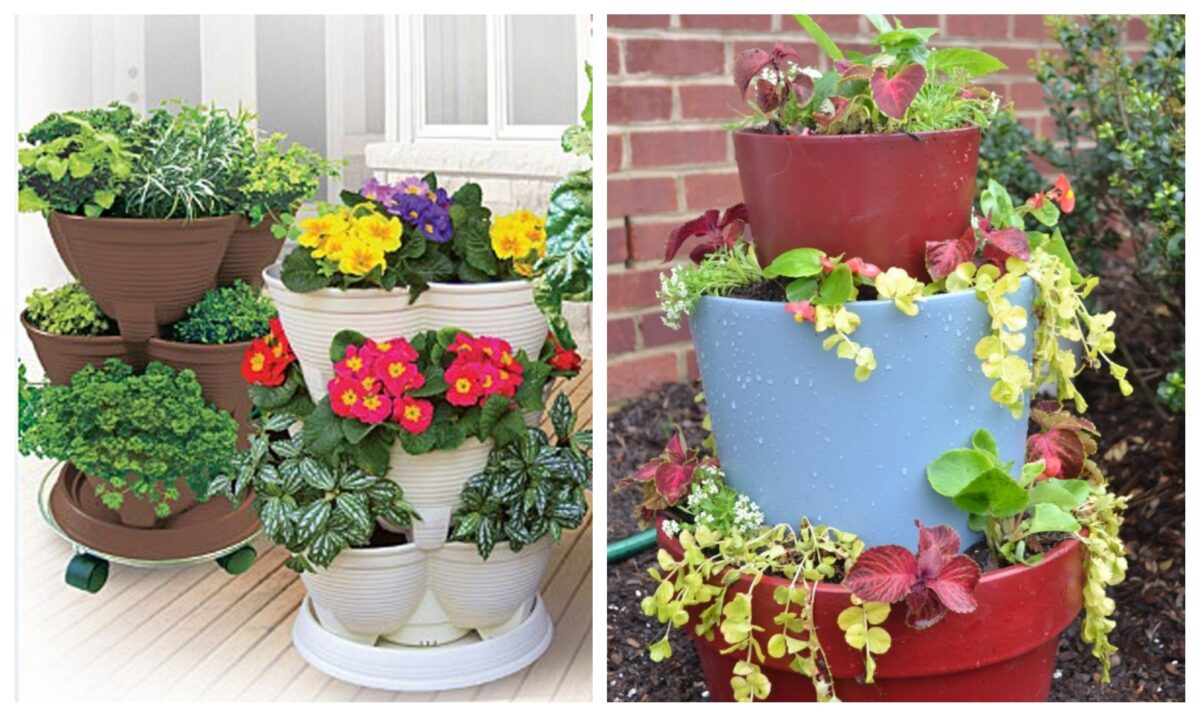
By growing upward, you can increase your yields without taking up more horizontal space. This can be especially useful if you have a small yard or patio. There are several ways to plant vertically. One is to plant in layers, with taller plants in the back and shorter plants in the front.
This ensures that all plants get enough light and prevents taller plants from casting shade on shorter ones. On top of that, they give height to your garden increasing the visual impact.
When you decide to go vertical with your plants, it is important to think of how to do it properly in order to be successful. This includes taking into consideration the type of plants you want to grow, the amount of sunlight they will need, and how much space you have to work with.
By planning ahead and taking the time to do some research, you can create a beautiful and thriving vertical garden that will add both function and aesthetic appeal to your home.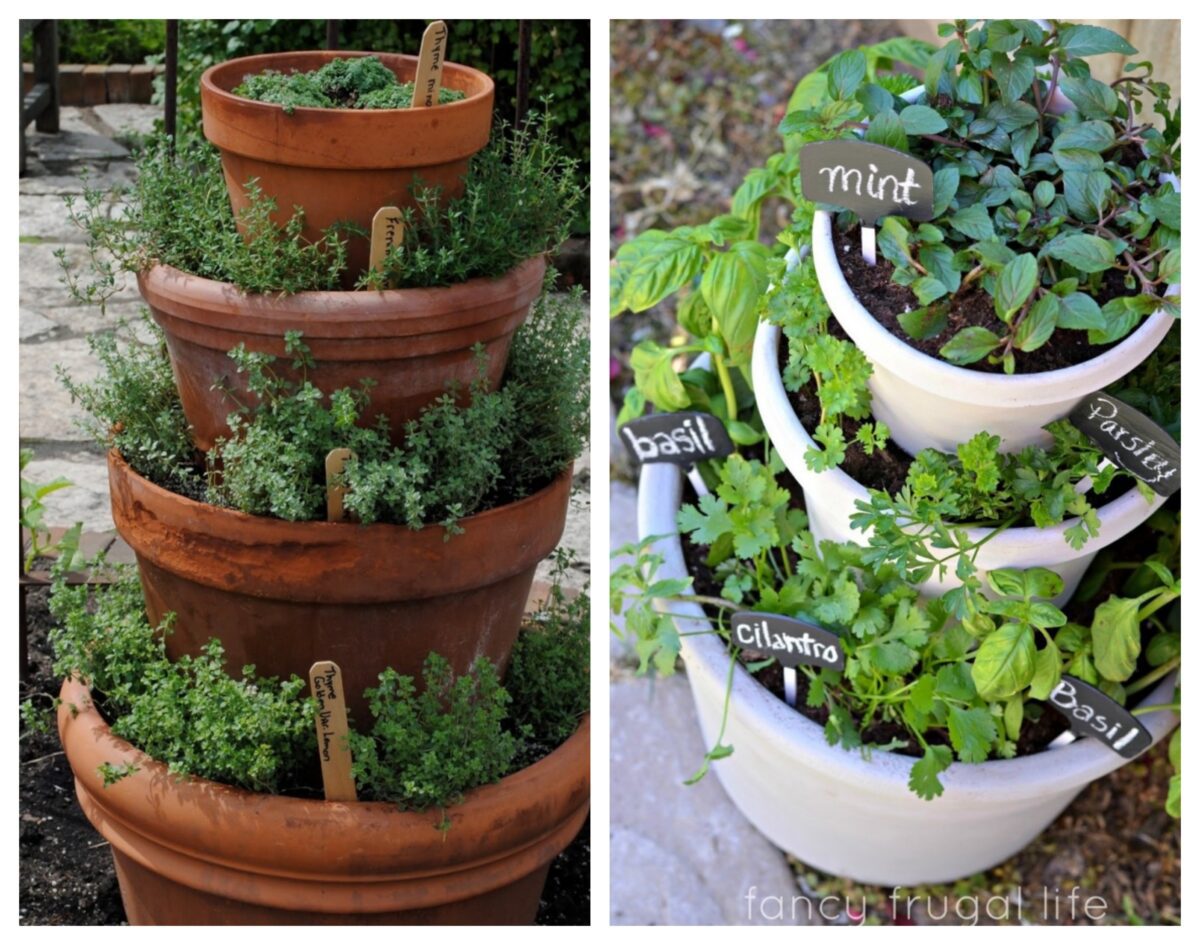
Here’s a whole heap of planter inspiration that will save you valuable space while adding a cascade of colourful flowers, tasty herbs, strawberries, and succulents to your balcony, deck or garden!
2 Vertical Planter Ideas
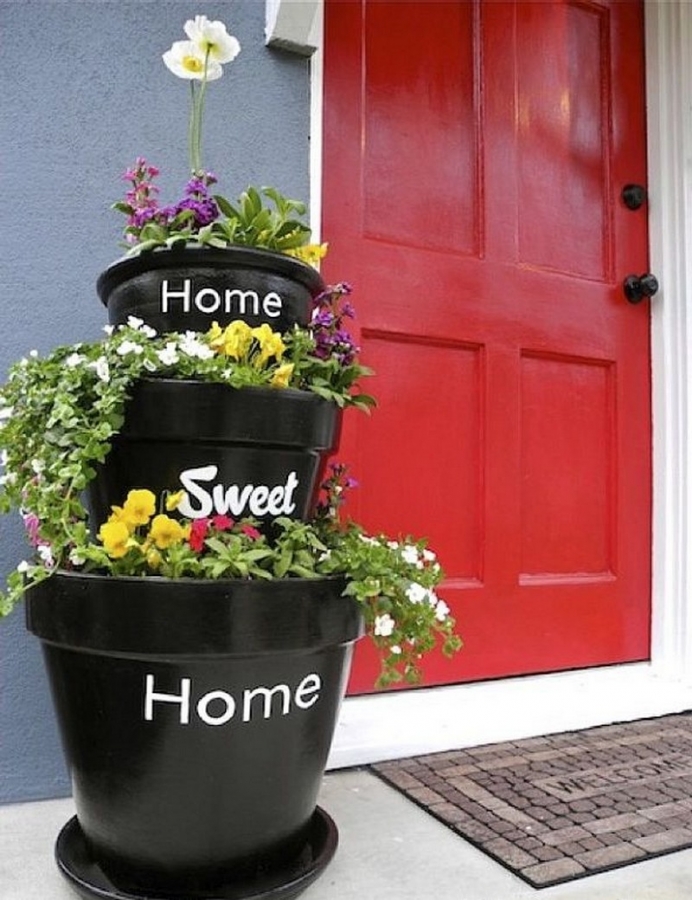
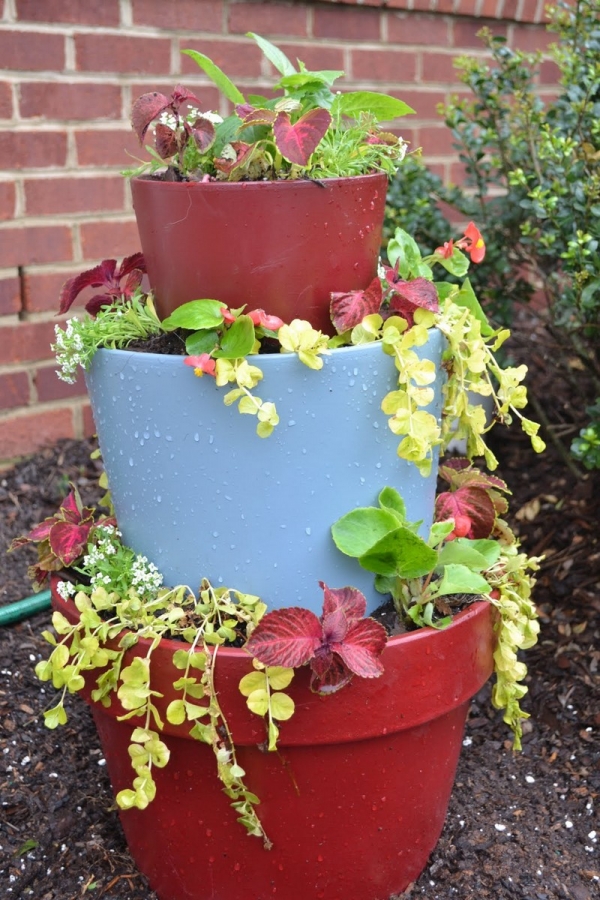
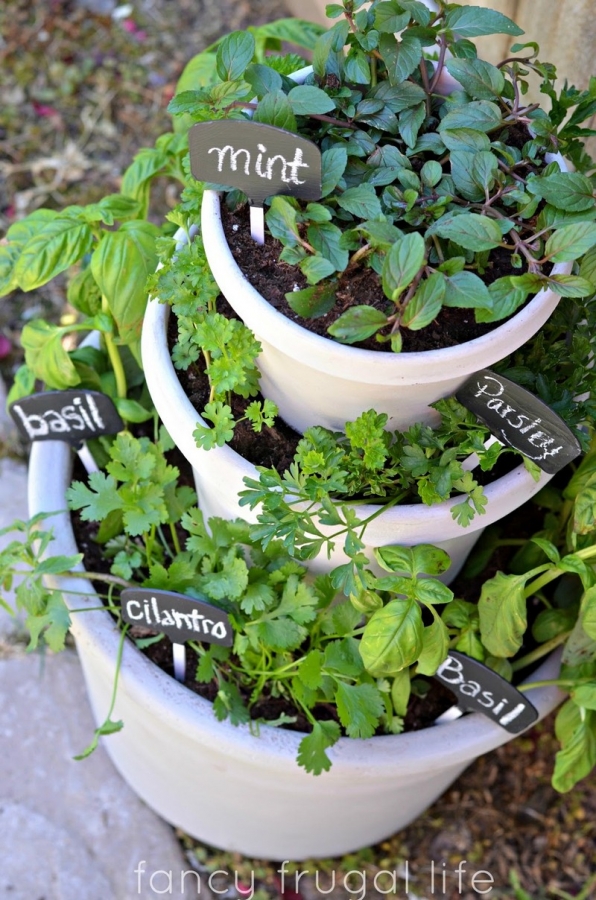
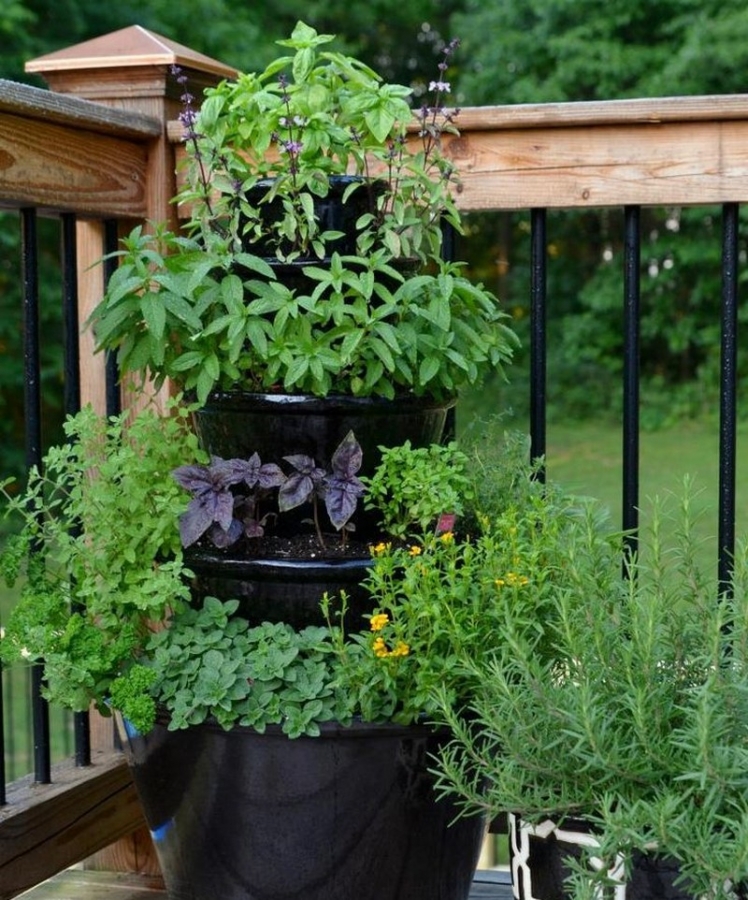
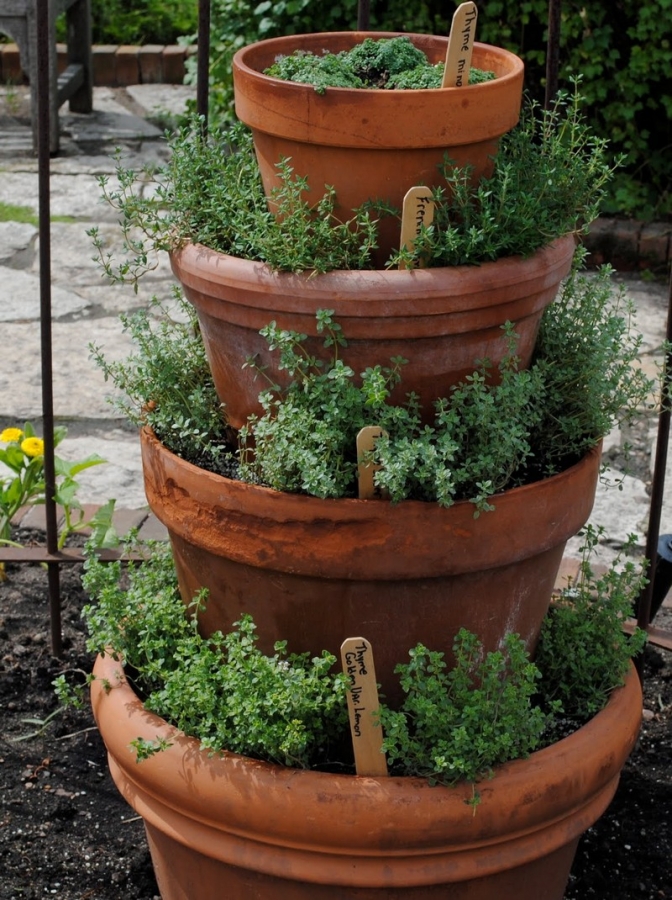
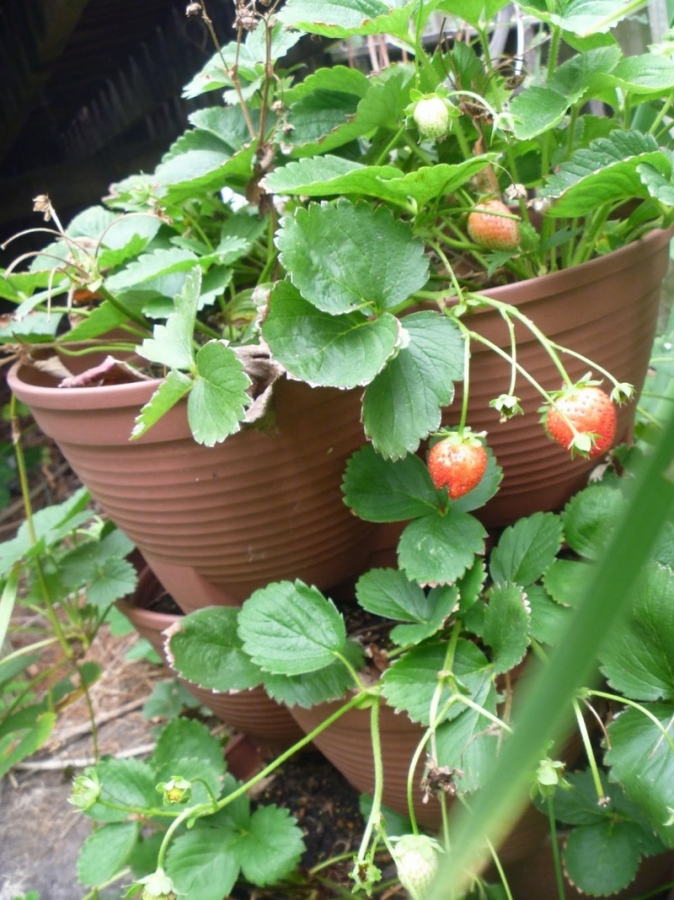
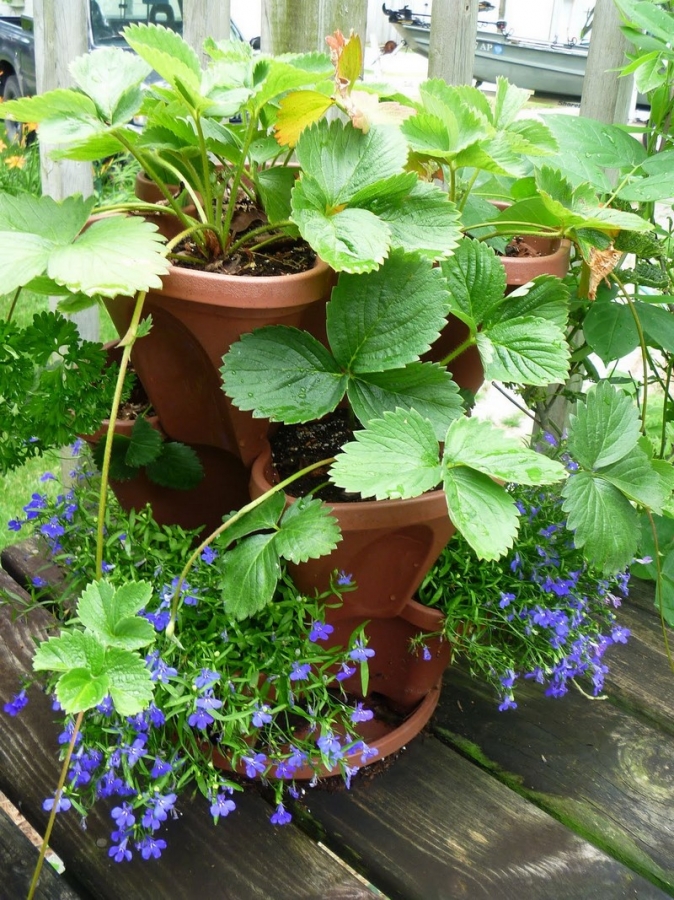
DIY Stacked Pots
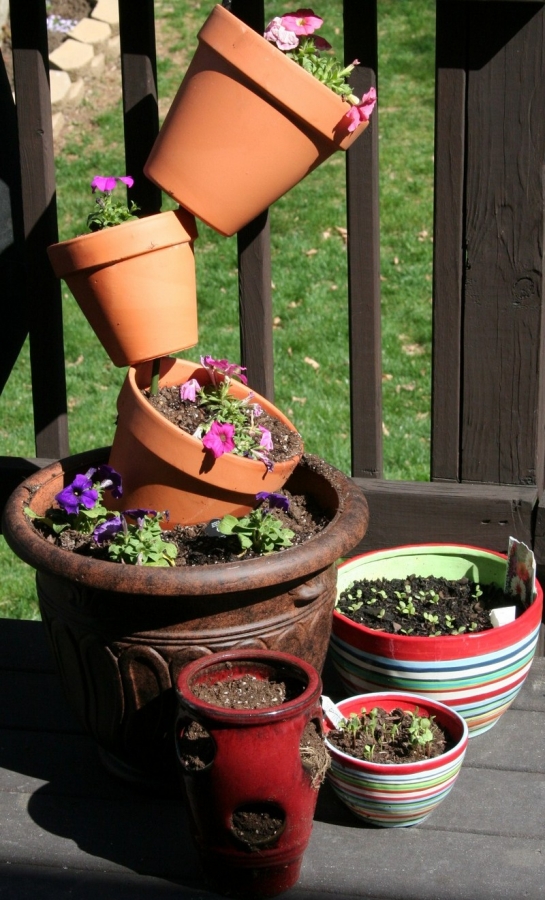
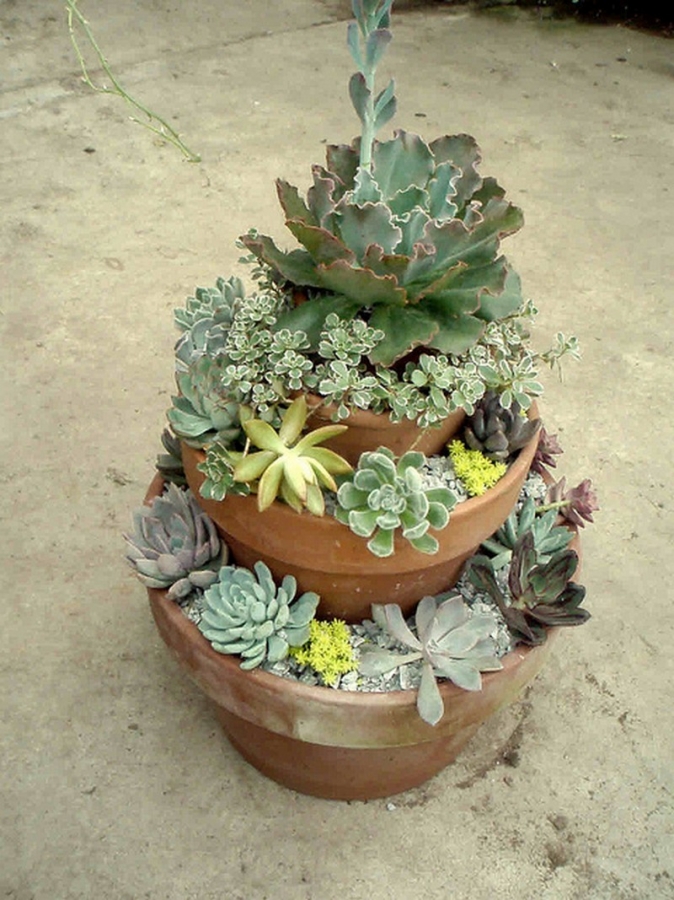
If you’re looking for a creative way to spruce up your outdoor space, try a DIY stacked pots project. It’s a simple and fun way to add some personality to your yard or patio, and you can customize the design to suit your own style.
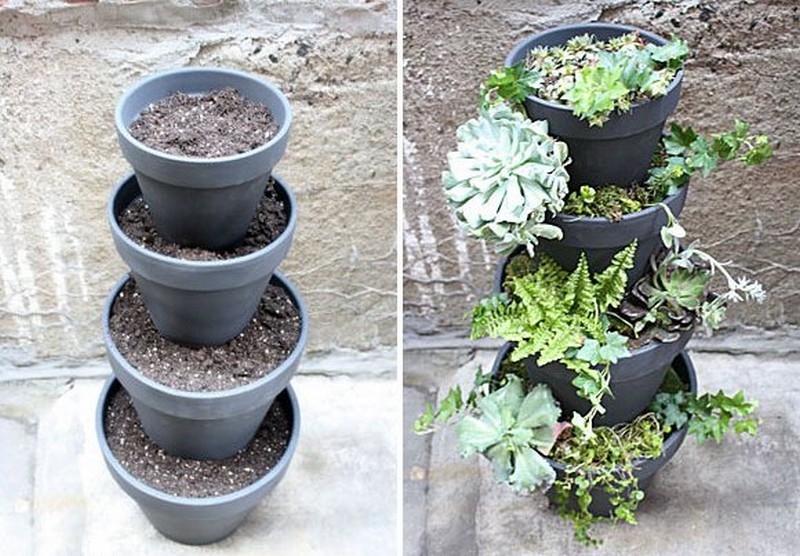
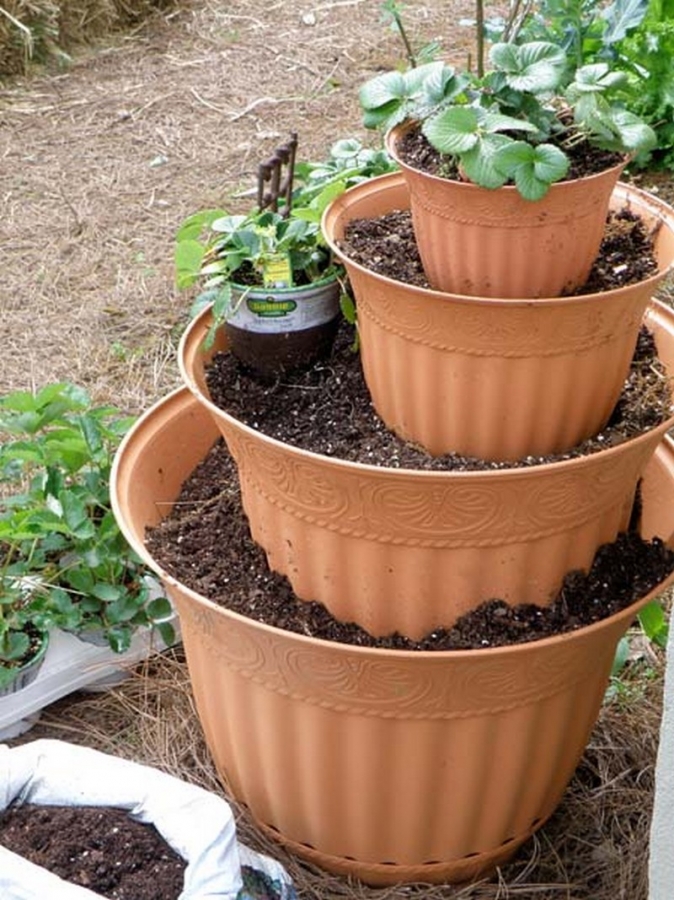
To get started, you’ll need a selection of pots in different sizes and colours. Once you’ve gathered your supplies, it’s time to start stacking! Begin by placing the largest pot at the bottom of the stack, then add the smaller pots on top, alternating between colours and sizes.
Once you’ve reached your desired height, secure the pots in place with some heavy-duty glue or adhesive. Then, fill the pots with soil and your favourite plants,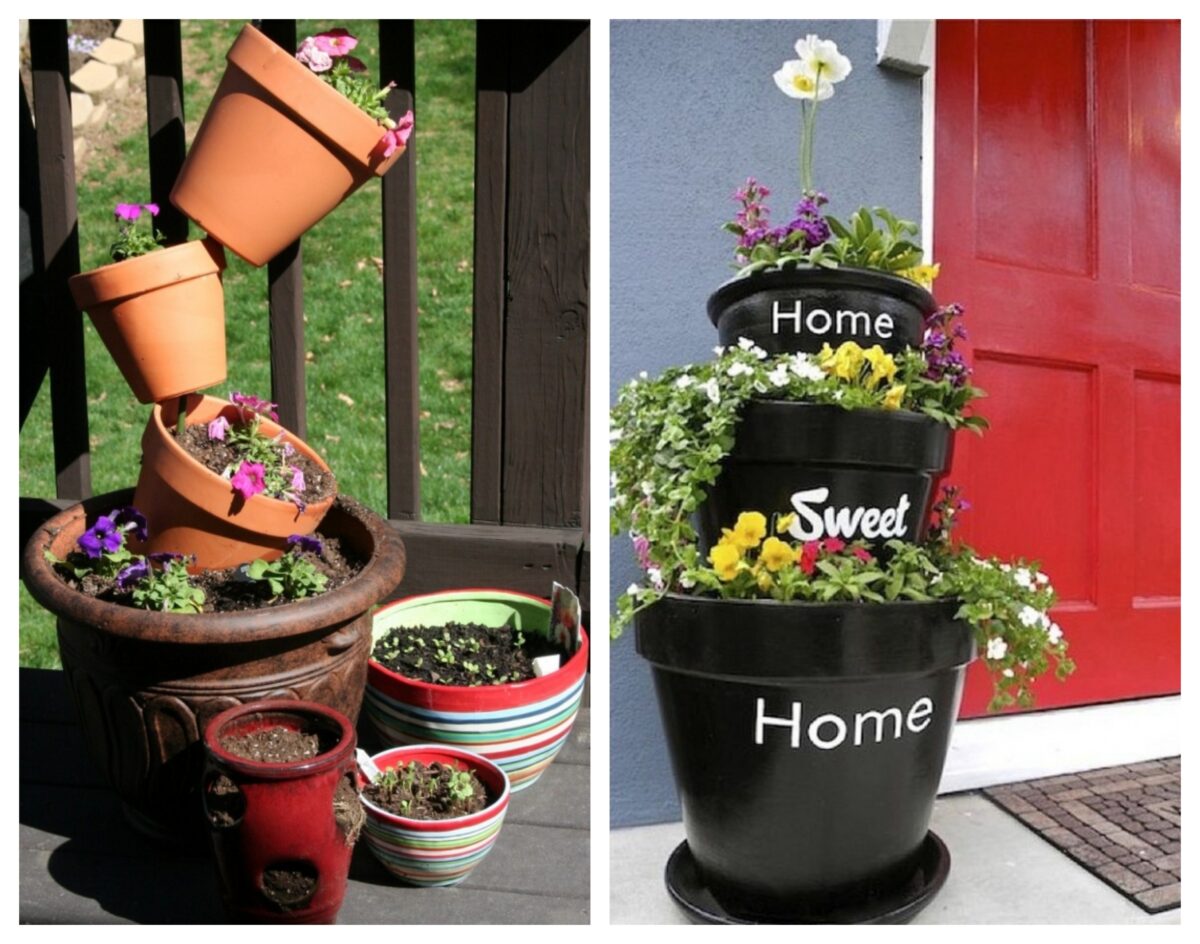
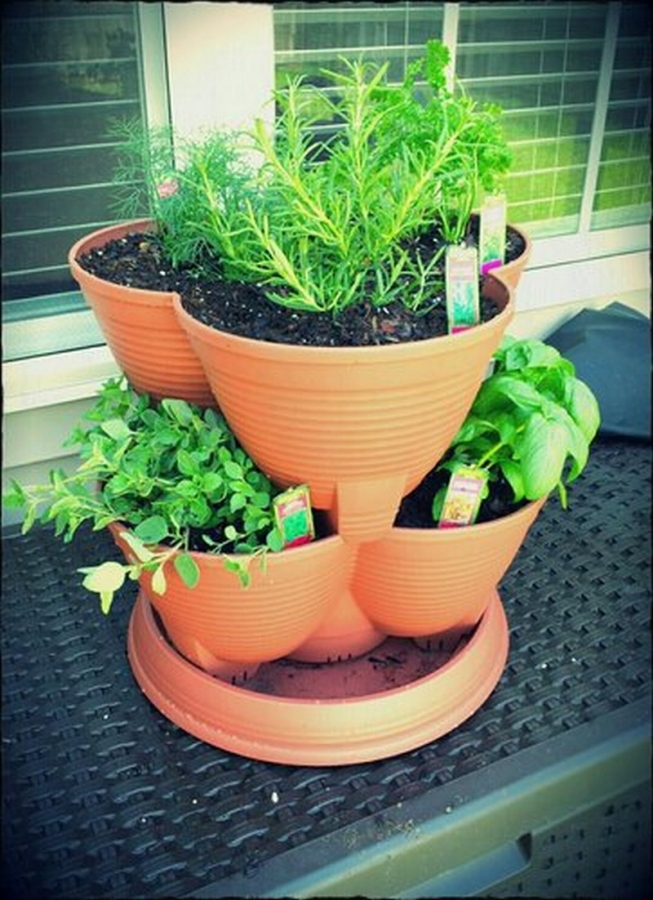
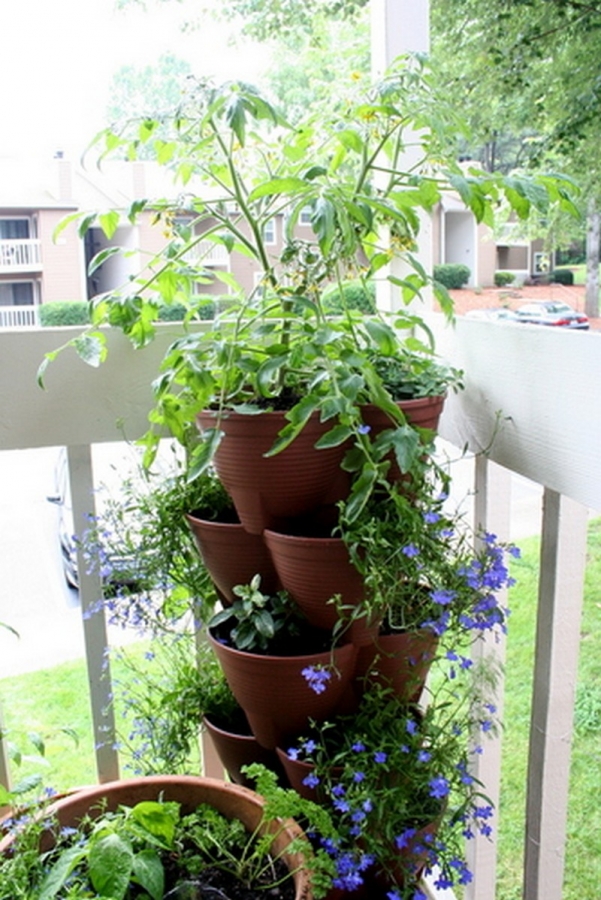
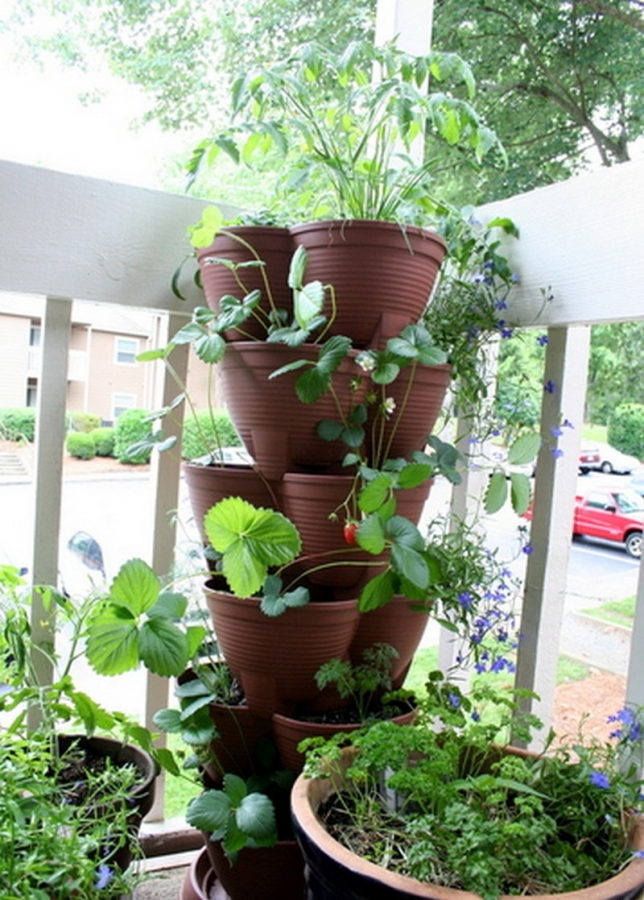
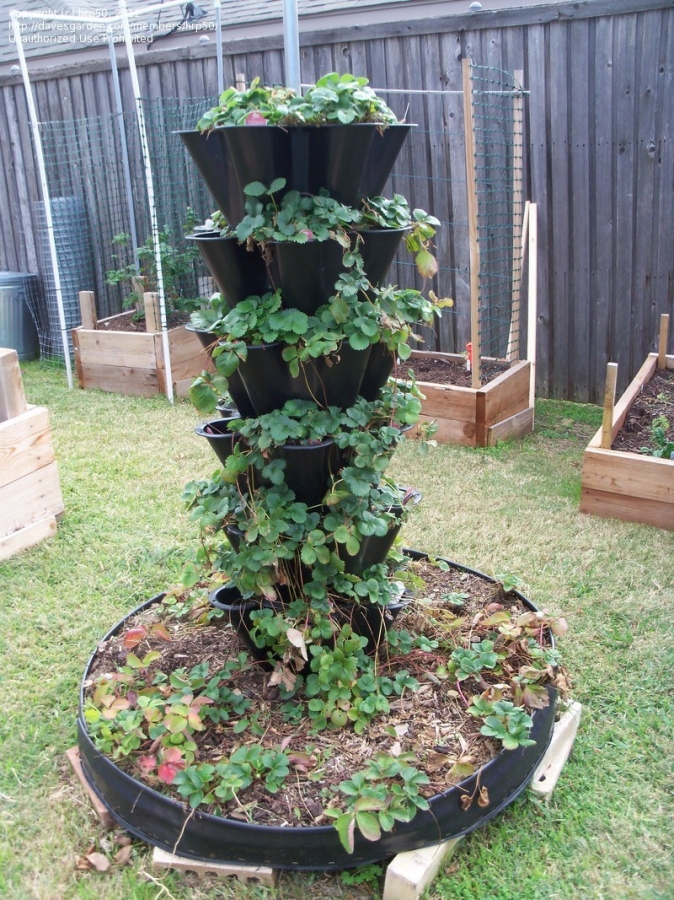
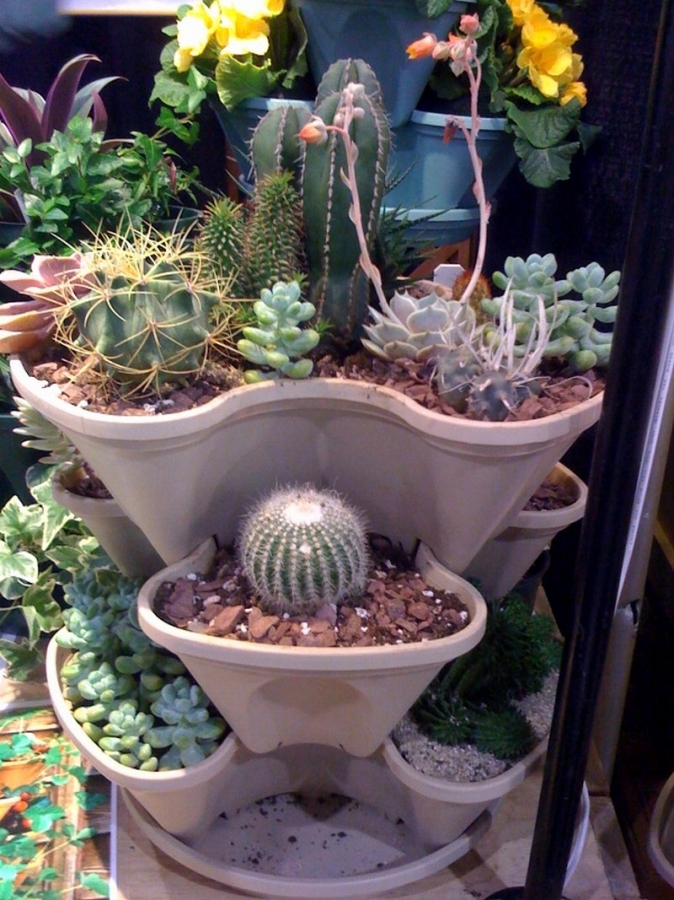
Ready-Made Stackable Pots
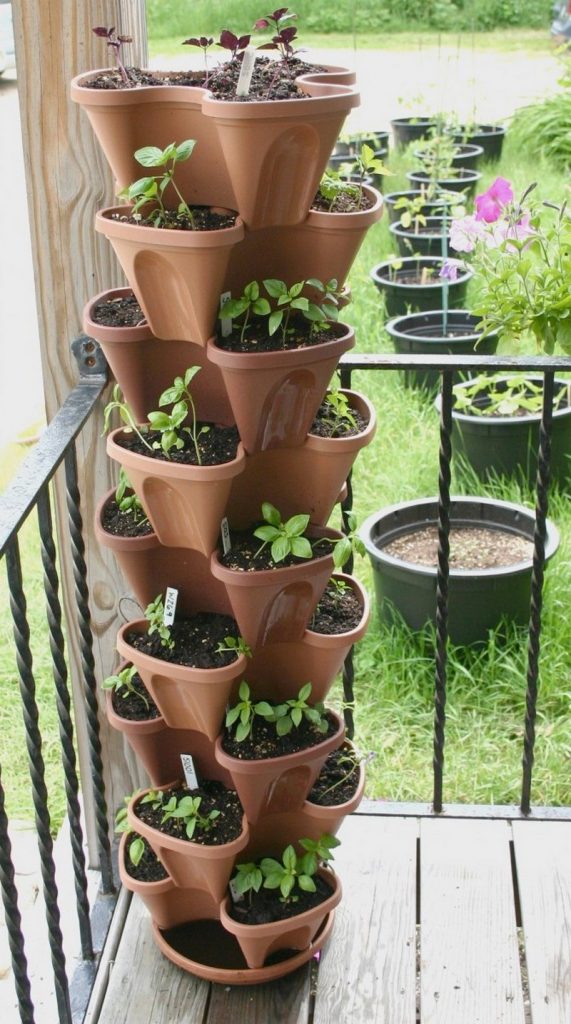
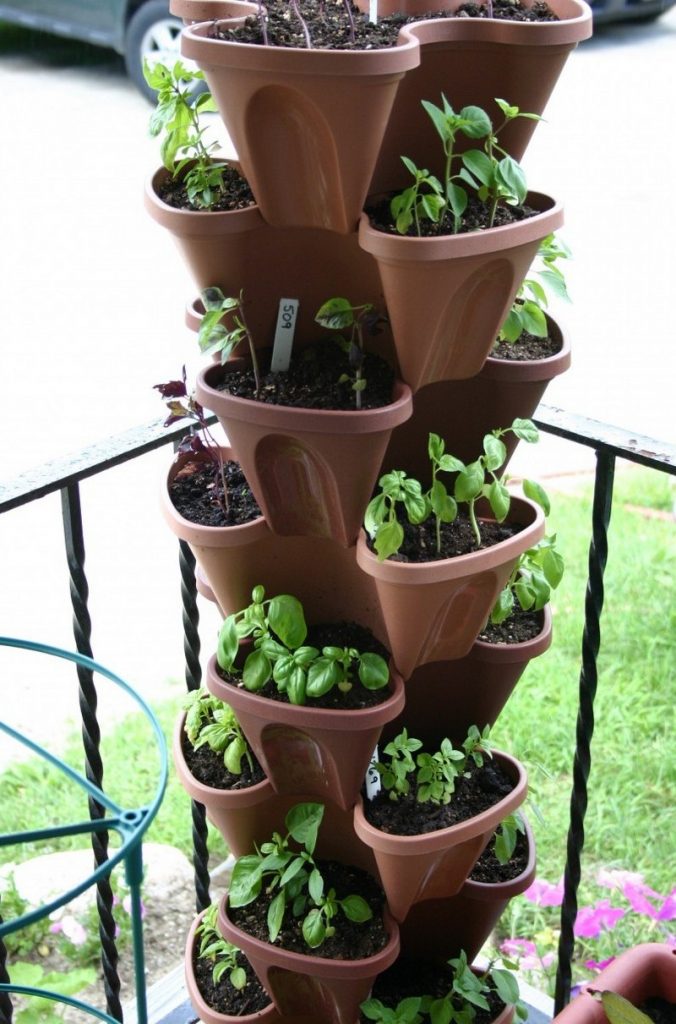
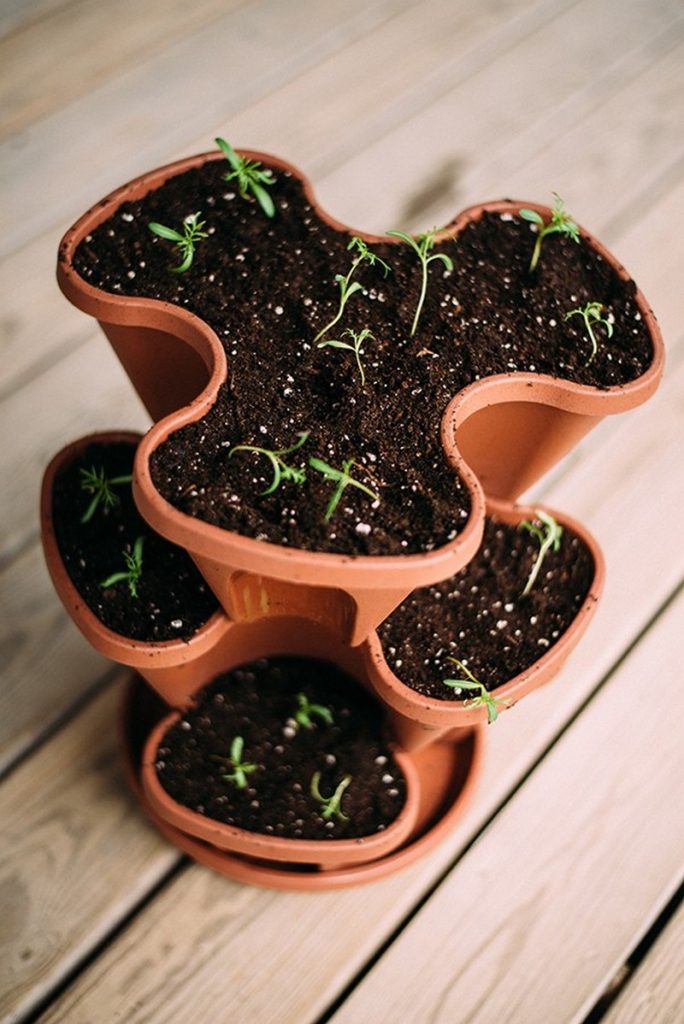
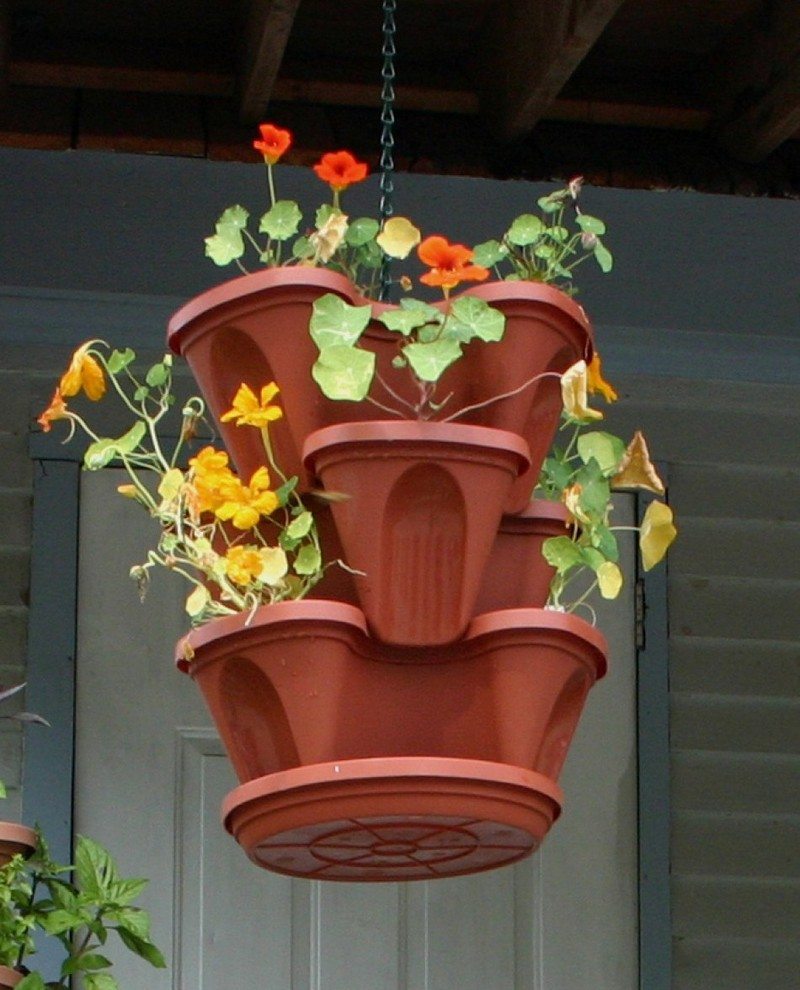
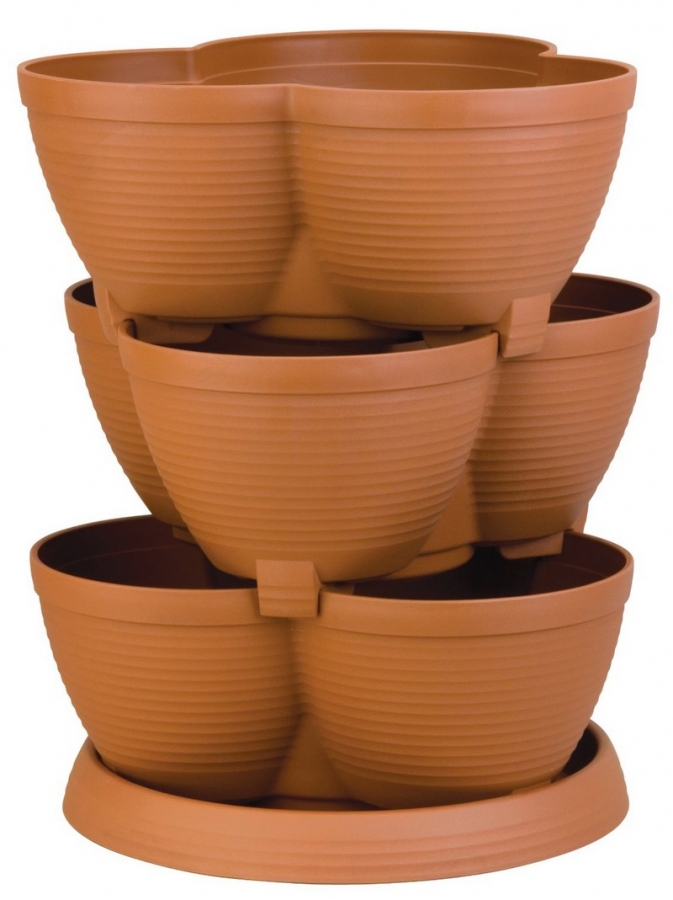
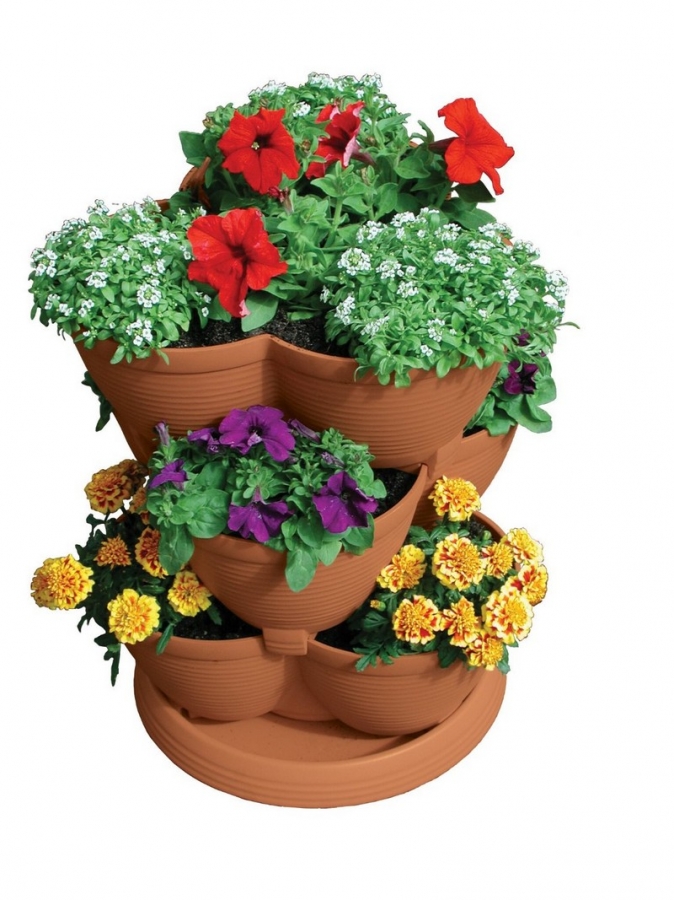
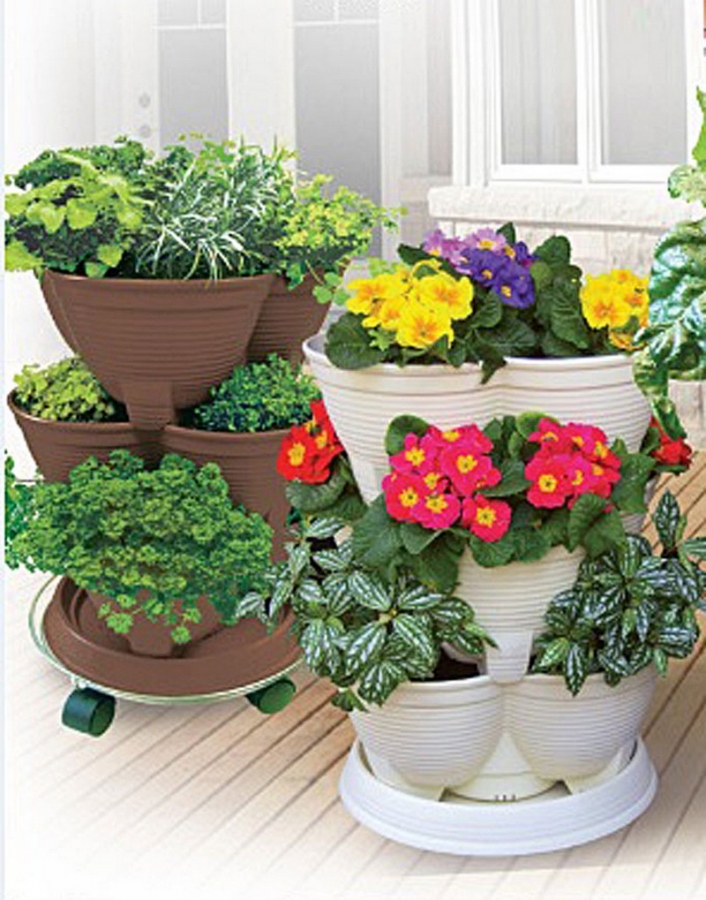
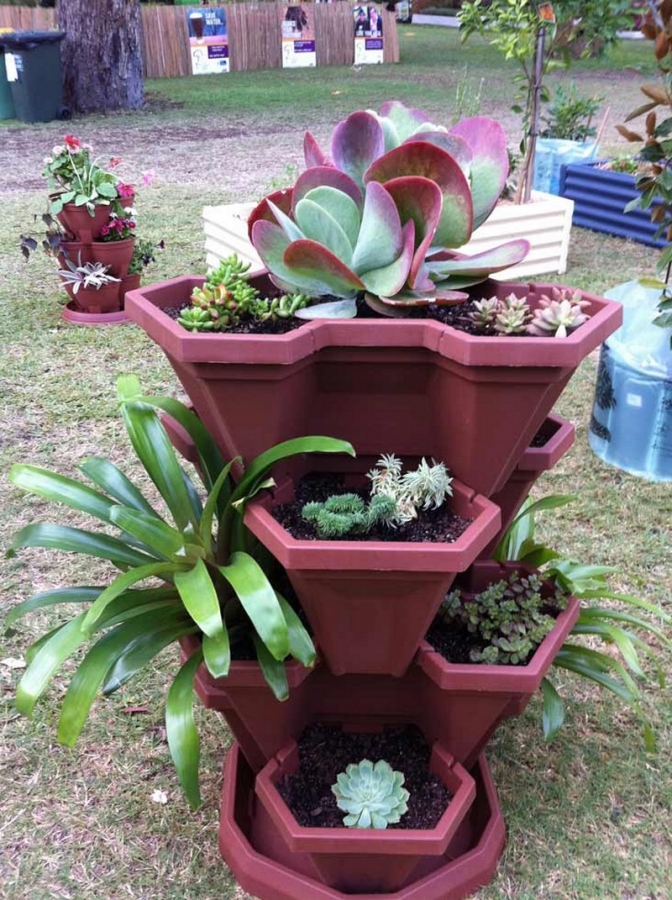
If you’re looking for a professional-grade, multi-tiered planter that is both durable and U.V. protected, then look no further than these ready-made stackable pots. Made from high-quality plastic, they are built to last and will keep your plants healthy.
You may want to consider purchasing pots that are specifically designed for stacking. Compared to DIY stacked pots, these pots have the same sizes and designs that you can stack until they reached your desired garden height.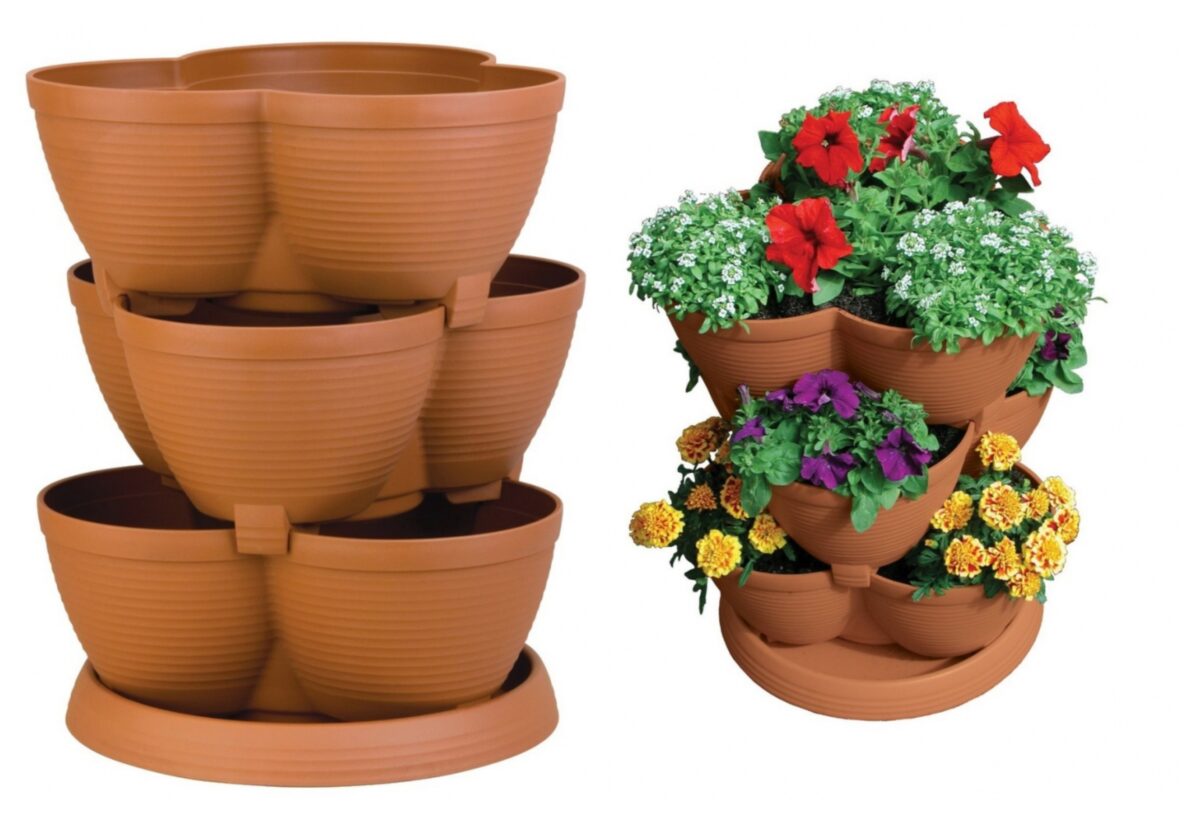
Well, what do you think? Do you want to make them yourself or buy any of the readily available models? Amazon has a great range which you can see right here…
Click on any image to start the lightbox display. Use your Esc key to close the lightbox. You can also view the images as a slideshow if you prefer 😎