Last Updated on June 20, 2025 by teamobn
Opening tough nuts can be a real challenge. While it isn’t an everyday occurrence, it helps to be prepared at all times. Having the right tool is important. As trivial as it may sound, it pays to have a nutcracker at home. After all, you’ll never know when you’re going to need one.
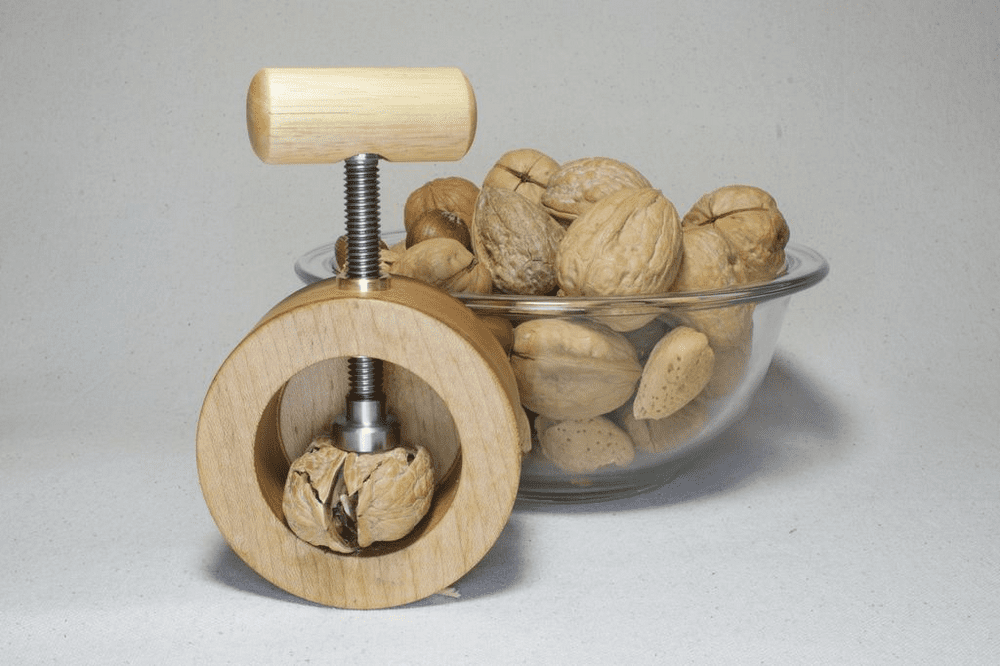
I once received a nice little nutcracker as a gift. We got to use for a few times before it broke. And because I’m such a stickler for details, I wanted to make sure we have a replacement. Instead of buying a new one that I know won’t last for long, I asked my husband to make a wooden screw nutcracker.
This is a small project with big benefits. I like that it’s simple and easy to make, with absolutely no heavy machinery or high-power tools involved. You can make several of these and give them away to friends and family. They’d appreciate a gift that’s not only durable but made with love, too.
Crafting Your Wooden Screw Nutcracker
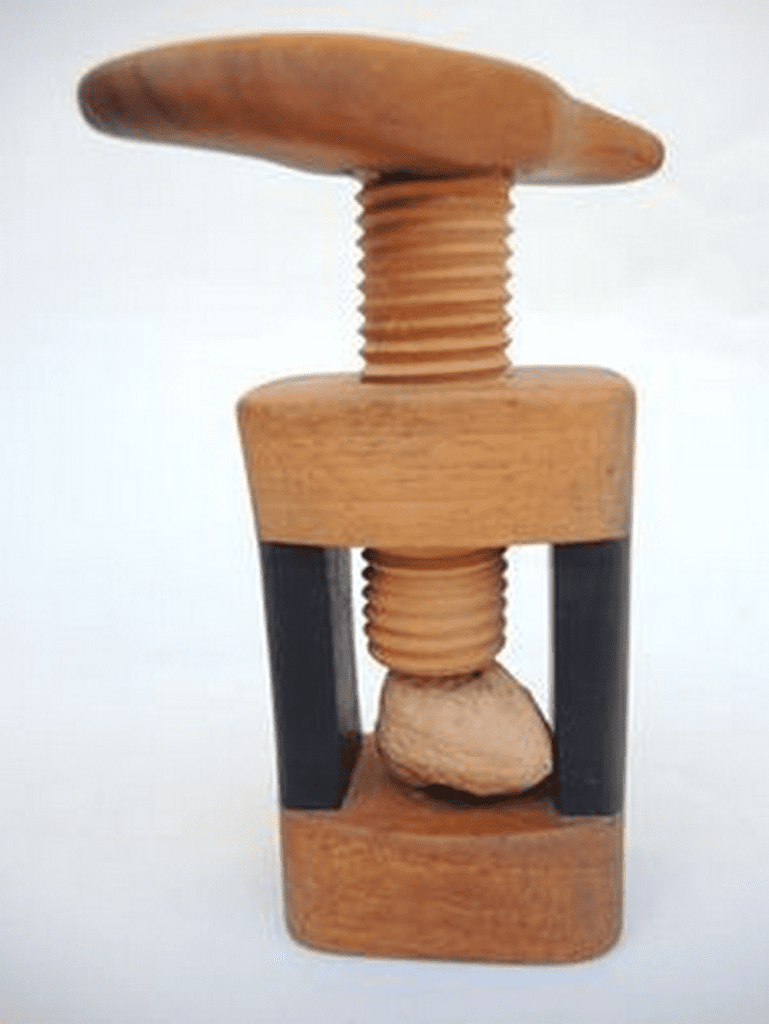
Click on any image to start the lightbox display. Use your Esc key to close the lightbox.
Materials:
- Chunk of wood
- big stainless steel 3/8-16 Allen head cap screws, 3″ long
- 3/4″ diameter stainless steel bar stock
- 3/4″ diameter brass rod
- Screws
- Clear epoxy
- Beeswax finish
- Loctite 609
Tools:
- Drill with drill bits
- Sander
Steps:
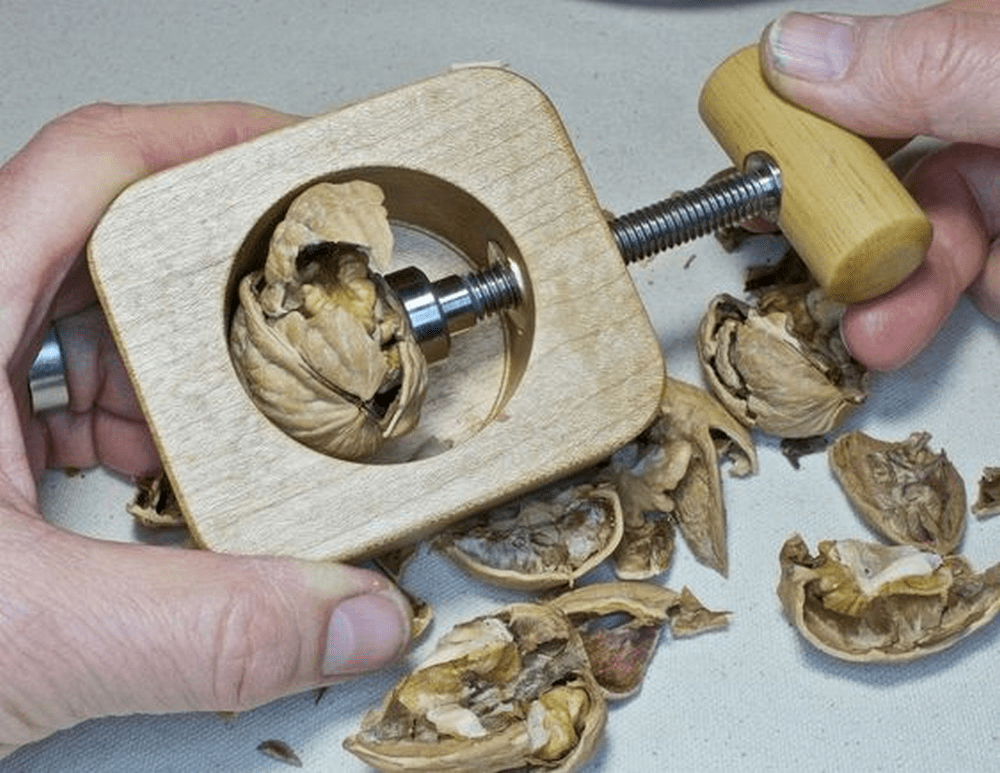
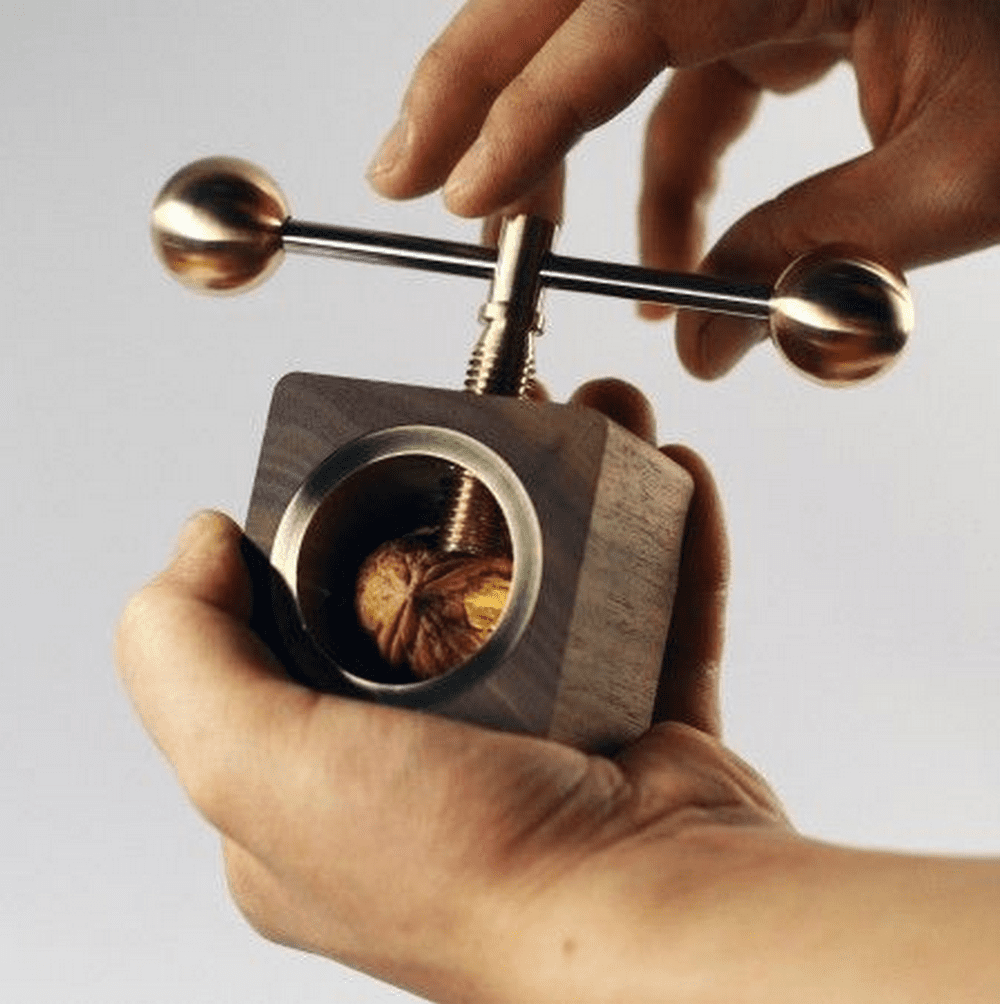
- Select a big stainless-steel 3/8-16 Allen-head cap screw, 3 inches long.
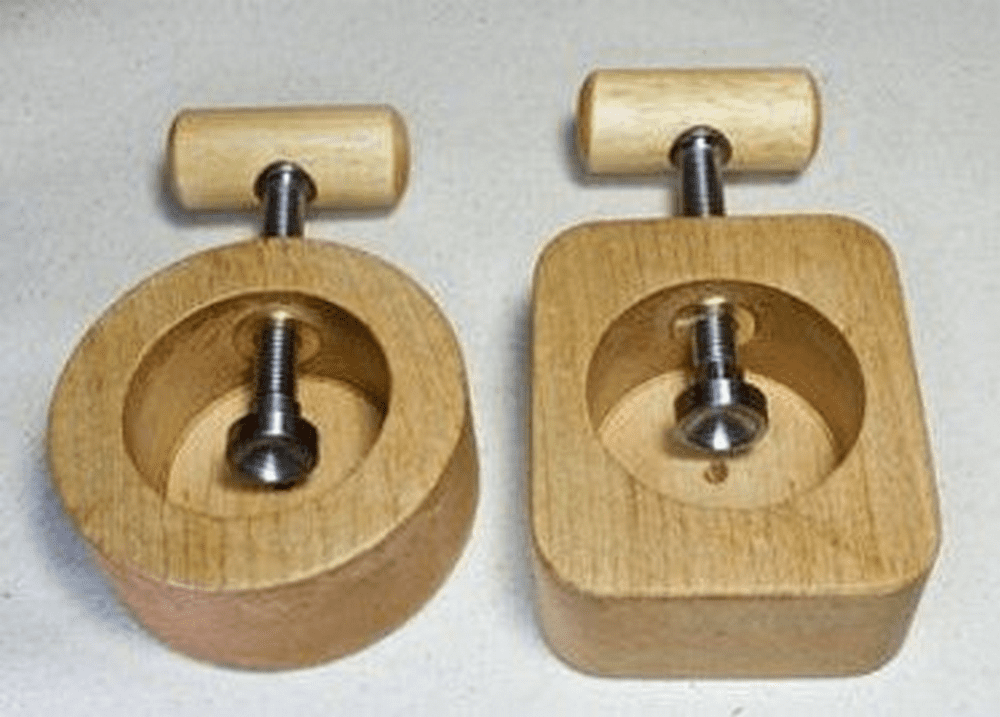
- Cut or salvage a small chunk of clear maple to serve as the body.
- Turn a 3/4-inch stainless-steel bar on the lathe to create a pressure pad, then add a 3/4-inch brass rod for the threaded bushing.
- Shape the body into a rectangle about 3 1/2 × 3 × 1 1/2 inches.
- Hollow a nut pocket with a 2 1/8-inch Forstner bit to a depth of 1 1/4 inches, leaving a 1/4-inch back wall for strength.
- Confirm the cavity fits common nut sizes snugly so nuts stay put while cracking.
- Turn the end of the screw down to its minor diameter for smoother threading.
- Machine the pressure pad from 303 stainless steel to match the screw tip.
- Make a 2-inch handle from a 1-inch dowel, bore it to fit the screw head, round both ends, and sand smooth.
- Secure the handle to the screw with clear epoxy for a firm, comfortable grip.
- Warm a beeswax–mineral-oil mix until soft, wipe it onto the wood, let it soak, then buff with a soft cloth for a food-safe finish.
Origins and Craft Tradition of the Wooden Screw Nutcracker
Long nights around winter hearths created a need for tools that could tame tough walnut and hazelnut shells. Craftsmen soon shaped a simple screw press from hardwood and metal so families could share the harvest without bruised knuckles.
European Roots
German and Swiss turners refined the earliest designs in the seventeenth century. They favored beech because the tight grain resisted splitting when the iron screw applied force. Each workshop added its own flair, carving folk motifs or regional crests on the block.
Merchants carried the tools along trade routes, turning a cottage craft into a continental staple. Travelers brought one home as a souvenir, linking cracked nuts with memories of alpine inns and Christmas markets.
Folk Variations
In mountain villages artisans hollowed cedar blocks with hand augers and burned geometric borders for decoration. Coastal regions preferred mahogany off-cuts from boatyards, rubbing the surface with linseed oil for a deep glow.
Some makers drilled a second pocket to hold shelled kernels, turning a single block into both cracker and serving tray. These variations show how communities adapted one idea to local woods, tools, and culinary customs while keeping the core mechanics unchanged.
Modern Revival
Interest in sustainable kitchenware has given the wooden screw nutcracker fresh life. Hobbyists share open-source plans online and swap timber tips at craft fairs.
Small-batch turners blend stainless hardware with reclaimed oak from wine barrels, offering heirloom pieces that double as conversation starters.
Workshops now teach the build as an entry project because it covers safe drilling, tapping, and finishing skills in a single afternoon. The form stays familiar, yet each maker still leaves a personal mark.
Simple Jigs That Speed Up Thread Cutting and Pocket Drilling
Precision matters when the screw must spin smoothly and the pocket must hold a nut without wobble. Shop-made jigs cut setup time, boost accuracy, and let beginners get professional results with ordinary bench tools.
Centering Block Jig
A centering block keeps the pilot hole perfectly aligned with the wood’s centerline. Mill a scrap board to match the nutcracker’s width, then saw a ninety-degree cradle across its thickness. Clamp the blank into the cradle and drill through predefined guide holes.
The jig prevents the bit from drifting with the grain, so the screw channel stays square to the face. Repeatable positioning also means you can batch out multiple bodies in one session without measuring every time.
Threading Guide Sleeve
Cutting crisp internal threads by hand can be nerve-racking. Turn a hardwood dowel to fit the tap’s shank, then bore a straight hole along its axis. Split the dowel lengthwise and add two hinge leaves so it opens like a clamshell. When you close the sleeve around the tap, the shank remains locked on center as you start the cut.
The sleeve rides flush against the workpiece, forcing the tap to enter at ninety degrees and eliminating cross-thread risk. After one full revolution you can remove the guide and finish tapping freehand with confidence.
Depth-Stop Collar
A Forstner bit needs a firm depth reference or it will chew deeper than planned. Thread a short section of PVC pipe to slip over the bit’s body, then pin it with a set screw. Adjust the collar so only the desired length of cutting edge protrudes. When the shoulder meets the wood surface the bit stops automatically. No more calipers or guesswork, and each pocket ends at identical depth, maintaining wall thickness for strength.
Adjustable Clamp Cradle
Holding the block steady while tapping and drilling reduces chatter and tear-out. Build a V-groove cradle from two slats joined at a right angle. Add a sliding fence with a wing-nut lock so you can center different widths quickly.
The cradle sits in a bench vise and cradles the work at mid-height, giving full clearance for the tap handle. Stability improves thread quality, and your hands stay clear of the bit.
Shop-Built Drill-Press Table
A wider auxiliary table supports the block and the jig assembly during drilling. Laminate two layers of plywood and rout a replaceable hardboard insert at the center. T-track runners on both sides accept flip-down stops that position the pocket exactly under the bit.
Once the settings are dialed in you can drop in a blank, press the lever, and move to the next. Production speed jumps, yet alignment never slips because the reference edge never changes. For hobby shops this upgrade turns a budget press into a quasi-CNC station without the price tag.
Quick-Swap Handle Press
Spinning a tap repeatedly strains wrists. A quick-swap press adapts a small drill-press stand to hold the tap vertically. Insert the tap’s square end into a removable chuck and pull the handle to advance under constant pressure.
The mechanism forces clean, even threads and backs out easily when the stroke ends. Swap back to the drill chuck in seconds for the pocket bit. You spend more time making shavings and less time fiddling with wrenches.
When these jigs work together, even a first-time builder can produce tight threads, centered holes, and consistent cavity depth. The nutcracker feels smooth, fits the hand, and cracks shells cleanly without splitting the wood.
Durable results come from repeatable processes, and repeatable processes come from clever jigs that anyone can build from scraps in the same afternoon they start the project.
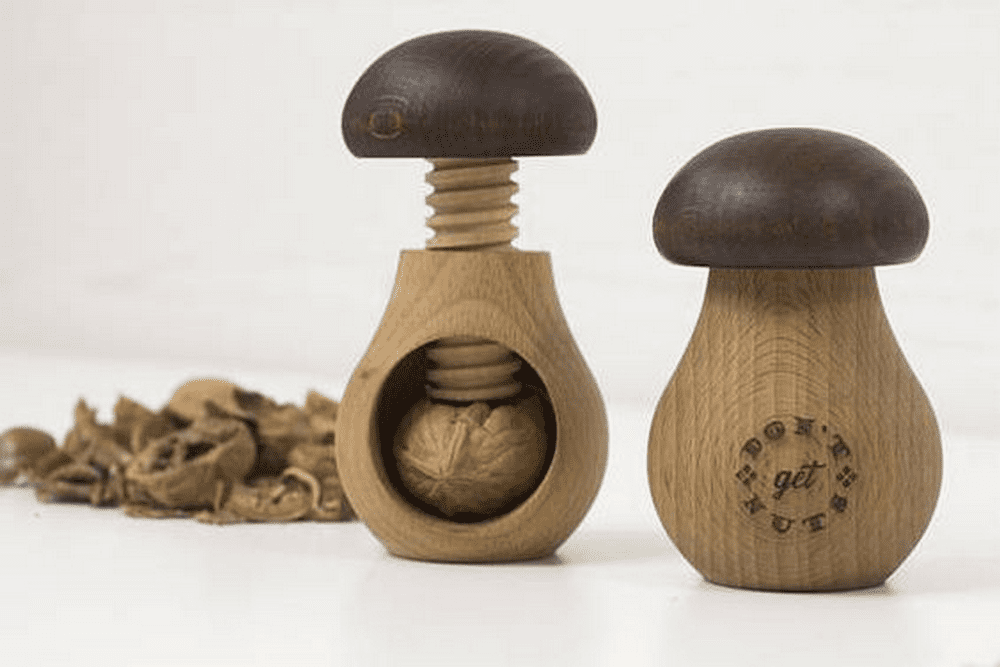
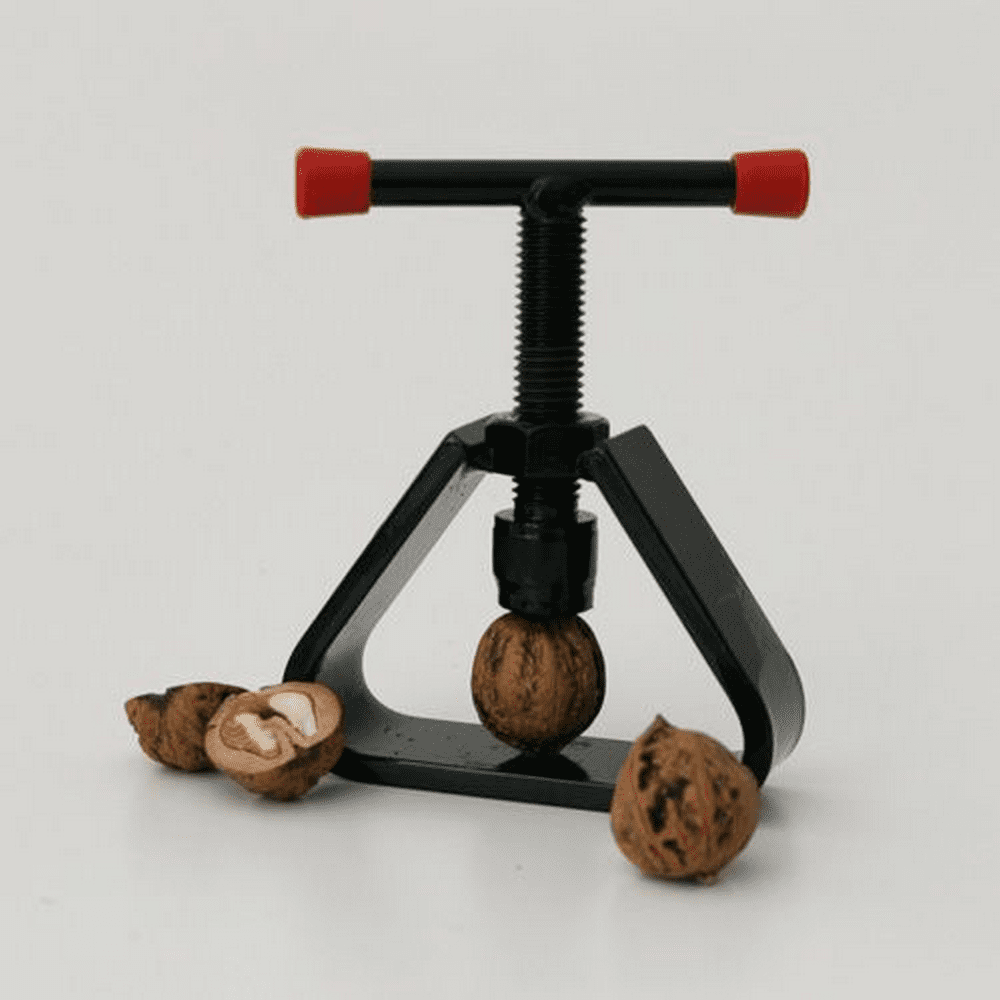
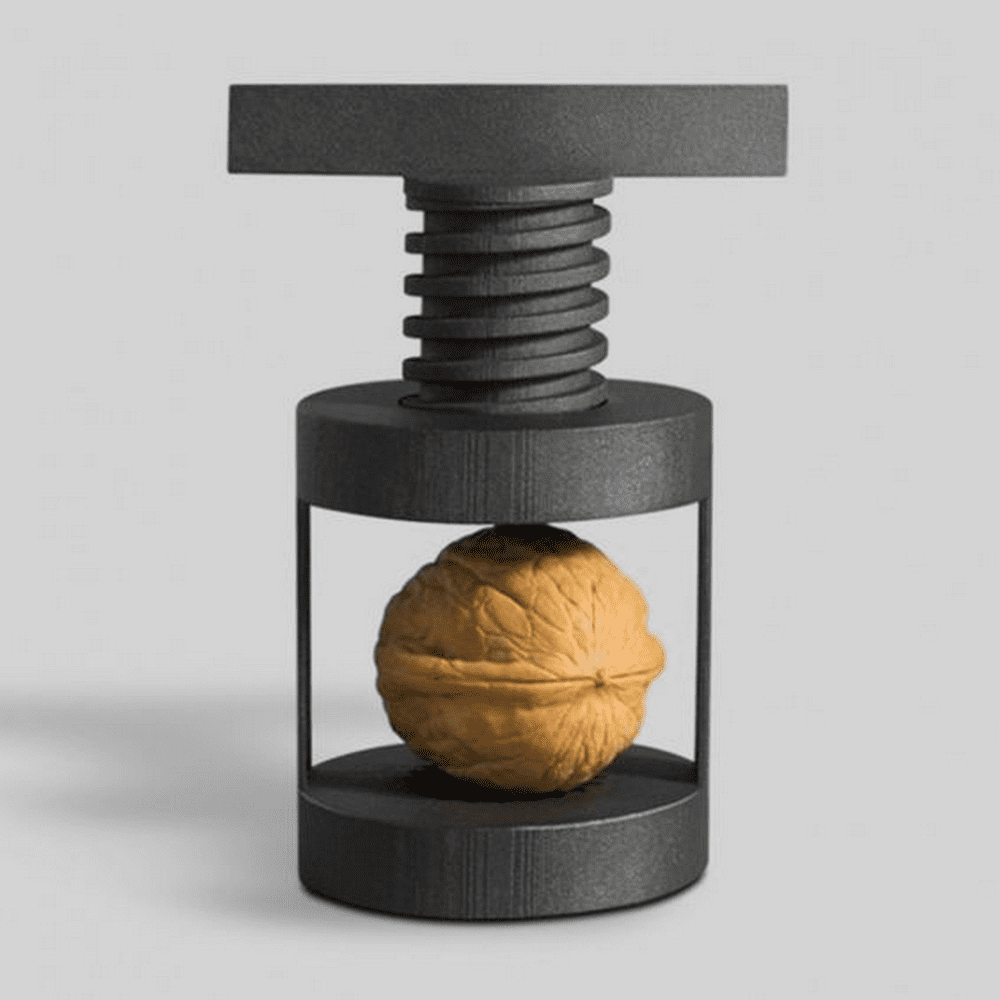
Wooden Screw Nutcracker Gallery

Decorative Finishes That Protect and Highlight the Grain
Food-Safe Oil Baths
Linseed or walnut oil soaks deep into the fibers and hardens, sealing pores against moisture. Warm the oil slightly so it flows. Flood the surface, wait ten minutes, then wipe away excess. Let the block rest overnight for full cure.
Repeat once more if the grain still looks thirsty. You’ll see color deepen without a plastic sheen. This approach keeps a wood screw nutcracker safe for snacks because the finish won’t flake into food.
Wax-and-Oil Blends
Beeswax melted into mineral oil gives a soft satin glow and extra water resistance. Load a rag with the paste and rub briskly until friction heats the wax. The mix fills tiny scratches left by sanding.
Once the board cools, buff with a clean cloth. A faint honey smell lingers, adding a handmade vibe. Re-apply after heavy holiday cracking sessions to keep threads sliding smoothly.
Tinted Shellac for Warm Glow
Shellac flakes dissolved in alcohol create a fast film that adds amber warmth. Brush on a thin coat and wait thirty minutes. Scuff lightly with 320-grit paper, then lay a second coat cross-grain. The finish locks in natural oils yet highlights chatoyance.
De-waxed shellac remains food compliant when fully cured. Pair it with brass bushings and the contrast turns a humble block into table art.
Hardwax Oils for Busy Kitchens
Poly-reinforced hardwax oils cure harder than pure oil but still feel natural. Wipe on, let penetrate five minutes, then buff off. Oxygen triggers polymerization, forming a micro-thin shell that resists fruit acids and dishwater splashes.
You can refresh the surface with a dab on a Scotch-Brite pad. No peeling, no need for aggressive sanding. Choose a “clear matte” version to keep grain crisp.
Quick Buffing Tips for Showroom Shine
Use a cotton wheel in a drill press for uniform luster. Light pressure avoids heat marks. Work across the block in overlapping passes. Stop when you see a soft reflection, not a glossy mirror. Finish by threading the screw in and out to spread a hint of wax along the threads, ensuring the wood screw nutcracker feels silky every turn.
A disciplined finish schedule rewards you every time you crack a shell. Oils feed the grain and prevent splits. Waxes add slip so threads glide with less effort. Film coats protect against spills while deepening color. Choose the combo that fits your kitchen routine and your nutcracker will age gracefully.
Conclusion
The right finish protects the surface, boosts grip, and highlights every curve. Simple oils keep flavors pure. Wax seals and polishes in one wipe. Hardwax options shrug off stains while staying natural. A well-finished wood screw nutcracker becomes both a tool and a keepsake.
A wooden screw nutcracker is one of many DIY projects that makes for great gifts. Check out our article on 10 more woodworking projects you can tackle next!


