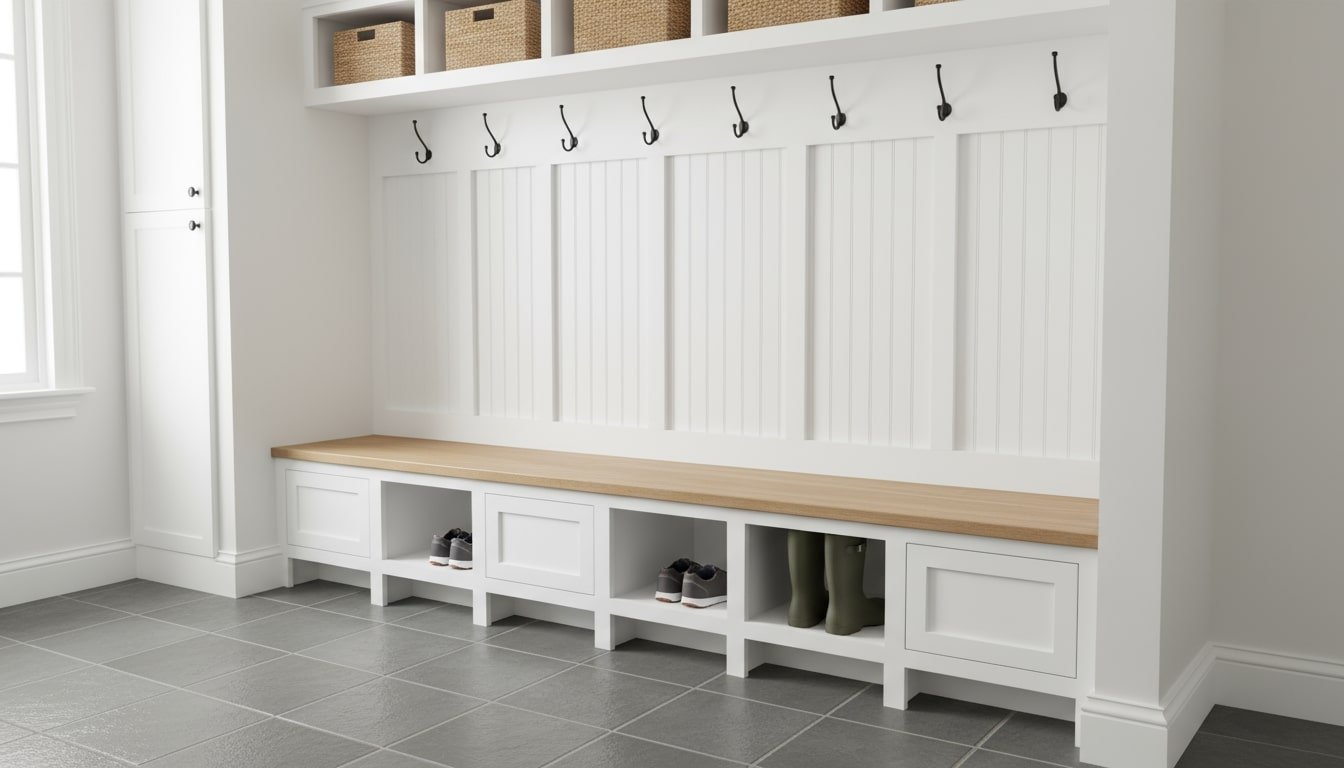
Build a compact, durable shoe cubby sized for an entryway, mudroom, or closet. The project uses 3/4-inch plywood, precise crosscuts on a miter saw, and pocket‑screw joinery with a cordless drill. The layout follows a clean grid you can scale to the number of pairs you want, with uniform dividers for a tidy look. Plan on an afternoon for cutting and assembly, plus extra time for edge banding and finishing.
Contents
Key Takeaways
- 3/4″ plywood and pocket‑screw joinery create a rigid, scalable grid of cubbies.
- Spacer blocks and clean layout keep openings uniform and the case square during assembly.
- Plan an afternoon for the build, then seal with water‑based poly for durable, easy‑clean surfaces.
Shoe Cubby Build Guide
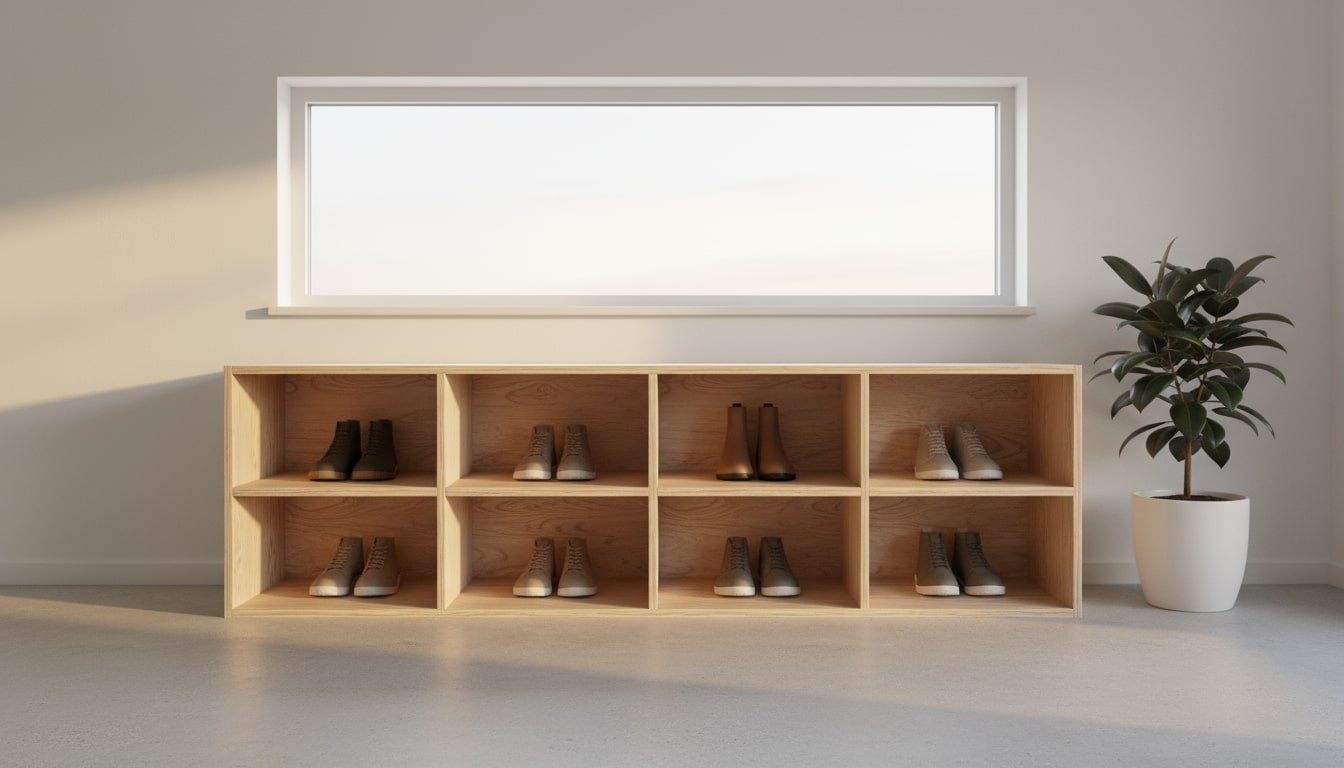
Build a clean, modular shoe cubby using plywood and pocket screws. This design features open cubbies sized for adult shoes, with adjustable dimensions to fit your space and storage needs.
Tools Needed
- Miter saw
- Cordless drill
- Pocket hole jig (Kreg or similar)
- Tape measure
- Carpenter’s square
- Clamps
- Pencil
- Safety glasses
- Hearing protection
- Dust mask
Materials Needed
- Two 4′ × 8′ sheets of 3/4″ plywood (birch or cabinet-grade)
- 1 1/4″ pocket hole screws (box of 100)
- Wood glue
- Sandpaper (120-grit and 220-grit)
- Edge banding (iron-on or peel-and-stick)
- Wood finish (stain, paint, or polyurethane)
- Painter’s tape (optional, for layout)
Cut List (for 36″W × 30″H × 12″D, 3 columns × 3 rows)
- Sides (2): 30″ × 12″
- Top (1): 36″ × 12″
- Bottom (1): 36″ × 12″
- Vertical dividers (2): 28-1/2″ × 12″
- Shelf segments (6): 11″ × 12″ each (three per shelf row)
- Optional backer: 36″ × 30″ (1/4″ plywood)
- Note: This layout uses roughly one 3/4″ sheet, the extra sheet covers mistakes, scaling up, or a backer/base.
Step-by-Step Guide
1) Break down the plywood
- Have the home center rip the sheet into 12″ strips, or use a straightedge guide with a circular saw. Use the miter saw for crosscuts to final lengths.
- Label parts as you cut.
2) Prep and edge-band
- Lightly sand face and edge grain (120 grit).
- Apply edge banding to all front-facing edges (top, sides, vertical dividers, and shelf segments). Trim and sand flush (220 grit).
3) Drill pocket holes (3/4″ settings, 1-1/4″ screws)
- Top and bottom: Pocket holes along the ends to attach into the sides (holes on the inside faces).
- Vertical dividers: 3–4 pocket holes on each 12″ end to attach to top and bottom.
- Shelf segments: Two pocket holes on each 11″ end to attach into sides/dividers.
- Space holes roughly every 6–8″.
4) Assemble the outer box
- Clamp and attach the bottom to the sides with glue and pocket screws. Check for square.
- Attach the top to the sides the same way. Confirm the case is square by measuring diagonals.
5) Lay out the column spacing
- Interior width available: 36″ − 1-1/2″ (sides) − 1-1/2″ (two dividers) = 33″.
- Clear opening per column: 33″ ÷ 3 = 11″.
- Make two 11″ spacer blocks from scrap. Mark divider centerlines on the top and bottom.
6) Install vertical dividers
- Stand the case upright. Use the 11″ spacers to position the first divider from the inside of one side panel, glue and pocket-screw it to the top and bottom.
- Repeat for the second divider, maintaining 11″ clear openings. Re-check square.
7) Set shelf heights
- Interior height between top and bottom: 30″ − 1-1/2″ = 28-1/2″.
- With two shelf rows, clear opening per row: (28-1/2″ − 1-1/2″ shelf thickness) ÷ 3 = 9″.
- Make two 9″ spacer blocks to locate each shelf row consistently.
8) Install the first shelf row (three segments)
- Place the 9″ spacers on the bottom panel. Set one 11″ × 12″ shelf segment between the left side and first divider, flush to the front.
- Glue, clamp, and drive pocket screws from the underside/inside. Repeat for the center and right segments.
- Confirm all three segments align flush at the front edge.
9) Install the second shelf row (three segments)
- Stack the 9″ spacers on top of the first shelf row to locate the second row.
- Glue, clamp, and fasten the three segments as before. Sight down the front edges for alignment.
10) Optional backer and anchoring
- If adding a 1/4″ backer, square the case and tack or screw it on, keeping edges flush. A backer locks the case square and stiff.
- If the unit will sit tall or free-standing, anchor to wall studs with L-brackets.
11) Fill, sand, and finish
- Fill pocket holes with plugs or filler if desired. Sand to 220 grit.
- Apply stain/paint and topcoat per product directions. Add felt feet or a base as needed.
12) Final checks
- Verify all compartments are 11″W × 12″D × 9″H clear.
- Remove squeeze-out, wipe down, and load shoes.
Safety Setup
Set up for safe, repeatable cuts and clean assembly with a miter saw and cordless drill. Prepare the workspace, gear up, verify tools, and control operations with clamps and supports.
PPE and Workspace
Wear ANSI Z87+ eye protection, hearing protection with at least NRR 25, and a P2/N95 dust mask when cutting. Tie back hair, remove jewelry, and use closed‑toe, non‑slip shoes. Secure the saw on a rigid bench with bright lighting. Clear the floor of offcuts and cords. Arrange a straight, unobstructed infeed/outfeed path and keep a brush or vacuum at hand to manage dust between cuts.
Miter Saw: Setup and Checks
Check the blade for sharpness and damage, replace if chipped. Verify the fence is square to the blade at 0°, and that the bevel is 90° to the table using a reliable square. Clamp or bolt the saw to the bench. Level outfeed supports to be perfectly coplanar with the saw table. Confirm the lower blade guard snaps back freely and that the trigger safety works.
Mark the waste side and align the kerf to the outside of the line. Bring the blade to full speed before contacting the work. Keep hands at least 6 inches from the blade path, use the saw’s clamp for narrow parts. Hold the board firmly against the fence and table. Lower through the cut smoothly, then wait for the blade to stop completely before lifting or clearing offcuts.
Workpiece Support and Clamping
Support long stock with stands set flush to the table. Never let a board cantilever off the saw during a cut. For repeat lengths, clamp a stop block to the fence well before the blade path so the offcut isn’t trapped. Clamp small parts to the fence/table, don’t “pinch” with fingers. Use a sacrificial backer for cleaner cuts and to reduce blowout on plywood veneers.
Cordless Drill and Pocket‑Hole Safety
Remove the battery before changing bits. Clamp the pocket‑hole jig securely to prevent the work from spinning. Set the clutch to a medium setting to avoid over‑driving screws, start slow and keep the driver bit fully seated (SQ2 or T20 as required). Keep the work supported and your free hand clear of the bit. Back the bit out periodically to clear chips and reduce heat.
Dust, Power, and Batteries
Connect the miter saw to a shop‑vac or dust collector when possible and wear a mask for every cutting session. Route cords and hoses along the bench back edge to avoid snagging. Use a GFCI outlet for corded tools. Store batteries cool and dry, don’t use swollen or cracked packs. Let motors stop before setting tools down, and never carry tools by the trigger.
Blade and Bit Changes, Final Checks
Unplug the saw or remove the battery before any adjustments. Lock the spindle and install the blade with the correct rotation. Tighten securely and confirm that the guard operates smoothly. Spin the blade by hand to check clearance. Tighten drill chucks firmly, test on scrap to confirm speed, clutch, and alignment. Re-square the saw and re-check the stop blocks before batching parts to prevent compounding errors.
Finish Options
Select a finish that strikes a balance between durability, ease of cleanup, and the desired aesthetic. For plywood cubbies, prioritize scuff resistance and ease of maintenance, and opt for low-odor, water-based products indoors whenever possible.
- Water-based polyurethane (satin): Clear, low odor, fast drying, non‑yellowing. Two to three coats with 220‑grit scuff‑sand between. Durable, easy to wipe clean.
- Oil-based polyurethane: Warm amber tone with excellent abrasion resistance. Slower dry and higher VOCs, best where maximum toughness matters.
- Wipe-on polyurethane: Rag‑applied thin coats that reach interior corners. Forgiving, low runs, plan 3–5 coats for full build.
- Hardwax oil: Matte, natural look, spot‑repairable. Comfortable for kids’ spaces, not as scratch‑proof as poly. Two light coats recommended.
- Danish oil (oil/varnish blend): Easy wipe‑on grain pop with minimal film. Top with polyurethane for better water and scuff resistance.
- Shellac (dewaxed): Superb sealer, fast drying, warm tone. Use under water‑based poly for color and speed, avoid as final coat in wet/dirty areas.
- Waterborne lacquer: Ultra‑smooth, fast, best sprayed or rattle‑can. Low odor versions exist, ensure good ventilation and light, even passes.
- Acrylic enamel paint: Hard, washable finish. Prime with bonding primer, then two coats. Choose satin/semi‑gloss for easier cleaning.
- Stain + clear coat: Add color, then protect. Use pre‑stain conditioner or gel stain on birch to reduce blotching, finish with water‑based poly.
- Dye stain: Even, vibrant color without muddying grain. Expect slight grain raise, sand lightly and topcoat.
- Whitewash/pickle: Diluted white stain or paint for a light, natural look. Wipe back to taste, seal with clear coat.
- Two‑tone scheme: Painted case with clear‑coated shelves. Pre‑finish parts before assembly for crisp lines and easier application.
- Sheen selection: Matte hides scuffs, satin balances concealment and cleanability, semi‑gloss wipes easiest but shows defects. Keep sheen consistent unless contrasting is intentional.
Conclusion
A straightforward build yields a sturdy, modular organizer tailored to your space. The grid layout keeps pairs visible, off the floor, and easy to grab. Small choices, edge treatment, fasteners, and finish, drive durability and cleanup. Dial in spacing, add a base or backer, anchor as needed, and you’ll have a long‑lived cubby that handles daily traffic.
FAQs
- How much weight can each cubby hold, and how can I increase capacity?
- With 3/4-inch plywood and shelves supported on three sides, a cubby comfortably handles 30–50 lb distributed. To boost stiffness, glue a 3/4 × 3/4-inch hardwood nosing to shelf fronts, add a 1 × 1-inch back cleat, or set shelves in 3/8-inch dados in the dividers.
- What’s the best way to handle wet or muddy shoes?
- Use removable boot trays or cut 1/8-inch HDPE sheets to fit each cubby. Raise the case on a 3/4–1-inch plinth or feet to keep the bottom off damp floors. Seal all bottom edges and the first 2 inches of interior faces with extra coats of a water-resistant topcoat and add small rear vent holes for airflow.
- Can I make the shelves adjustable later?
- Yes. Drill 1/4-inch shelf-pin rows using a 32 mm spacing jig, set approximately 1-1/4 to 1-1/2 inches from the front and back edges of the sides/dividers. Keep holes consistent across bays so shelves sit level, and use locking pins if the unit will be in a high-traffic area with children.
- Is plywood required, or can I use MDF or solid wood?
- Plywood is light, strong, and stable. MDF is budget-friendly and paints well, but is heavy and moisture-sensitive. Seal cut edges thoroughly and consider confirmat screws. Solid wood looks great but moves seasonally, leave expansion gaps, and avoid wide, unsupported spans.
- How do I level and stabilize the unit on uneven floors?
- Build a separate toe kick (3–4 inches high) and scribe it to the floor. Then set the case on top. Alternatively, add threaded leveling feet in T-nuts at the corners and mid-span. For anti-tip, use a French cleat or low-profile safety strap into a stud, on rentals, keep the unit low and deep with non-slip pads and weight stored low.


