Last Updated on October 31, 2025 by teamobn
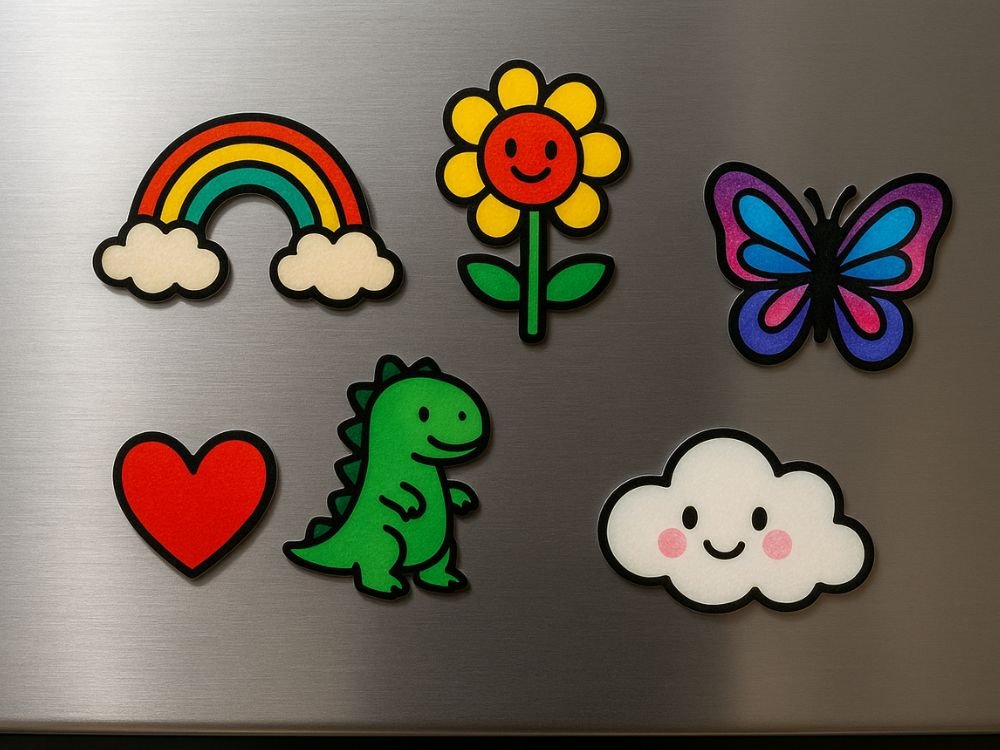
Shrinky Dinks let you turn simple drawings or printed designs into hard, mini keepsakes at home. The plastic shrinks to about a third of its original size in a standard oven, giving you crisp charms, tags, ornaments, and jewelry.
Use this guide to nail the process with minimal waste.
Contents
Key Takeaways
- Budget: $5–$15 per project
- Time: 20–45 minutes per batch
- Skill: Beginner; basic cutting and oven use
- Methods: Hand‑drawn and inkjet printable
- Uses: Charms, keychains, bag tags, jewelry, ornaments
What Tools and Materials Do You Need to Make Shrinky Dinks?
- Shrink film: branded sheets or #6 polystyrene (look for recycling symbol “6”)
- Markers/colored pencils (hand‑drawn) or an inkjet printer + printable shrink film
- Scissors or craft knife; standard hole punch
- Parchment paper; flat cookie sheet
- Oven mitts or silicone tongs
- Clear acrylic spray or thin UV resin (optional topcoat)
- Jump rings, keychains, earring hooks (optional hardware/findings)
Hand-Drawn Shrinky Dinks Guide
Hand‑drawn Shrinky Dinks are the simplest way to start, and the key is sizing and surface. Designs should be drawn about three times larger than the intended final size because pieces shrink roughly 70–75% in area and thicken two to three times after baking.
Always draw on the rough side of the film so color grips evenly, and punch any holes at 3–4 mm before baking; they’ll reduce to about 1–1.5 mm, which fits most jump rings.
How to Make a Hand-Drawn Shrinky Dinks?
- Sketch
- On the rough side of the film, draw your design about three times larger than the desired final size, keeping shapes simple for clean edges.
- Color
- Fill in with markers or colored pencils, testing a scrap first to preview how colors deepen during shrink.
- Cut and Punch
- Trim edges smoothly and punch any hardware holes now; you can’t punch them later.
- Preheat
- Heat your oven to 325 °F / 160 °C and line a flat cookie sheet with parchment for even heat and nonstick baking.
- Bake
- Place pieces color‑side up; they will curl and then flatten within two to three minutes. Remove as soon as they lie flat to avoid yellowing.
- Flatten
- Cover each piece with parchment and press for about ten seconds, then let it cool on a perfectly flat surface.
- Seal and Finish
- Apply a light acrylic spray or a thin resin dome for gloss and scratch resistance, then add hardware to create charms, tags, or earrings.
DIY Inkjet Shrinky Dinks
Inkjet Shrinky Dinks produce crisp graphics and photo‑based designs with very little drawing. For best results, set your canvas to about three times the final intended size and favor thick outlines and high‑contrast colors that remain legible after shrinking.
Use inkjet‑compatible shrink film and always print on the matte side so the ink bonds correctly.
What are the materials needed fo create a DIY Inkjet Shrinky Dinks?
- Inkjet-compatible shrink-film sheets (matte side for printing)
- Inkjet printer loaded with standard dye ink
- Design software or online templates
- Scissors or craft knife
- Standard hole punch
- Parchment paper and flat cookie sheet
- Oven mitts or heat-safe tongs
- Clear acrylic spray or thin UV resin (optional)
- Jump rings, keychains, or earring hooks (optional)
Step‑by‑Step (Inkjet)
- Create Art
- Prepare a document at about three times the final size and design with bold lines and saturated color for clarity post‑shrink.
- Print
- Set your printer to “Best” quality and feed a single sheet at a time, matte side up.
- Dry
- Let the sheet dry flat for at least ten minutes so ink bonds to the film and won’t smear.
- Cut and Punch
- Trim each design carefully and punch hardware holes now.
- Preheat
- Set the oven to 325 °F / 160 °C and line a cookie sheet with parchment.
- Bake
- Place pieces print‑side up; expect them to curl and then flatten in two to three minutes. Remove once flat and small.
- Flatten
- Press gently under parchment for about ten seconds, and cool on a flat surface.
- Seal and Finish
- Apply a clear acrylic coat or a thin UV resin dome, then add jump rings, keychains, or earring hooks.
Fun Project Ideas
Shrinky Dinks shine when you turn them into keepsakes for friends and family. Fun projects spark creativity, use scraps, and make gift giving feel personal.
Personalized Keychains and Bag Tags
Keychains and bag tags are classic Shrinky Dinks projects because they mix everyday utility with art. Start by measuring the metal ring or clip you plan to use, then create a design three times wider.
Names, pets, and logos print well in bold outlines that stay legible after shrinking. Punch a hole above the artwork’s highest point so it hangs straight. Bake, flatten, and seal the piece before slipping a split ring through the hole.
Students clip these tags to backpacks while travelers mark luggage handles. You can also add reflective tape on the back to boost visibility at night. Kids love adding glitter paint for sparkle that survives the oven.
Photo Charms for Custom Jewelry
Turning photographs into Shrinky Dinks charms lets you wear memories on bracelets, earrings, or necklaces. Choose high-resolution images cropped to simple shapes so faces remain clear. Print on inkjet-compatible film with the matte side ready to absorb ink.
Once the sheet dries, cut around the subject, leaving a smooth border that frames the photo. Punch a small hole near the top but avoid cutting through important details. Bake the charm until it flattens, then apply a UV resin dome for glass-like depth and scratch resistance.
Attach a jump ring and pair the charm with beads for color coordination. Handmade photo jewelry makes heartfelt gifts for weddings, anniversaries, and graduations.
Educational STEM Tokens for Kids
Teachers use Shrinky Dinks to turn abstract science lessons into tangible rewards. Print the periodic table, solar system icons, or math symbols on clear film, then let students color their chosen design.
After baking, each token shrinks to a sturdy size that fits in a pocket or pencil case. Kids trade elements to build compound sets or collect planets as the semester progresses. The durable plastic withstands daily handling far better than paper flashcards. Adding magnetic tape to the back converts tokens into fridge reminders for homework topics.
The crafting session itself reinforces measurement, heat transfer, and material science concepts in a playful context. Parents see improved recall because children link the miniature icons with classroom discussions.

Seasonal Decorations and Gifts
Seasonal Shrinky Dinks decorations bring personal flair to holidays without breaking the budget. Print snowflakes, pumpkins, or firework silhouettes, then punch small holes and string them on twine for garlands.
Layer multiple pieces to create three-dimensional ornaments that catch light on a tree or window. Because the plastic is weather resistant, you can glue finished shapes onto wreaths for outdoor display.
Dyeing the sheets with alcohol inks before cutting gives translucent color that glows near fairy lights. Gift tags cut from the same designs tie parcels together with a cohesive look. After the season ends, pack decorations in a small box. They’ll stay vibrant year after year.
Troubleshooting Common Issues
Mistakes can warp, fade, or crack Shrinky Dinks, but most have quick fixes. This section tackles frequent problems and shows ways to rescue your work.
Preventing Color Fade and Yellowing
Color fade often traces back to ink compatibility or too much heat. Use permanent alcohol-based markers or pigment inks that bond well with polystyrene. Cheap water-based markers sit on the surface and evaporate in the oven, leaving pastel results.
Keep the temperature at 325 °F maximum to avoid scorching that turns clear film amber. If you need deeper hues, roughen the surface lightly with fine sandpaper so ink grabs evenly.
Spraying a clear UV resistant acrylic coat after cooling blocks sunlight from bleaching finished pieces displayed near windows. Store spare sheets in a dark folder to preserve the chemical stability of dye layers. This simple habit keeps colors bright indefinitely.
Fixing Warps and Bubbles after Baking
Bubbles form when heated air trapped under the plastic tries to escape too fast. Preheat the oven fully and avoid placing sheets on bare metal that spikes temperature.
A layer of parchment spreads heat evenly and prevents sticking. If a piece emerges warped, put it back in the oven for thirty seconds until soft, then press it flat between two ceramic tiles. Heavy books work in a pinch but protect surfaces with parchment.
Cutting large designs with rounded corners also reduces stress points that twist during shrink. Tiny pinholes placed in wide areas can vent steam without showing in the final design. Practice yields fewer misfires each session.
Avoiding Cracks in Thin Designs
Hairline cracks appear when narrow sections cool at different rates from bulkier parts. Maintain a uniform thickness by avoiding extremely thin stems or loops in your design. If you must include delicate details, orient the Shrinky Dinks sheet so the thinner area sits closer to the oven centre where heat is consistent.
Use low-tack painter’s tape to hold fragile shapes flat on the parchment during shrinking. Let pieces cool naturally rather than rushing them under cold air, which stresses plastic.
Sealing with a flexible resin coat distributes pressure evenly and prevents micro fractures from spreading during daily wear or keyring swings. This extra care keeps heirloom projects flawless longer.
Salvaging Ink Smudges and Misprints
Smudges happen when inkjet sheets move through rollers with wet surfaces. Let prints air-dry at least ten minutes before handling. If you notice a smear, wait until after shrinking, then lightly sand the shiny side with 800-grit paper to remove the flaw and recolor with a permanent marker.
For larger misprints, wipe the ink gently with isopropyl alcohol before it sets, then reprint the graphic on a fresh area. Keep scrap pieces on hand to test printer settings and color profiles, saving expensive film.
Always feed one sheet at a time to prevent jams that drag ink across the design. A steady workflow safeguards crisp results for every session.
Safety and Cleanup
Plastic shrinks safely when you respect heat and fumes. Learn habits for ventilation, handling, and cleanup so your Shrinky Dinks hobby stays fun and eco-friendly.
Ventilating Your Craft Space
Baking Shrinky Dinks releases light fumes from the plastic and printer inks. Work in a kitchen with an exhaust fan or open window to keep air fresh. Position the tray near the back of the oven so vapors exit through the vent rather than billowing into the room when you open the door.
A small desktop fan angled toward the window pushes lingering odor outside. Sensitive users can wear an activated carbon mask while handling hot sheets. Good airflow also speeds cooling, reducing the time you need to handle warm pieces.
Your workspace stays comfortable, and family members won’t complain about smells. Fresh air keeps focus sharp and headaches away.
Handling Hot Plastic Safely
Shrunken pieces stay flexible for a few seconds after leaving the oven, so quick, controlled moves prevent burns. Use silicone-tipped tongs instead of bare fingers to lift the sheet onto a ceramic tile.
If you need to press the piece flat, cover it with parchment and use a heat-resistant spatula, keeping hands clear of steam. Always place hot tools on a trivet, never directly on a counter that could scorch. Teach children to stand back until the plastic cools to room temperature.
Wearing cotton gloves adds a barrier when you must reposition a piece quickly. Simple precautions keep crafting accidents at zero. Safe habits grow second nature with practice daily.
Eco-Friendly Disposal of Scraps
Leftover trimmings accumulate fast during busy crafting sessions. Because Shrinky Dinks sheets are polystyrene number 6, most curbside recycling programs won’t accept them. Collect small offcuts in a dedicated container and bring them to a plastics recycler that handles rigid polystyrene.
You can also repurpose larger scraps by sanding one side lightly and printing smaller designs. Avoid burning scraps, as the fumes harm air quality. Some artists melt similar colors together in metal molds to create marbled cabochons rather than wasting material.
The key is thoughtful planning that cuts designs close together, reducing waste before disposal even enters the conversation. Your crafty conscience and wallet both benefit from mindful material use.
Storing Supplies for Future Projects
Good storage makes every Shrinky Dinks session quicker and cleaner. Slide unopened film sheets back into their opaque envelope and place them in a vertical file rack to avoid curling. Keep markers upright with caps tight so ink stays juicy. Separate scissors, craft knives, and hole punches in a small toolbox.
Searching for tools wastes creative energy. A lidded plastic bin holds sealants upright, preventing leaks. Label each compartment so family members return items to the right spot.
Dry silica gel packets slipped into the box reduce humidity that can warp film. An organized kit means you spend more time designing and less time hunting materials and enjoy crafting sooner.
Conclusion
Mastering Shrinky Dinks is mostly about patience, good prep, and careful heat. You’ll turn flat plastic into vibrant charms in minutes. Small tweaks like better ventilation or slower cooling keep each batch flawless. The projects you craft today can inspire bigger creative leaps tomorrow. Grab your supplies, test new ideas, and let every tiny piece reflect your growing skill.
We have more incredible art projects you can create at home. Check out our epoxy resin art guide next!
Frequently Asked Questions
- Can I use any plastic?
- Use #6 polystyrene only – the recycling symbol “6” marks the right material. Other plastics can warp, smell, or release fumes and won’t shrink predictably.
- Why do my pieces curl and stick together?
- Curling is normal early in the bake. If pieces stick, remove them briefly, separate with a spatula, return to the oven for 20–30 seconds, and press flat under parchment.
- Do colored pencils work well?
- Yes, on the rough or lightly sanded side. Seal the color with a clear acrylic spray after cooling to prevent smears and fading.
- Should I use an oven or a heat gun?
- An oven provides the most even heat and consistent results. A heat gun can work in a pinch if you keep it moving constantly and press pieces flat as they relax.
- How do I prevent yellowing?
- Keep to 325 °F / 160 °C, avoid over‑baking after the piece has flattened, and use a UV‑resistant clear coat if the item will get sun exposure.
- How large should I make holes for hardware?
- Punch holes at 3–4 mm before baking; they’ll reduce to roughly 1–1.5 mm, which suits standard jump rings.