Last Updated on July 30, 2025 by teamobn

At least once a year, we are assigned to host an event. This may be a family gathering, an informal meeting, a birthday celebration, or just regular catching up with friends. As the host, it is our responsibility to make sure that the event goes smoothly and that everyone enjoys themselves.
The primary reason for hosting social gatherings is to have fun and enjoy the company of others. The food, drinks, and setting are all meant to enhance the experience and create a festive atmosphere. By coming together and celebrating, we are able to create lasting memories and forge strong bonds with one another.
We love hosting friends and family at our home because we enjoy their company, the camaraderie, the laughter, and the stories. To make hosting a little easier, we’re always looking for ways to streamline the process. From pre-planning menus to making sure the house is clean and welcoming, we want our guests to have a great time when they’re here.
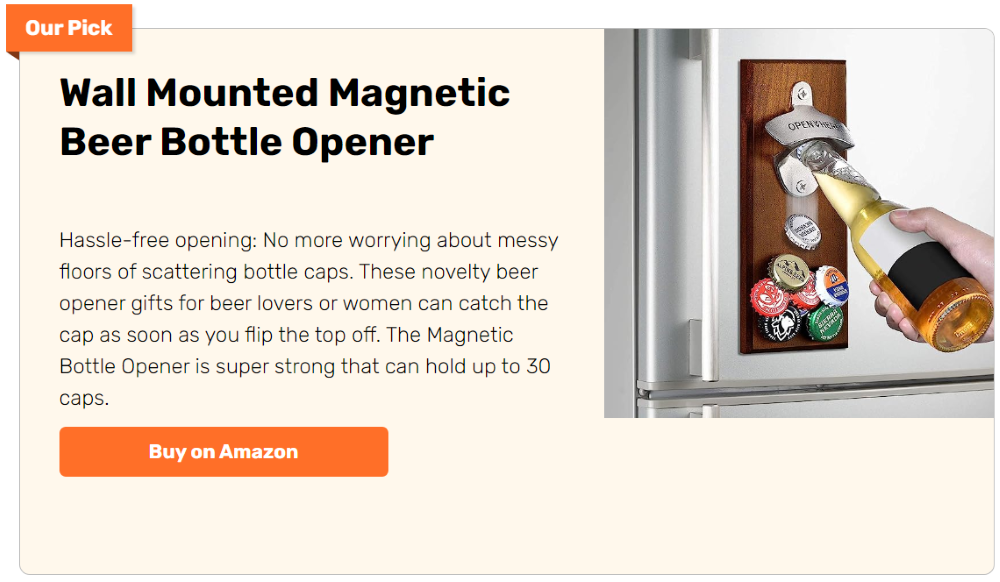
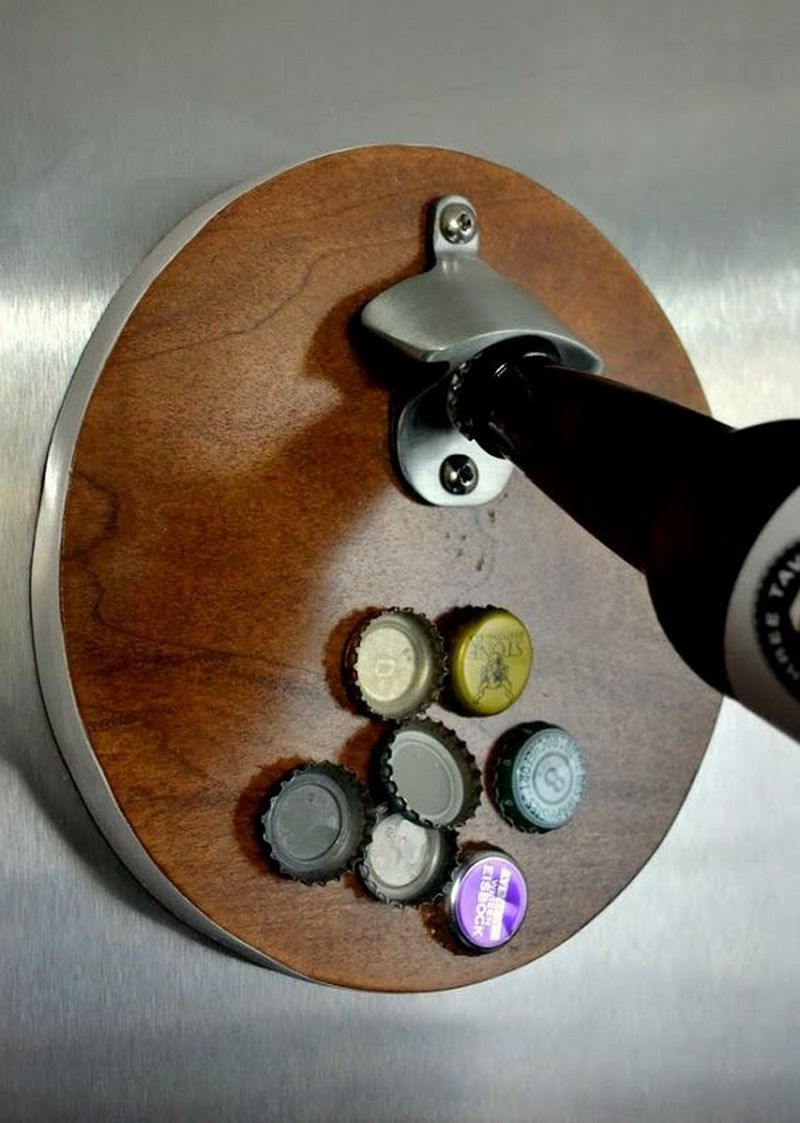
We’ve all been there – waking up after a party to find bottle caps scattered everywhere. It’s a pain to clean up, and you can never seem to find them all. But with this magnetic catch bottle opener, you can say goodbye to those pesky bottle caps! This handy device catches the caps as you open bottles, so you’ll never have to worry about cleaning up a mess again. Plus, it’s perfect for house parties – no more lost bottle caps means no more interrupted fun!
This magnetic catch bottle opener is a great housewarming gift that will require some woodworking skills to make. The results of your hard work will be impressive and your friends and family will be amazed at your handiwork. With this guide, you can easily make this wonderful gift for anyone who loves to entertain.
Contents
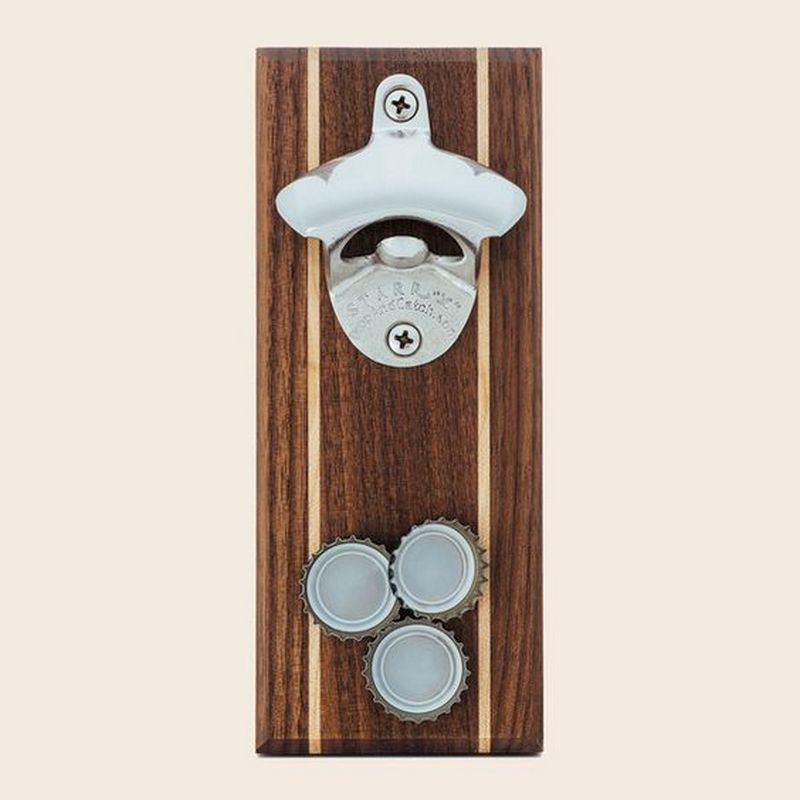
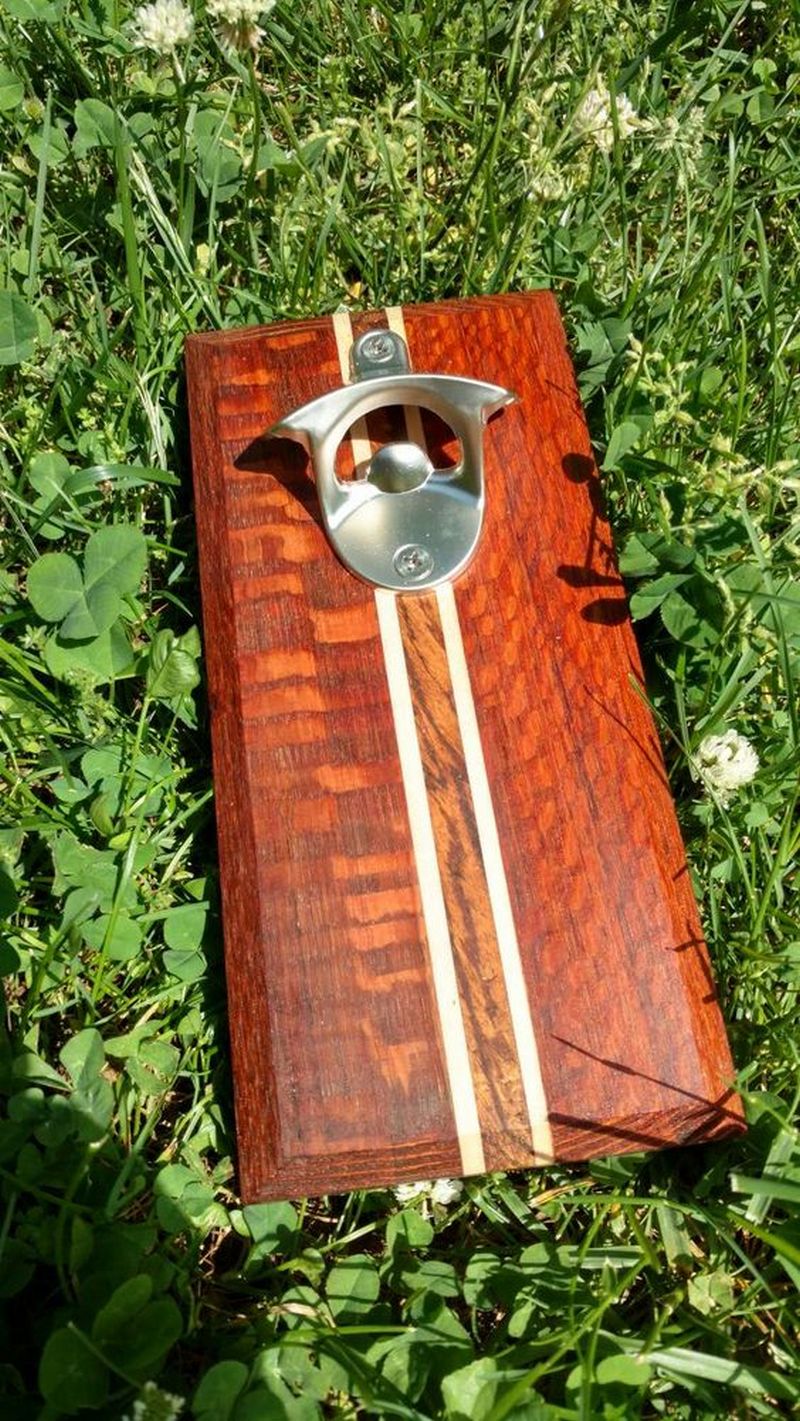
Building a Magnet Bottle Opener
Materials:
- The wood of your choice cut to the desired size
- Wall-mounted bottle opener
- Very strong magnets (circle magnets are an advantage as it will be easy for you to make holes for them using a drill)
- Glue
- Bits for magnet hole (of course the size of the bit should have the same diameter as your magnets)
Tools:
- Drill
- Miter saw
- Router
- Tape measure
- Pencil
Steps:
- Use a tape measure and pencil to mark your board to the size you want.
- Cut the wood along your marks with a miter saw.
- If you like, round or bevel the edges using a router and the bit of your choice.
- Sand the entire surface and wipe away any dust.
- Hold your wall‑mounted opener in place and mark its mounting holes.
- Decide where the magnets will sit above the opener to catch caps. Mark those spots.
- Fit a drill bit that matches your magnet diameter. Drill each hole to the right depth.
- Put a drop of glue in each hole. Press each magnet in until it sits flush.
- Let the glue dry fully before moving on.
- Align the opener over its marks and screw it onto the wood base.
- Choose a sturdy spot on the wall. Drill pilot holes and insert anchors if needed.
- Hang your new opener. Open a bottle to test the catch.
Choosing the Ideal Magnet Type and Strength
Selecting the right magnet ensures a secure catch without drops. Consider material, pull force, size, and coating to match your opener’s style and your hosting needs.
Magnet Materials (Neodymium vs Ferrite)
Neodymium magnets offer very high pull force in a small package. You can mount thin discs without adding bulk. They cost more per piece. Ferrite magnets cost less and resist corrosion. They work well for light to medium use. You get a reliable catch for casual hosting. Ferrite may struggle under heavy caps. Neodymium stays secure even after hundreds of openings.
Pull Force and Capacity
Pull force measures how much weight a magnet holds before it detaches. Higher pull force means you can catch more caps at once. Think about your typical party size and pace. A magnet rated for at least 5 lbs will handle a crowd. Too weak and caps will fall off. Too strong and you risk chipping the wood when removing them. Balance strength with ease of use.
Magnet Size and Placement
Bigger magnets spread the holding force over a larger area. Small magnets leave gaps where caps can slip. Drill holes evenly spaced above the opener’s mouth. Aim for four to six magnets in a row. Keep each hole at least one inch from the edge. That prevents the wood from cracking. Test placement with a dry run before final gluing.
Coating and Longevity
Nickel or epoxy coatings protect magnets from moisture and corrosion. Uncoated magnets may rust over time. A good coating preserves pull force and keeps caps looking clean. Epoxy also cushions the impact when caps hit. You’ll avoid scratches on your wood base. Check that the coating matches food‑safe standards if you ever use this opener outdoors.
Finishing and Protecting Your Wood Base
A well‑applied finish enhances beauty and guards against spills and wear. Explore stains, sealants, and alternative coatings for lasting appeal and easy maintenance.
Choosing a Stain or Natural Oil
Stains add color while letting the wood grain show through. Pick a gel stain for even coverage on soft woods. Natural oils like tung or linseed penetrate deeply. They boost water resistance and enrich the tone. Wipe off excess oil after ten minutes. Let it soak in overnight.
Applying a Protective Sealant
A clear polyurethane sealant forms a durable shell over the wood. Use water‑based formulas for low odor and quick drying. Apply thin coats with a synthetic brush. Let each coat dry for four hours. Lightly sand between coats with fine‑grit paper. That helps the next layer bond tightly.
Sanding Between Coats
Sanding removes any raised grain or dust nibs. Use 220‑grit sandpaper for smooth results. Wipe the surface clean before adding more sealant. A smooth base gives a flawless finish. Repeat sanding after each coat until the wood feels sleek.
Alternative Coatings (Wax, Epoxy)
Paste wax adds a soft sheen and a silky feel. Rub it on with a cloth and buff to a glow. Epoxy resin creates a thick, glass‑like surface. Mix resin and hardener carefully. Pour onto the wood and spread with a flat stick. Let cure for 24 hours.
Maintenance and Cleaning Tips
Wipe the opener with a damp cloth after use. Avoid harsh chemicals that can strip the finish. Reapply wax or oil once a year to revitalize the surface. Tighten screws and check magnet glue bonds regularly. A little upkeep keeps your opener looking new.
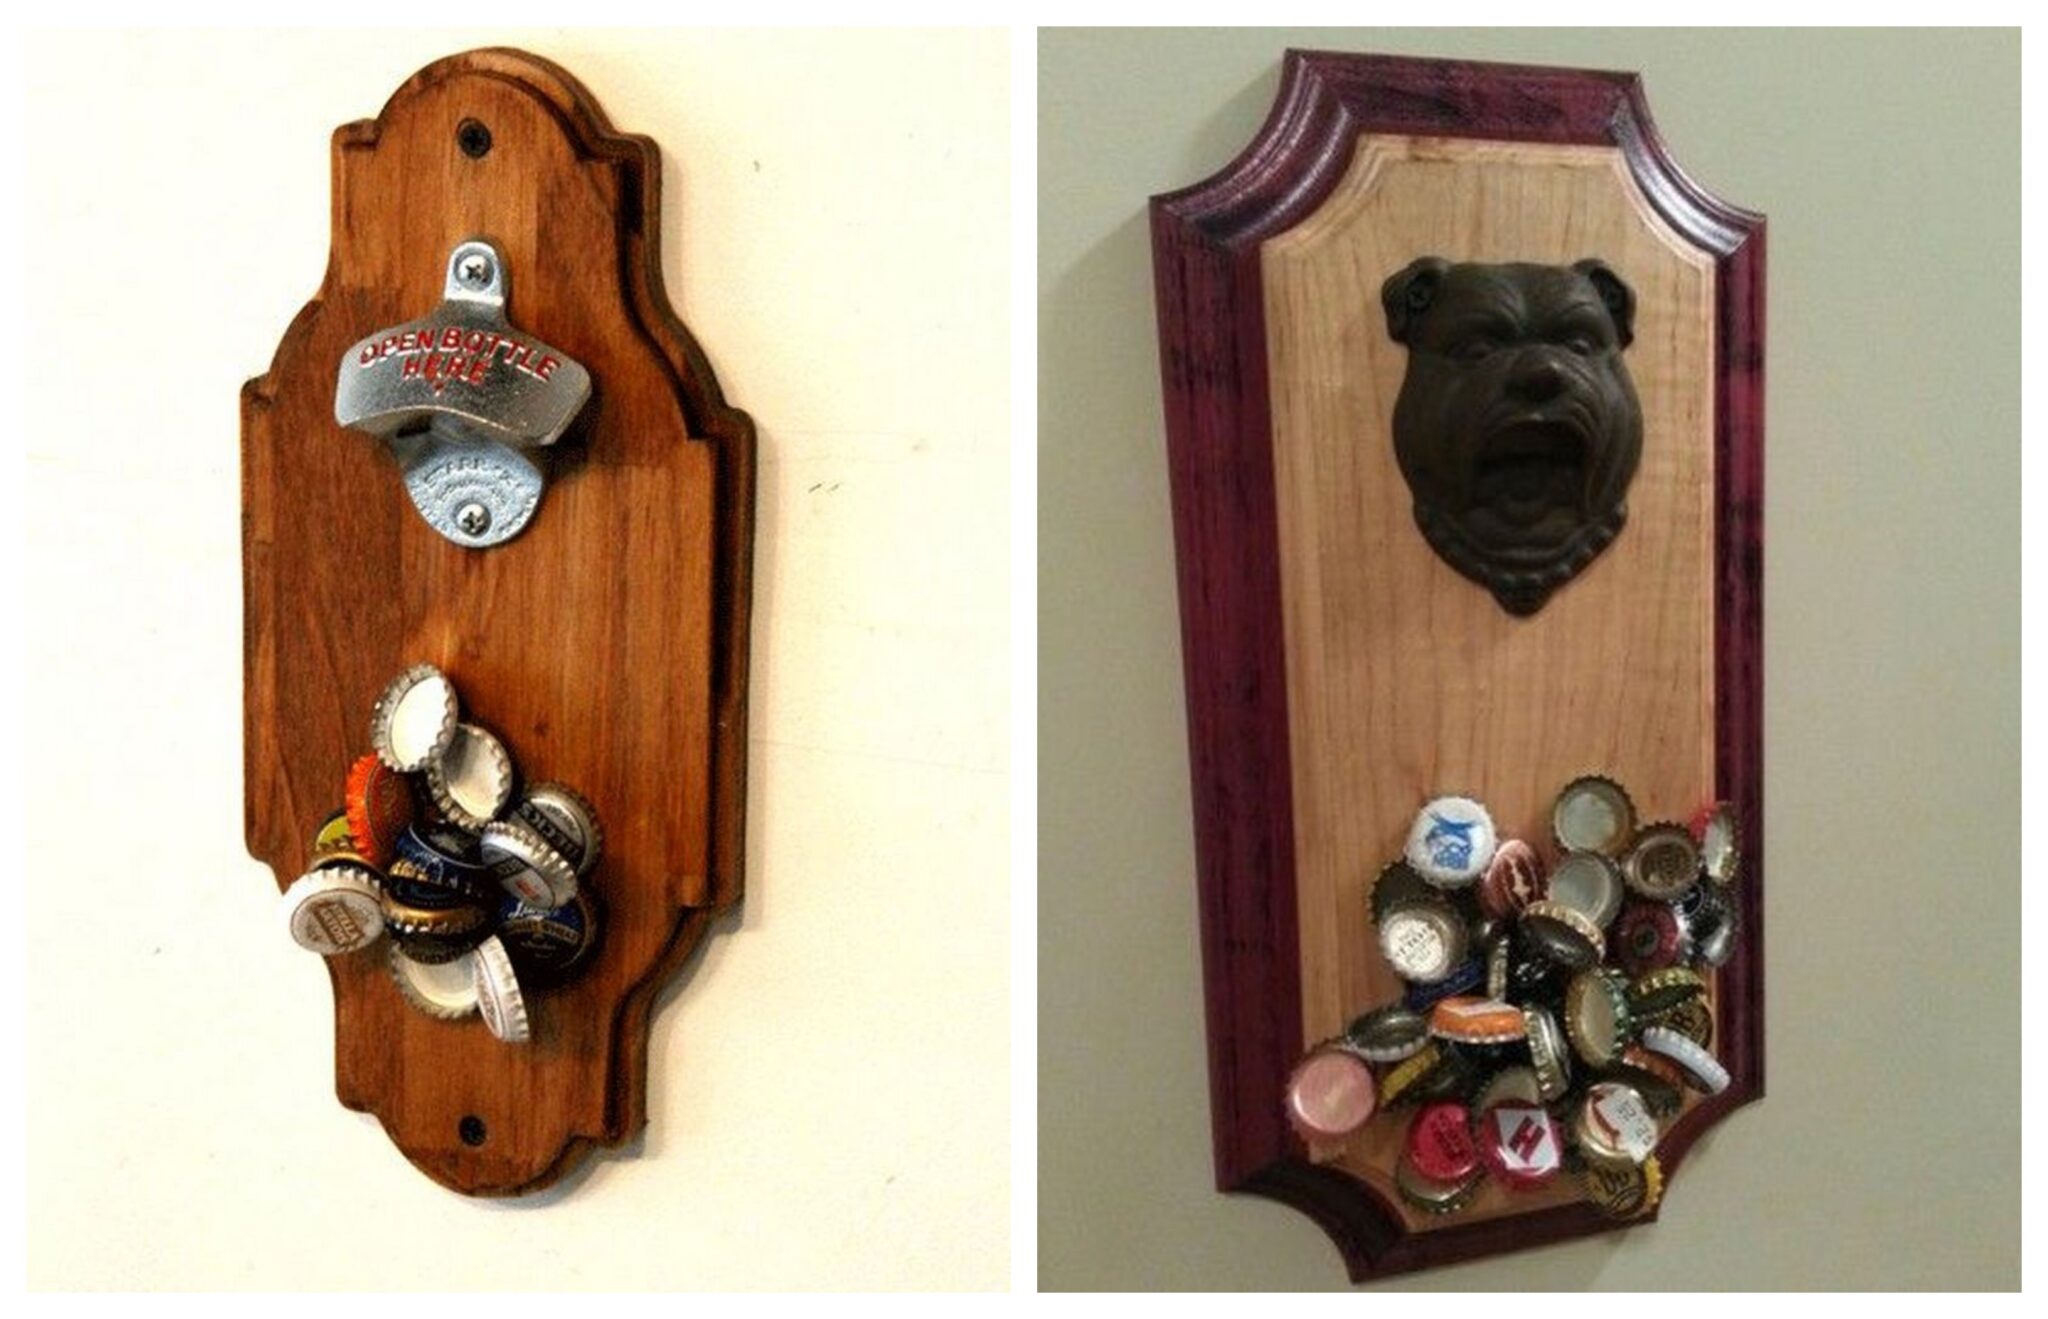
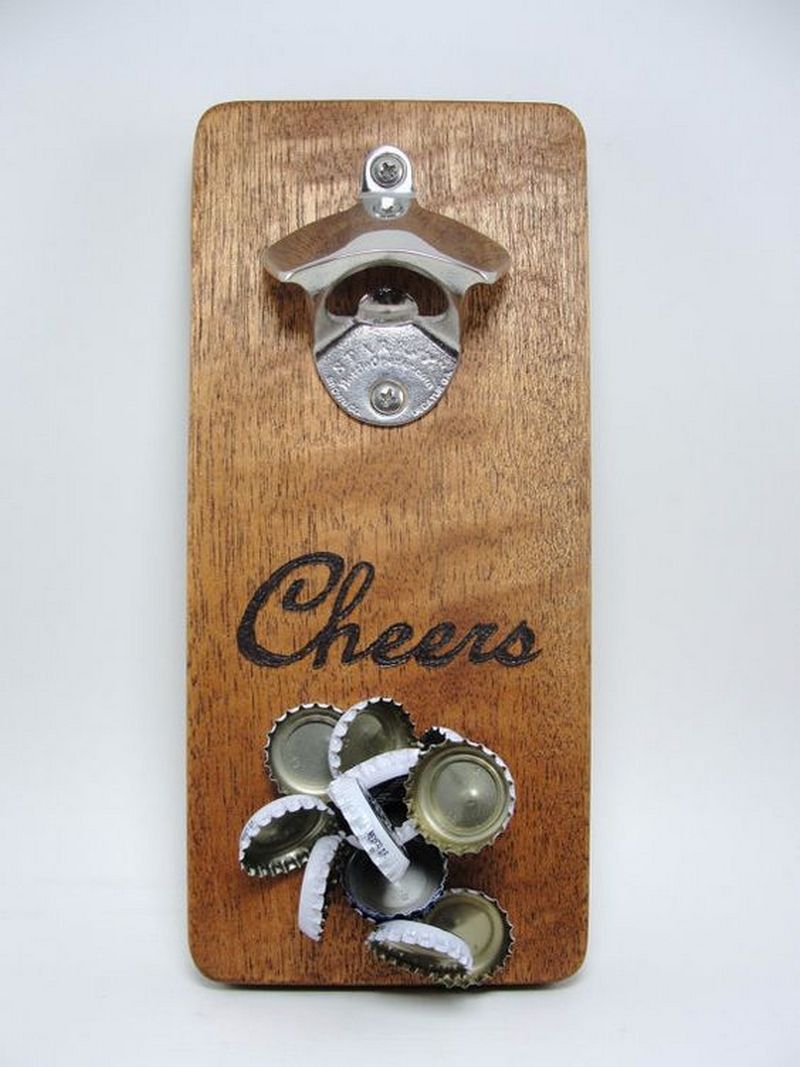
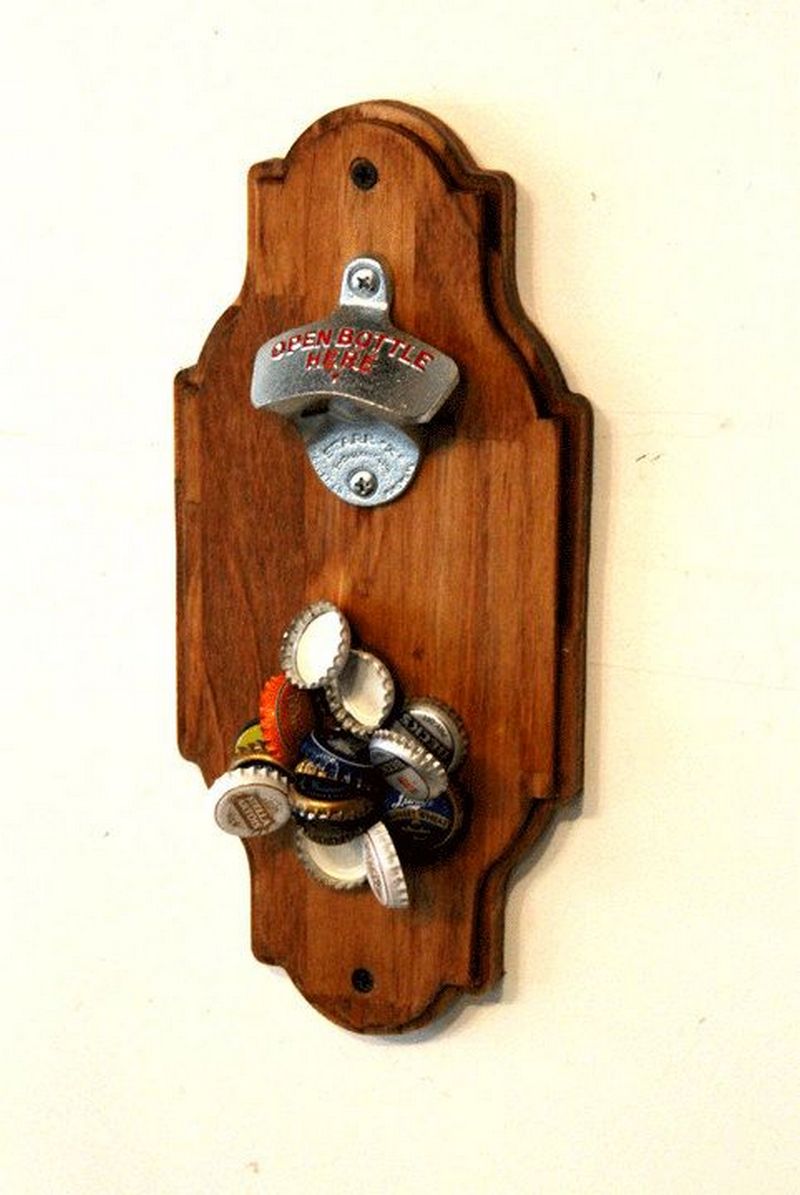
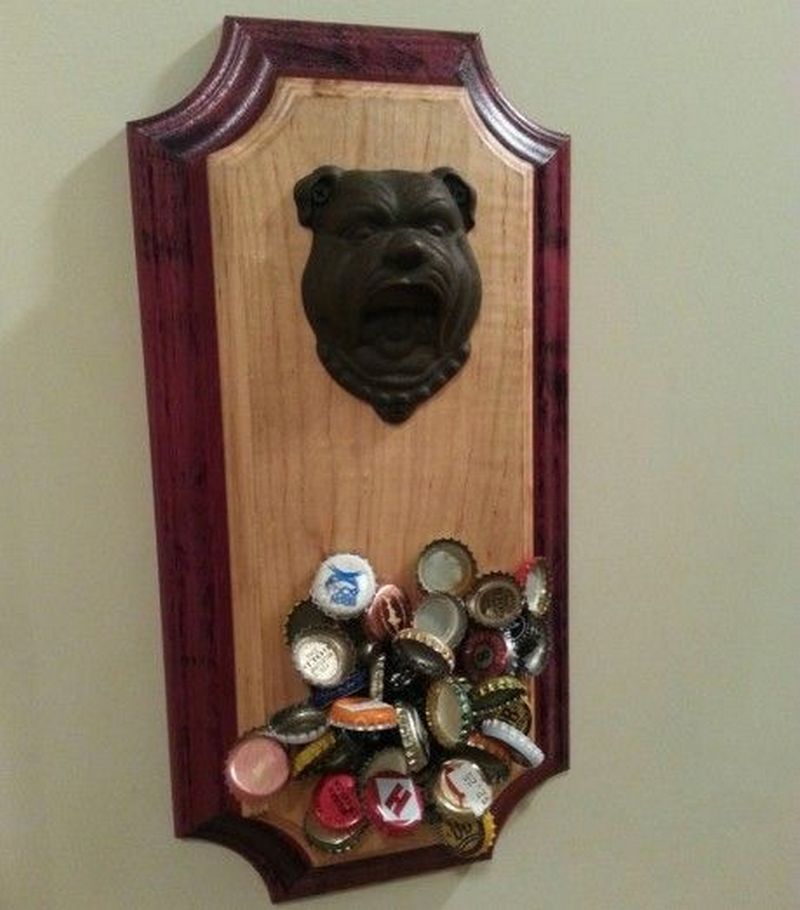
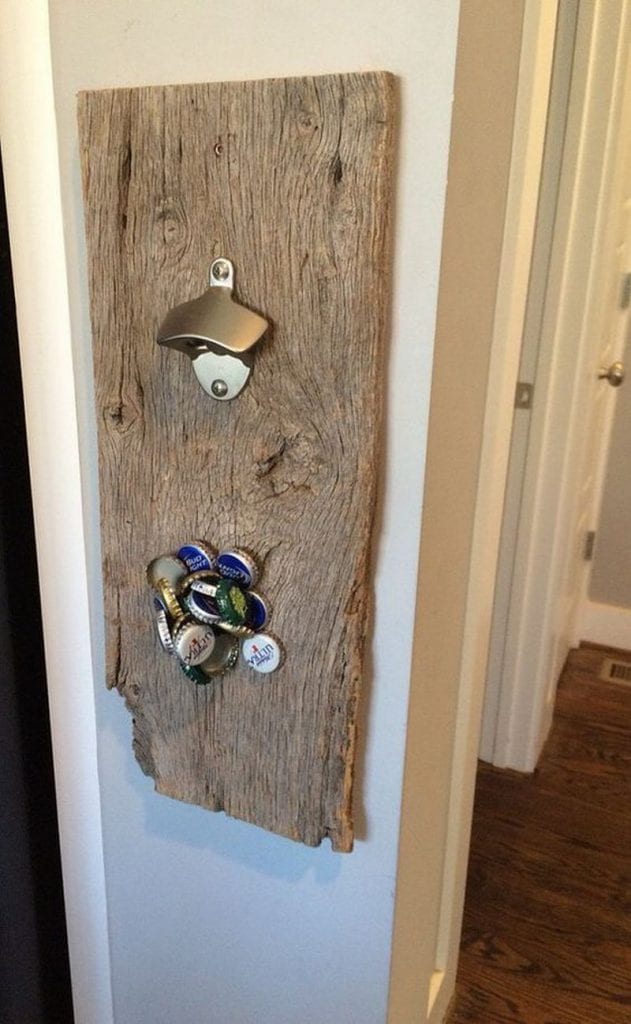
Magnet Bottle Opener Gallery
Click on any image to start the lightbox display. Use your Esc key to close the lightbox.

Designing Custom Shapes and Engraving for a Personal Touch
A custom shape gives your magnet bottle opener a unique look that fits your style. Engraving adds a signature touch that guests will admire.
Sketching Your Design
Start by drawing your idea on paper. Think about your bar or kitchen decor. You can go bold with geometric angles or soft curves. A simple sketch lets you refine proportions. Bring a ruler for straight lines and measure twice. This habit avoids wasted material. Keep in mind the size of the opener itself. Matching shape to function is key.
Cutting Custom Profiles
Transfer your sketch onto the wood with a pencil. Clamp the board to a workbench. Use a jigsaw to follow your outline slowly. Wear safety glasses and a dust mask. When you shape the magnet bottle opener, work in small passes.
A steady pace helps maintain control. Sand edges smooth with a router or sandpaper. Check the fit against your opener. Take your time and reread your plan.
Engraving Techniques
Engraving adds depth and character. You can use a handheld rotary tool or a CNC machine. A rotary bit lets you carve initials or patterns freehand. Take light passes to avoid gouging. Practice on scrap wood before working on your base.
For cleaner lines, use a V‑bit or diamond tip. Clean the engraved areas with a soft brush. This step gives the opener a polished, custom look. Plan your text size to keep it legible.
Finishing Engravings
After carving, dust and debris fill the grooves. Use a soft brush to clear particles. Fill deeper cuts with dark wood filler for contrast. Wipe away excess filler immediately. Let the filler dry fully before sanding. Lightly sand engraved areas with 320‑grit paper. Seal the wood with a clear finish to lock in color and protect against wear. Wait for recommended dry times. Your personalized opener will now stand out at any gathering.
Adding a Cap Storage Tray
An attached tray keeps bottle caps off the floor and ready for disposal. Your magnet bottle opener becomes a tidy station that blends function with style.
Choosing the Right Tray Style
Pick a tray size that suits your hosting habits. A shallow wood tray adds warmth. A metal dish gives a sleek, modern look. Make sure the tray depth catches popped caps without hiding them. You can stain or paint the tray to match your decor.
A removable liner makes cleanup simple. Keep the liner thin so it doesn’t interfere when you open bottles. This guide helps you choose the right tray for your space.
Mounting the Tray Securely
Find level spots below your opener to mount the tray. Use a spirit level to mark the points. Drill pilot holes and insert wall anchors if mounting on drywall. If you mount on wood, screws will hold firmly.
Align brackets so the tray sits straight. Tighten screws but don’t over‑torque. Check the tray stability before the first use. Adjust as needed to keep it level and secure during lively parties.
Integrating Removable Containers
Drop in small bins or cups for easy emptying. Plan the container size to fit your tray snugly. A plastic bin lets you lift out caps in one move. You can line containers with paper for quick disposal.
Test the fit under your magnet bottle opener to ensure caps fall straight in. Label containers for recycling or waste to simplify cleanup. This design adds smart function to your station.
Maintenance and Cleaning
Empty caps after each gathering to avoid overflow. Wash the tray and containers with mild soap and warm water. Dry everything thoroughly to prevent rust or mold. Check magnet glue bonds and reapply as needed.
Tighten any loose screws on brackets. Lightly sand wooden trays once a year to remove minor scratches. Refinish surfaces based on wear. A little care keeps your opener and tray looking fresh.
Conclusion
Building a magnet bottle opener makes a weekend project fun and useful. You’ll turn a simple block of wood and magnets into a practical tool. The strong magnets catch caps instantly and keep floors clear. A custom shape and finish add a personal touch you’ll love. This magnet bottle opener brings style and convenience to every gathering.