Last Updated on August 4, 2026 by teamobn
Has your driveway seen better days? Your home and garden are your pride and joy but oh, that driveway is a challenge! Ripping up the old and replacing it with a new concrete or bitumen drive is both expensive and an environmental problem as the waste is very difficult to recycle. But there is a solution that will not only enhance the appearance, but also add a new level of safety.
The First Step Toward a Better Driveway
Most driveways start out smooth and clean, but years of rain, sun, and parked cars can wear them down. Cracks appear, stains stick, and uneven patches start to collect water. When you decide to cover your old driveway with rubber surfacing, you’re not just giving it a new look — you’re adding durability and safety. But before that fresh layer goes on, the base has to be ready.
Good prep work means fewer surprises later. It also helps the new surface stick and stay strong for years. If you’re thinking about doing this kind of project – how rubber surfacing works and what makes it different from typical asphalt or concrete – you’ll find more details here. To work out what you’ll need to do to ensure the best possible result, read on…
Step 1: Walk the Driveway
Start simple. Take a slow walk down your driveway and really look at it. Notice where water sits after rain or where the ground dips. Run your shoe over any cracks to see if they shift. If the base moves or feels soft, that’s a sign it needs repair.
Make a quick list of what needs fixing — holes, stains, uneven spots. Think of it like getting the canvas ready before painting.
Step 2: Get Rid of the Dirt
This part sounds basic, but it matters more than most people realize. Rubber surfacing doesn’t like dirt or oil underneath it. Begin by sweeping the whole driveway. Then grab a hose or a pressure washer and spray away dust, leaves, and mud.
If there are dark, greasy patches, scrub them out with dish soap and warm water. A little patience here pays off later — a clean base helps the rubber bond properly. After washing, let the surface dry completely. A day or two of sun usually does the trick.
Step 3: Patch the Trouble Spots
Cracks and holes can’t just be ignored. Fill them using a driveway patch mix or filler made for your base material. For wider gaps, pack the filler in tightly and smooth it down.
The goal isn’t perfection; it’s stability. You just need an even, solid surface. Let everything cure for as long as the product suggests — rushing this part is a common mistake that causes peeling later.
Step 4: Fix Drainage Issues
Rubber surfacing lets water drain through, but the base underneath must be shaped correctly. Watch where puddles form after a storm. Those low areas will need to be leveled or slightly graded so water doesn’t sit and weaken the bond.
If your driveway slopes toward your garage or walkway, now’s the time to adjust that angle. Even a small change can make a big difference.
Step 5: Strip Away Old Layers
If your driveway has old paint, sealant, or a crumbly topcoat, scrape it off. A grinder or pressure washer can help with stubborn layers. Rubber needs a raw, clean surface to hold onto — anything loose or flaking will ruin that grip.
It’s dusty work, but once it’s done, the surface feels brand-new again.
Step 6: Check or Add Borders
Driveways often have edges made of concrete or metal that frame the surface. These borders keep the rubber from spreading out or breaking off over time. If yours are missing or damaged, replace them.
Strong edges give the finished surface a clean, professional look and help it hold shape for years.
Step 7: Smooth and Level the Base
Run your hand along the ground or use a straight board to spot any uneven sections. Fill shallow dips with asphalt or a fine layer of sand and tamp it down.
The smoother the base, the smoother the final look. You don’t need perfection — just remove obvious bumps and gaps so the rubber can spread evenly.
Step 8: Let Everything Dry Out
Even if the surface looks dry, moisture can hide deep in cracks. Rubber and water don’t mix well during installation.
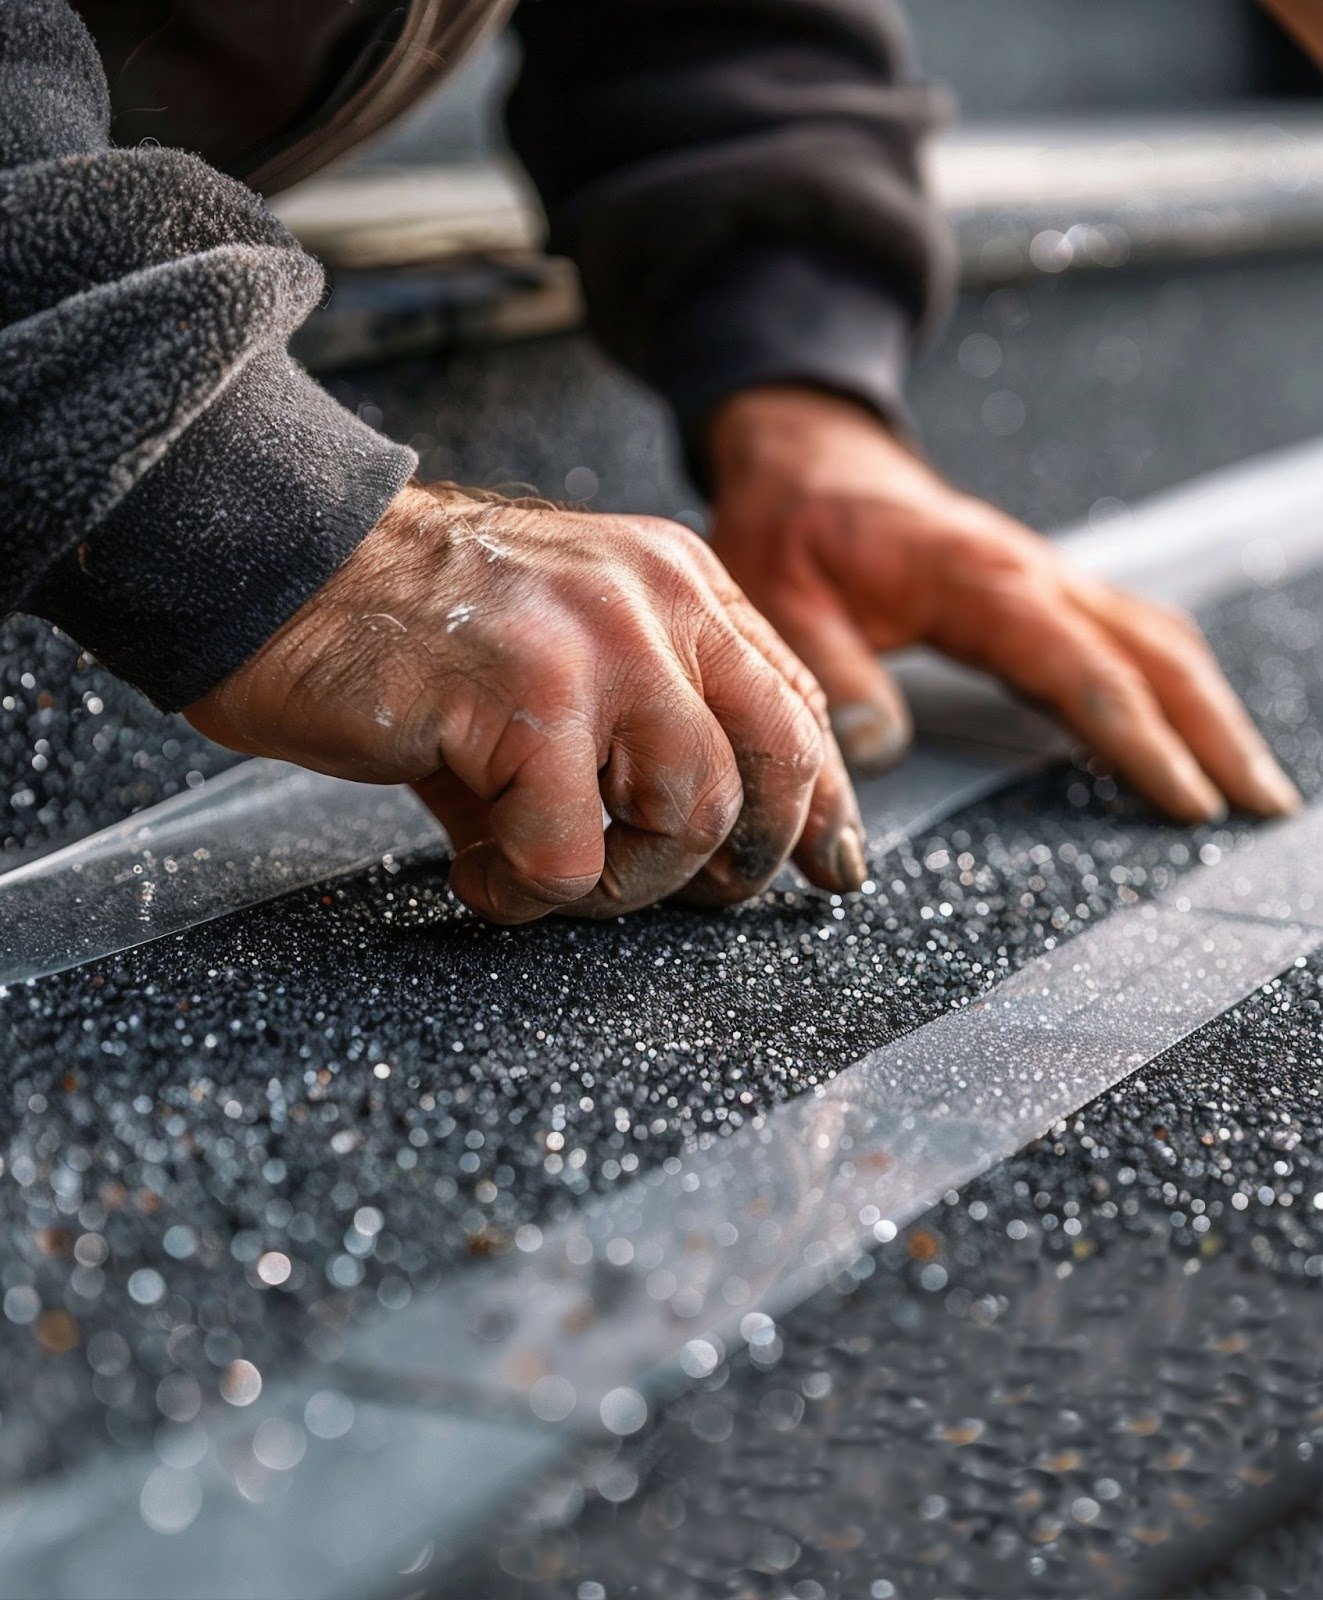
Tape a piece of clear plastic over a section of the driveway for a few hours. If droplets form underneath, wait longer. Dry weather and patience are key here.
Step 9: Get Ready for the Rubber Mix
Now the fun part’s getting close. Rubber surfacing is made by mixing colored granules with a binder, then spreading it evenly across the surface with a trowel. Depending on the style, you can go with neutral tones, bold colors, or patterns that match your home’s look.
If you’re hiring installers, confirm the design and thickness before they begin. If you’re doing part of the work yourself, double-check that you’ve got gloves, rollers, and enough mix for the whole area.
And most important — check the weather. A surprise rainstorm can ruin a fresh pour.
Step 10: Pick the Right Day
Rubber surfacing sets best in warm, dry weather — not too hot, not too cold. Late spring or early fall usually works well. Avoid days with high humidity or windblown dust.
Even if the forecast looks perfect, keep a tarp nearby just in case. Being prepared means less stress on installation day.
Step 11: One Last Walk-Through
Before you start pouring, walk the driveway again. Make sure no pebbles, twigs, or leaves have blown back onto the surface. Feel for soft patches that didn’t dry completely. Fixing small things now saves you from big problems later.
This last check is also a good time to visualize how the finished space will look — a clean, solid surface ready for its new life.
A Fresh Start for Your Driveway
Getting your driveway ready for rubber surfacing isn’t complicated, but it does take care. Cleaning, patching, and drying are the quiet steps that make everything else go smoothly. When done right, the final surface looks polished and feels comfortable underfoot — even after years of sun and snow.
So before the first bucket of rubber mix gets opened, take your time. Prep it well, and your driveway will thank you for decades.If you’re curious about materials or color options, you can surface your driveway with TPV granules and see how this type of finish can completely change your home’s curb appeal.