Last Updated on December 8, 2025 by teamobn
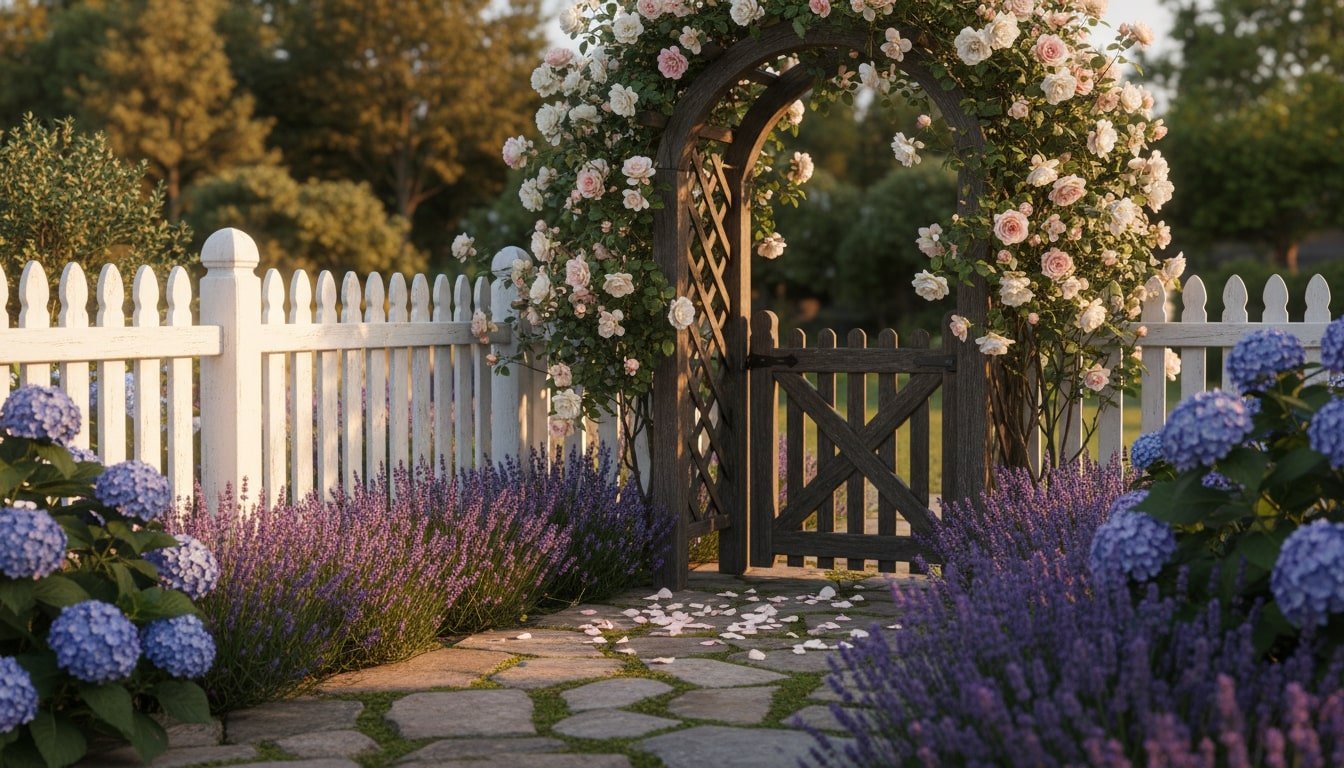
A white picket fence is a low, evenly spaced row of pointed or flat-topped pickets that frames a yard with classic charm. Homeowners choose it to boost curb appeal, define boundaries without blocking views, and create a warm, traditional welcome. It also offers gentle containment for kids and pets, comes in wood or low-maintenance vinyl, and is a budget-friendly, DIY‑friendly project. This guide will help you plan and install one step by step.
Contents
Key Takeaways
- Plan precisely for a white picket fence: verify boundaries, permits/HOA rules, and utilities; map a straight, obstruction‑free layout.
- Choose materials wisely: wood for customization and easy repairs, and vinyl for low maintenance and a uniform appearance.
- Build right and maintain: gravel base and concrete‑set posts, level rails, even pickets, a braced gate; periodic cleaning and finish touch‑ups.
White Picket Fence Installation: Step-by-Step Guide
Build a timeless white picket fence that boosts curb appeal and gentle security. This step-by-step guide covers planning, materials, tools, and installation for straight lines, smooth gates, and long-lasting results.
Materials
- Pressure-treated 4×4 posts (end, corner, line) or vinyl posts
- ¾” crushed gravel for drainage base
- Concrete mix (fast-setting or standard)
- Rails (2×3 or 2×4 wood, or vinyl rails, 2 rails for 36–42″, 3 for taller)
- Pickets (cedar/pine or vinyl), uniform width
- Galvanized or stainless exterior screws/nails
- Rail hangers/brackets (for wood systems) or vinyl inserts as specified
- Gate kit or gate framing lumber, hinges, latch, handle, stop, anti-sag brace/turnbuckle
- Post caps
- Exterior primer and paint, or stain/sealant (for wood)
- PVC/vinyl adhesive and cleaner (for vinyl systems)
Tools Needed
- 50–100 ft tape measure
- Stakes and mason’s line (string line)
- Line level and 2–4 ft spirit level, 3-way post level
- Carpenter’s pencil and marking paint
- Post hole digger and/or power auger, digging bar
- Shovel and hand tamper
- Wheelbarrow and mixing tub/hoe (for concrete)
- Cordless drill/driver with bits (pilot, countersink), impact driver optional
- Circular or miter saw, handsaw, speed square
- Clamps and sawhorses
- Rubber mallet and sledgehammer
- Socket set/wrenches and screwdriver set
- Plumb bob (optional)
- Spacing jig material (scrap wood)
- Safety gear: work gloves, safety glasses, hearing protection, dust mask
Step-by-Step Installation
- Mark post locations
- Start from corners and gate posts, mark each post center along the string.
- Keep spacing consistent, account for panel widths or picket spacing.
- Dig post holes
- Diameter: roughly 3× post width (10–12 in for 4×4 posts).
- Depth: at least one-third of post length and below frost line where applicable.
- Add gravel base
- Pour 4–6 in of ¾” crushed gravel into each hole and tamp level for drainage.
- Set and plumb posts in concrete
- Place post on gravel, align to string, check with a 3-way post level.
- Pour concrete, dome the top away from the post, and brace until set.
- Keep tops at consistent height, allow proper cure time before loading.
- Install rails
- Mark consistent rail heights (2 rails for 36–42 in fences, 3 for taller).
- Attach with rail hangers/brackets or per vinyl system, keep rails level and parallel.
- On slopes, rack rails to follow grade or step sections as needed.
- Attach pickets
- Set first and last picket, pull a top reference string for uniform height.
- Use a spacing jig (e.g., 2–3 in) and maintain a 2–3 in ground clearance.
- Fasten each picket with two corrosion-resistant screws per rail, pre-drill near edges.
- Check plumb every few pickets to keep the white picket fence visually straight.
- Build and hang the gate
- Assemble a square frame with a diagonal brace, skin with pickets.
- Mount hinges to the gate post, allow ½–1 in ground clearance.
- Install latch and stop, add anti-sag hardware if needed, confirm smooth swing.
- Finish details
- Install post caps (glue or nail), fill/caulk fastener holes, touch up paint for a clean, uniform finish.
- Final check and cleanup
- Remove braces after curing, backfill and grade around posts.
- Inspect for level, plumb, and even spacing, tighten hardware.
- Rinse work area and note maintenance: annual wash and periodic paint/seal touch-ups.
Planning Your White Picket Fence
Thoughtful planning ensures your white picket fence looks straight and meets code. Confirm boundaries, map the layout, choose materials, and budget wisely before digging to avoid delays, surprises, and rework.
Confirm Property Lines, Permits, and HOA Rules
Verify your legal boundary using a survey, pins, or local GIS, never assume existing fences are correct. Check municipal fence codes for height, setbacks, visibility triangles at driveways, and post depth. If applicable, review HOA style, color, and material restrictions for a white picket fence. Pull required permits, collect approvals in writing, and note inspection milestones before buying materials.
Locate Underground Utilities Before Digging
In the U.S., call 811 at least a few business days before excavation, elsewhere, contact your local utility locate service. Mark gas, electric, water, sewer, and telecom lines clearly and adjust post spacing accordingly. Hand-dig within tolerance zones. If conflicts exist with the planned white picket fence line, shift alignment slightly or convert a section to a gate to maintain clearances.
Measure the Site and Map Your Layout
Walk the perimeter, noting corners, obstructions, trees, and grade changes. Measure total linear footage, then plot a scaled plan with straight runs, transitions, and gate openings. Snap chalk or set mason’s lines to test alignment and curb appeal from the street. Use even post spacing compatible with your chosen panels or rails to minimize waste and awkward short sections.
Choose Materials: Wood vs. Vinyl
Choosing between wood and vinyl shapes cost, upkeep, and longevity for your white picket fence. Compare durability, appearance, customization, and maintenance to match your climate, style goals, and DIY comfort.
Wood: Key Benefits
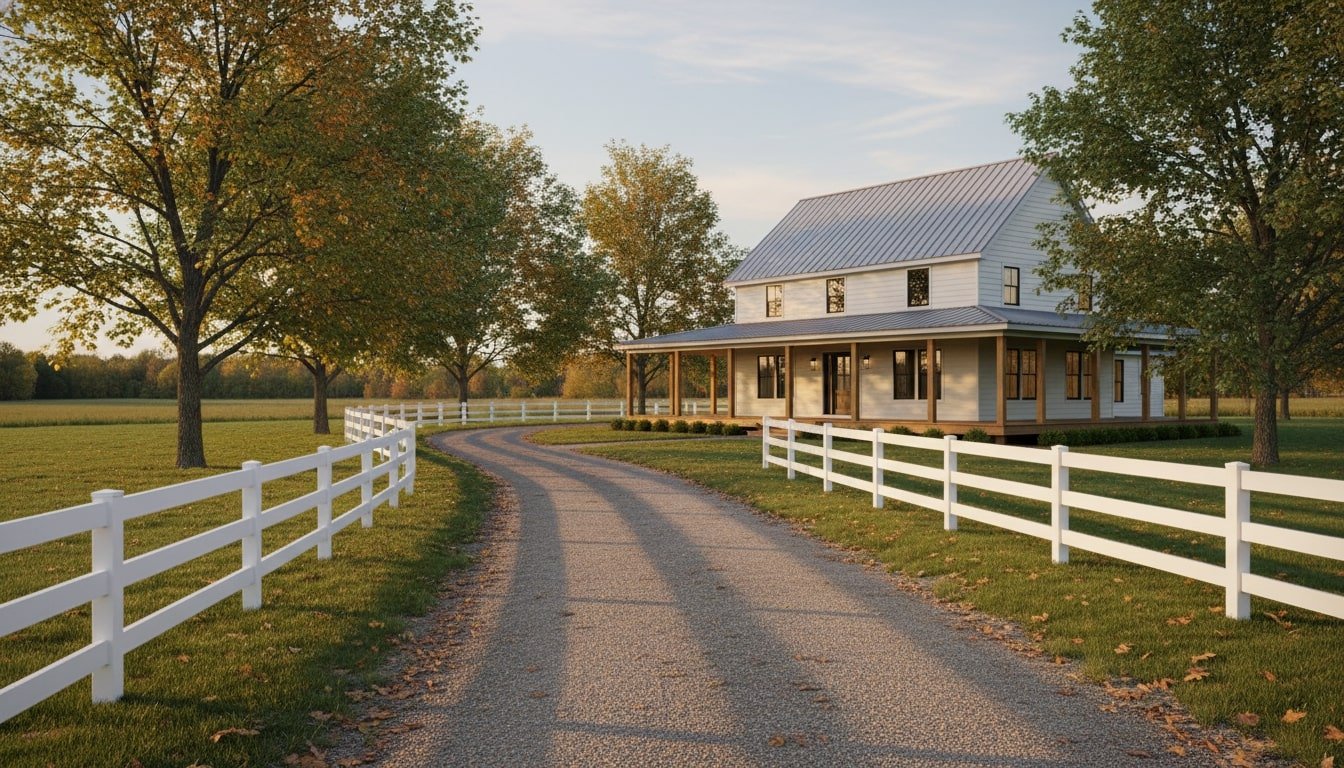
- Classic, warm grain delivers an authentic white picket fence aesthetic that complements historic, cottage, and farmhouse styles.
- Highly customizable: choose picket profiles (Gothic, dog‑ear, flat‑top), spacing, arches, scallops, and decorative post caps.
- Paintable or stainable to any shade of white, easy to refresh color over time for like‑new curb appeal.
- Simple to modify on site, trim for slopes, odd angles, and tight radii without special hardware.
- Strong and repair-friendly: replace individual pickets/rails with basic tools instead of whole panels.
- Durable species options: cedar/redwood offer natural rot and insect resistance, pressure‑treated pine excels for ground‑contact posts.
- Pleasant tactile feel and lower surface heat in direct sun compared to some plastics.
- Renewable material with FSC-certified sourcing options and straightforward disposal/reuse of offcuts.
Vinyl: Key Benefits
- Ultra low maintenance: no painting or staining, cleans quickly with soap, water, and a soft brush.
- Colorfast, through‑body white resists peeling and flaking, UV inhibitors reduce fading for long‑lasting brightness.
- Interlocking, pre‑routed components speed installation and deliver consistent picket spacing and height.
- Moisture-, rot-, and insect-resistant, ideal near sprinklers, gardens, or humid climates.
- Smooth edges and hidden fasteners create a clean, safe, snag‑free finish for kids and pets.
- Lightweight sections reduce fatigue and often require fewer specialized tools than carpentry-heavy builds.
- Stable performance with proper installation: resists warping, cracking, and swelling across seasons.
- Manufacturer warranties commonly available, adding predictable lifecycle costs for your white picket fence.
Determine Height, Picket Spacing, and Post/Rail Count
Front-yard white picket fences are commonly 36–42 inches tall, backyard runs may be taller if allowed. Pick a consistent picket width and gap for visibility and style. Plan two rails for shorter fences and three for taller or windy sites. Confirm post size, spacing, and embedment depth to resist frost heave and wind loads per manufacturer guidance or local code.
Plan for Gates and Access
Identify primary footpaths, mower access, and trash or equipment routes. Place gates on high ground when possible, with inward swing away from sidewalks. Size openings to clear lawn equipment and strollers, and spec self-closing hinges and child-safe latches if needed. Add solid hinge posts, longer concrete footings, and diagonal bracing so the gate section remains square over time.
Handle Slopes, Soil, Drainage, and Frost Depth
Assess grade to decide between stepping sections or racking rails to follow the contour. Test soil: sandy soils drain quickly, clay holds water and may need deeper footings and more gravel. In cold climates, set posts below local frost depth to prevent heave. Crown concrete and slope grade away from posts to shed water and extend fence life.
Budget, Timeline, and Contingency
Develop a per-linear-foot budget including posts, rails, pickets, caps, fasteners, concrete, finish, and hardware. Add 10–15% for waste and surprises. Factor in rental tools and delivery fees. Sequence tasks around weather and curing times, reserving a weekend for post setting and another for rails, pickets, and finishing. Keep spare pickets and touch-up paint for future repairs.
Neighbor Communication and Sightlines
Discuss your plan with adjacent neighbors, especially when fencing near shared lines. Share the finished height, picket spacing, and gate placement to avoid disputes. Preserve driver sightlines near driveways and corners by lowering sections or increasing gaps if required by code. Clarify which side faces out, many communities prefer the “finished” face toward the street or neighbor.
Prep for Finish and Maintenance
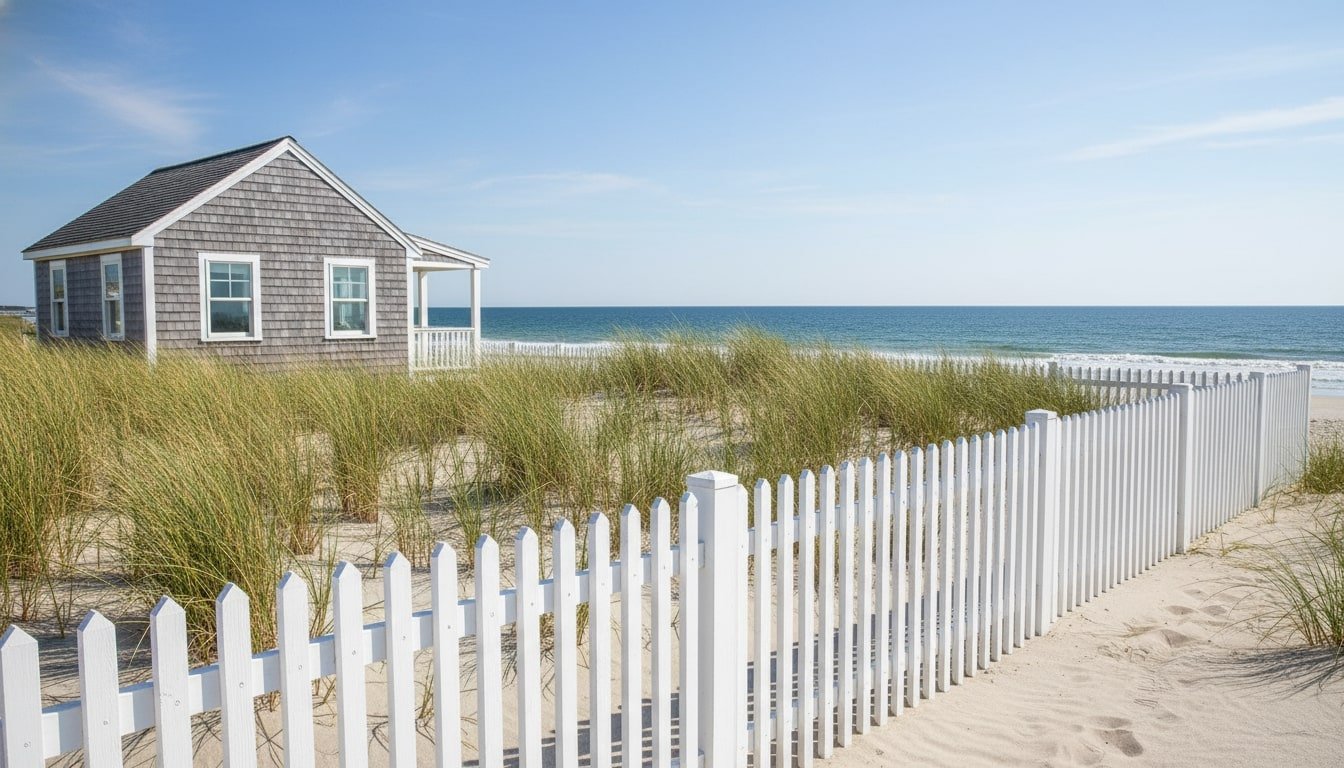
Decide on factory-finish vinyl or site-finished wood before ordering. For wood, back-prime and seal end grain for durability, and choose exterior-rated fasteners compatible with your paint or stain. Plan annual rinsing and periodic repainting, especially on sunny or coastal exposures. Record paint codes, stain brand, and hardware models so future maintenance matches the original white picket fence.
Finish Options
- 100% acrylic exterior paint (satin): Flexible, durable, and easy to clean, satin hides minor surface flaws while providing strong moisture resistance.
- 100% acrylic exterior paint (semi-gloss): Classic bright-white look with higher stain resistance, shows surface imperfections more than satin.
- Oil/alkyd stain-blocking primer: Essential undercoat for cedar/redwood to prevent tannin bleed, topcoat with acrylic paint or solid stain.
- Acrylic bonding primer: Fast-drying, low-VOC base that improves adhesion on new or previously coated wood, including treated lumber.
- Solid-color acrylic stain: Penetrating finish that looks like paint but is less prone to peeling, subtly shows wood texture.
- Semi-transparent stain: Highlights natural grain and tone, lighter protection and a softer, not-fully-white appearance.
- Whitewash/pickling stain: Translucent white “coastal” look, expect more frequent touch-ups and consider a clear UV topcoat outdoors.
- Clear penetrating sealer (UV-inhibited): Preserves natural wood tone with water repellency, requires more frequent recoats and won’t create a white look.
- Spar urethane/marine varnish: High-gloss, film-forming protection best for accents, maintenance-intensive on full fence runs.
- Water-repellent preservative (WRP): Pretreatment that reduces water absorption and extends topcoat life, especially on end grain.
- Exterior latex enamel (trim formula): Harder-wearing acrylic paint variant that resists blocking and scuffs on high-contact areas like gates.
- Milk paint (exterior-rated) with protective topcoat: Vintage matte character, requires a compatible sealer for weather durability.
- Vinyl (factory integral color): UV-stabilized, color-through finish needing no painting, clean with mild soap and water.
- Vinyl-safe acrylic urethane paint: For repainting vinyl when necessary, use plastic primer and light colors (high LRV) to avoid heat warping, check manufacturer’s warranty.
Conclusion
A white picket fence remains a timeless way to boost curb appeal while gently defining your yard and keeping kids and pets in view. With thoughtful planning, the right materials, and careful layout, you’ll get straight lines, smooth gates, and a durable finish. Choose wood for custom profiles or vinyl for low maintenance, then set a simple cleaning and touch-up routine to keep it bright. Gather your tools, confirm permits and utilities, and you’ll be ready to build a white picket fence that welcomes guests for years.
FAQs White Picket Fence Installation
- What’s the best time of year to install a white picket fence?
- Mild weather in spring or fall is ideal. Concrete cures reliably when air and ground temperatures stay above 40°F/4°C, and exterior acrylic paint applies best between 50–90°F with humidity below ~85%. Avoid heavy rain, high winds, and painting in direct midday sun to reduce flashing and lap marks. In freezing climates, schedule post setting after frost has left the ground.
- How long will a white picket fence last (wood vs. vinyl)?
- With good prep and maintenance, cedar or redwood pickets can last 15–25+ years, and pressure-treated posts often exceed 20 years. Vinyl systems commonly last 20–30+ years with minimal upkeep. Lifespan depends on climate, sun exposure, fastener quality (stainless performs best), and keeping post bases well drained. Gates typically wear first, periodic hinge adjustments and anti-sag braces extend life.
- Can I install a white picket fence on concrete, pavers, or a retaining wall?
- Yes, but use the right hardware. Options include surface‑mount post bases anchored with wedge or epoxy anchors, or core‑drilling holes to set posts/sleeves with non‑shrink grout or anchoring epoxy. Confirm edge distances, embedment depths, and load limits from the hardware and fence manufacturer. On retaining walls, consult an engineer or the block system specs, added wind load may require reinforcement.
- How do I stop dogs from digging under a white picket fence?
- Add a buried “L‑footer” of welded wire: trench 6–12 inches down at the fence line, run wire vertically then outward inside the yard, and backfill. Alternatively, lay a narrow gravel trench or set a row of pavers flush with grade under the fence to discourage digging. Keep a 2–3 inch picket clearance for drainage and attach interior wire mesh for small dogs, if needed. Regularly inspect high‑traffic corners and gate areas where pets test boundaries.