Last Updated on October 28, 2025 by teamobn
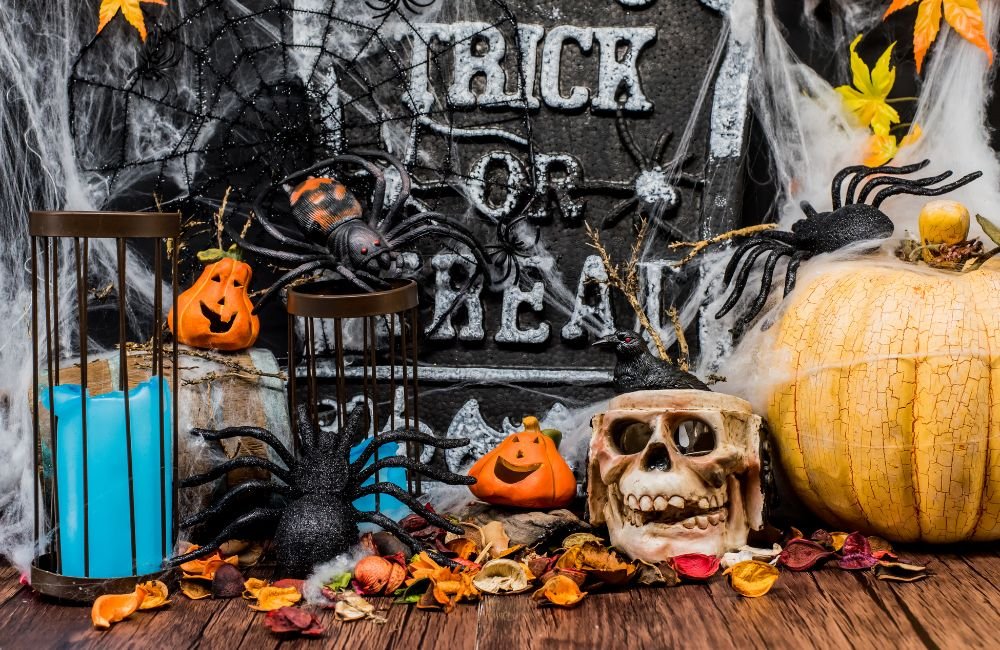
Spooky season brings a chance to turn your home into a playful haunt with halloween decorations. Choosing durable, affordable materials keeps costs under control. You’ll get room-by-room ideas, outdoor safety checks, and fast weekend builds. We’ll balance style with storage so you’re not stuck with bulky props in November. This guide helps homeowners and DIYers plan, source, and finish projects that impress without stress.
Contents
Planning Your Theme and Budget
Great results start with a clear plan. Define a look, set spending limits, and map your list. Structure keeps projects focused, prevents impulse buys, and ensures cohesive halloween decorations everywhere.
For something extra imaginative, explore our creative Lego Halloween decor ideas — a hands-on project that blends classic bricks with spooky themes for both adults and kids.
Pick a style that fits your home’s architecture
Match the season to your home’s lines and materials. A modern facade favors clean silhouettes, cool whites, and neon pops. A craftsman porch loves warm tones, natural textures, and vintage lanterns.
Choose two primary colors and one accent to keep balance. Repeat a few motifs across wreaths, windows, and yard pieces. Plan day and night views. Props need scale that reads from the street. Check HOA rules early to avoid rework.
Set a realistic budget and allocate by zone
Decide a total number before shopping, then divide it by impact zones. Put the largest share on curb appeal and entry, since guests see these first. Fund one hero prop next, then lighting that supports it. Leave a small reserve for last-minute safety gear and backup bulbs.
Track costs in a simple sheet. Compare new, thrifted, and borrowed options. Reuse past décor to stretch spend. Watch shipping cutoffs so rush fees don’t wreck plans.
Build a parts list before you shop
Walk the spaces and note measurements, outlet locations, and mounting surfaces. List every component, including anchors, cable ties, outdoor-rated cords, GFCI protection, timers, paint, and sealant. Add PPE like gloves and eye protection. Include storage items so teardown is easy.
Capture product SKUs with screenshots for quick reorders. Prioritize weatherproof and fire-safe materials. Build a backup option for anything sold out. A precise list stops impulse buys and keeps weekend runs efficient.
Finding Halloween Decorations at Discount School Supply
You want classroom-tough Halloween decorations that stretch a budget and survive busy hands. Discount School Supply delivers educator-grade brands, lesson-ready ideas, plus value packs that make decorating faster and easier.
Classroom-grade Brands and Exclusive Lines
You’re shopping a school-focused catalog built for repeated use. Exclusive lines like Colorations appear alongside trusted national brands, so colors match across mediums and stock stays consistent during the season. Bulk options simplify class sets and neighborhood workshops.
Lesson-ready Projects and Value Packs
Ready-to-teach project guides help you launch activities without reinventing steps. Pair those with classroom value packs to stretch your budget across stations and take-home kits. You’ll move from cart to craft table quickly.
Halloween Supplies You Can Add to Cart
Stock projects with materials that hold up to classroom use and weekend builds. You’ll find Halloween-specific kits plus core craft staples in educator quantities and colors that make displays pop.Discount School Supply’s Halloween crafts page
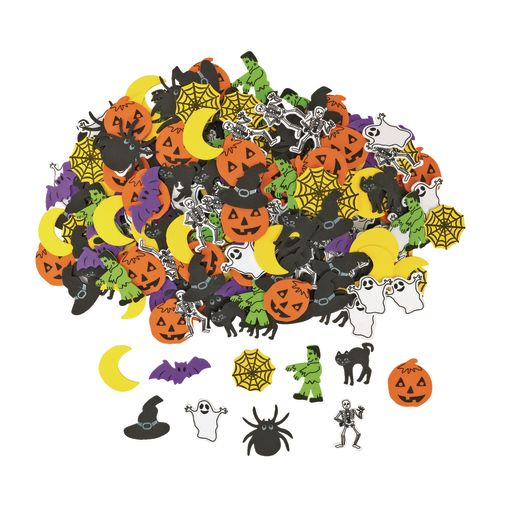
- Colorations Halloween Foam Shapes, a 300-piece set for collages, cards, and centers.
- Guided Halloween activities like paper plate spiders, tape mummies, craft stick monsters, and slime monster jars for fast, low-prep stations.
- Fabric, felt, and yarn for banners, soft props, and texture layers.
- Wiggly eyes, pom poms, and pipe cleaners to add motion and character to creatures.
- Foam, feathers, and sparkles for lightweight accents that hold with school glues.
- Tempera, acrylic, and watercolor paints plus brushes and tools for broad coverage and detail work.
- Crayons, markers, chalk, oil pastels, pencils, and pens for line work and labeling.
- Construction paper, art paper, and rolls for backdrops, silhouettes, and table protectors.
- Glue and adhesives, tapes, and contact covers to assemble and mount displays.
- Stencils and rubbing plates for crisp motifs on windows, bags, and invites.
- Craft kits and projects for quick group builds and party activities.
- Baskets, trays, bins, and tubs to organize stations and speed cleanup.
Visit Discount School Supply’s Halloween crafts page and pick your materials while selection is strong. Adorn your home with bright and creative Halloween decorations with their help.
Safety First for Indoors and Outdoors
Safety drives enjoyable Halloween decorations. Plan for fire resistance, stable mounts, and power before buying props. Address cords, weather, and visibility early so displays impress and keep trick-or-treat traffic moving.
Fire-safe materials, cords, and GFCI protection
Choose LED lights and flame-retardant fabrics near heat sources. Place real candles inside enclosed lanterns or swap in battery candles. Route cords along edges and tape them flat where traffic passes. Use outdoor-rated extension cords and GFCI outlets for any exterior circuit. Add drip loops to prevent water entry. Test each string and prop before installation. Keep a small extinguisher near the entry. You’ll reduce risk while keeping your Halloween decorations bright and reliable through busy nights.
Weatherproofing lights and large props
Seal connection points with outdoor covers and gasketed boxes. Pick UV-stable plastics and exterior paints for façades. Anchor inflatables with extra stakes and guy lines. Weigh lightweight props with sandbags hidden under fabric or mulch. Raise power strips off the ground on bricks or shelves. Bring small electronics indoors during storms. Label totes with the rated environment so you don’t mix indoor and outdoor gear next season. Resilience starts with materials and continues with thoughtful placement.
Path visibility and trip-hazard checks
Light every change in elevation with path markers or step lights. Keep walkways at least thirty-six inches wide. Clear hoses, cords, and décor from the travel line. Add handrails on steep steps and non-slip treads where dew collects. Position jump-scare elements away from stairs and curbs. Test routes at dusk to catch shadows that hide obstacles. Stash pets safely inside before guests arrive. A smooth path keeps focus on your theme, not emergencies.
Kid-Friendly vs Scary Zones
Different guests enjoy different levels of frightful Halloween decorations. Map zones so families choose comfort path. Use color, sound, and signage to telegraph intensity. Keep exits clear and provide alternatives for visitors.
Color cues and signs that set expectations
Assign green or warm amber lighting to friendly areas and reserve red or deep purple for intense scenes. Add simple signs like Cute, Spooky, and Scary so parents can choose routes. Keep kid zones near the entry for fast treats and photos. Offer quieter music and smiles at greeter stations. Place scarier vignettes farther from the door. Clear labels prevent surprises and reduce congestion at pinch points.
Touch-safe props for younger guests
Build low-stress sensory stations with soft textures, gentle motion, and big buttons that trigger mild sounds. Use plush bats, felt webs, and foam bones instead of hard plastics with sharp edges. Secure everything at child height so nothing tips when touched. Avoid loose glitter and small pieces that shed. Provide sanitizer and wipes at craft tables. You’ll keep kids engaged while protecting costumes, fingers, and flooring.
Quiet paths and sensory considerations
Create alternate routes that avoid strobe lights and heavy bass. Replace sudden shrieks with ambient wind or owl sounds. Keep fog density low near sidewalks so caregivers maintain sightlines. Offer earplugs at the entry basket. Mark calmer paths with warm white lighting and pumpkin icons. Space jump scares away from bottlenecks to prevent crowd surges. Thoughtful choices welcome everyone, including neurodivergent guests and toddlers.
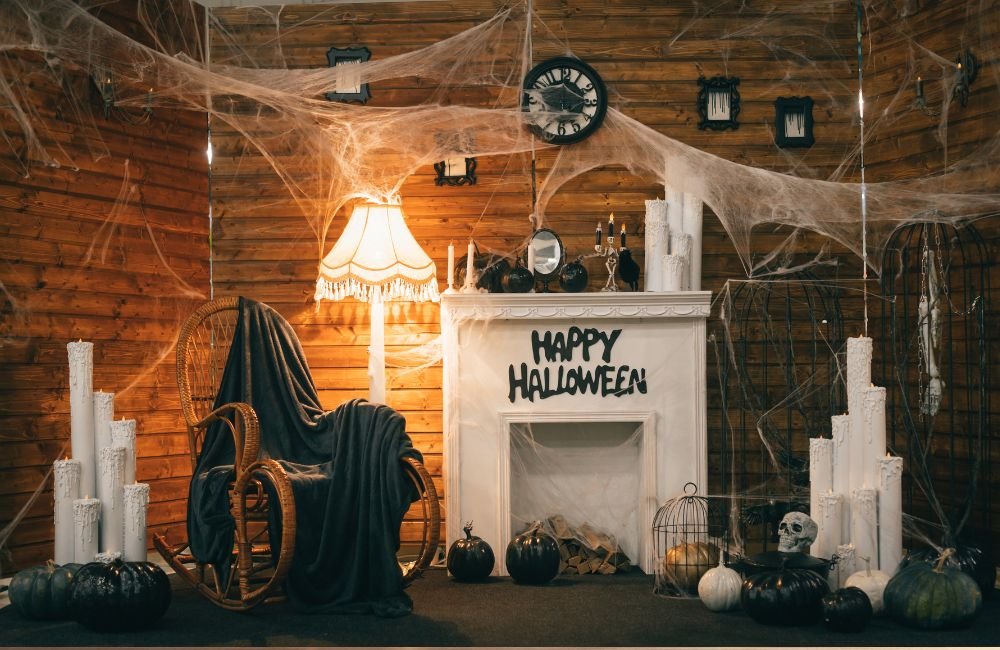
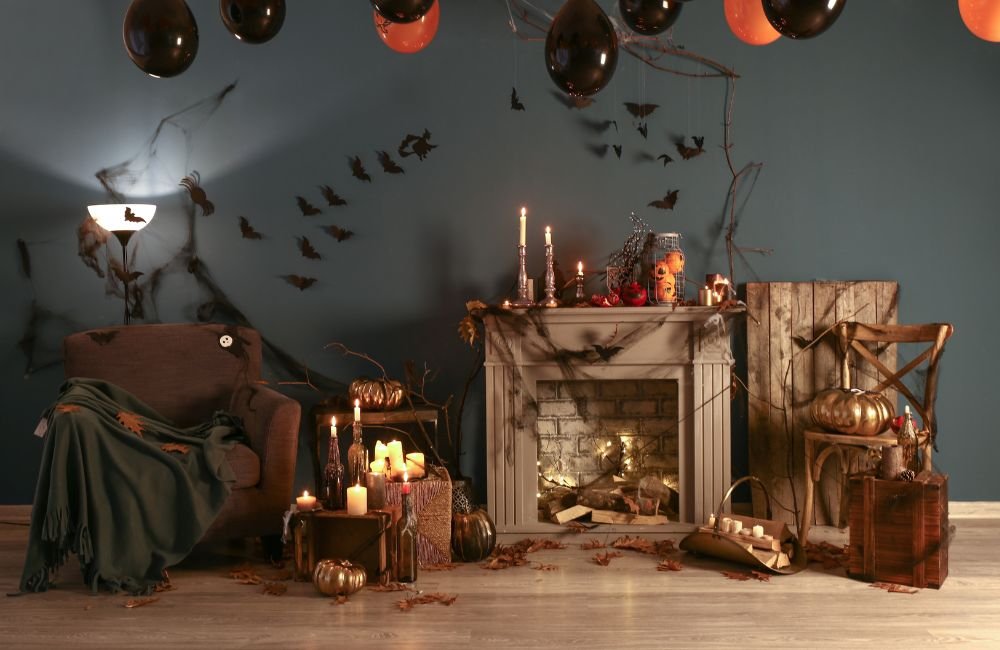
Lighting, Sound, and Special Effects
Atmosphere sells the Halloween decorations. Plan layered lighting, controlled audio, and safe effects before buying costumes or props. Small adjustments to angle, timing, and volume transform builds into convincing Halloween moments.
Warm and cool LEDs, placement that flatters scenes
Use warm white near porches and photo spots to flatter faces and costumes. Reserve cool white or blue for moonscapes, bones, and spectral scenes. Angle floods upward at forty-five degrees to sculpt texture without blinding guests.
Hide light sources behind props to avoid glare. Add dimmers to balance brightness across zones. Test at dusk and again after full dark. You’ll get cinematic depth without overwhelming eyes or cameras.
Fog, airflow, and motion that read at night
Choose low-lying fog for ground effects and keep machines upwind of the path. Use small fans to push haze across the scene instead of into faces. Ventilate porches well to prevent alarms and slick surfaces. Trigger motion only where guests can see the prop’s payoff. Calibrate sensitivity to avoid constant activation. Short bursts preserve mystique, save fluid, and protect visibility.
Smart control for schedules and syncing
Put lights and effects on smart plugs or outdoor timers so everything powers up at dusk. Group circuits by zone for quick tweaks. Add motion sensors to highlight pathways and save energy between waves of visitors. Use a simple playlist on loop with consistent volume caps. Keep a manual override switch at the entry in case weather shifts. Automation delivers polish and frees you to host.
Conclusion
Thoughtful planning turns seasonal Halloween Decorations into a polished, safe display that fits your home. Start with a clear theme, then budget, source, and stage pieces that hold up outdoors and in. Layer lighting, sound, and a few special effects so scenes read well at dusk and after dark. When teardown comes, store labeled bins and notes so you’re even faster next year.
We have more incredible Halloween decoration projects for your home. Check out our glowing stepping stone guide next!