Last Updated on November 6, 2025 by teamobn
Contents
- 1 Quick Answer: DIY Tire Swing At-a-Glance
- 2 How to Build a Tire Swing: Safe Heights, Rope Specs, Cost
- 2.1 What Materials Are Needed to Make a Tire Swing?
- 2.2 What Are the Tools Needed for This DIY Tire Swing?
- 2.3 Step-by-Step Instructions
- 3 Tire Swing Variations
- 4 Troubleshooting Common Issues
- 5 Comprehensive Safety Guidelines
- 6 Cost Breakdown
- 7 Frequently Asked Questions
- 8 Conclusion
Quick Answer: DIY Tire Swing At-a-Glance
- Build Time: 60–90 minutes
- Difficulty: Easy to Intermediate
- Total Cost: $25–$60 (tire often free from local tire shops)
- Safe Limb Requirements: Healthy hardwood branch ≥ 8–10 inches diameter
- Rope Specifications: 5/8″ synthetic rope; ≥8,000 lb break strength; ≥800 lb working load
- Safety Clearances: 6 feet radius around swing, 12 inches ground clearance, 24 inches from trunk/obstacles
- Maintenance: Monthly inspections; replace rope every 1–2 seasons in harsh climates
A tire swing is a timeless backyard classic that provides hours of outdoor fun for children and adults alike. This comprehensive guide shows you how to build a safe, durable tire swing using proper materials, correct installation techniques, and essential safety measures.
Whether you’re a first-time DIYer or an experienced builder, you can complete this project in about 60–90 minutes with basic tools and readily available materials.
The key to a safe tire swing is using the right rope (5/8″ diameter with at least 8,000 lb break strength), selecting a healthy tree limb (8–10 inches or larger in diameter), and maintaining proper clearances (6 feet in all directions).
Follow these six detailed steps to create a swing that will last for years with proper maintenance.
How to Build a Tire Swing: Safe Heights, Rope Specs, Cost
Got a spare tire? Turn it into a safe backyard swing with basic tools and a sturdy tree limb. This guide shows you exactly what to buy, how high to hang it, and how to keep it safe for years. We specify rope diameters, load ratings, clearances, and inspection routines — so your tire swing is fun and dependable.
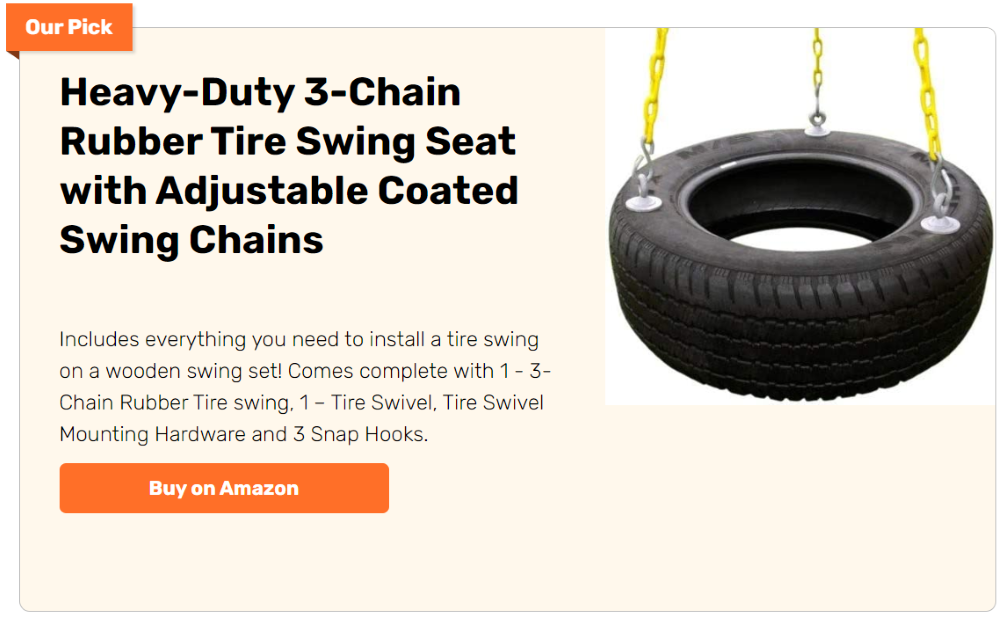
What Materials Are Needed to Make a Tire Swing?
- Tire
- One clean, undamaged tire (passenger car or light truck tire works best); inspect for steel belt exposure, cracks, or excessive wear. Free from most tire shops.
- 5/8” Diameter Rope
- 20–30 feet of synthetic rope (polyester or nylon) with minimum 8,000 lb break strength and 800 lb working load. Polyester resists UV better than nylon for outdoor use.
- Tree Protection
- Old bicycle inner tube (2–3 feet) or commercial tree saver strap (2–3 inches wide) to protect bark and distribute load.
- GafferTape or Electrical Tape
- For wrapping rope ends to prevent fraying during installation.
- Throw Line
- 30–50 feet of lightweight cord with a small weight (8–12 oz) attached to pull the main rope over the limb.
- Wire Rope Clamps
- 3 pieces, 3/8″ size (also called cable clamps or U-bolt clamps).
- Washers
- 3 large flat washers (3/8″ inner diameter, 1–1.5″ outer diameter) and 3 small flat washers (3/8″ inner diameter).
- Nuts
- 6 pieces, 3/8″ hex nuts (usually included with wire rope clamps).
What Are the Tools Needed for This DIY Tire Swing?
- Measuring tape (25–50 feet)
- Ratchet wrench or socket set (for 3/8″ nuts)
- Utility knife or sharp scissors
- Electric drill with 3/8″ or 1/2″ bit (for drainage holes)
- Ladder (if needed to reach limb)
- Work gloves (to protect hands when handling rope)
Step-by-Step Instructions
Step 1: Prepare and Inspect the Tire
Start by thoroughly cleaning your tire. Remove all dirt, debris, grease, and any labels.
Inspect the tire carefully for:
- Exposed steel belts or wires (discard if present)
- Deep cracks in the rubber (indicate age/UV damage)
- Bulges or deformities
- Chemical residue or strong odors
Drill 3 – 4 drainage holes (3/8″ to 1/2″ diameter) in the bottom of the tire to prevent water accumulation, which attracts mosquitoes and adds weight. Space holes evenly around the lowest point of the tire when it hangs.
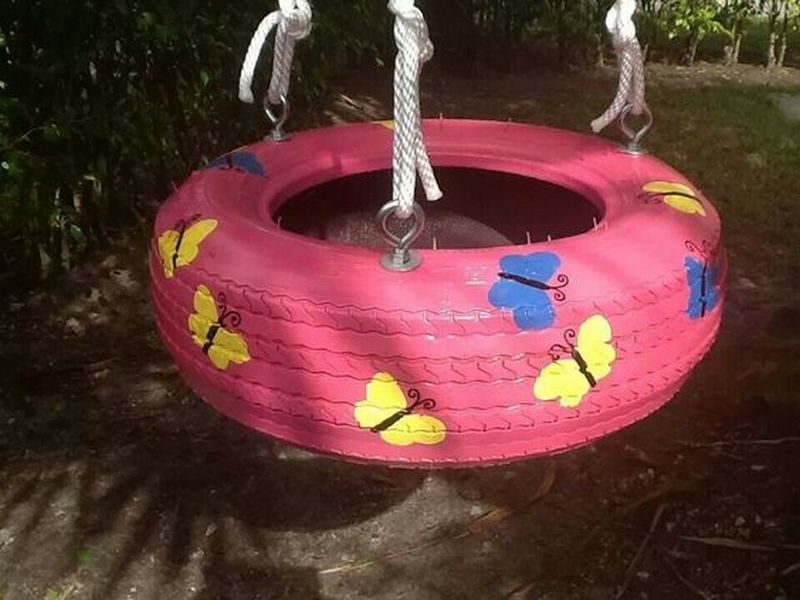
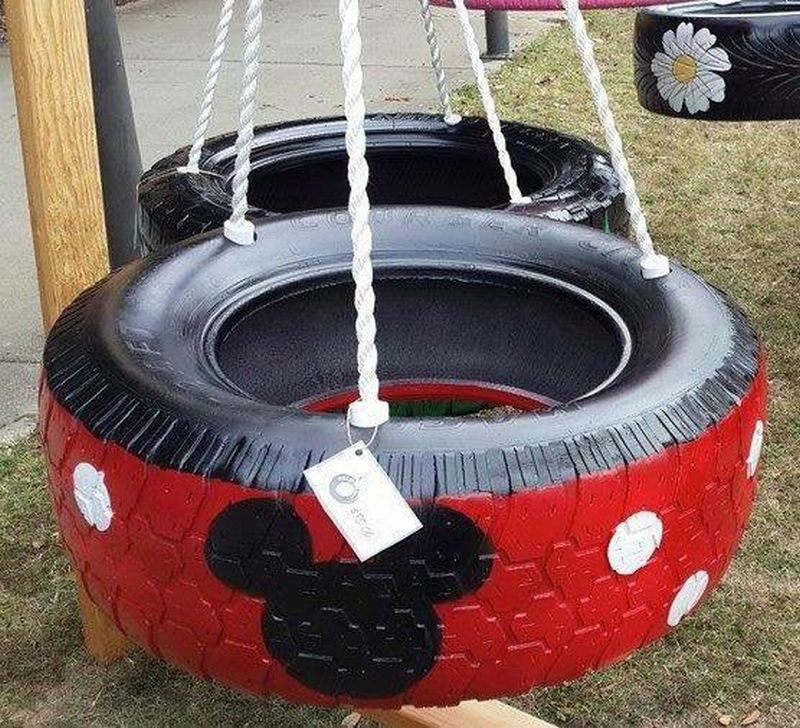
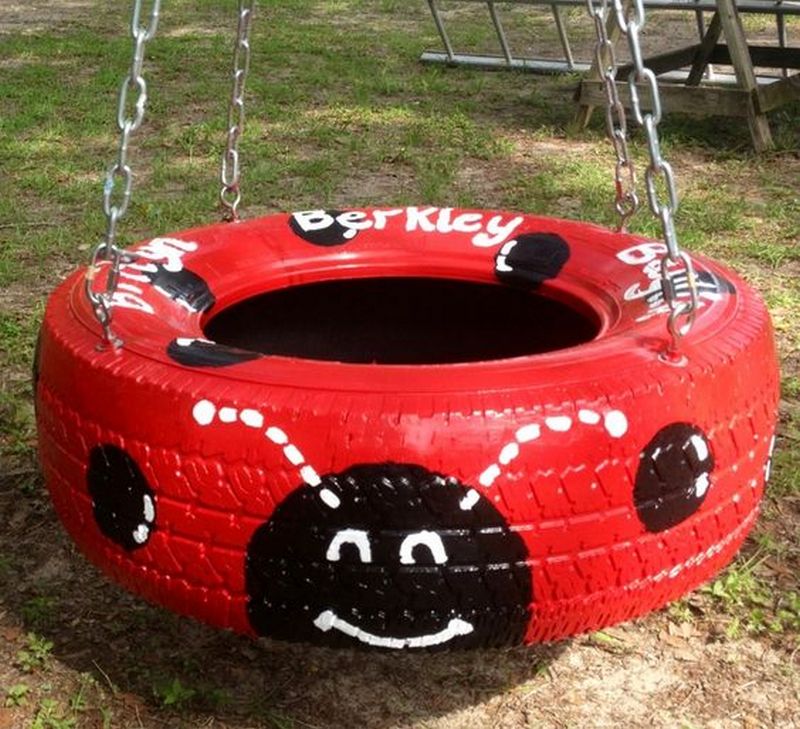
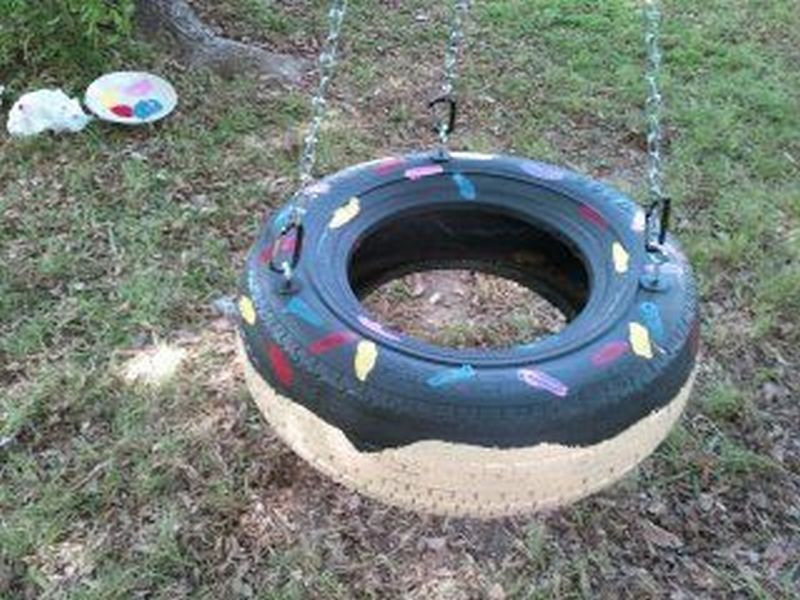
Optional: Paint the tire with outdoor latex or acrylic paint for aesthetics. Use light colors to reduce heat absorption. Allow 24 – 48 hours drying time before installation.
Step 2: Select and Prepare the Tree Limb
Choosing the right tree limb is critical for safety. Your limb must meet these requirements:
- Species: Hardwood trees (oak, maple, ash, hickory) are strongest. Avoid softwoods (pine, cedar, willow) and brittle species (elm, poplar).
- Diameter: Minimum 8 inches; 10–12 inches is ideal for long-term safety.
- Health: No visible cracks, splits, cavities, fungal growth, or dead wood. Bark should be intact.
- Angle: Horizontal or nearly horizontal (within 15° of level) for even load distribution.
- Height: 10–15 feet above ground allows proper swing arc and clearance.
- Location: At least 6 feet from trunk and other limbs; 6 feet clearance radius in all directions on the ground.
Protect the limb by wrapping the contact area with an old bicycle inner tube or a 2–3 inch wide tree saver strap. Wrap 2–3 times around the limb where the rope will sit. This distributes the load, prevents bark abrasion, and reduces rope wear.
Secure the tube/strap with tape or by tucking the end under itself.
Step 3: Measure and Prepare the Rope
Accurate measurement ensures proper swing height and safe installation:
- Measure the vertical distance from the ground to the center of the limb.
- Add 4–6 feet for knots, clamps, and adjustment.
- For a vertical (single-point) hang, you need one length of rope.
- For a horizontal (three-point) hang, you need three separate lengths.
Cut the rope to length. Immediately wrap both cut ends with 2–3 inches of gaffer tape or electrical tape, wrapping tightly to compress the fibers and prevent fraying. This makes threading through the tire much easier.
Rope Selection Tips:
- Polyester: Best for outdoor swings; excellent UV resistance, minimal stretch, good abrasion resistance.
- Nylon: Stronger but stretches more (bouncy swing); absorbs water; degrades faster in sunlight.
- Manila/natural fiber: Not recommended; rots, weakens when wet, harbors mold.
- Polypropylene: Inexpensive but degrades quickly in UV; suitable only for temporary installations.
Step 4: Thread the Rope Through the Tire
For a vertical hang (classic single-rope swing):
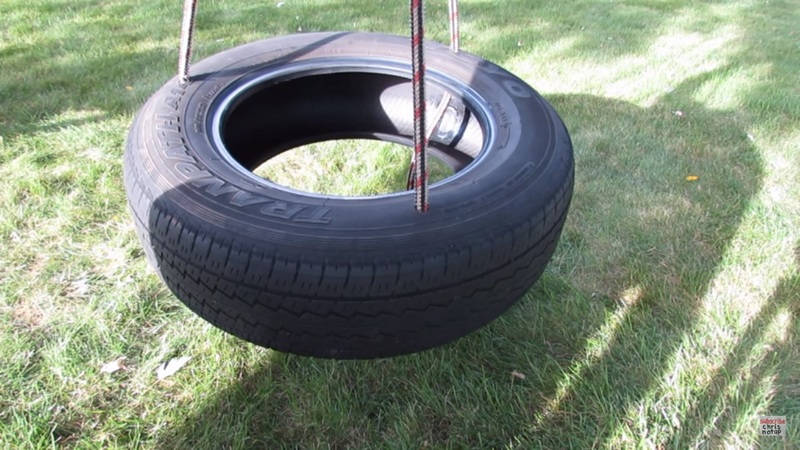
1. Feed the rope through the center hole of the tire from top to bottom.
2. Center the tire on the rope so equal lengths extend from both sides.
3. The tire will hang vertically, allowing spinning and swinging in any direction.
For a horizontal hang (seat-style, three-point suspension):
- Drill three evenly spaced holes (120° apart) through the tire sidewall, about 2 inches from the inner rim.
- Thread one rope through each hole.
- The tire will hang flat like a seat, more stable but no spinning.
- Requires three separate rope runs over the limb or a spreader bar.
Most DIY tire swings use the vertical hang for simplicity. The horizontal method requires more hardware and precise balancing.
Step 5: Install the Rope Over the Limb
This is the most critical step for safety:
- Attach your lightweight throw line to the end of the main rope with a secure knot (bowline or double fisherman’s).
- Stand clear of the swing area. Throw the weighted end of the throw line over the limb, aiming for the protected section.
- Pull the throw line to draw the main rope up and over the limb until both ends of the main rope reach the ground.
- Remove the throw line.
Secure the rope with wire rope clamps:
- Thread both rope ends (the working end and the standing end) through a large washer.
- Form a loop over the limb and bring the working end back down alongside the standing end.
- Slide the first wire rope clamp onto both rope strands, 6–8 inches below the limb. The U-bolt should go over the working (short) end; the saddle (grooved plate) goes over the standing (long) end. Tighten nuts evenly with a ratchet to manufacturer’s torque (typically 15–20 ft-lbs for 3/8″ clamps).
- Add a second clamp 3–4 inches below the first, same orientation.
- Add a third clamp 3–4 inches below the second.
- Slide small washers onto the rope below the bottom clamp for extra security.
Adjust the tire height: The bottom of the tire should be about 12 inches above level ground for young children, 18–24 inches for older kids and adults. Leave at least 6 feet of clearance in all directions from obstacles (fences, trees, structures).
Step 6: Final Inspection, Testing, and Trimming
Before allowing anyone to use the swing:
- Inspect all clamps
- Ensure nuts are tight and the rope is not slipping through the clamps.
- Check the limb protection
- The tube or strap should be in place and not bunched up.
- Verify clearances
- Walk a 6-foot radius around the swing; remove any obstacles.
- Load test
- Apply gradual weight to the tire (have an adult sit gently). Watch for rope slippage, clamp movement, or limb flexing/cracking sounds.
- Swing test
- Push the tire through its full arc. It should not contact the trunk, other limbs, or ground obstacles.
Trim excess rope: Cut the working end 4–6 inches below the bottom clamp. Wrap the cut end with tape to prevent fraying. Do not cut too close to the clamps; leave enough tail for future re-tightening.
Mark your calendar for the first monthly inspection (see Maintenance section below).
Click on any image to start the lightbox display. Use your Esc key to close the lightbox.


For a visual guide, check out the video below.
Tire Swing Variations
Vertical Hang (Single-Rope)
- Pros
- Simple installation, allows 360° spinning and swinging, requires only one rope run.
- Cons
- Less stable for very young children, can twist and tangle.
- Best for
- Kids 5+ who enjoy spinning and dynamic movement.
Horizontal Hang (Three-Point)
- Pros
- Stable seat-like platform, no twisting, easier for toddlers to sit.
- Cons
- More complex installation, requires three ropes or a spreader bar, no spinning.
- Best for
- Toddlers, multiple riders (though still limit to one at a time for safety), accessible swings.
Eye Bolt with Swivel Mount
- Pros
- Reduces rope wear, allows smooth spinning, easier height adjustment.
- Cons
- Requires drilling into limb (may harm tree), more expensive hardware, professional installation recommended.
- Best for
- Permanent installations where tree health can be monitored by an arborist.
Troubleshooting Common Issues
- Swing drifts to one side
- Cause: Tire not centered on rope or limb not level.
- Solution: Adjust rope length on each side; re-center tire; choose a more horizontal limb.
- Rope squeaks or creaks
- Cause: Friction between rope and limb or within rope fibers.
- Solution: Apply silicone spray or beeswax to rope contact point; ensure tree protection is in place; consider a swivel mount.
- Bark abrasion or rope wear
- Cause: Insufficient or narrow tree protection; rope rubbing on rough bark.
- Solution: Use a wider tree saver strap (3+ inches); add a second layer of protection; inspect and reposition monthly.
- Water pooling in tire
- Cause: Drainage holes too small or clogged.
- Solution: Drill larger holes (1/2″); clear debris after rain; tilt tire slightly if vertical hang allows.
- Rope fraying quickly
- Cause: UV exposure, sharp edges on tire, low-quality rope.
- Solution: Upgrade to marine-grade polyester rope; sleeve the rope through the tire with PVC pipe or garden hose; apply UV protectant spray.
- Limb flexing excessively
- Cause: Limb too small or species too flexible.
- Solution: Move to a larger limb (10–12″ diameter); switch to a hardwood tree; consult an arborist for load assessment.
Comprehensive Safety Guidelines
Creating a tire swing can provide endless hours of outdoor fun, but safety must always be the priority. Proper installation, regular maintenance, and careful use are crucial to ensure a safe environment for everyone. Here are key safety considerations to keep in mind when setting up and using a tire swing:
Installation Safety
- Choose the Right Location: Install the tire swing in an area free from obstacles such as fences, buildings, or other playground equipment. Ensure there is ample space around the swing for safe use.
- Select a Suitable Tree Limb: The tree limb used to hang the swing should be sturdy and healthy, at least 8 inches in diameter. Avoid branches that show signs of disease or weakness.
Material and Equipment Integrity
- Inspect the Tire: Before using a tire, check it for wear and tear, sharp edges, or exposed wires that could cause injury. It should be clean and free from any harmful residues.
- Use Strong and Durable Rope: The rope should have a minimum breaking strength of 8000 lbs to ensure it can support the weight and force of swinging. Regularly check for fraying, wear, or weather damage.
Secure Installation
- Ensure Secure Knots and Fixtures: Use strong knots and reliable hardware such as wire rope clamps to secure the swing. Double-check that all fixtures are tightened and that the rope is not slipping.
- Protect the Tree Limb: Use a protective barrier like an old bicycle tube around the limb to prevent damage to the tree and reduce wear on the rope.
Regular Maintenance
- Routine Checks: Regularly inspect the swing to ensure it remains in good condition. This includes checking the tire, rope, and any connecting hardware for signs of wear or damage.
- Immediate Repairs: If any part of the swing setup shows signs of deterioration or damage, repair or replace it immediately to prevent accidents.
Safe Use
- Supervise Young Children: Always supervise children while they are using the tire swing, especially those under the age of 5.
- Limit the Number of Users: Only one person should use the tire swing at a time to avoid collisions and excessive weight on the swing.
- Proper Use Instructions: Teach children how to use the swing safely, including sitting in the center of the tire and holding onto the rope securely.
Weather Considerations
- Weatherproofing: Protect the rope and tire from extreme weather conditions by applying suitable weatherproofing treatments or storing the swing during severe weather.
- Seasonal Adjustments: Before the start of each season, especially in regions with significant seasonal changes, perform a comprehensive check and maintenance routine.
Maintenance Schedule
Monthly inspections (10 minutes):
- Check rope for fraying, discoloration, or soft spots. Replace if any strand is broken.
- Tighten all clamp nuts; check for rust.
- Inspect tree limb for cracks, fungus, or bark damage.
- Verify clearances have not changed (new obstacles, ground settling).
- Test swing with adult weight; listen for unusual sounds.
Seasonal maintenance:
- Spring: Deep clean tire; check for winter damage; re-tighten all hardware.
- Summer: Apply UV protectant spray to rope; check for heat-related wear.
- Fall: Clear leaves and debris from tire and ground area.
- Winter: In harsh climates, remove tire and store indoors, or cover with tarp. Leave rope in place but inspect for ice damage in spring.
Replacement schedule:
- Rope: Every 1–2 years in full sun/harsh weather; every 2–4 years in shade/mild climates.
- Hardware: Every 3–5 years or immediately if rust/corrosion appears.
- Tire: Every 2–5 years depending on UV exposure and use intensity.
By adhering to these safety considerations, you can ensure that your tire swing is a safe and enjoyable addition to your backyard. Regular attention and care will help maintain the longevity and security of the swing, providing peace of mind while children play.
Cost Breakdown
Estimated total cost: $25–$60 (assuming free tire)
- Tire: $0 (free from tire shop) – $20 (if purchased used)
- 5/8″ polyester rope (25 feet): $15–$25
- Wire rope clamps (3): $6–$10
- Washers (6 total): $2–$3
- Tree protection (bicycle tube or strap): $0 (recycled) – $10
- Tape, throw line: $3–$5
- Optional: Paint, UV protectant: $10–$15
Frequently Asked Questions
- What rope is best for a tire swing?
- Use 5/8 inch polyester rope with minimum 8,000 lb break strength and 800 lb working load. Polyester resists UV better than nylon, has minimal stretch, and maintains strength when wet. Avoid natural fiber ropes (manila, sisal) as they rot quickly outdoors.
- How high should I hang a tire swing?
- Hang the tire 12 inches above ground for young children (ages 3–7) or 18–24 inches for older kids and adults. The limb should be 10–15 feet high. Maintain 6 feet of clearance in all directions and 24 inches from the trunk.
- How much weight can a tire swing hold?
- A properly installed swing with 5/8 inch rope (8,000 lb break strength) and a healthy 8–10 inch hardwood limb safely supports one rider up to 250 lbs. Dynamic swinging forces can be 2–3 times static weight, so always oversize your rope and hardware. One person at a time only.
- What size tree limb do I need for a tire swing?
- Minimum 8 inches diameter; 10–12 inches is ideal. Use healthy hardwood (oak, maple, ash, hickory) with no cracks, dead wood, or disease. The limb should be horizontal and at least 6 feet from the trunk. Consult a certified arborist if unsure.
- Is nylon or polyester rope better for outdoor swings?
- Polyester is better. While nylon is stronger, it stretches more (bouncy swing), absorbs water, and degrades faster in UV. Polyester has excellent UV resistance, minimal stretch, and maintains 85–90% strength when wet. Choose marine-grade for longest life.
- How do I protect the tree limb from damage?
- Wrap the contact area with a 2–3 inch wide tree saver strap or bicycle inner tube, wrapping 2–3 times where the rope sits. This distributes load, prevents bark abrasion, and reduces rope wear. Inspect monthly and adjust if it shifts.
- How do I prevent water from collecting in the tire?
- Drill 3–4 drainage holes (3/8 to 1/2 inch diameter) evenly spaced in the lowest point of the tire. After heavy rain, tip the tire to drain completely. Check and clear holes monthly. Standing water attracts mosquitoes and adds weight.
Conclusion
A tire swing is a rewarding project that brings joy and outdoor fun to your backyard. It’s crucial to focus on proper installation, use durable materials, and perform regular maintenance to ensure safety.
Encourage safe play by supervising young children and teaching them how to use the swing correctly. With these measures in place, your tire swing will provide endless hours of laughter and adventure for everyone.