Get the week's most popular posts delivered to your inbox.
Our weekly update is free yet priceless and you're less than a minute away from getting the current edition.
In the unlikely event we disappoint, you can unsubscribe with a single click!
Last Updated on November 24, 2025 by teamobn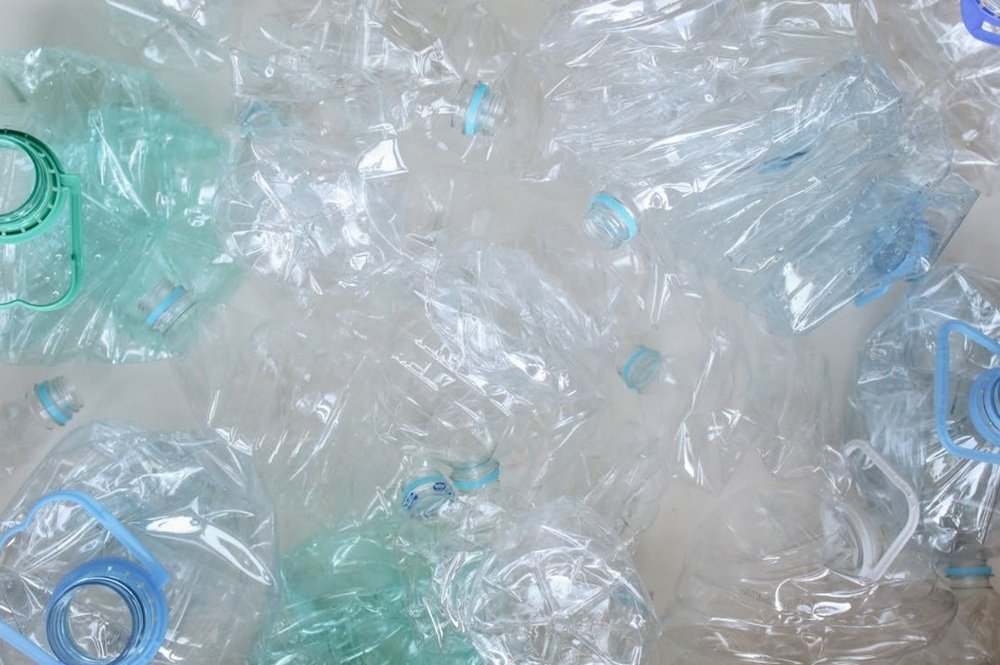
Hey there! Let’s talk about something that’s both easy and good for the planet: recycling. We live in a world where just about everything is packaged. Most of that packaging can be recycled or repurposed but vast amounts still get sent to landfill.
Contents
- 1 Smart Ways to Organize Recycling at Home
- 1.1 Step 1: Know What You Can Recycle
- 1.2 Step 2: Create a Convenient Recycling Zone
- 1.3 Step 3: Choose the Right Bins
- 1.4 Step 4: Rinse and Prep Your Recyclables
- 1.5 Step 5: Stick to a Routine
- 1.6 Step 6: Involve the Whole Family
- 1.7 Step 7: Reuse and Reduce Where Possible
- 1.8 Step 8: Keep an Eye on Changes
- 2 Final Thoughts
Smart Ways to Organize Recycling at Home
Most cities and larger towns now offer collection services or drop-off points where you can take paper, plastics and cans. But to maximize your contribution while minimizing your effort, needs a bit of organization.
Keeping things organized at home doesn’t have to feel like a huge task. With a little effort and some clever tips, you can create a system that’s simple to use and easy to maintain. No more mess, no more guessing. Ready to jump in? Let’s go.
Step 1: Know What You Can Recycle
The first step to organizing your recycling is understanding what can actually go in the bin. Different places have different rules, so it’s worth taking a few minutes to check. Most cities provide guidelines for what they accept. You might find these details on your city’s website or in a flyer from your local waste management service.
In most areas, the basics include paper, plastics, metals, and glass. Some locations even accept food scraps for composting. But there are also items that you might think are recyclable but usually aren’t welcome including plastic bags and disposable coffee cups.
Then there are pizza boxes… some recycling programs are happy to take them, but in other areas that might be a ‘no-no’! Getting this part right makes everything else easier to do your part for a better future..
Imagine this: You’ve just emptied a milk jug. If it’s made of #1 or #2 plastic, it’s likely recyclable. But that shiny chip bag? Probably not. Sorting correctly keeps your system running smoothly and prevents contamination.
Step 2: Create a Convenient Recycling Zone
Location is key when setting up your recycling system. If it’s easy to access, you’re more likely to use it consistently. Think about the flow of your daily life. The kitchen is a natural choice since that’s where most recyclables, like cans and bottles, come from.
If you have more space, like in a garage or mudroom, you can set up a larger sorting station. Keep it near an entryway or wherever you take out the trash. This keeps things convenient and saves time. The goal is to make recycling as effortless as possible.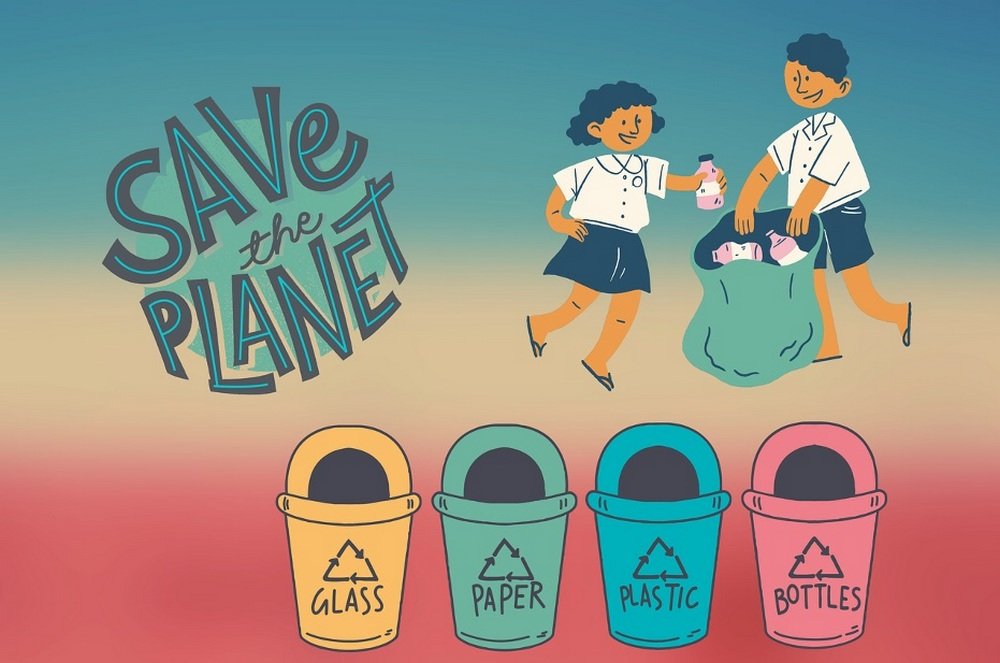
Step 3: Choose the Right Bins
The right containers can make or break your recycling system. For smaller spaces, a single bin with dividers works well. This lets you separate materials like paper and plastics without needing multiple containers. In larger spaces, you might prefer separate bins for each category.
Make sure the bins you choose are easy to clean. A sturdy plastic or metal container is a good option. You can even use labels or color-coded stickers to make sorting easier for everyone in the house. For example, blue is for plastics, green is for glass, and yellow is for paper.
Here’s a quick thought: A small bin near your desk can catch paper scraps, while a larger one in the kitchen handles bottles and cans. Having multiple stations helps you stay organized without extra effort.
Step 4: Rinse and Prep Your Recyclables
This step often gets overlooked, but it’s important. Dirty recyclables can ruin an entire batch, making it unusable. Take a moment to rinse out containers like yogurt cups or soda cans before tossing them in the bin. It doesn’t have to be spotless, just free of food or liquid.
Think of it this way: A sticky peanut butter jar is like a bad apple in a barrel. It can spoil the whole bunch. A quick rinse makes a big difference. For items like cardboard boxes, break them down to save space. This also makes them easier to handle on collection day.
Step 5: Stick to a Routine
Consistency is what keeps your system running. Decide how often you’ll empty your bins and stick to the plan. Once a week works for most households, but it depends on how much you recycle.
You could tie it to your trash day. If you’re already taking out the garbage, add your recyclables to the trip. This keeps things simple and ensures nothing piles up. Think of it like brushing your teeth. The more often you do it, the less effort it takes overall.
Step 6: Involve the Whole Family
Recycling works best when everyone’s on board. Teach kids what goes where and encourage them to pitch in. You can even make it fun by turning it into a game. For example, challenge them to see who can sort the most items correctly in a minute.
For adults, clear labeling helps avoid confusion. If someone’s not sure where an item belongs, having a quick reference on the bin can make all the difference. You can also use garbage bags for all purposes to simplify sorting temporarily, especially when dealing with mixed recyclables or items waiting to be cleaned. Just label the bags clearly, and you’re good to go!
Step 7: Reuse and Reduce Where Possible
Organizing your recycling is great, but reducing waste is even better. Look for ways to reuse items before recycling them. Glass jars can become storage containers. Old newspapers might work as wrapping paper. By rethinking how you use items, you can cut down on what ends up in your bins. This saves resources and reduces clutter in your home.
Step 8: Keep an Eye on Changes
Recycling rules can change over time, so it’s important to stay updated. Cities and towns occasionally adjust their programs: add new materials and remove ones that are no longer recyclable. To keep your system running smoothly, check for updates at least once a year.
You can find this information on your local waste management website, through community newsletters, or even by asking your neighbors. If your area introduces new initiatives, like curbside composting or special drop-off days for electronics, you’ll be ready to take advantage of them.
Final Thoughts
Recycling doesn’t have to be complicated. By setting up a simple system, you can make it a natural part of your routine. Know what your city accepts, pick a good spot for your bins, and keep things clean and organized. With a little effort, you’ll be helping the planet and keeping your home tidy at the same time.
And the best part? You’ll feel good knowing you’re making a difference. So, what do you say? Ready to get your recycling system in order? Let’s do it!
Get the week's most popular posts delivered to your inbox.
Our weekly update is free yet priceless and you're less than a minute away from getting the current edition.
In the unlikely event we disappoint, you can unsubscribe with a single click!


