Last Updated on November 22, 2023 by teamobn
Installing a heat pump in your home doesn’t have to be an intimidating process. You can accomplish it yourself with the right tools and guidance. This comprehensive article walks you through all you need to know to set up a DIY heat pump.
We’ll cover selecting the right model, prepping the installation site, and the setup. You’ll be empowered to enhance your home’s comfort and energy efficiency by the end.
Contents
Heat Pump Explained
A heat pump is a versatile heating and cooling device used in many homes and commercial buildings. Unlike traditional heating systems that generate heat, a heat pump moves heat from one place to another.
It makes it highly energy-efficient and popular for those looking to reduce energy costs. In this section, we’ll delve deeper into what a heat pump is, how it works, and why it might be the right choice for you.
The Basic Mechanics
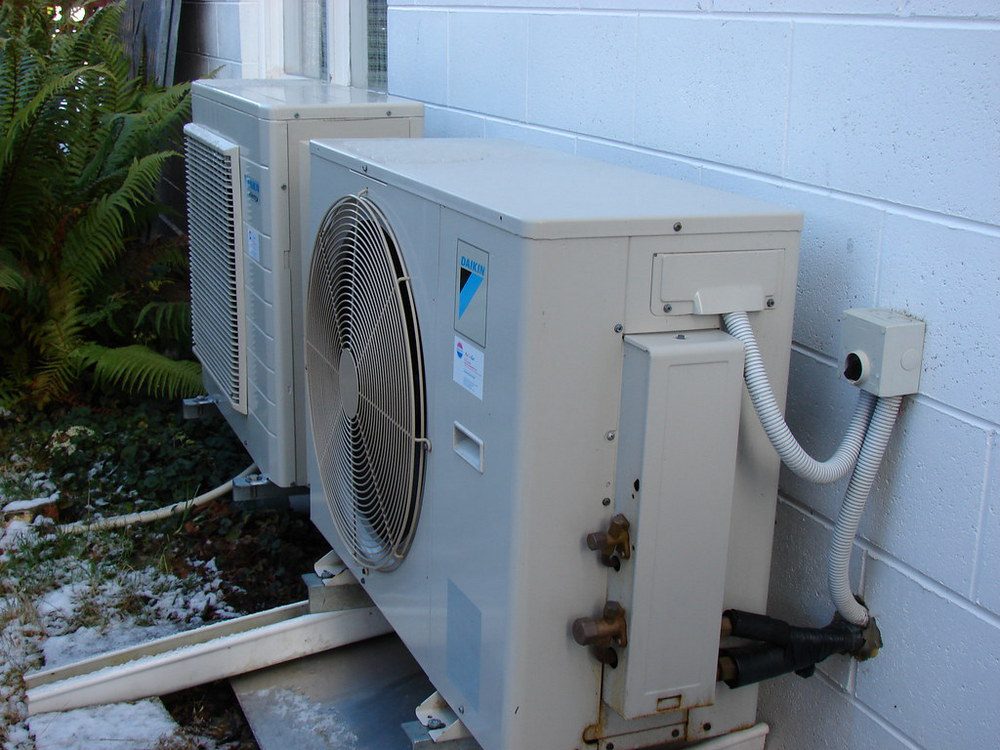
At its core, a heat pump consists of two main units: an indoor unit known as the air handler and an outdoor unit, often called the heat pump itself. The two units are connected by refrigerant lines, which facilitate heat transfer.
The refrigerant within the system absorbs heat from one location and releases it at another, thanks to the principles of thermodynamics. When heating, the pump draws warmth from the outside air or ground and transfers it indoors. In cooling mode, the process is reversed.
Energy Efficiency
One of the biggest selling points of a heat pump is its energy efficiency. Traditional heating systems burn fuel to create heat, which can be inefficient and environmentally unfriendly. On the other hand, heat pumps use electricity only to move heat, not produce it. This results in less energy consumption and lower utility bills.
Many modern heat pumps come with high Seasonal Energy Efficiency Ratios (SEER) and Heating Seasonal Performance Factors (HSPF), making them even more efficient.
Advantages and Disadvantages
While heat pumps offer many benefits, like lower energy bills and dual functionality (heating and cooling), they are not without drawbacks. Initial installation can be costly, especially for ground-source models. Some systems may also require supplemental heating during extreme cold. However, the long-term benefits often outweigh the initial costs and limitations.
A heat pump is a powerful and efficient device that offers both heating and cooling functions. Understanding its basic mechanics, types, and efficiency levels lets you decide whether it’s the right choice for your home.
While there may be initial costs and limitations to consider, the benefits of reduced energy bills and a more sustainable way to control your home’s climate make heat pumps a worthy investment.
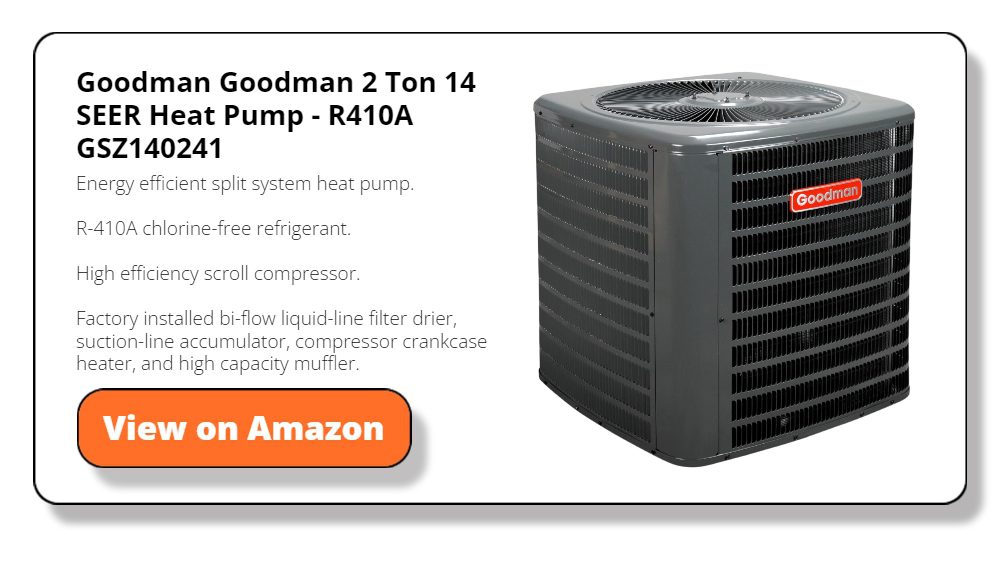
Choosing the Right Heat Pump
Selecting the right heat pump is crucial for efficient heating and cooling. In this section, we’ll dive into how to choose a heat pump that meets your needs. We’ll consider factors like size, efficiency, and cost to ensure you make an informed decision.
Understand Your Home’s Needs
Before shopping for a DIY heat pump, you must understand your home’s unique needs. Consider the climate you live in. Is it mostly hot, cold, or a mix of both? Your local weather can greatly influence the type of heat pump you choose.
Also, think about the size of your home. A large home may need a more powerful unit, while a smaller space can do with less. Don’t forget to take into account the existing insulation in your home. Good insulation can make even a less powerful unit more effective.
Lastly, are there any specific features you’re looking for? Some people want features like smart controls or quieter operation. Knowing what you need makes it easier to find a heat pump that’s a perfect match.
Sizing Matters
The size of the heat pump you choose is critical for optimal performance. A unit that’s too small will have to work harder, causing it to wear out faster. On the other hand, a unit that’s too large will cycle on and off too often, wasting energy. To determine the right size, professionals often use Manual J Load Calculation.
The calculation considers factors like your home’s square footage, insulation level, and even the number of windows. It’s a good idea to consult a professional for this calculation, although some online tools can give you a rough estimate. The goal is to find a size that provides efficient heating and cooling without overloading the system.
Energy Efficiency Ratings
Always look at the energy efficiency ratings when choosing a DIY heat pump. These ratings will give you an idea of how well the unit converts energy into heating or cooling. The Seasonal Energy Efficiency Ratio (SEER) and Heating Seasonal Performance Factor (HSPF) are commonly used ratings.
A higher SEER or HSPF number indicates better efficiency. These ratings are often displayed on the unit or in the product description. Selecting a heat pump with high energy efficiency may cost more upfront, but it can save you money in the long run. You’ll see reduced utility bills and can even qualify for energy rebates, making the extra investment worthwhile.
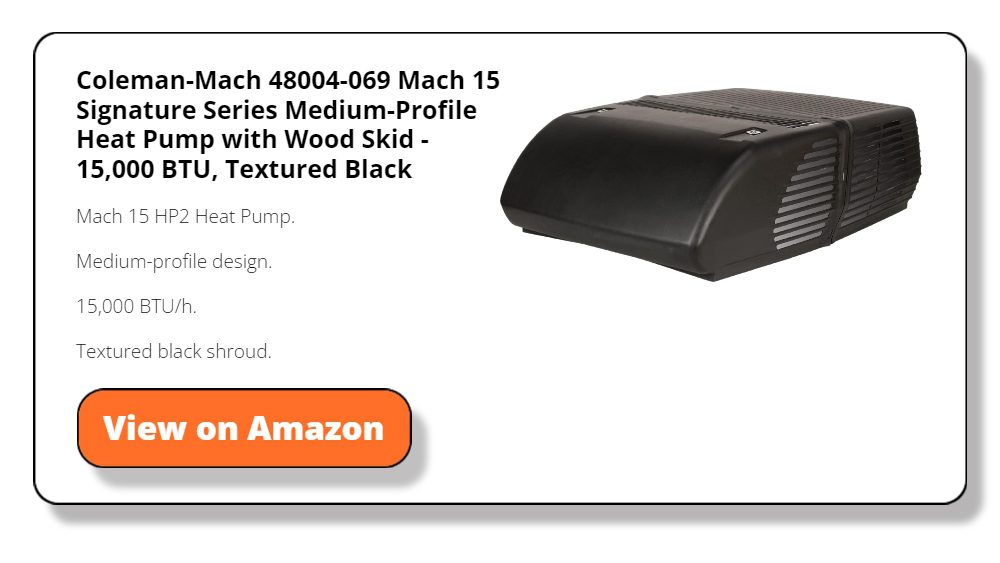
Types of Heat Pumps
When choosing a DIY heat pump, you’ll encounter different types, each with its advantages and drawbacks. The most common types are air-source, ground-source, and mini-split heat pumps.
Air-source heat pumps are generally easier to install and are well-suited for moderate climates. Ground-source, or geothermal heat pumps, are more efficient but can be more difficult and costly to install. Mini-split heat pumps are ideal for homes without ductwork and allow for zone-specific heating and cooling.
Understanding these types helps match the heat pump to your home’s needs. Consider factors like installation complexity and long-term efficiency to make an educated choice.
Budget Considerations
Budget is essential when choosing a heat pump for your DIY project. Prices can range from a few hundred to several thousand dollars depending on the type, brand, and features. While choosing the cheapest option is tempting, remember that initial cost is just one part of the equation.
More efficient models may cost more upfront but can save you significant energy bills over time. Also, consider the cost of any additional items you might need for installation, like pipes or ductwork. Finally, check if any rebates or incentives are available for installing energy-efficient heat pumps in your area. These can offset the initial cost and make a more expensive unit more affordable in the long run.
Installation Steps
Now that you’ve chosen the perfect heat pump, it’s time for the hands-on part: installation. This section will guide you through preparing your installation site and choosing the right tools. Proper preparation ensures a smoother installation process and optimal performance of your DIY heat pump.
Safety First: Precautions Before You Begin
Before getting into the installation, safety should be your top priority. Ensure to turn off all electrical power to the area where you’ll be working to avoid electric shock. Wear protective gear such as gloves and safety goggles to protect against accidental injuries.
If you’re uncomfortable with electrical work, consider hiring a professional for that part of the installation. Also, carefully read the installation manual to familiarize yourself with all the components and steps. This preparation minimizes risks and makes the installation process more straightforward.
Organizing Your Workspace
A well-organized workspace sets the stage for a successful installation. Clear the area where the heat pump will be installed indoors and outdoors. Ensure you have easy access to electrical outlets and other utilities. Keep all your tools and materials within reach to save time during the installation. A tidy workspace makes the job easier and helps avoid any mishaps or injuries during the process.
Necessary Permits and Regulations
Check local building codes and regulations before starting your DIY heat pump installation. Many places require permits for installing new heating or cooling systems. Skipping this step can result in fines or even the need to remove the unit.
Consult with local authorities or your homeowner’s association to know what’s required. Sometimes, a professional inspection is needed after the installation. Being aware of these regulations ensures compliance and saves you from future headaches.
Choosing the Right Tools for the Job
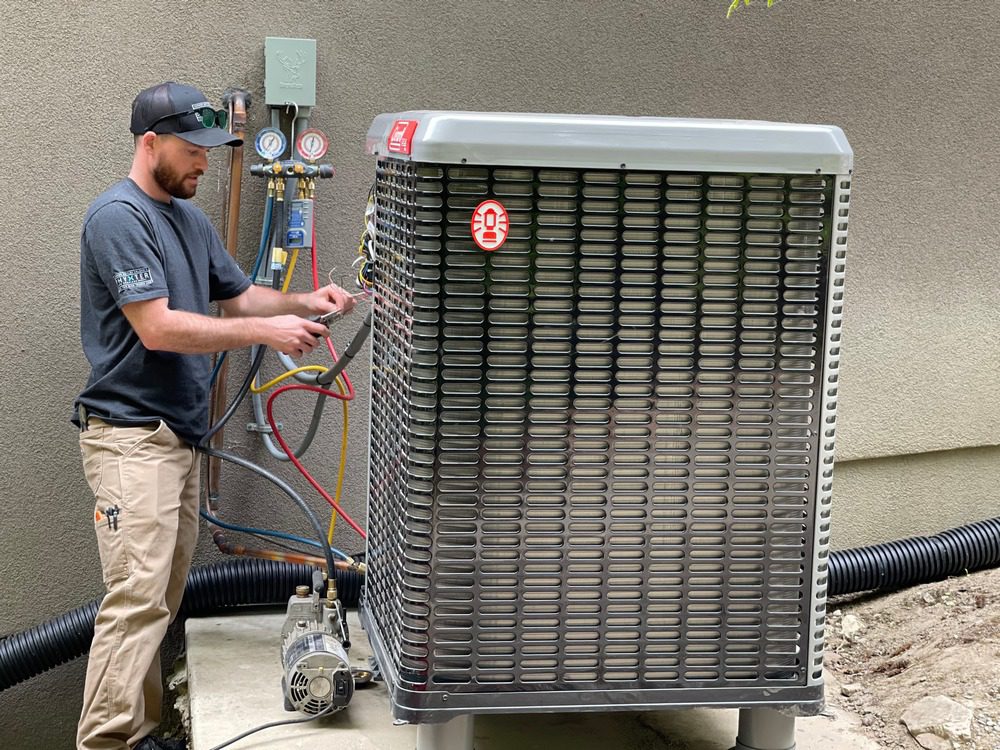
Having the right tools can make your DIY heat pump installation much smoother. Common tools you’ll need include a screwdriver set, a hammer, pliers, a drill, and a level. You’ll also need specific HVAC tools like a refrigerant manifold gauge and vacuum pump if you’re handling the refrigerant yourself.
Make sure to have electrical supplies like wire strippers and a multimeter for checking electrical connections. Each heat pump model may require additional tools, so check the installation manual for any specific requirements. Gathering all your tools beforehand ensures an uninterrupted and efficient installation process.
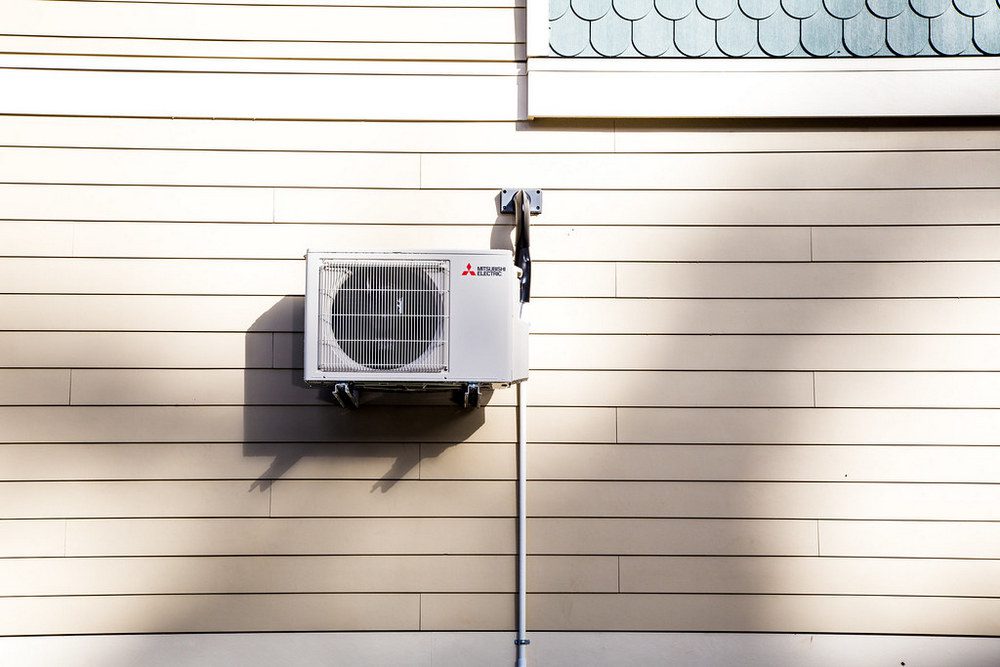
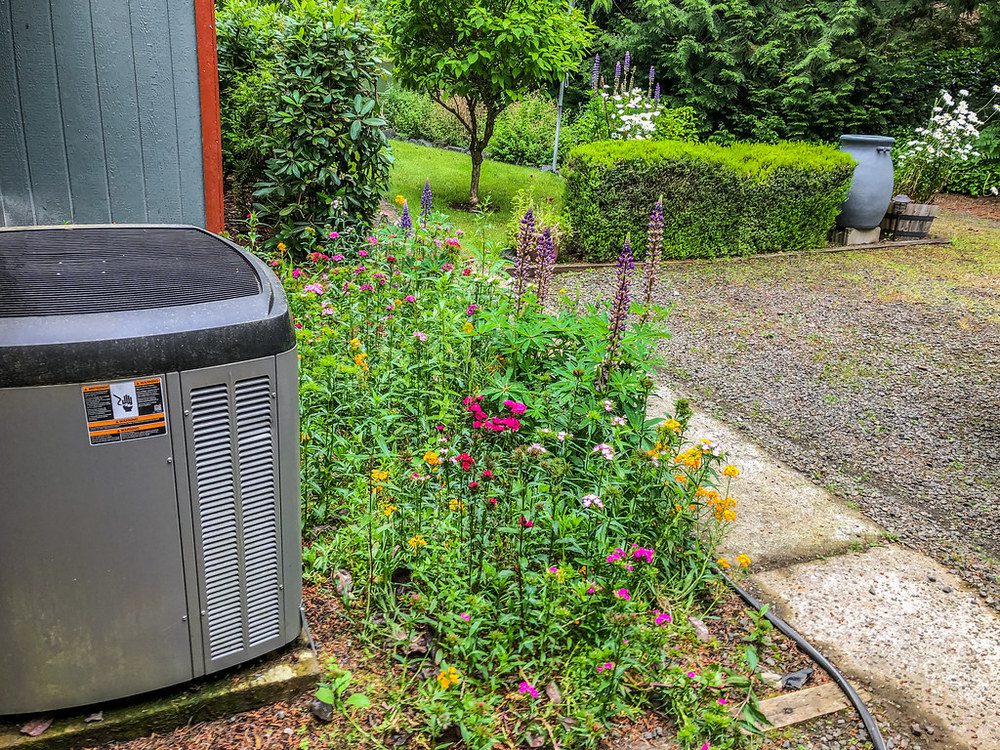
Preparing the Outdoor Unit Site
The outdoor unit site needs careful preparation for optimal performance and longevity of your heat pump. Choose a spot easily accessible for maintenance but not directly exposed to harsh weather like strong winds or flooding.
The site should be level and strong enough to hold the unit’s weight. It’s often recommended to place the unit on a concrete pad for added stability. Also, ensure enough clearance around the unit as specified in the manufacturer’s guidelines. This ensures proper airflow, which is crucial for efficient operation. Before placing the unit, remove any debris, rocks, or vegetation that could obstruct airflow or damage the unit.
Setting Up the Indoor Unit
Installing the indoor unit of your DIY heat pump is a critical step that requires careful planning and execution. The location you choose for the indoor unit should be both practical and convenient.
It should be a spot where the unit can efficiently distribute air throughout the space. Common locations include high on a wall, in a drop ceiling, or near the floor, depending on the model. Before you mount anything, double-check to ensure no obstructions like studs or pipes where you’ll be drilling.
Once you’ve decided on the location, use a level to mark the exact spot for the mounting bracket. Drill the necessary holes and secure the bracket to the wall with the appropriate screws. Be sure to consult the installation manual for any model-specific guidelines or requirements. You can mount the indoor unit after the bracket is securely in place.
Routing the refrigerant lines and electrical cables is the next crucial step. You’ll need to drill a hole through the wall to the outside for this. Make sure the hole is angled slightly downward to allow for drainage. Feed the lines and cables through this hole and connect them to the indoor unit. Again, each model may have specific steps for these connections, so consult your manual.
Once everything is connected, double-check your work. Ensure all fittings are tight and electrical connections are secure. Take this time to install additional features like smart thermostats or remote controls. Proper setup of the indoor unit is vital for the efficient operation of your heat pump, so take your time to get it right.
Paying attention to detail and following the guidelines ensures your indoor unit is set up for optimal performance. This meticulous approach minimizes issues, making your DIY heat pump installation a long-term success.
Electrical Connections and Wiring
When it comes to electrical connections, precision and safety are key. First, make sure the power supply matches the requirements stated in your heat pump’s manual. Once verified, connect the wires from the indoor and outdoor units. This usually involves routing cables through a conduit for protection. Inside the units, you’ll typically find terminals marked L (live), N (neutral), and G (ground).
Attach the corresponding wires to these terminals, ensuring a secure fit. If your heat pump has a pre-wired control panel, connect it according to the manufacturer’s instructions. Double-check all your connections and use a multimeter to confirm no issues. If you’re uncomfortable with electrical work, this might be a good time to call a professional.
Final Checks Before Powering On
Before you flip the switch to power on your DIY heat pump, a series of final checks are necessary. First, ensure tight and secure fastenings, bolts, and screws. Double-check the refrigerant and electrical connections to ensure they’re properly installed.
If your system uses ductwork, verify that it’s sealed and insulated to prevent energy loss. Consult your manual for any system-specific checks or tests that should be performed before startup.
After completing all checks, restore the electrical power to the installation site. Carefully observe the system’s initial operation to ensure everything works. Listen for any unusual sounds and watch for any irregularities in airflow or temperature.
DIY Heat Pump Installation Troubleshooting
Even with meticulous preparation, you might encounter some bumps along the road while installing your DIY heat pump. In this section, we’ll discuss common issues people face during installation and offer practical solutions to get you back on track.
Incorrect Refrigerant Charge
An incorrect refrigerant charge is one of the most common issues in DIY heat pump installation. Too much or too little refrigerant can lead to inefficient operation and even damage your system. If your unit isn’t cooling or heating properly, or you notice frost on the coils, you might be dealing with this issue.
To fix it, you’ll need a refrigerant manifold gauge to measure the current refrigerant level. Consult your manual for the correct pressure readings. If you’re unsure about handling refrigerants, it’s best to call a professional, as incorrect handling can be dangerous and is often regulated by law.
Electrical Wiring Errors
Mistakes in electrical wiring can lead to a range of problems, from a unit that won’t power on to potential electrical hazards. Always double-check your connections to make sure they match the manufacturer’s guidelines. Use a multimeter to test for correct voltage and continuity. If you find any loose or mismatched wires, correct them immediately.
Pay special attention to terminal connections within the unit. Miswiring these can lead to operational issues and may void your warranty. If you’re not confident with electrical work, consider hiring a qualified electrician to review this installation portion.
Unusual Noises After Installation
Hearing strange noises from your newly installed heat pump can be alarming. These sounds often indicate an issue that needs immediate attention. Rattling could mean loose screws or panels, while squealing could indicate a problem with the fan or motor.
To troubleshoot, power off the unit and open it up to inspect for loose or misaligned parts. Tighten all screws and make sure components are secure. If the noise persists, consult your manual or the manufacturer for guidance. Sometimes, specialized tools are required for further diagnosis. If you can’t identify the issue, it may be best to call in a professional.
Uneven Cooling or Heating
If your heat pump isn’t evenly cooling or heating your home, the issue may lie in the distribution system. First, check the vents or registers to ensure they’re open and not obstructed. Then, inspect the ductwork if your system uses it.
Leaks or blockages in the ducts can result in uneven temperature distribution. Sealing any leaks and clearing blockages usually solves the issue. Also, ensure the indoor unit is placed where it can effectively distribute air throughout the room.
If the problem persists, you may need to recalibrate the system settings or consult a professional for a more thorough diagnosis.
Water Leaks from the Indoor Unit
Water leakage is often a sign of improper installation or drainage issues. First, check the condensate drain pipe for blockages and clear if necessary. Ensure the pipe has a downward slope to facilitate drainage. If the indoor unit is mounted incorrectly, it can also cause water to collect and leak. Verify that the unit is level and make adjustments if needed.
In some cases, leaks occur because of damaged or improperly installed components like gaskets or seals. Replacing these parts usually resolves the issue. If you can’t pinpoint the cause, seek professional help.
Unit Won’t Power On
A unit that won’t power on is usually an electrical issue. First, check the circuit breaker to make sure it hasn’t tripped. Reset it if necessary, and try powering on the unit again. If that doesn’t work, inspect the wiring connections between the indoor and outdoor units.
Ensure all wires are securely connected, with no signs of damage. Use a multimeter to test for proper voltage at the unit. If everything seems in order and the unit still won’t power on, the problem could be a faulty component like a relay or control board. Consulting the manufacturer or hiring a professional is often the best course of action in such cases.
FAQ on DIY Heat Pump Installation
Can I install a heat pump myself?
While a DIY heat pump installation is possible, it requires a certain level of skill, especially for tasks like electrical wiring and refrigerants.
Do I need a permit for installing a heat pump?
Permit requirements vary by location. Always check local building codes and regulations before starting your installation.
How do I choose the right size heat pump?
Sizing is crucial for efficient operation. Consult your manual or use an online calculator to determine the appropriate size for your home.
What should I do if my heat pump isn’t heating or cooling well?
Issues like incorrect refrigerant charges or electrical errors can affect performance. Follow our troubleshooting section for common fixes.
Can I use my existing ductwork for a new heat pump?
Generally, yes. However, ensure it’s in good condition and properly sealed to ensure efficiency.
Conclusion
Installing a DIY heat pump at home can be a rewarding experience, offering both cost savings and the satisfaction of a job well done. However, it’s crucial to approach the task with proper preparation and a clear understanding of the process.
Each step needs careful consideration, from choosing the right unit to the final power-on. Our troubleshooting guide is here to help if you run into any issues. While some parts of the installation may require professional expertise, taking the DIY route for most work is feasible for those willing to invest the time and effort.