Last Updated on July 2, 2025 by teamobn

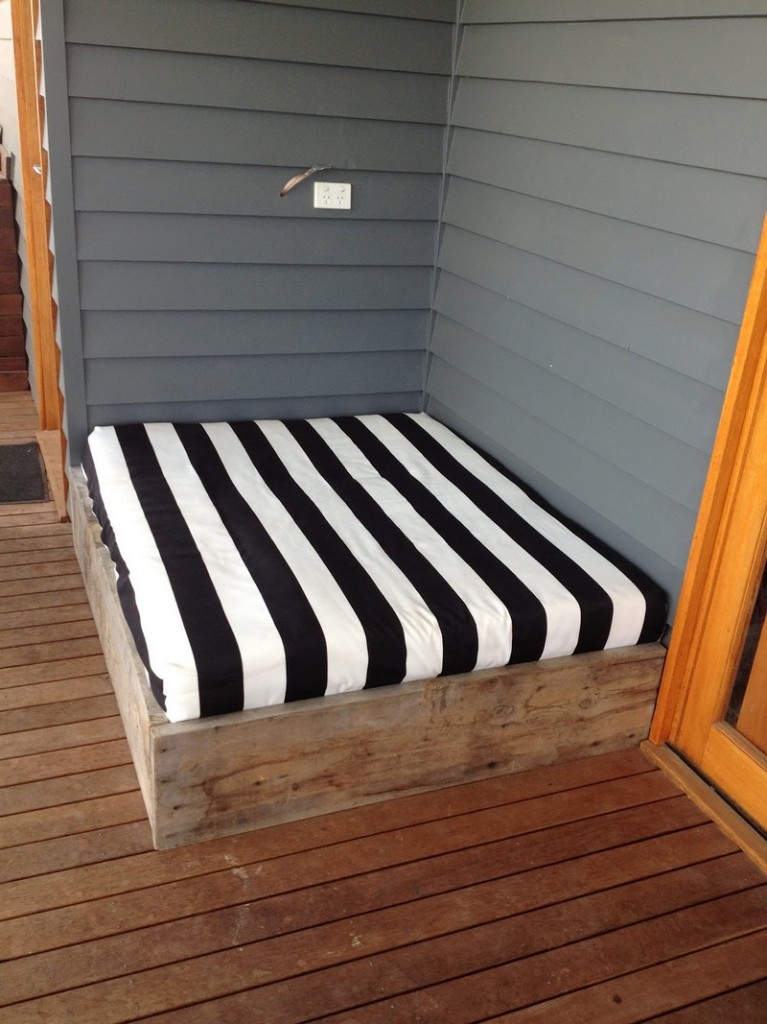
What’s a better way to unwind during the weekend than to rest in a beautiful and comfortable outdoor space in your home? This project will give you a great place to read, relax and enjoy some fresh air and sunshine. A day bed can be used as a space for an outdoor reading room or sitting room.
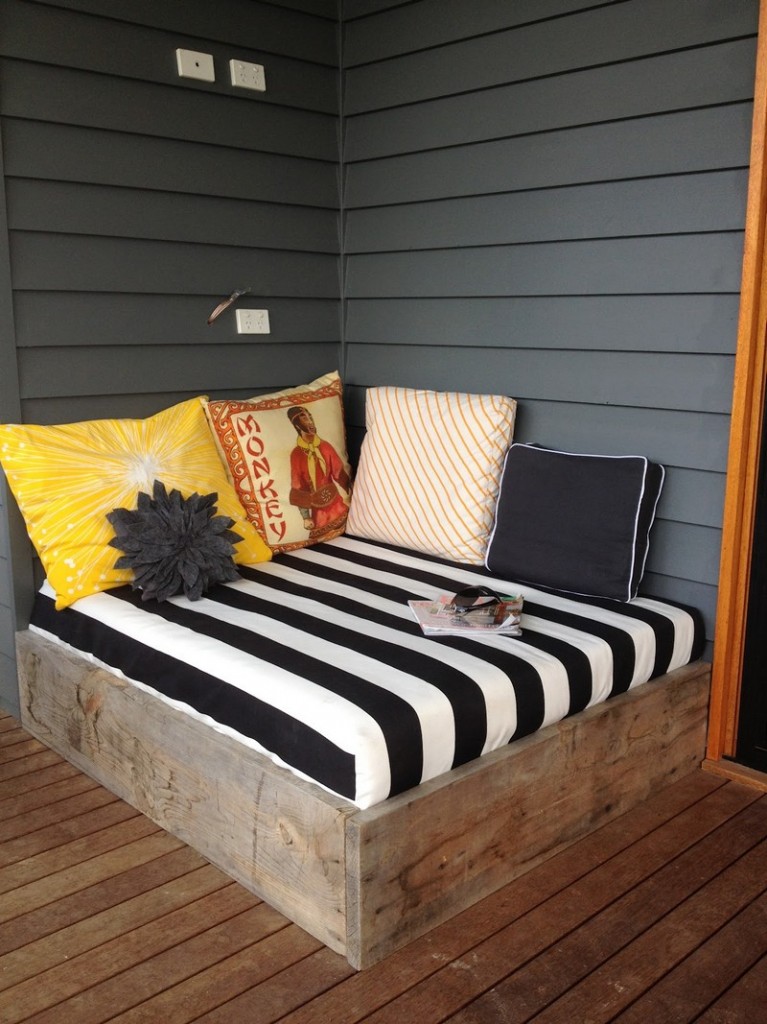
Over-sized cushions along the back can transform this into cozy seating, too. And if you have space on your deck that isn’t quite an alcove or an entryway, a day bed can turn it into a comfortable nook.

You’ll definitely enjoy spending more time outdoors than in your bedroom when you have a day bed like this on your porch or deck.
This is one DIY recliamed wood bed that’s easy and fast to build! It’s also very easy to adjust the dimensions to fit your available outdoor space. The owner-builder of this project even shows you how to cut and shape the foam base!

Benefits of a Recliamed Wood Bed
1. Environment friendly
Using reclaimed woods is a form of recycling. It reduces the risk of deforestation. Several animals in the forest have lost their homes because people cut these trees to make furniture, etc. Another effective benefit of these reclaimed timbers is making use of it as house flooring. The structure of this reclaimed timber traps air and becomes a natural insulator.
2. Vintage-look
The materials you use for a renovation have a large impact on the final appearance and feel of the piece. Old doors are unique and as doors, they were built to last they can be repurposed into a variety of different furniture pieces. For instance, aged doors that would have been disposed of can bring a total extraordinary appearance to your house. Distressing the wood or staining it differently gives it a rustic vintage appearance.
3. Unique design
reclaimed timbers are distinct woods since these are used before for a range of purposes, such as building structures, then these are thrown away from a construction site and then re-processed to be used for a variety of purposes. It is impossible to reproduce every piece because they are all distinctive.
Its age only enhances its appearance, depth and colour further, and reclaimed timber has so much character. Mass-produced things are so common these days. It will cost a fortune to find something original for your house. With reclaimed timber, you can be certain that each and every item is 100% authentic and wasn’t mass manufactured.
4. Durable and strong
Old-growth trees are known to be durable and strong, but these trees that were grown for decades can no longer be sold for your home projects. Where we end up having the best choice of recycling a reclaimed old-growth wood. When you use reclaimed timber for aesthetic designs and structural projects, you can deliver a new significance to the old-growth timber.
5. Wide wood planks
Since reclaimed woods are more durable, these are strong enough to be sawn into wide planks.
Building a Reclaimed Wood Bed
Need a movable day bed for your outdoor living area? Simply attach locking wheel casters and you’re good to go! If you prefer this to be a permanent fixture you could even build some storage into it.
And to make it complete, why not add a small table for refreshments and snacks?
Could you use a day bed in your outdoor living area?
Materials:
- 2×4 Pine Wood
- Reclaimed Hardwood
- Chipboard
- Bed Foam
- Craft Glue
- Batting
- Basic Sewing Materials
Tools:
- Table Saw
- Nail Gun
- Drill
- Electric Knife
- Staple Gun
- Sewing Machine
Steps:
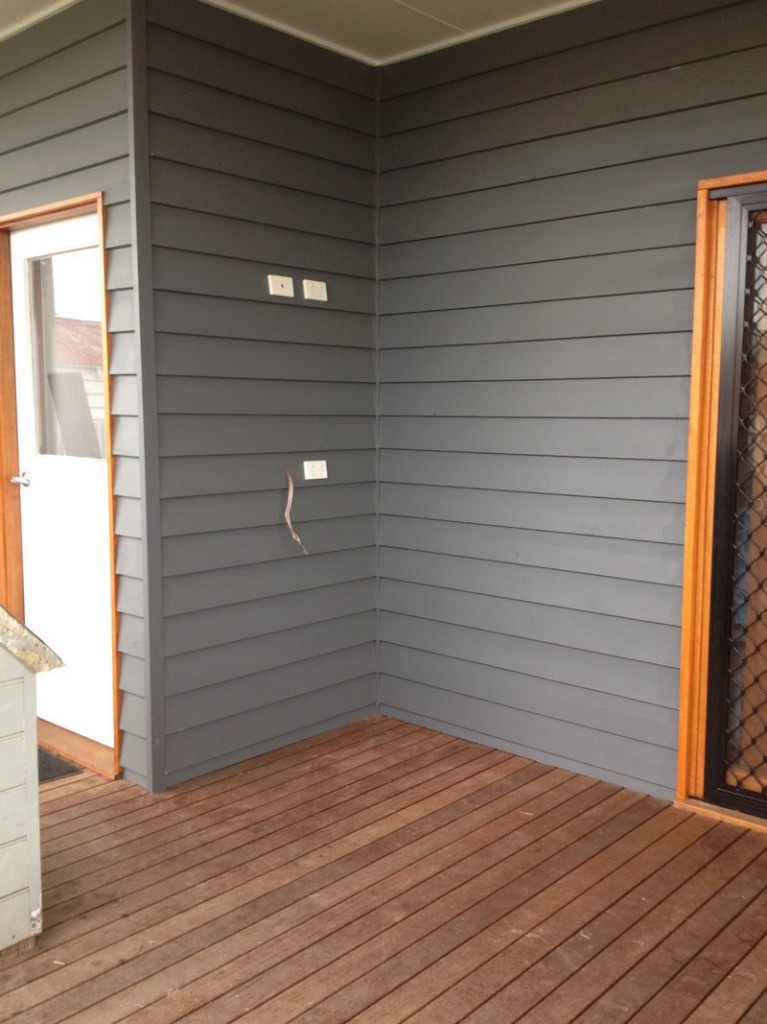
Step 1: Prepare materials and workspace
Lay out all lumber foam and tools. Keep the area clean and well lit. Decide on your reclaimed wood bed dimensions.
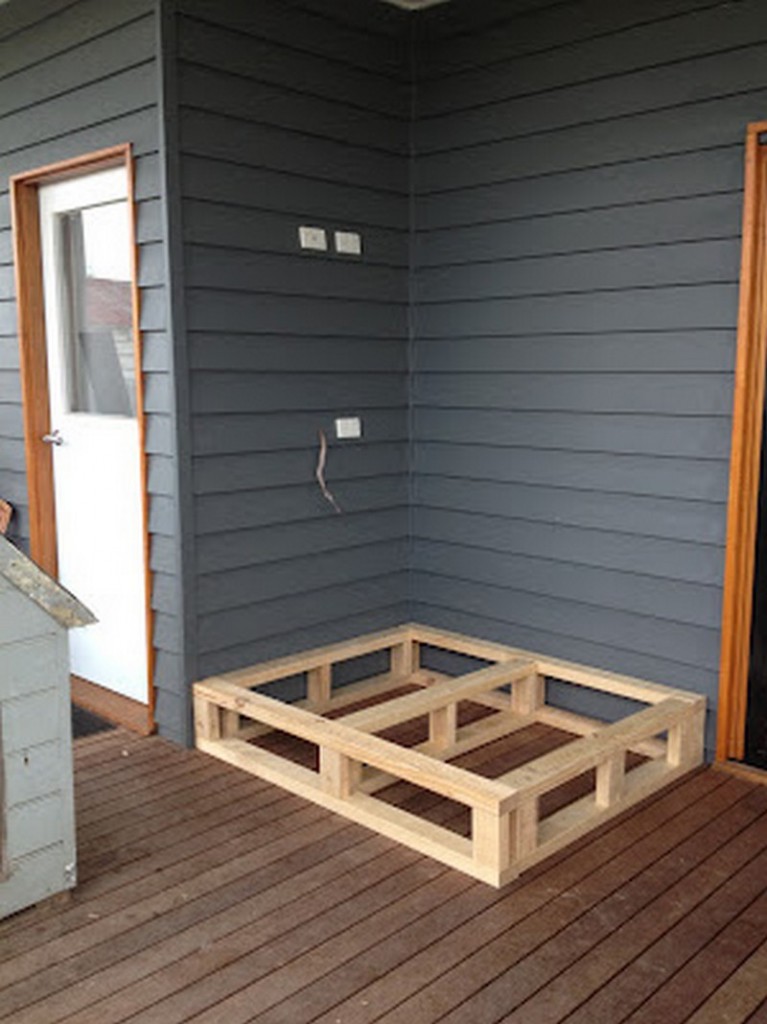
Step 2: Cut pine 2×4s for the frame
Set your table saw for square cuts. Cut two side rails and two end rails. Cut one center support beam.
Step 3: Assemble the pine frame
Lay rails and support on a flat surface. Drill pilot holes at each joint. Nail them with a nail gun. Add the center support. Check diagonals for squareness. A square frame makes your reclaimed wood bed sit level.
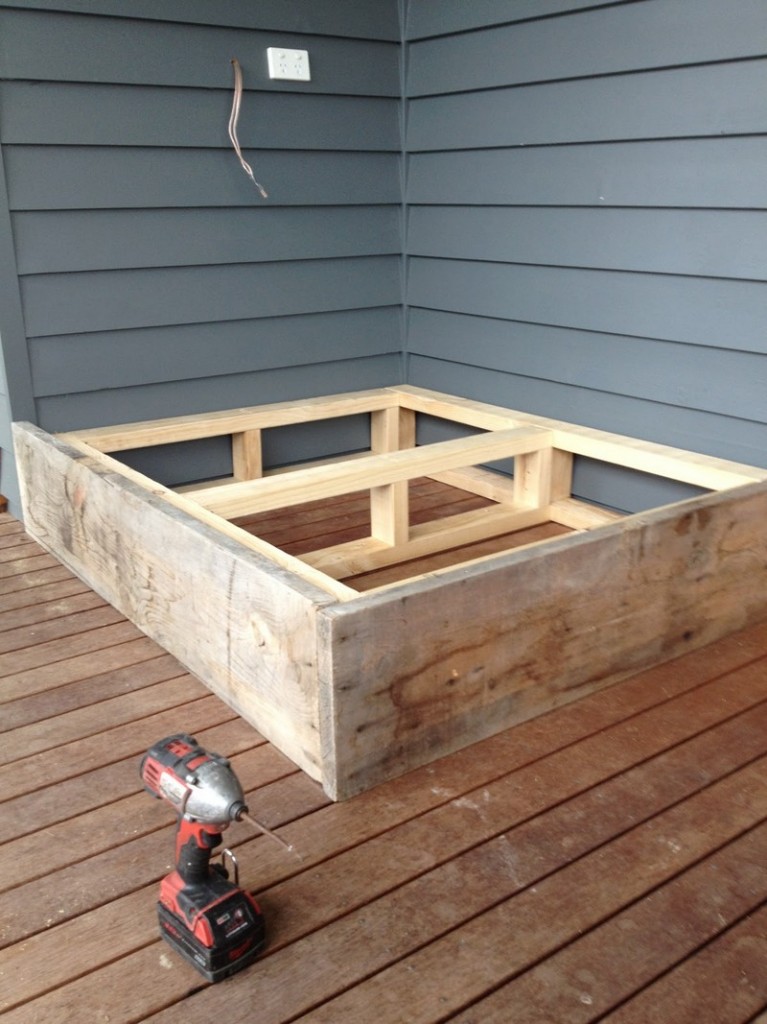
Step 4: Cut reclaimed hardwood into slats
Use the table saw to rip boards to equal widths. Label each slat for its position. These boards become the surface of your reclaimed wood bed.
Step 5: Attach hardwood slats to the frame
Apply craft glue to each pine rail. Position the first slat flush at one end. Nail it from below with the nail gun. Repeat and space slats evenly. The slats form the top of your reclaimed wood bed.
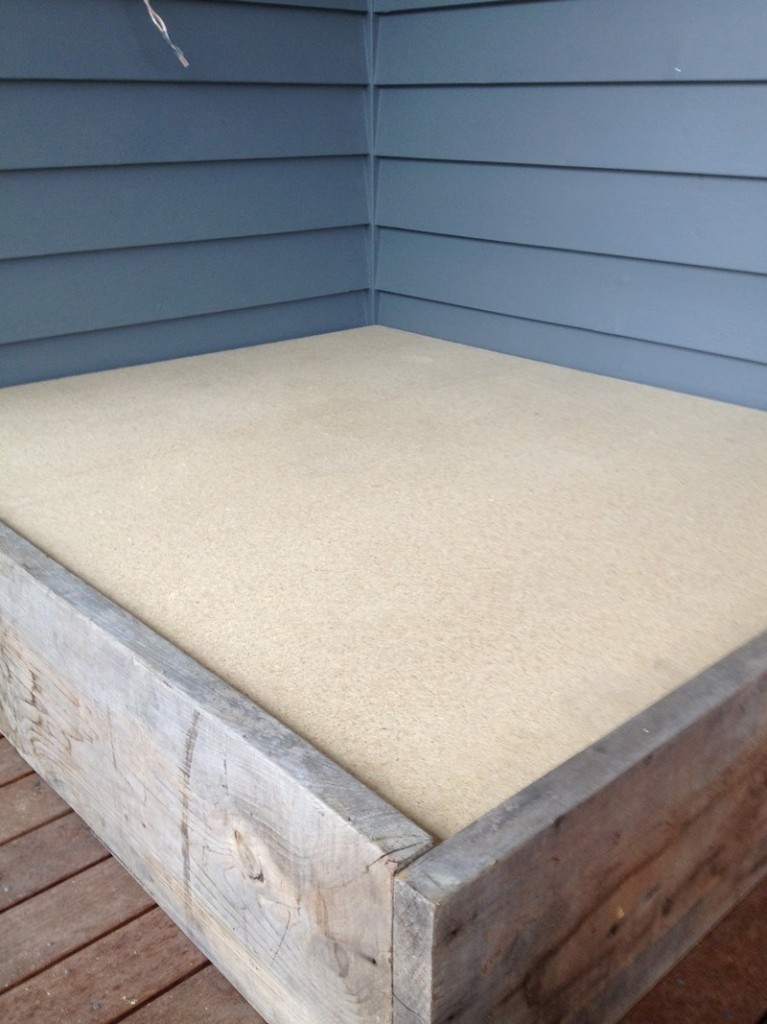
Step 6: Fit and secure the chipboard deck
Measure the interior of the frame. Trim chipboard to fit flush with the slats. Lay it on top and nail it every six inches. This creates a solid base for the foam.
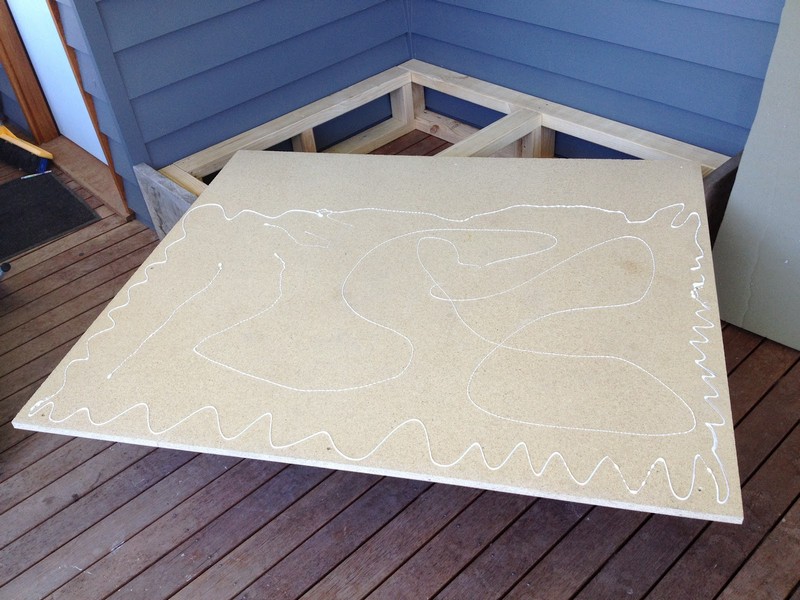
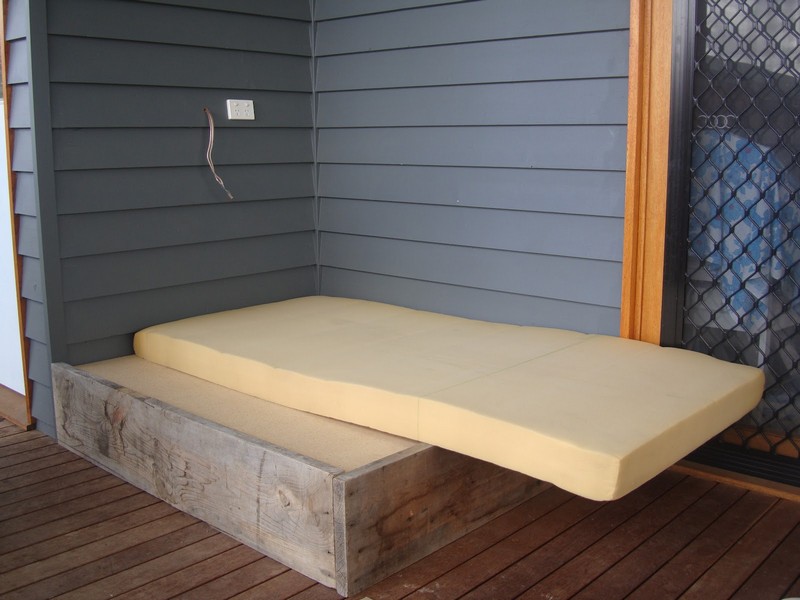
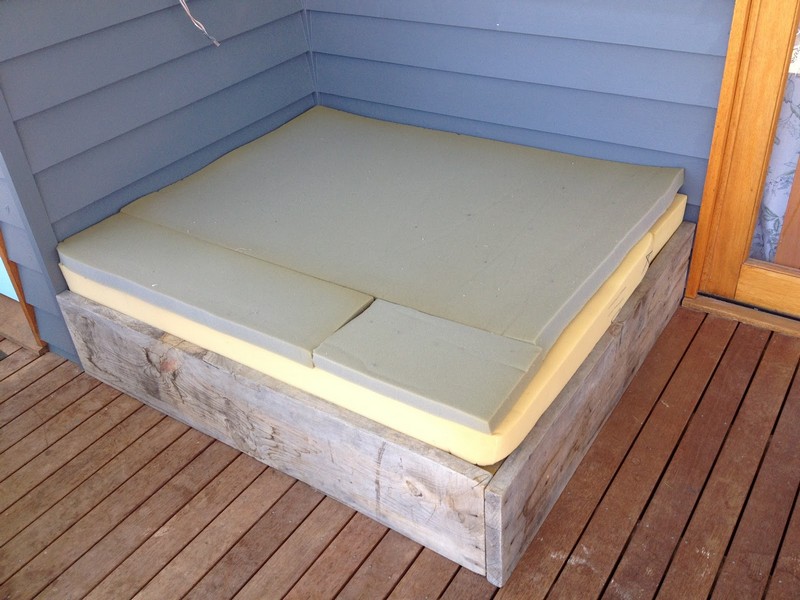
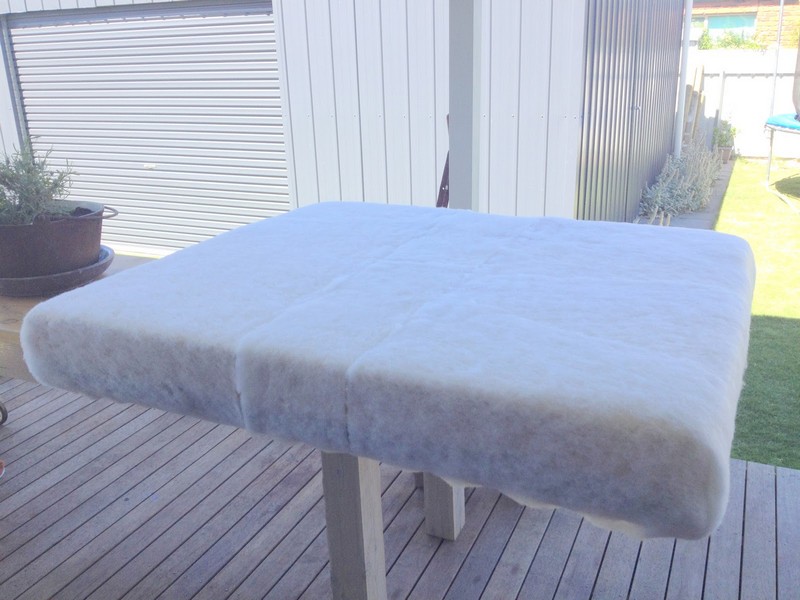
Step 7: Prepare the foam cushion
Use an electric knife to cut foam to match the chipboard. Stack layers to reach your desired thickness. Spread craft glue between layers. Press them together until set. This makes a comfy cushion for your reclaimed wood bed.
Step 8: Wrap the foam in batting
Spread batting on a clean surface. Center the foam stack on top. Pull the batting edges tight. Staple them under the frame with a staple gun. Trim any excess. This adds softness and neatness.
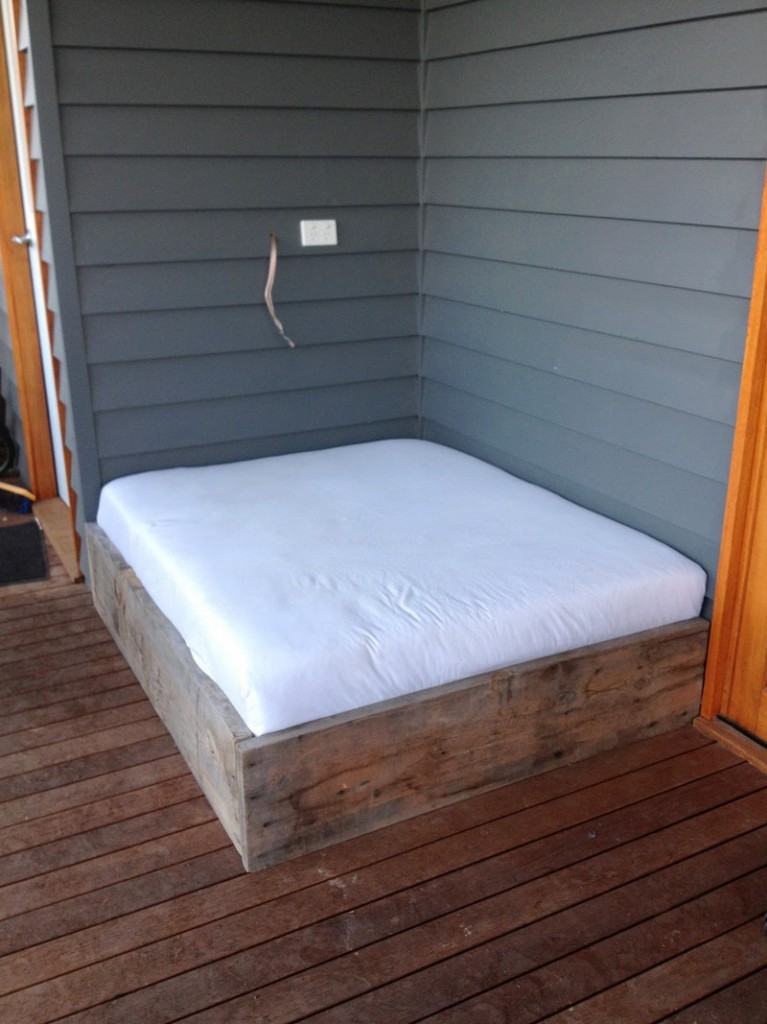
Step 9: Sew the fabric cover
Cut fabric panels two inches larger than the foam all around. Pin edges together inside out. Sew three sides on your sewing machine. Add a zipper or leave an opening on the fourth side. Turn it right side out.
Step 10: Finish and inspect
Slip the cover over the foam cushion. Zip or sew the opening closed. Place the cushion on the chipboard deck. Sand any rough edges on the hardwood. Test stability by pressing each corner. Your reclaimed wood bed is now complete and ready for bedding.
Here’s a quick video tutorial…
Preparing and Treating Reclaimed Timber Before Construction
Proper preparation of reclaimed timber sets the stage for a durable reclaimed wood bed. This step helps you avoid warping and ensures strength.
Identifying and Removing Contaminants
When you prepare lumber for a reclaimed wood bed, inspect every board under good light for old nails screws and other metal bits. Removing these prevents damage to saw blades routers and sanders.
Use a strong magnet to sweep the entire surface. This catches hidden nails or staples. Pull them out with pliers or a nail puller. Cleaning out all contaminants makes sure your reclaimed wood bed components fit together safely. It also prevents harm during cutting sanding or drilling.
Cleaning and Drying the Boards
Dirt grease and mold can hide deep in old planks so you need a thorough cleaning. Start by scrubbing boards with a stiff brush warm water and a mild detergent. Rinse well and let the wood drain. Place boards in a dry ventilated area to air out for several days.
Check moisture levels with a meter until they fall below twelve percent. That helps avoid shrinkage or warping once your reclaimed wood bed is assembled.
Applying Wood Stabilizers and Sealers
Reclaimed planks may be dry brittle or prone to splitting so you want to reinforce the fibers. Choose a penetrating wood stabilizer or a clear sealer. Brush it on all faces of each board and let it soak in overnight.
Wipe off excess with a clean rag. This process strengthens the wood and adds a moisture barrier. This stabilizing step lays a solid foundation for your reclaimed wood bed build.
Sanding and Smoothing Surfaces
After stabilizing the wood you need to create a smooth surface that will join and finish correctly. Start with medium grit sandpaper around eighty to one-hundred grit and work along the grain. This removes rough patches and levels minor imperfections in the boards.
Switch to a finer grit like one-twenty to one-fifty to refine the texture. Use a sanding block for flat areas and a detail sander for corners and edges. Wear a dust mask and proper lighting helps you spot scratches and dings.
Wipe away dust with a tack cloth. A final pass with fine paper ensures the surface is ready for staining or sealing. Taking time on this step gives your project a professional feel.
Reclaimed Wood Bed Gallery
Click on any image to start the lightbox display. Use your Esc key to close the lightbox. You can also view the images as a slideshow if you prefer 😎


Finishing Techniques for Durability and Aesthetics
Choosing the right finish enhances beauty and protects your reclaimed wood bed. It also seals pores and guards against moisture damage for lasting appeal.
Selecting Stains and Sealers
When your reclaimed wood bed shows its character you want a finish that highlights grain depth. Pick an oil based stain or a water based wood dye to tint the boards evenly. Test color on a scrap piece of the same timber.
That helps you match your deck or interior style. After staining wipe any excess off and let it dry. Follow up with a clear topcoat sealer for UV and moisture protection. This combo makes sure your reclaimed wood bed stays vibrant and shielded from the elements.
Layering Protective Coatings
After staining, you need multiple clear coats to shield the wood. Use a high-quality brush or foam applicator for even coverage. Allow each coat to dry fully before lightly sanding with fine-grit paper. Remove dust between layers to ensure strong adhesion.
Apply at least two coats of outdoor-grade polyurethane or marine varnish if the bed will sit on a deck. This builds a thick barrier against UV rain and wear.
Buffing and Polishing for a Smooth Finish
Once the final coat cures buff the surface to reveal a soft sheen. Use a soft pad or fine steel wool to smooth out tiny bumps or brush marks. Apply a small amount of paste wax or polishing compound over the finish and rub gently.
Buffing brings out luster in your reclaimed wood bed finish. It also hides light scratches and gives the project a high end look.
Reapplying and Maintenance Tips
A durable finish still needs regular care to last for years. Clean surfaces gently with a soft cloth to remove dust grime and light stains.
A mild soap and water mixture cleans without stripping protective layers. Inspect annually and recoat high traffic sections to protect the fibers and keep the finish intact. Prompt touch ups keep every piece in top shape.
Creating Textured Effects
To add visual interest, you can use wire brushes or steel wool to distress the wood surface. Run the brush along the grain in smooth strokes to raise soft fibers and reveal natural highlights.
For deeper texture lightly tap boards with a hardwood mallet or gently carve shallow grooves with a chisel. When you apply a white or grey wash over this texture, it amplifies depth and shadows.
After the wash dries buff lightly with fine steel wool to smooth rough edges. Finish with a matte or low sheen sealer to protect the raised grain. This method creates a bespoke rustic charm while preserving the timber’s integrity.
Conclusion
Building a reclaimed wood bed brings character and eco-friendly flair to your space. You’ll feel proud knowing you gave old timber new life. The sturdy frame holds up over years of use and rest. Your reclaimed wood bed will become a conversation piece. With these steps you’ve turned salvaged materials into a beautiful, durable focal point.
If you liked this project, you will also like viewing these easy DIY projects and DIY Reclaimed Wood Flooring