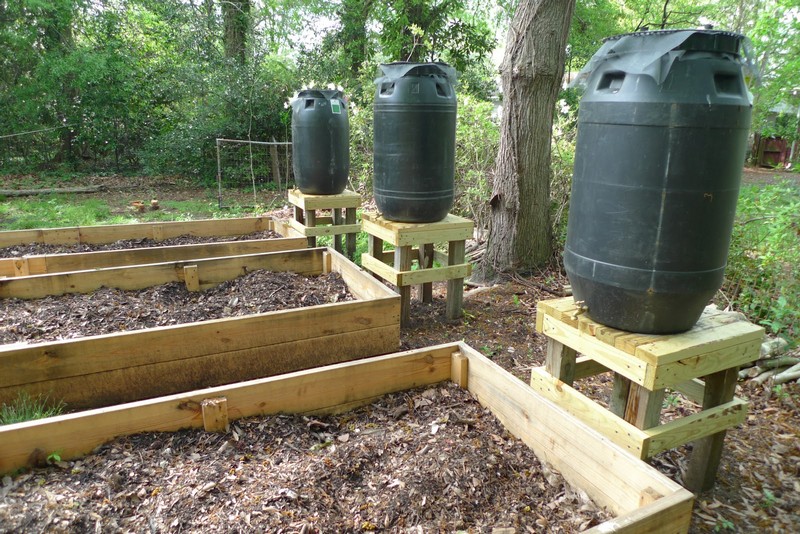
Unless you live in a very wet climate, it’s always good to be able to collect rainwater for your garden. This rain barrel watering system is a perfect solution as it doesn’t rely on a pump – just gravity!
This watering system is relatively easy to build and uses an easy concept for delivering water to your garden beds. As long as you know how to use basic tools, you are sure to accomplish this project.
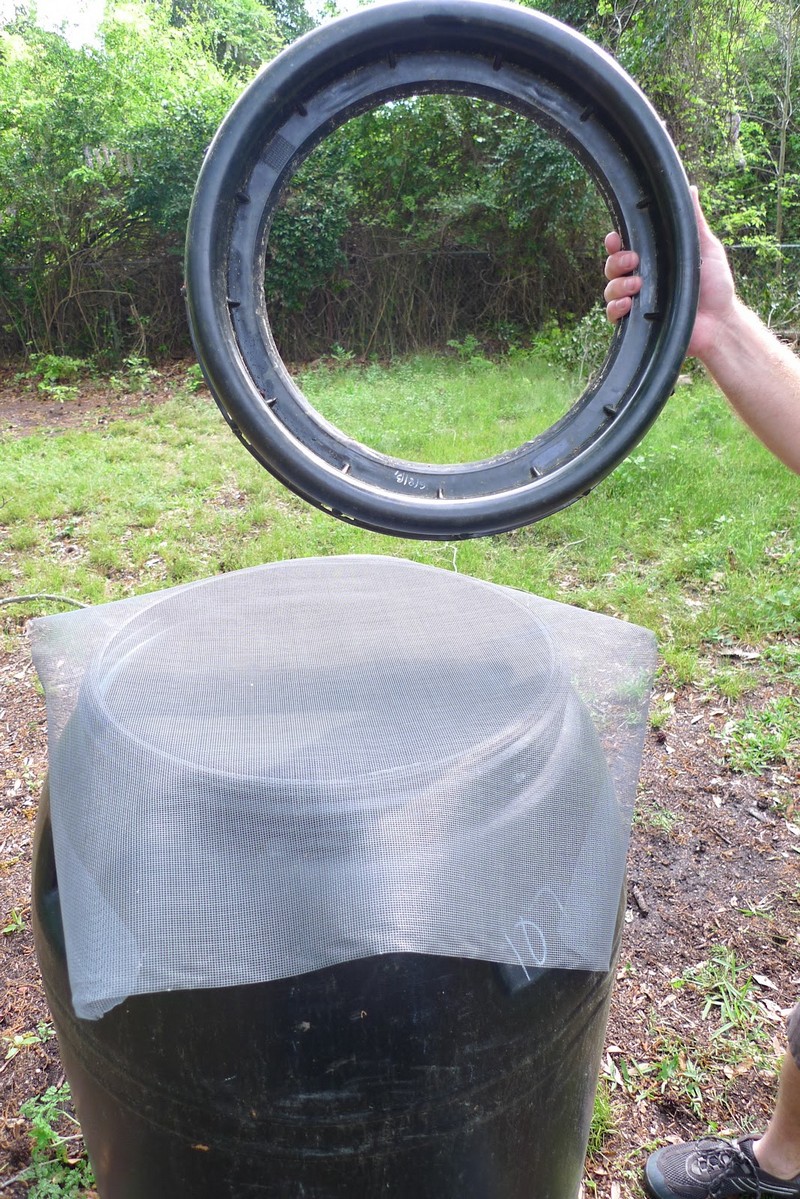
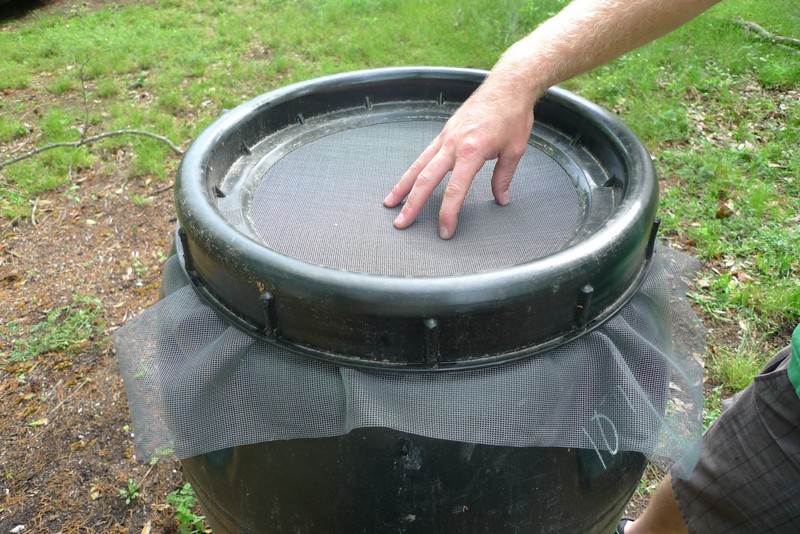
Worried about mosquitoes breeding in your garden? You don’t have to! Covering your barrels with a lid or gauze screens is all that’s needed to keep them out.
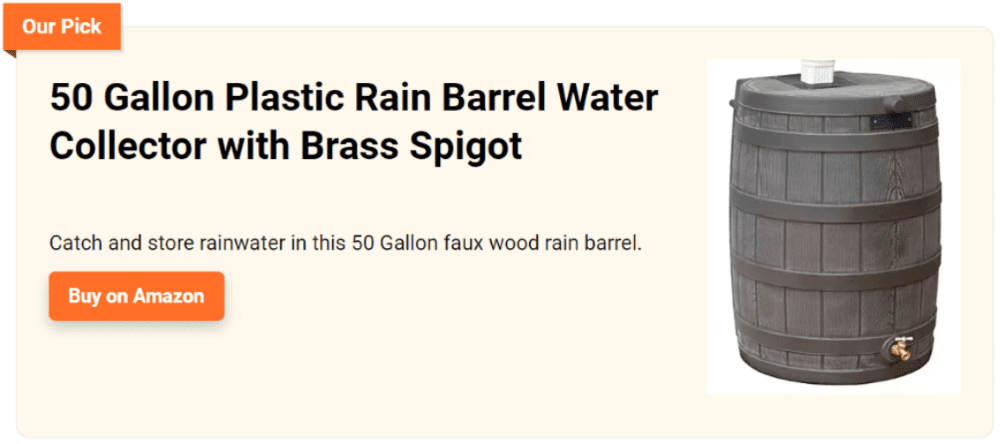
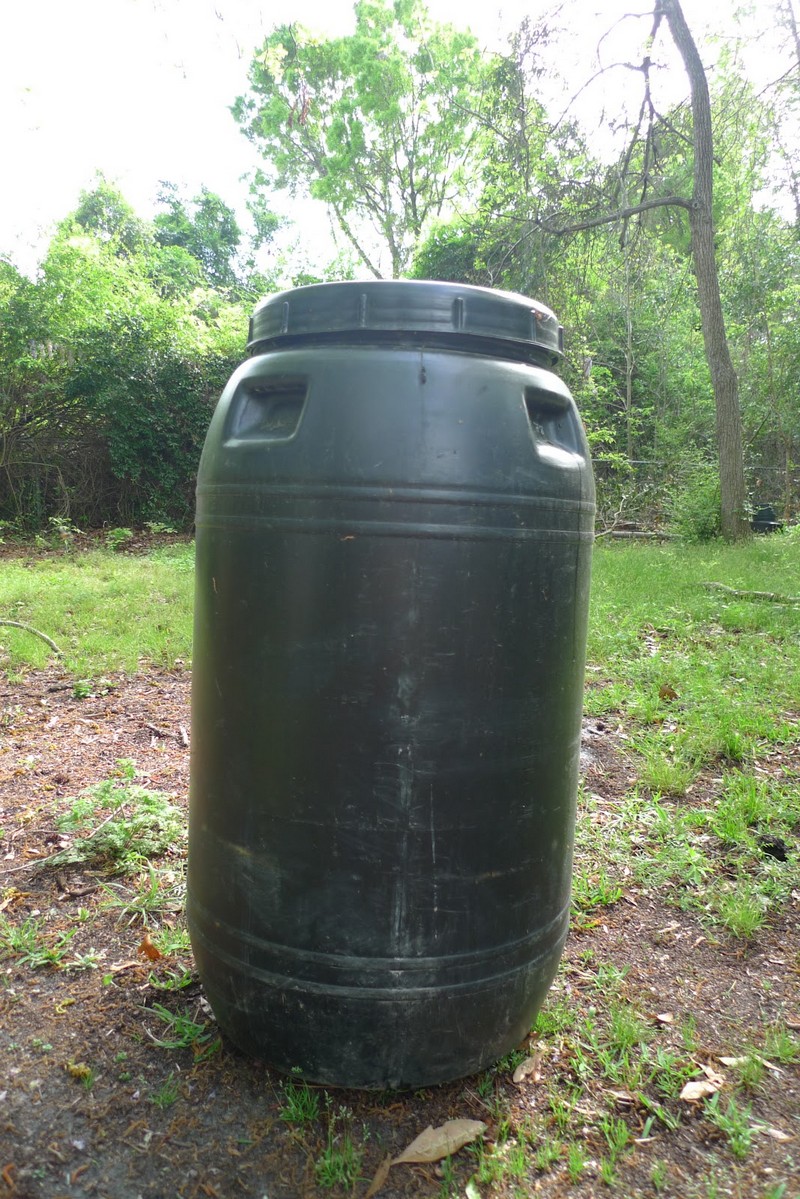
Rain barrels are very efficient to store runoff rainwater from the roof. This watering system is also called a rain butt or water butt. Below are the materials and tools you need to build your own rain barrel system.
Materials:
- Barrel
- Soaker Hose
- Gutters
- Small Awning
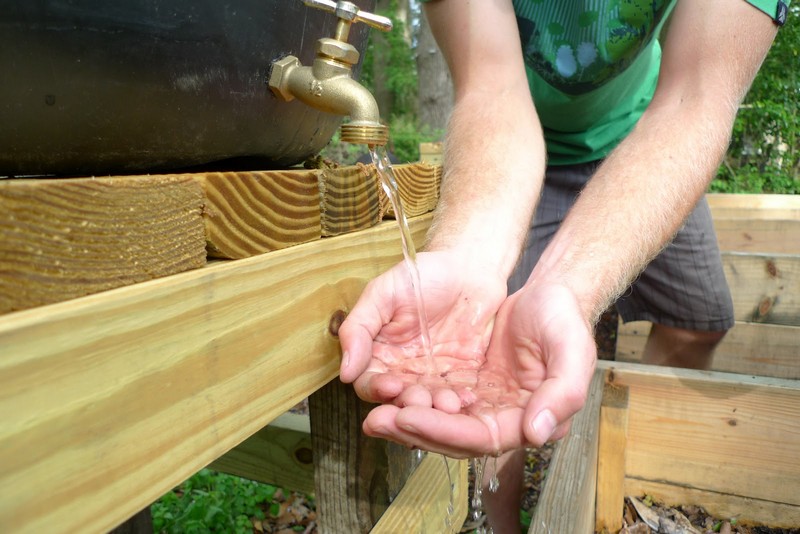
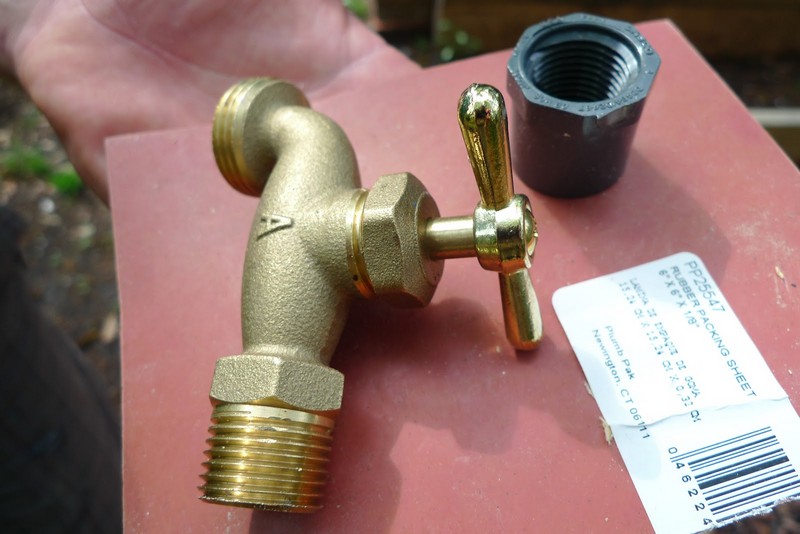
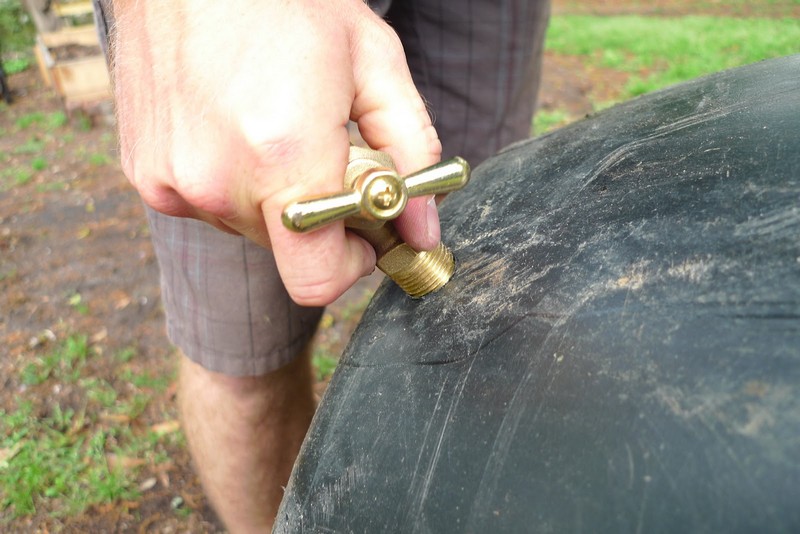
- Faucet
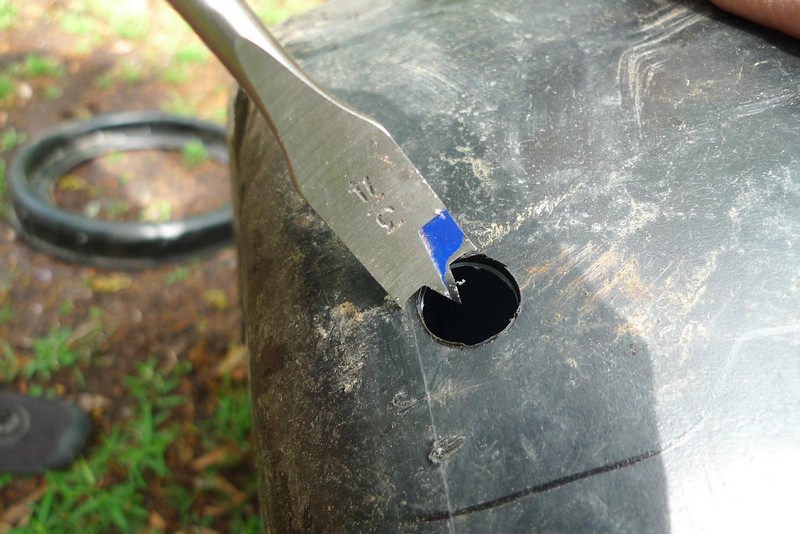
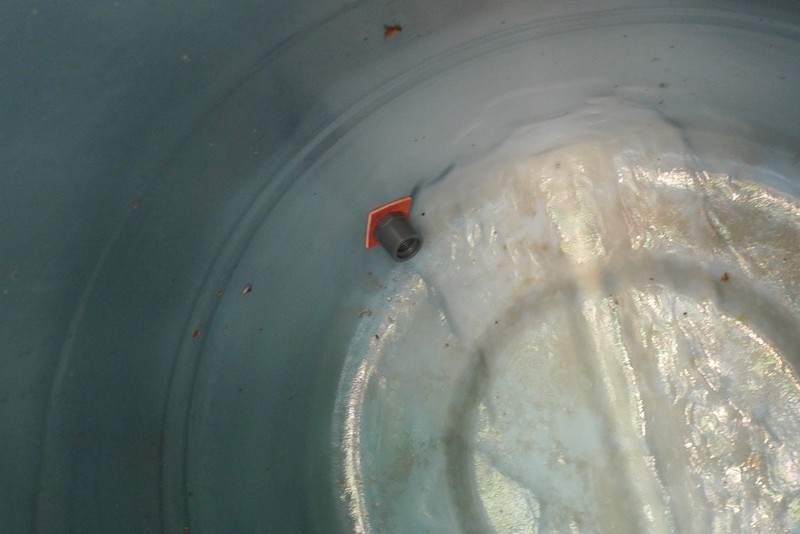
- Plastic Plumbing Fitting
- Thick Rubber
- Screen – to prevent mosquitoes
- Reclaimed Wood/Old Pallets/Old Furniture – to elevate barrels for increasing pressure
Tools:
- Drill – with a matching drill bit for your faucet thread
- Scissors/Cutter
How to build a rain barrel system?
Using the steps below, you can create your own rain barrel system.
1. Secure a downspout area from your house and near the garden. Cut the downspout with a hacksaw in 2 places and at least 4” above the top of the barrel.
2. Direct the downspout into the rain barrel by connecting the downspout elbow and bracket using PVC cement or screws. Direct the downspout into the rain barrel. Use a 50-100 gal plastic rain barrel.
3. To raise the barrel, add some cement blocks, bricks, or any wooden platform underneath.
4. Create an inlet with a filter on the cover of the barrel to avoid unnecessary materials in the water.
5. Attach a sewer standpipe near the base of the rain barrel.
6. Connect a rubber plug to the sewer standpipe.
7. Attach a diverter kit, or hose to the spigot (optional).
Click on any image to start the lightbox display. Use your Esc key to close the lightbox. You can also view the images as a slideshow if you prefer 😎


Thanks to Better Homesteading for this great project. You can get step-by-step instructions here…
If you liked this project, you will also like viewing these gardening ideas…