Last Updated on August 25, 2025 by teamobn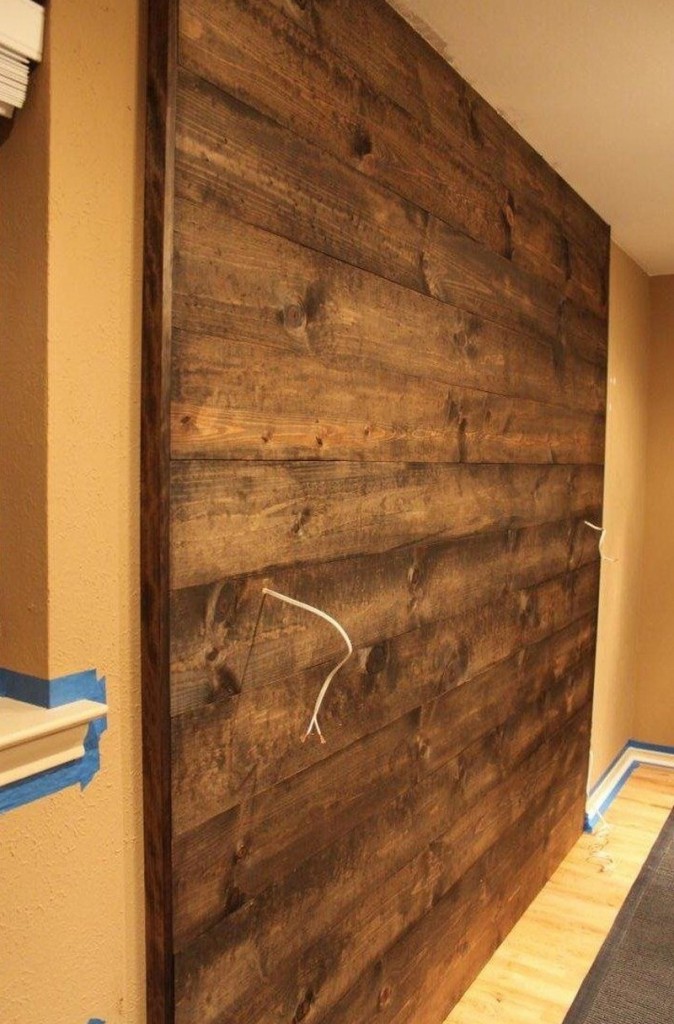
We’d bet that few are surprised that natural design elements like wood wall accents are currently a hit among homeowners and designers alike. Wood is the undoubted leader in the category with modern homes embracing the warmth and natural elegance of the material.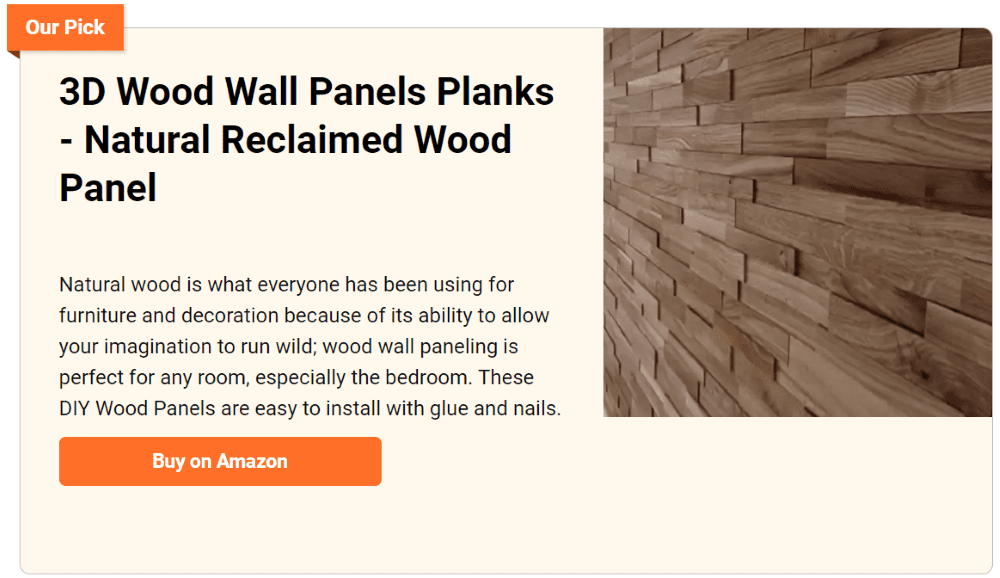
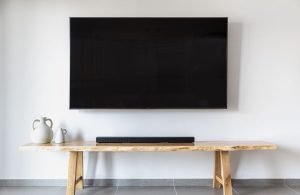
Whether you use it in the bedroom, bathroom, or living areas, this wood accent wall project will give your home a fantastic rustic feel.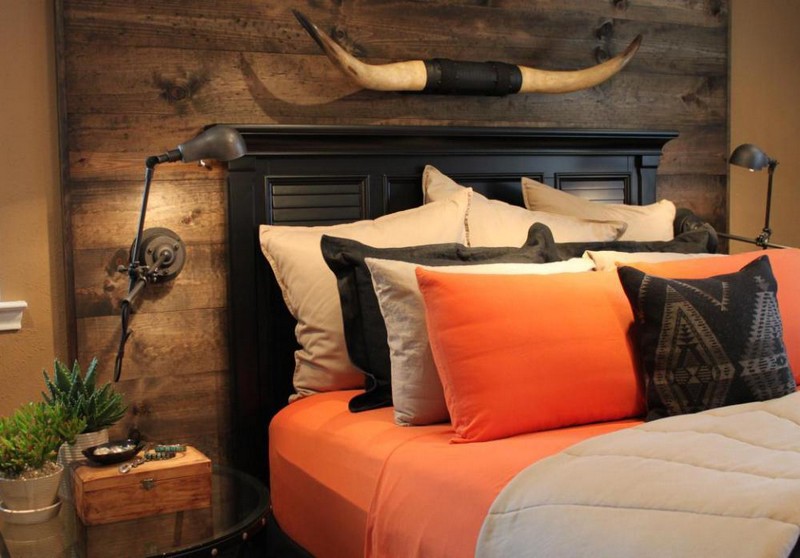
Installing a Wood Accent Wall
The best part is that by using reclaimed timber and building it yourself, you won’t spend a fortune to get this wood wall accent project done. Preparation, installation, and finishing touches will only take a few hours during a weekend or two.
Which room in your home would you like to have an accent wall?
You’ll need the materials below to create your unique wood wall accent design for your bedroom, living room, dining area, bathroom, or even outside.
Materials:
- 1×8 Pine Timber
- Wood Stain
- Toggle Screws
- Old Rags
- Rubber Gloves
- Electrical Tape
- Wire Caps
Tools:
- Measuring Tape
- Level
- Table Saw
- Jigsaw
- Power Drill
- Hot Glue Gun
- Nail Gun
Steps:
- Plan the layout. Measure wall height and width with the measuring tape. Mark a dead-level starter line across the wall with the level.
- Shut off power at the breaker if lights are involved. Remove plates and fixtures, then verify power is off with a tester if you have one.
- Cap any exposed wires. Twist on wire caps and wrap with electrical tape for security. Tuck the wires into the box.
- Locate studs. Use outlet positions and typical spacing as clues. Lightly mark stud lines so you can nail into them.
- Sort your 1×8 pine boards. Pick the straightest pieces for eye-level rows. Reserve the most attractive grain for focal areas.
- Cut boards to length on the table saw. Rip the first or last row to fit if needed. Keep edges square for tight seams.
- Mark and cut openings with the jigsaw. Trace outlet and sconce boxes on the board face. Cut slowly to prevent chip-out.
- Put on rubber gloves. Stir the wood stain well. Wipe stain on with old rags and wipe off the excess for an even tone.
- Let boards dry as directed. Lay them out on the floor in order. Mix tones to avoid repeating patterns.
- Start installing at your level line. Hold the first board on the line and recheck level. A straight first row makes the whole wall easier.
- Fasten into studs with the nail gun. Place nails near edges at every stud line. Check for tight joints after each board.
- Where there’s no stud, use toggle screws. Pre-drill through the board and drywall. Tighten the toggle until snug without crushing the pine.
- Use the hot glue gun for quick temporary tacks. A small dab can hold a spacer or a loose lead. Peel it off after permanent fastening.
- Continue row by row. Stagger end joints for strength and a natural look. Scribe and trim with the jigsaw if the wall bows.
- Re-install electrical as you go. Mount sconce backplates with toggle screws if studs aren’t available. Make wire connections with wire caps, then secure with electrical tape.
- Keep polarity and ground correct. If you’re unsure about wiring, stop and call a licensed electrician. Safety first every time.
- Fit the final row at the ceiling. Rip to width on the table saw. Test-fit before nailing to avoid gaps.
Touch up fresh cuts with stain. Blend color and sheen with light wipes. Reinstall cover plates, restore power, and enjoy your wood accent wall. Dispose of oily rags safely by soaking in water or sealing in a metal container.
Planning Your Wood Accent Wall: Layout, Proportions, and Focal Points
Smart planning turns an idea into a standout feature. Map the wall, choose a focal point, and size boards well. These steps give your wood accent wall balance and flow.
Define Focal Points and Sightlines
Decide what the wall should frame. A bed, fireplace, media console, or dining table sets the story. Center the composition on that anchor. Check sightlines from the entry and main seating. Keep busy zones calm with wider boards and simpler patterns.
Put detail where eyes rest longest. A balanced layout makes the wood accent wall feel intentional. It also helps your lighting plan and art placement feel natural.
Align With Architectural Elements
Use the room’s fixed lines as guides. Align board breaks with window heads or door casings when possible. Avoid tiny slivers at ceilings and baseboards. Rip the first and last rows for clean margins.
Keep outlets in a consistent band. Mirror symmetry if the space reads formal. Go asymmetrical for modern energy. Good alignment hides small wall waves and makes the feature read as built-in, not applied.
Choose Proportions That Fit the Room
Scale boards to the wall size. Narrow slats add texture in small rooms. Wider planks calm large spans. Vertical orientation makes low ceilings feel taller. Horizontal boards widen narrow rooms.
Use the rule of thirds to place a contrasting band or niche. Break up long runs with a reveal or trim strip. Proportion choices shape how people feel the space before they notice details.
Plan Outlets, Switches, and Lighting
Sketch every device before you cut. Keep outlets centered in a board or centered in a seam. Pre-mark switch heights and sconce centers. Add backing where you’ll mount heavy fixtures. Plan hidden wire paths and junction box locations.
Use wire caps and electrical tape correctly. Kill power before work begins. If any wiring step feels uncertain, hire a licensed electrician. Safety protects the project and everyone who enjoys it.
Samples of Wood Wall Accents
Click on any image to start the lightbox display. Use your Esc key to close the lightbox. You can also view the images as a slideshow if you prefer 😎


Choosing Wood Species and Grades for Accent Walls
Species and grade decide color, grain, and price. Match them to the mood you want and the traffic you expect. Pick materials that finish easily and stay stable on walls.
Pine, Spruce, and Fir: Affordable Softwoods
Pine, spruce, and fir stretch budgets without losing warmth. Pine brings knots and a friendly grain that suits rustic looks. Spruce and fir are straighter and a bit stronger. Softwoods dent easier, so pick them for bedrooms, living rooms, and cozy dens.
Pre-condition before staining to reduce blotching. Fill large knots if you want a smoother read. A satin topcoat hides small dings and keeps the wood accent wall easy to clean.
Oak, Maple, and Ash: Durable Hardwoods
Oak, maple, and ash add crisp lines and longevity. Oak stains well and offers strong grain for classic or modern spaces. Maple looks refined but can blotch, so test conditioners. Ash bridges both looks with open grain and bright tone.
Hardwoods resist dents better in high-traffic rooms. They cost more but stay sharp longer. Choose rift or quartered cuts for straighter grain and fewer seasonal gaps. Hardwoods elevate a minimalist feature wall.
Cedar and Redwood: Moisture-Resistant Choices
Cedar and redwood handle bathrooms and entry mud zones with grace. Natural oils resist moisture and help with mild odor control. Expect color to shift under light, so seal early. Use stainless fasteners to avoid stains.
Keep ventilation strong behind the boards where humidity spikes. A clear, low-VOC finish preserves that soft glow. These species give a spa tone to a wood accent wall without heavy maintenance, provided you manage splashes and steam.
Understanding Lumber Grades and Defects
Grades shape what you see and what you pay. Select grades show fewer knots and straighter grain. Common grades carry character at lower cost. Inspect for twist, cup, and bow. Reject boards with deep checks or loose knots at edges.
Ask for kiln-dried stock near 6–8 percent moisture for interiors. Acclimate boards for two to three days in the room. Careful grading and moisture control cut gaps, squeaks, and callbacks.
Reclaimed vs New Lumber: Cost, Sourcing, and Prep
Both reclaimed and new boards can look excellent. Costs and prep differ. Learn where each shines so you can hit budget, finish on time, and protect a wood accent wall.
Reclaimed Lumber: Benefits and Drawbacks
Reclaimed boards deliver soul. Patina, nail marks, and weathering tell a story no stain can fake. Supply can be irregular, and milling takes time. Expect hidden metal that ruins blades. Scan and de-nail every piece.
Treat for insects if provenance is unclear. Clean with a mild detergent and let dry fully. Reclaimed wood shines on accent walls when you plan extra labor and keep a few spare boards for future repairs.
New Lumber: Benefits and Drawbacks
New lumber is predictable and ready to work. You get consistent thickness, long lengths, and quick availability. Pricing is clearer. Character is lighter, so distressing may be needed if you want an aged look.
Factory-milled edges speed installation and reduce sanding. Moisture content is easier to target. New stock helps tight timelines and complex patterns like chevron. It makes a wood accent wall feel tailored and crisp without surprises.
Sourcing Tips and Red Flags
Ask for moisture readings, source history, and milling notes. For reclaimed, prefer vendors who de-nail, surface, and kiln-dry. Inspect pallets for mixed species if you need uniform stain. Watch for musty odors that won’t seal out. For new lumber, check straightness with a quick sight down the edge. Buy an extra 10 percent for cuts and culls. Good suppliers answer questions fast and provide repeatable lots for touchups months later.
Prep and Finishing Differences
Prep sets the finish up for success. Reclaimed boards often need gentle brushing to keep texture while removing dirt. Sand only as much as needed to flatten proud fibers. New boards can take a full sand for glass-smooth results.
Always do stain and topcoat samples on offcuts. Pre-finish edges to reduce white lines at seams. Seal backs in humid rooms. Careful prep makes a wood accent wall read cohesive and durable across seasons.
Conclusion
A wood accent wall delivers instant warmth and a tailored focal point. Careful layout and stud mapping keep lines straight and joints tight. Pre-finishing and safe wiring protect the look and everyone who uses the room. Small touches like mixed board widths and balanced sightlines elevate a simple install. Clean, condition, and inspect periodically so the wall ages gracefully and the effort pays off for years.
If you liked this project, you will also like viewing these easy DIY projects…