Last Updated on October 23, 2025 by teamobn
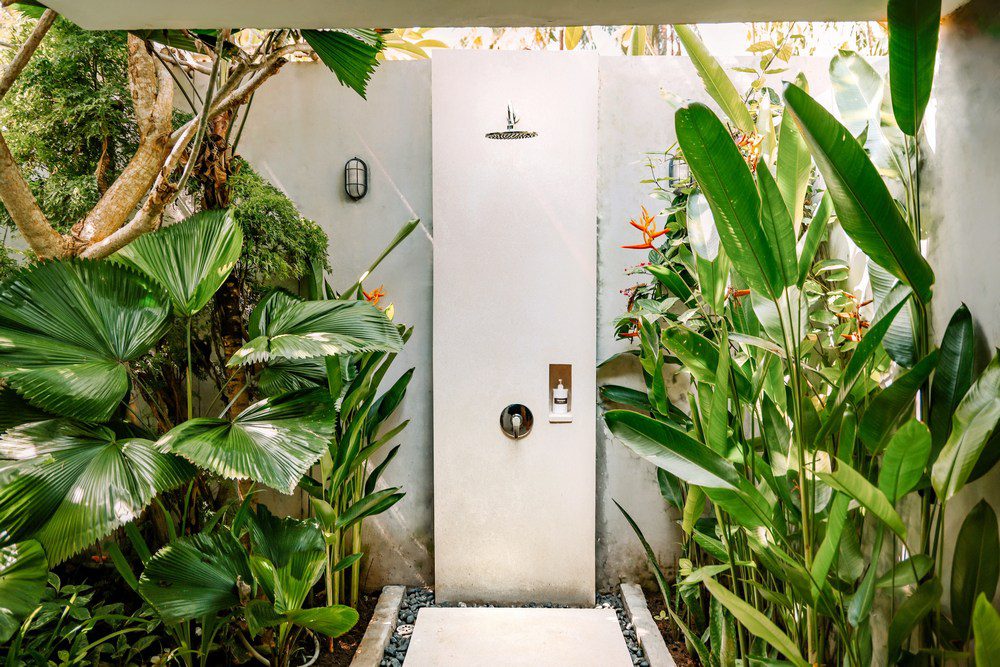
Building a DIY outdoor shower can transform your yard into a private oasis. This project is more than just a luxury; it’s practical too. Whether you want to rinse off after a swim or enjoy the open air, an outdoor shower adds value and convenience to your home.
This guide will walk you through the steps to create your own backyard retreat. And if you’d like to make the experience even cozier, explore how to enjoy a warm outdoor shower on cooler days.
Contents
Why Build an Outdoor Shower
An outdoor shower may seem like a luxury, but it’s a versatile addition offering practical and aesthetic benefits. Whether rinsing off after a swim or simply enjoying a shower under the stars, this feature can transform your yard into a personal retreat. Below, we dive deeper into why building an outdoor shower is a good idea.
More than a Luxury
People often picture high-end resorts or lavish homes when they think of outdoor showers. Outdoor shower serves a purpose for many homes. If you have a pool, pond, or hot tub, an outdoor shower provides a convenient spot to rinse off before and after a dip. Even if you don’t have these water features, a shower can be handy for cleaning up after yard work or outdoor exercise.
Extend Your Living Space
Building an outdoor shower helps you make the most of your yard. Suddenly, your outdoor area becomes a place for self-care and relaxation apart from a Sunday BBQ dining area. An outdoor shower can serve as an extension of your living space, offering a unique area for washing and rejuvenating. It’s like having a little extra room for peace and privacy.
Increase Home Value
Any addition that brings function and beauty to your property can increase its value. Future buyers may consider an outdoor shower a valuable asset, especially if it’s well-designed and incorporated into the landscape. Though building an outdoor shower varies, it’s generally less expensive than home renovations like kitchen or bathroom remodels.
Eco-Friendly Options
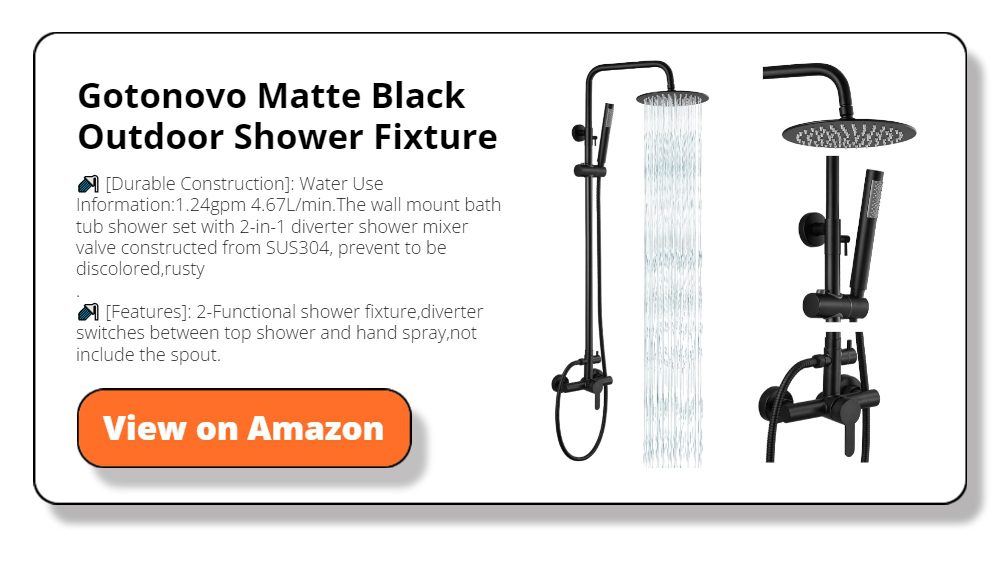
Outdoor showers offer the opportunity to be environmentally conscious. For example, you can install a water-saving showerhead or even set up a gray water system to recycle the runoff for garden irrigation. This way, you’re adding a feature to your home and contributing to water conservation efforts.
Experience the Outdoors
Perhaps the most compelling reason for an outdoor shower is the experience itself. Something is refreshing about showering under the open sky. It connects you to nature in a deeply personal way. Whether starting your day with a sunrise shower or winding down under the stars, the experience is both invigorating and calming.
A Personal Wellness Retreat
Lastly, don’t underestimate the wellness benefits. The outdoor setting adds an extra layer of relaxation to your shower routine. You can even enhance the area with plants or scented oils to turn your outdoor shower into a wellness sanctuary.
An outdoor shower can be much more than just an aesthetic feature. From its practical uses to its ability to increase your home’s value and eco-friendly potential, it’s an investment in your property and well-being.
Basic Steps to Build a DIY Outdoor Shower
Building your outdoor shower doesn’t have to be overwhelming. In fact, with the right plan, it can be a straightforward weekend project that enhances your outdoor space. Below are the key steps you’ll need to follow. Each step sets the foundation for the next, from choosing a good spot to gathering your materials.
Choosing the Right Location
Location is the starting point for your outdoor shower project. It’s not just about where the shower will look good but also where it will be most functional. First, think about privacy. Is the spot shielded from prying eyes? You might need to add a fence or tall plants.
Next, consider drainage. A sloping area can help water flow away, keeping your feet dry and clean. Finally, how close is the location to your home’s water supply? The closer it is, the less complicated and costly the plumbing work will be.
Take your time with this step. A thoughtful choice will make the later steps easier and more effective.
Gather Legal Documents
Before you break ground, make sure you know the legal requirements in your area. Start by checking zoning laws. Some areas have restrictions on outdoor structures, including showers. You might also need a building permit.
Without the proper paperwork, you risk fines and may even have to dismantle your project later. Visit your local government office or check online resources for your needs. Get all approvals in writing. Taking care of the legal details upfront saves you from headaches.
Materials You’ll Need
Once you’ve secured a location and the proper permits, it’s time to shop for materials. Create a list based on your design. For the frame, you’ll likely need lumber. Cedar or redwood are good choices because they resist rot.
You’ll also need plumbing supplies like pipes, a good quality shower head with hose, and faucets. Don’t forget screws, nails, and other fasteners. Make a checklist and take it to the store. Buy some extra materials just in case.
Having a little extra on hand is a lot better than running out in the middle of the project. Organize the materials in your workspace so everything is within easy reach when you start building.
Prepare the Ground
Starting with a stable foundation is key for any building project, and your outdoor shower is no exception. The next step is ground preparation after you’ve picked the perfect location. If the area is uneven, you’ll need to level it.
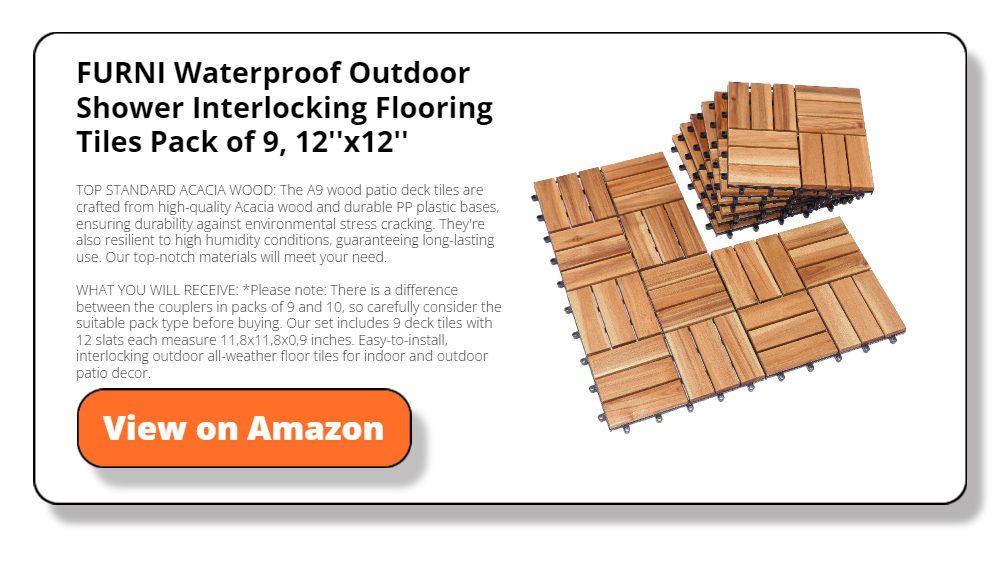
You may also want to install a drain connected to your home’s wastewater system. Some people opt for a simple wooden platform or a gravel bed to stand on. Either way, you must ensure the foundation is sturdy enough to support the shower structure and handle water runoff.
Make sure to measure and mark the area before starting any work. A well-prepared ground will help ensure the rest of your project goes smoothly.
Install Water Supply
The next step is to connect the water supply to your outdoor shower. Depending on your home’s existing plumbing, this could be a hard step in making your shower. For most, a hose connected to an outdoor faucet may suffice.
Others may need to extend their home’s existing plumbing to the shower site. This could involve digging trenches to lay down new pipes. Make sure to use durable, weather-resistant materials that meet building codes.
Once everything is installed, test it to ensure there are no leaks, and the water flows correctly. If you are having problems with the water flow, you can consider getting professional help.
Assemble the Structure
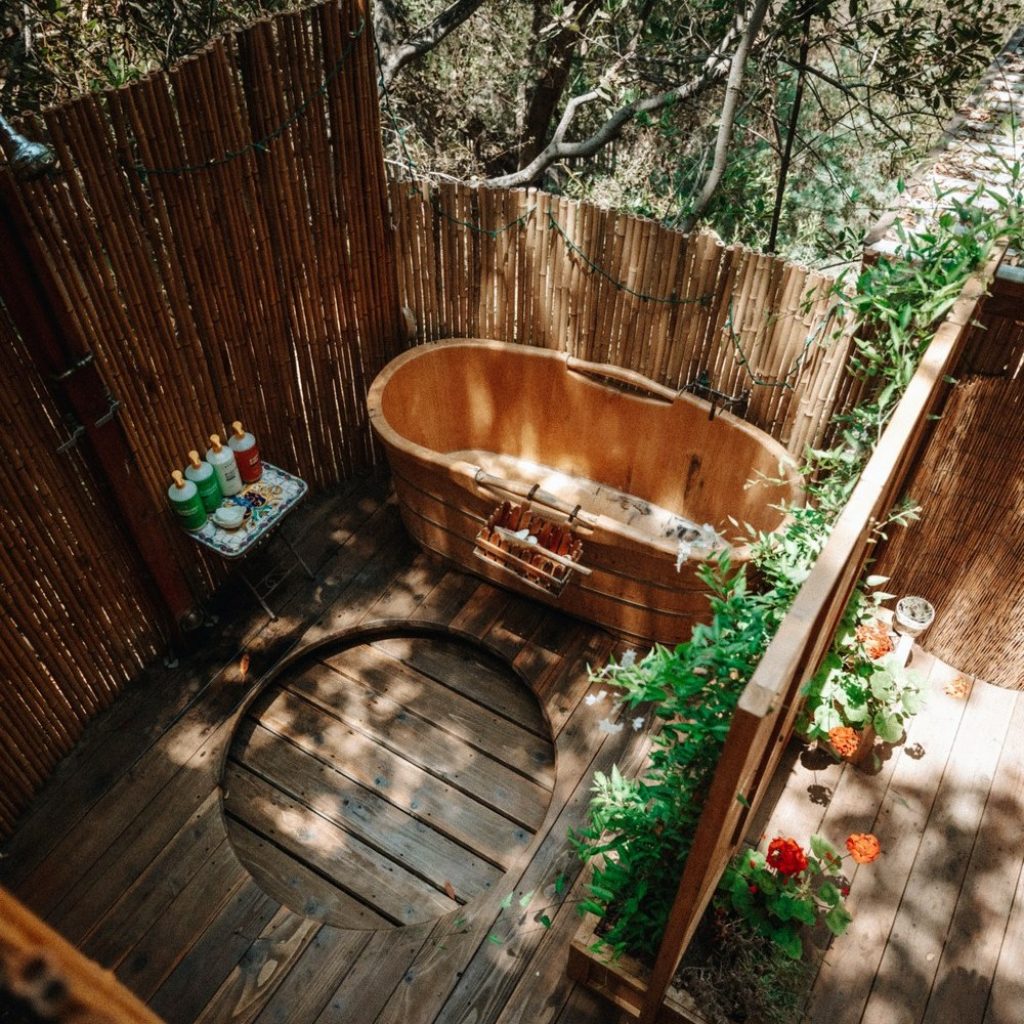
With the ground prepared and the water supply ready, it’s time to build the shower’s framework. If you’re using lumber, start by constructing the vertical posts, followed by the horizontal beams. Make sure all pieces are cut accurately and fit well together.
Attach the shower fixtures to the framework, ensuring they are securely fastened. Your water pipes will connect to these fixtures. Double-check that all screws and nails are tightly in place and that the structure is stable.
You may also consider adding walls or curtains for privacy at this stage. Privacy is how you can encourage family members or tenants to use the shower.
Test the Shower
After assembling your outdoor shower, it’s time for the moment of truth: testing it. Turn on the water supply and observe how the shower performs. Check for any leaks in the pipes and fixtures. Ensure the water pressure is good and the temperature can be adjusted easily.
A successful test means you’ve set up your plumbing correctly. If there are issues, now is the time to address them. Fixing problems early can save you a lot of time and stress later.
Include Customization
Your shower is functional, but you might want to make it uniquely yours. Custom features can transform a simple outdoor shower into a personal retreat. Consider adding shelves for soap and shampoo or hooks for towels and bathrobes.
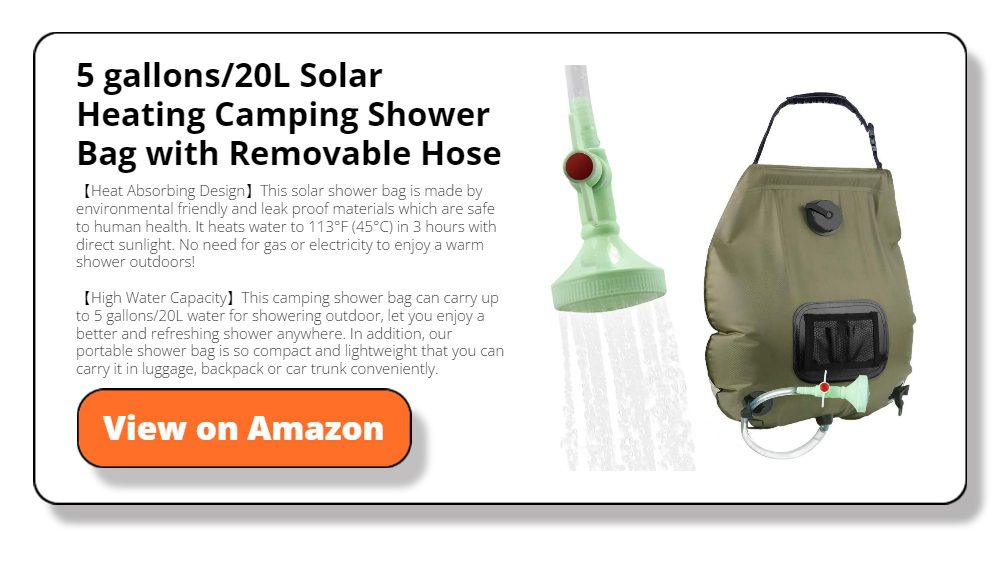
A bench can provide a place to sit and relax. You could even set up a solar-heated water system for a warm shower without energy costs. Customizing your outdoor shower makes it more than just a place to rinse off; it becomes a haven of comfort and convenience.
Maintenance Tips
An outdoor shower is a wonderful addition to your home but requires some upkeep. Proper maintenance ensures that your outdoor oasis remains beautiful and functional for years.
From seasonal care to regular cleaning, let’s dive into how to keep your outdoor shower in top condition.
Seasonal Care
Outdoor showers are exposed to the elements, so seasonal maintenance is crucial. Before winter sets in, drain the water pipes to prevent freezing and potential bursting. Consider covering the shower or removing sensitive fixtures to protect them from extreme temperatures.
In spring, check for any winter damage before reactivating your shower. Clean any debris from the drain and make sure the water runs freely. A seasonal check can help you avoid costly repairs in the long run.
Regular Cleaning
Like your indoor shower, the outdoor version also needs regular cleaning. Buildup from soap, shampoo, and natural elements like leaves or dirt can lead to clogs and other issues. Use non-toxic, biodegradable cleaners to keep your shower and drain in top condition.
Avoid bleach or other harsh chemicals that damage the plumbing of your outdoor shower. Consider products that do not contain any harmful ingredients.
Fixture Upkeep
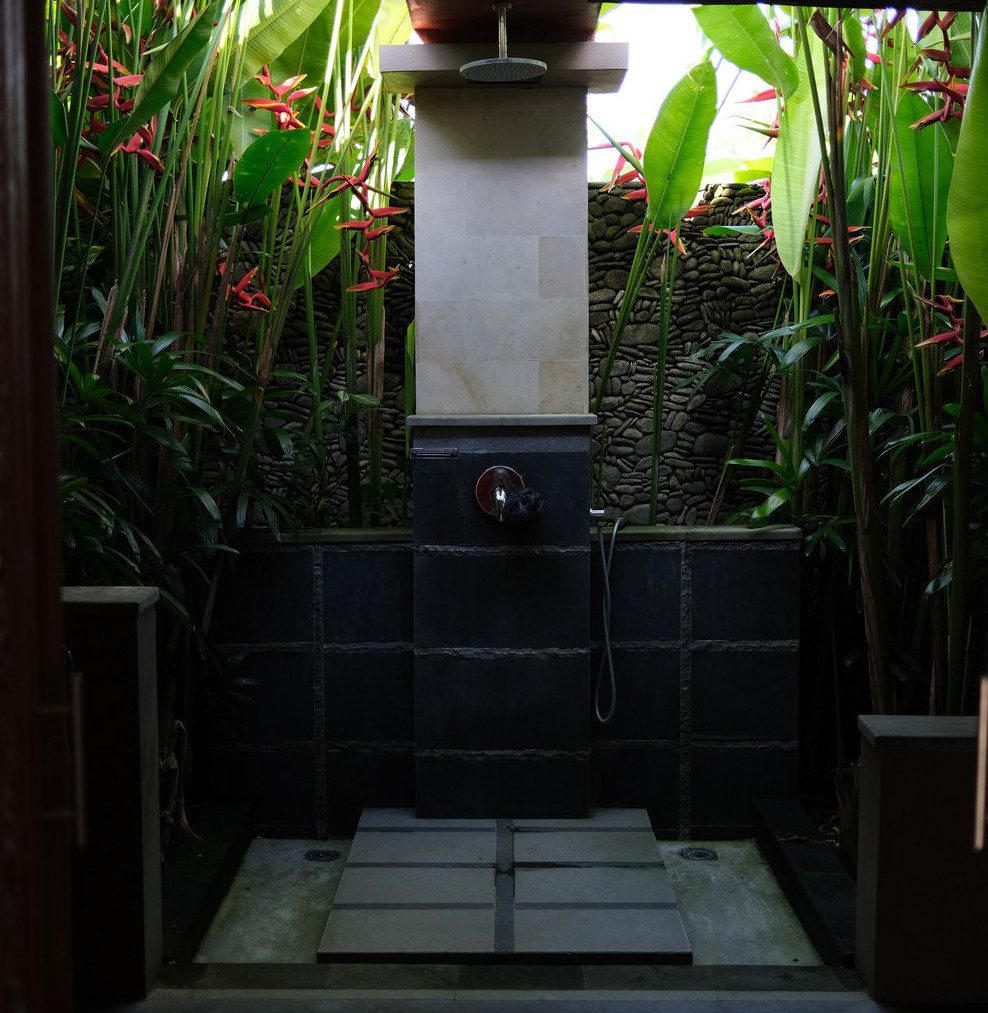
The fixtures in your outdoor shower, such as the showerhead and faucets, also need some love. Over time, they can get clogged with mineral deposits from hard water. A simple soak in a vinegar solution can usually remove these deposits.
If your fixtures are metal, you might also want to polish them occasionally to keep them shiny and tarnish-free. Maintaining the fixtures adds to your outdoor shower’s overall aesthetic and effectiveness.
Check for Wear and Tear
Wood, metal, and other materials used in your shower will naturally age. Regularly inspect for any signs of rot, rust, or general wear and tear. If you use wood for your shower, consider resealing it annually to protect against moisture.
Any cracks or splits in the material should be repaired promptly to avoid further damage. Regular checks can help you catch issues before they become major problems.
Sustainable Practices
These also require maintenance if you’ve set up a gray water system or other eco-friendly features. Make sure the filtering system is clean and functional. Regularly check any hoses or connections to ensure they’re in good condition. Keeping your sustainable features well-maintained benefits both you and the environment.
By following these tips, you can ensure that your outdoor shower remains a valuable asset to your home for many seasons.
Designing privacy screens and enclosures for your DIY outdoor shower
A well designed privacy screen can transform your outdoor shower into a personal retreat. It adds both function and flair while maintaining your comfort.
Material Options
Choosing the right material ensures lasting privacy and weather resistance. Cedar panels offer natural rot resistance and warm tones. Bamboo screens bring a tropical feel and grow quickly. Composite panels mimic wood while resisting moisture and insects. If you prefer a modern look, metal lattice or slatted steel adds sleek lines. You’re free to mix materials for a unique effect.
Layout and Placement
Your layout can balance privacy with ventilation. Position screens where they block sightlines from neighbors and walkways. Leave small gaps or use slats to allow airflow and light. You can angle panels to follow the sun path and avoid glare. Platforms or raised beds can support taller screens without digging. Always mark underground utilities before you install posts.
Decorative and Durable Finishes
Finishes protect materials and enhance their look. You can stain wood panels in rich hues to match your deck. Outdoor paints add color and create a water resistant seal. For natural aging, leave cedar untreated to develop a silver patina. Metal screens benefit from powder coating to prevent rust. Finishing touches like climbing vines soften hard lines.
Installation and Maintenance
Secure your screens on sturdy posts anchored in concrete or gravel. Use galvanized hardware to resist corrosion. For freestanding options, mount panels on heavy bases or planters. Regularly inspect for loose screws or rot spots. Clean panels with mild detergent and water to remove dirt and mildew. Reseal wood every year to keep it strong under sun and rain.
Conclusion
Building a DIY outdoor shower is a rewarding project that adds function and flair to your yard. Each step matters, from choosing the right location to finishing the custom touches. With proper planning and maintenance, your outdoor shower will serve as a personal oasis for years.
FAQ
- Do I Need a Permit to Build an Outdoor Shower?
- Depending on where you live, you may need a permit. Always check local zoning laws and building codes before starting your project. Some areas may require inspections as well.
- What Type of Wood Should I Use?
- Cedar and redwood are popular choices for outdoor showers. Both are naturally resistant to rot and moisture, making them durable options for outdoor use.
- Can I Use My Existing Plumbing?
- Many people tap into their home’s plumbing to supply water to their outdoor shower. However, the complexity of this task can vary, so consult a professional if you’re unsure.
- What About Drainage?
- Good drainage is essential. You can connect the shower to your home’s drainage system or opt for a simpler solution, like a gravel bed or wooden platform with gaps to let water escape.
- Can I Have a Hot Water Supply?
- You can have hot water in your outdoor shower. This typically requires more complex plumbing work to connect the shower to your home’s hot water supply.
- Is an Outdoor Shower Expensive to Build?
- The cost can vary widely based on design and materials. Simple showers can be cost-effective, while more elaborate designs with high-end fixtures will be more expensive.


