Last Updated on January 5, 2024 by teamobn
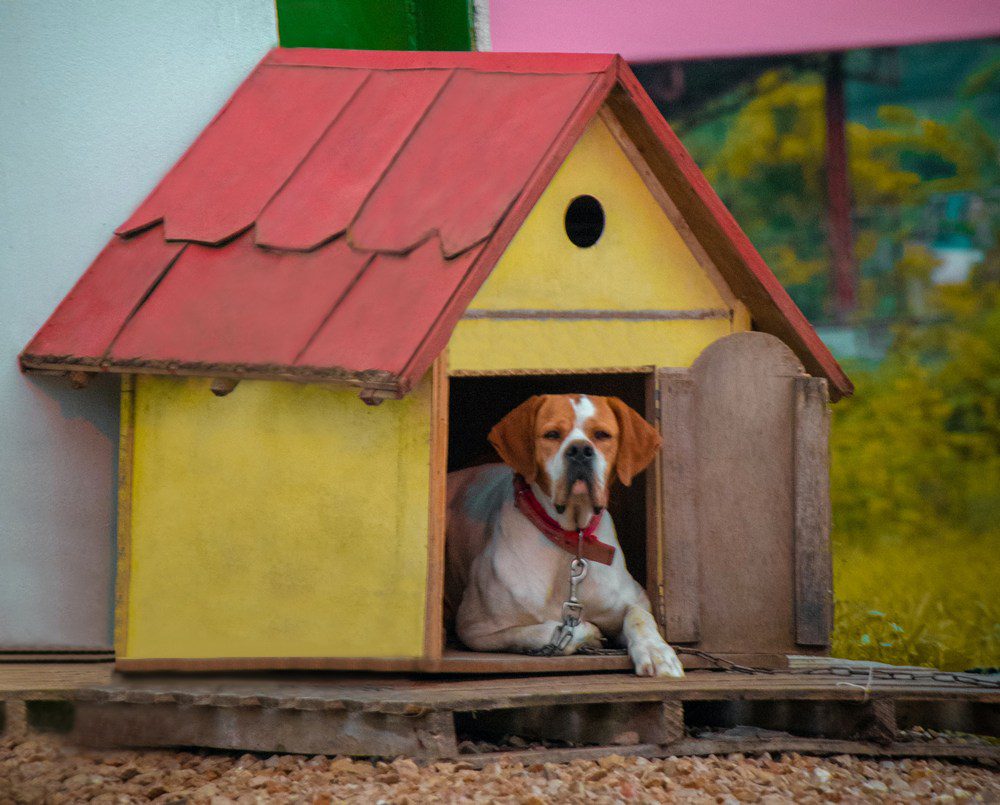
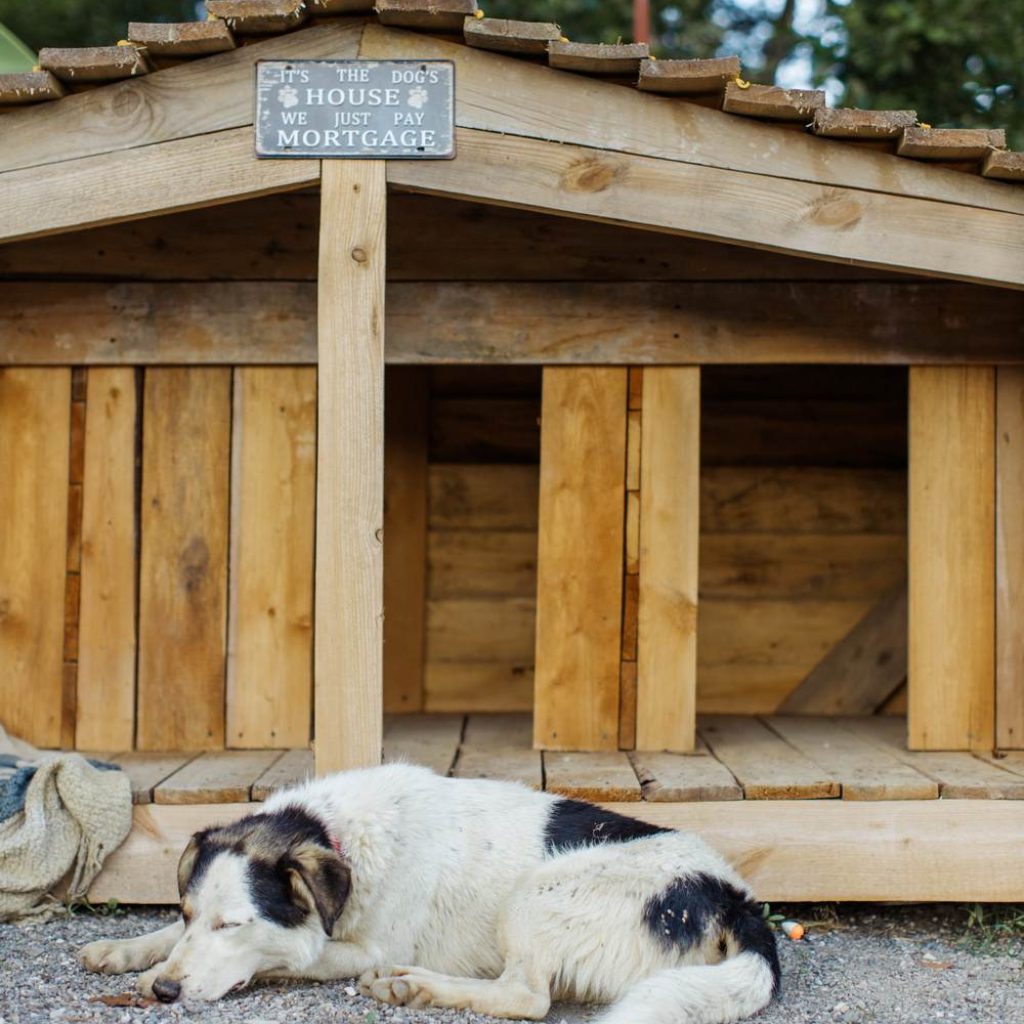
Building a DIY dog house is more than just a weekend project. It’s a chance to provide a safe and cozy space for your furry friend. This article will guide you through each step, from choosing materials to adding the final touches. Whether you’re a DIY novice or a seasoned pro, you’ll find useful tips here to make the process enjoyable and rewarding.
Contents
Pet-Friendly Building Materials
Choosing the right materials is the first step in building a home for your furry friend. The materials you pick can make a huge difference in the comfort and safety of your dog’s new home. Here’s a comprehensive guide on pet-friendly building materials that are durable, safe, and easy to work with.
Types of Wood
Wood is a popular choice for dog houses because it’s strong and easy to work with. However, all wood is not created equal. Cedar is a great option as it naturally repels insects and smells pleasant. Pine and plywood are also good, but make sure they’re untreated to avoid harmful chemicals. Avoid wood like oak, which can splinter easily and pose a safety risk to your pet.
Insulation Materials
Insulation keeps the dog house warm in winter and cool in summer. Foam boards work well as they are easy to install and effective. Another option is fiberglass insulation, but be cautious. Ensure it’s sealed off so your dog doesn’t ingest any harmful fibers.
Flooring Options
The floor of the dog house needs to be both comfortable and easy to clean. Avoid using carpet, as it can trap moisture and develop mold. Instead, opt for materials like vinyl, which are water-resistant and simple to clean. Elevated floors made of wood or plastic can also keep your dog dry and warm.
Roofing Materials
For the roof, asphalt shingles are a common choice. They’re durable and provide good protection against rain and snow. If you want something lighter, corrugated plastic or metal can work. These materials are also easier to install than shingles.
Paint and Finishes
When it comes to painting the dog house, always pick non-toxic options. Latex paint is usually a safe bet. If you’re staining the wood, look for products that are labeled pet-safe. A good finish not only makes the house look better but also adds an extra layer of protection against the elements.
Hardware and Fasteners
Nails, screws, and other fasteners should be made of stainless steel or coated to prevent rust. Ensure all nails and screws are well sunk to avoid sharp points that could injure your dog. Also, consider using washers for added stability.
Selecting the right materials is crucial for the well-being of your pet. It’s not just about the looks; it’s about creating a safe, comfortable space where your dog can relax. Invest in quality materials that are pet-friendly and designed to last. Your dog deserves a home that’s just as loving as the one you share with them.
Where to Build a DIY Dog House
Deciding where to build your DIY dog house is as important as choosing the right materials. The location will impact how often your dog uses the house and how well it holds up against the elements. Here’s everything you need to know about selecting the perfect spot for your dog’s new home.
Assess Your Outdoor Space
Before you start building, take a good look at your outdoor area. Is it mostly lawn, patio, or a mix of both? The surface you choose can affect the stability and durability of the dog house. A flat, hard surface like a patio is often ideal. However, if you only have a grassy area, consider laying down a concrete pad as a base.
Sunlight and Shade
Think about how much sun the area gets throughout the day. Too much sunlight can make the dog house too hot in the summer. On the other hand, constant shade can make it too cold in the winter. A balanced spot with both sun and shade is usually the best choice. Remember that trees can offer natural shade but also pose a risk of falling branches.
Drainage and Flooding
A good dog house should also be built in an area with proper drainage. The last thing you want is rainwater to flood your dog’s new home. Before you build, observe how water flows in your yard when it rains. Avoid low spots where water collects. Elevating the dog house a few inches off the ground can prevent water from getting in.
Accessibility and Convenience
Don’t forget how easy it will be for you and your dog to access the dog house. It should be close enough to your home for convenience but not so close that it obstructs paths or becomes a tripping hazard. Make sure there’s a clear path for your dog to reach its house, free from obstacles like garden tools or kids’ toys.
Safety Concerns
Safety should always be a top priority. Keep the dog house away from potential hazards like electrical equipment, pools, or busy roads. Also, think about other animals that might visit your yard. A secure spot will protect your dog from unwelcome guests like raccoons or stray dogs.
Local Regulations
Ensure you know any local building codes or homeowner association rules that could affect where you can place a dog house. Some areas restrict structures built far from property lines or other buildings. It’s always best to check before you start building to avoid any legal issues later on.
Picking the right spot for your DIY dog house is a crucial step in the building process. Taking the time to consider factors like drainage, sunlight, and safety can make all the difference. Choose wisely to give your dog a home that is comfortable, safe, and enjoyable for years to come.
Steps to Building A Common DIY Dog House
Building a DIY dog house can be a rewarding experience. Not only will you create a special space for your pet, but you’ll also gain some valuable woodworking skills along the way. A dog house is also essential in making a home with pets in mind. Here are the essential steps to guide you from start to finish.
Measure and Plan the Layout
The first major step in building a dog house is to measure and plan the layout. Knowing the dimensions of the dog house is critical for both material selection and construction.
Start by measuring your dog’s length and height to make sure the house will be a comfortable fit. Add a few extra inches on all sides for good measure. Next, sketch a design on paper, noting the dimensions for each part, like the base, walls, and roof. Make sure to leave space for a door and maybe even a window.
Planning will save you time and materials in the long run. A well-thought-out layout sets the foundation for a successful building project.
Cut the Wood Pieces
Once you have your measurements and plan, it’s time to cut the wood pieces. Precision is key here. A wrong cut can throw off the entire structure and waste valuable materials. Always measure twice and cut once.
When cutting, using branded or reputable power tools can make a big difference. They offer better safety features and are generally more reliable for precise cuts.
A high-quality circular saw, such as one made by SKIL, can provide a straight, clean cut, making the assembly process smoother later on. The saw has a built-in laser guide that shows you where you are cutting.
Take your time and double-check your work. Accurate cuts are crucial for the fit and stability of the dog house.
Build the Walls
After cutting your wood pieces, the next step is to build the walls. Start by laying out the sides according to your plan. Attach the walls to the base, making sure they are perfectly upright.
Use screws for a more secure connection rather than nails, which can loosen over time. Double-check that the walls are level and straight. Uneven walls can lead to a shaky structure and affect the roof installation.
A carpenter’s level can be a great help in ensuring that everything lines up correctly. Take your time during this step; well-built walls are vital for the overall durability and safety of the dog house.
Add the Roof
Once the walls are up, it’s time to add the roof. A good roof protects your pet from the elements like rain, snow, and harsh sun. Lay out your roofing materials on top of the structure. If you’re using shingles, start from the bottom and work your way up to create a water-resistant layer.
For other materials like corrugated metal or plastic, make sure they overlap for better waterproofing. Secure the roofing with screws or roofing nails for added durability. Ensure the roof has a slight slope to allow for water runoff, preventing leaks in the future.
Install Insulation
Insulation is key for keeping the dog house comfortable throughout the year. It keeps the house warm in winter and cool in summer. Depending on the material you choose, installation can vary.
For foam boards, cut them to fit the walls and ceiling, and then secure them with adhesive or screws. If you opt for fiberglass insulation, ensure it’s well-sealed to prevent your pet from coming into contact with the fibers.
Always double-check that there are no exposed edges or corners where your dog might chew or scratch. Proper insulation not only adds to the comfort of the dog house but also improves its energy efficiency.
Attach Doors and Windows
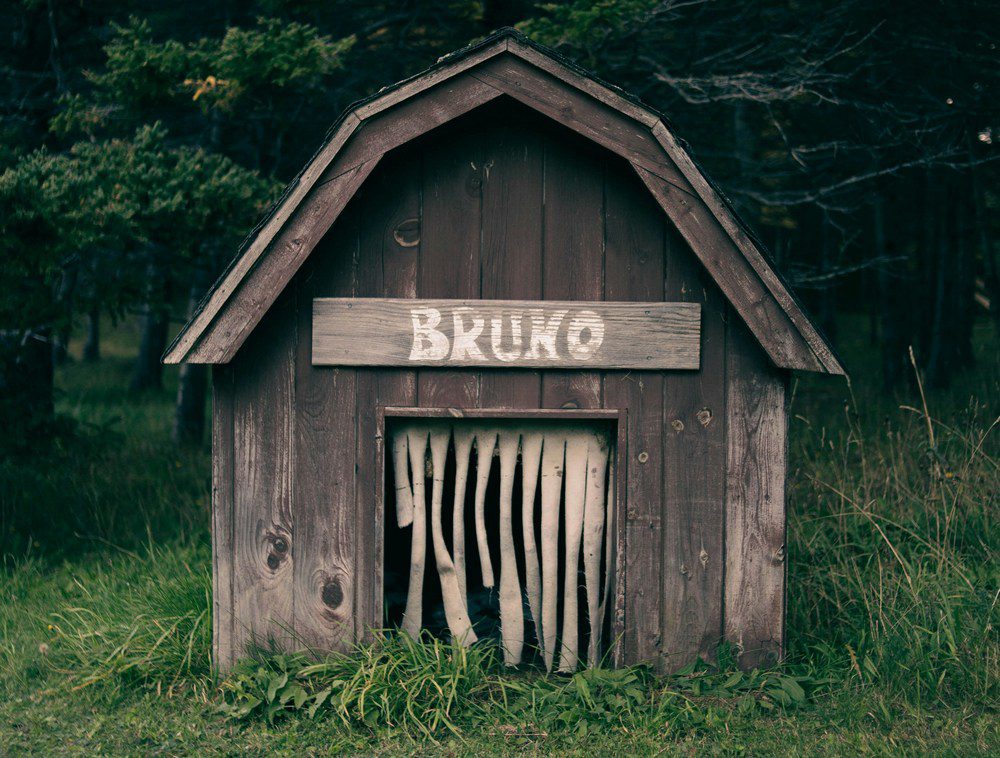
Doors and windows are not just decorative; they have functional roles too. A door protects your dog from the elements, while windows provide ventilation. To attach a door, measure the opening and cut a piece of wood or use a flap of heavy-duty fabric. Secure it with hinges for easy entry and exit.
For windows, mark the spots on the walls where you want them to go. Cut out the openings and install the window frames, securing them with screws. Add a sheet of transparent acrylic for safety, rather than glass, which can break. Make sure the windows are low enough for your dog to look out.
Apply Paint or Stain
After the structure is complete, it’s time for painting or staining. This step is not only for aesthetics but also for added protection. Choose non-toxic, pet-safe paints or stains to ensure your dog’s health.
Apply a primer first to help the paint adhere better and last longer. Then, apply at least two coats of your chosen color, letting each coat dry thoroughly before applying the next. A well-applied paint or stain can significantly extend the life of the dog house by protecting it from weather damage.
Add Final Touches and Safety Checks
Your dog house is nearly complete, but don’t rush to introduce it to your pet. Take the time to go through some final safety checks. Make sure there are no loose nails or screws that could harm your dog.
Check for any rough or sharp edges and sand them down. If you’ve added accessories like a nameplate or decorations, ensure they’re securely attached and won’t pose a choking hazard.
Once you’re confident that the house is both safe and comfortable, it’s time to let your dog explore its new home. Add some familiar bedding or toys to make the space more inviting.
Dog House Maintenance
A well-built dog house can last for years, but like any other structure, it requires regular maintenance. Keeping the dog house in top shape ensures it remains a safe and comfortable space for your pet. Here’s a detailed guide on how to keep your DIY dog house looking and functioning like new.
Regular Cleaning
The dog house will inevitably collect dirt, dust, and pet hair over time. A simple yet effective way to clean it is with soap and water. Remove any bedding or toys first. Then, scrub the interior and exterior using a sponge or scrub brush. Rinse thoroughly and let it dry before returning your dog’s belongings. Depending on how messy your dog is, you may need to do this weekly or monthly.
Inspect for Damage
Physical wear and tear can weaken the structure of the dog house. Inspect it for any signs of damage, like loose nails or screws, cracked wood, or peeling paint. Make necessary repairs promptly to prevent small issues from turning into bigger problems. Check the roof for leaks, especially after a heavy rain or snowfall. A compromised roof can lead to moisture buildup, which can further damage the structure and make it uncomfortable for your dog.
Repainting and Restaining
Over time, the paint or stain on your dog house will fade or chip. Repainting or restaining it not only improves its appearance but also adds an extra layer of protection against the elements. Always choose pet-safe, non-toxic products for this task. Before you begin, sand down any peeling or uneven areas to ensure a smooth application. Apply a primer if needed, followed by your chosen paint or stain. Allow sufficient drying time between coats for the best result.
Check Insulation and Ventilation
A well-insulated dog house maintains a comfortable temperature all year round. If the house is becoming too hot in the summer or too cold in the winter, it may be time to inspect the insulation. Replace or upgrade it as needed. Similarly, make sure that the ventilation is still effective. Windows and vents should be free from blockage to ensure a steady flow of air.
Pest Control
A dog house can attract pests like insects or rodents. Regularly inspect the area around the house for signs of unwanted visitors. Take preventive measures like applying pet-safe insect repellent or setting up traps. Keep the area clean to make it less appealing to pests.
A well-maintained dog house is more than just a pretty space; it’s a safe and comfortable haven for your pet. Maintenance is an ongoing task but well worth the effort for the comfort and safety it brings to your dog.
FAQ on Building a DIY Dog House
How big should the dog house be?
The dog house should be large enough for your dog to turn around, lie down, and stretch out comfortably. However, it shouldn’t be too large, as a smaller space can help retain your pet’s body heat during colder months.
Do I need to insulate the dog house?
Insulation helps keep the house warm in winter and cool in summer. While not mandatory, it’s highly recommended for the comfort of your pet.
How often should I clean the dog house?
The frequency can depend on how messy your dog is. However, a general guideline is to clean it at least once a month. Remove all bedding and toys before cleaning.
What kind of paint or stain should I use?
Always use non-toxic, pet-safe paint or stain. Let it dry completely before letting your dog use the house.
How can I make the dog house pest-resistant?
Keep the area around the dog house clean and regularly inspect for signs of pests. Use pet-safe repellents and keep food out of the dog house to discourage unwanted visitors.
Do I need to add a door?
A door provides extra protection against the elements. You can use a wooden door with hinges or a heavy-duty fabric flap.
What tools will I need for building a dog house?
Basic woodworking tools like a hammer, screws, a screwdriver, a measuring tape, and a saw are generally needed. For more precise work, high-quality power tools are recommended.
Conclusion
Building a DIY dog house can be a fulfilling project that benefits you and your furry friend. By carefully selecting materials, measuring and planning, and attending to each construction detail, you create a safe and comfortable space for your dog. Regular maintenance ensures that this cozy retreat lasts for years.
Whether you’re a seasoned DIY enthusiast or a beginner, the process offers a great learning experience and a lasting sense of accomplishment.