Last Updated on August 1, 2022 by teamobn
Mosaics are a great way to add some individuality to your home. Mosaics are a homemade way of putting images, words, or art on a surface. This can be done by using pieces of glass and gluing them together to make a picture in a frame, or by using other materials such as ceramic or stone.
Typically, a mosaic is made from broken pieces of glass, stone, or ceramics, but some modern versions of mosaics can be made from colourful glass tiles set onto a surface.
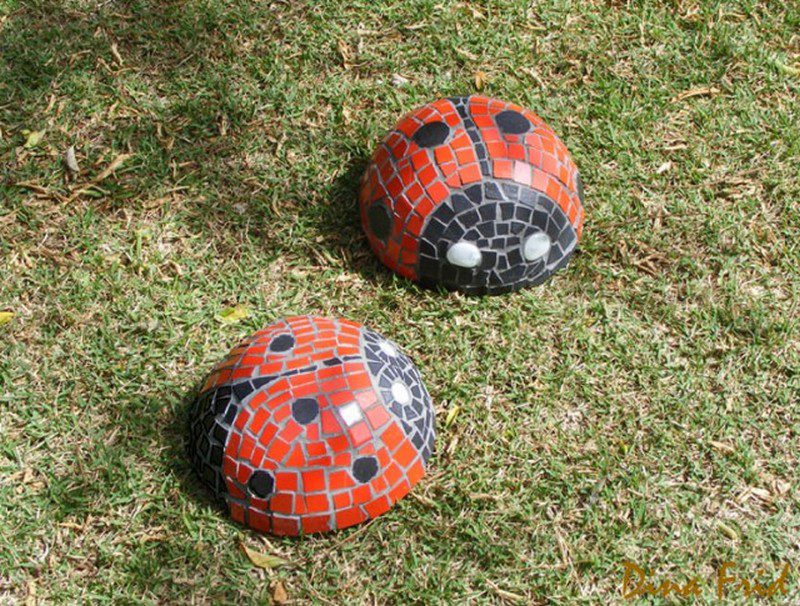
A lady bug would look cute in any outdoor space. It’s a beginner’s project where even the kids could help. Do you want to have these lady bugs in your garden?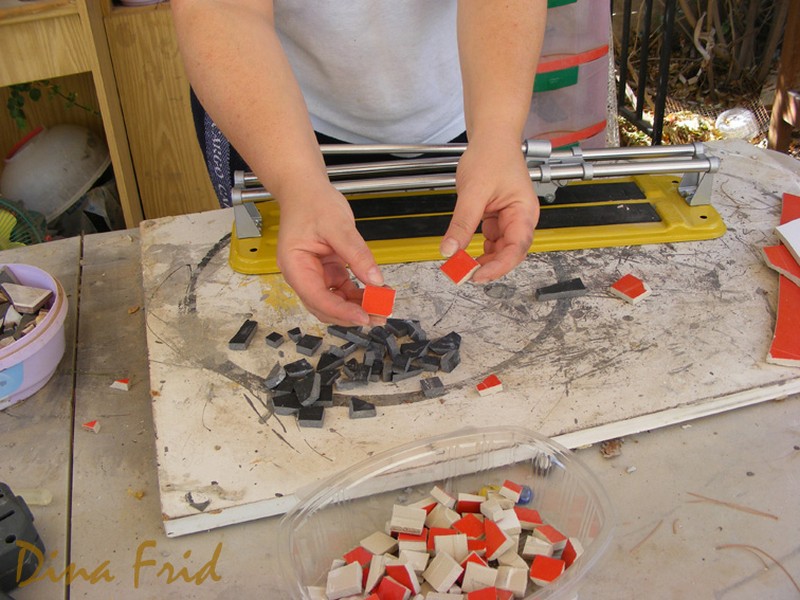
A ladybug is a beetle and not a fly or a bee. They eat aphids, which are bugs that suck the juices out of plants and make them wither. A ladybug is nocturnal and a voracious hunter.
You’ll need these materials:
- Concrete Mix
- Tub – for mixing concrete
- Bowl – for shaping
- Marker
- Coloured Tiles
- Glue
And this tool:
- Trowel
How to Create a DIY Mosiac Lady Bug?
The Materials
- Concrete mix – 1 part cement, 3 parts sand
- The ratio of the cement to sand that you should use for this particular project is 1:3 to make sure that the finished product you make does not fall apart.
- If you make the mixture with the wrong ratio of cement to sand, this might make your final product easy to fall apart.
- Coloured tiles (red and black ones)
- If you are dealing with a ladybug theme in your home or garden, then you are sure to be faced with the challenge of decorating your home and garden with ladybug images and designs.
- One of these is cutting the coloured tiles into smaller pieces to fit a ladybug decorative.
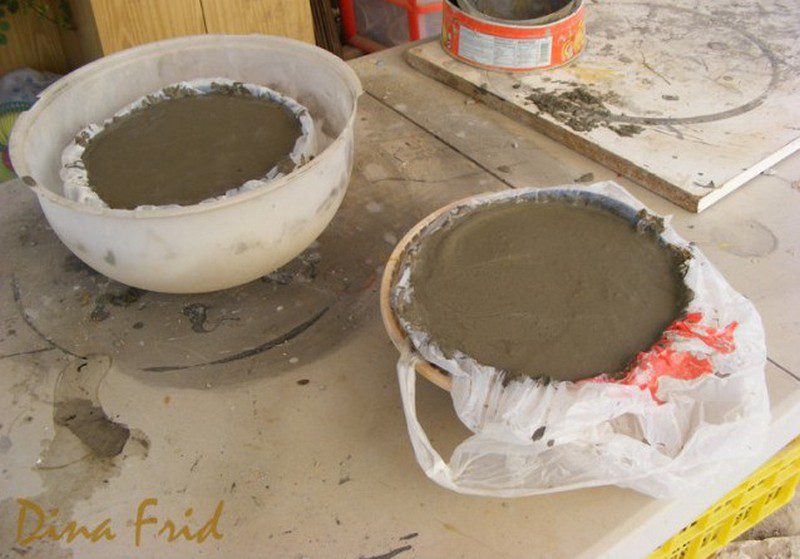
- Prepare the moulds
- For the body of the lady bug you can use any small container you want, such as a plastic food container or a large bowl.
- Or you can use an old basketball cut in half. If you use something round, you can cut it in half.
When preparing the materials, make sure to have it all together, unless you really want to be disappointed at the very end of the project. It’s a good idea to keep track of the materials during the whole process.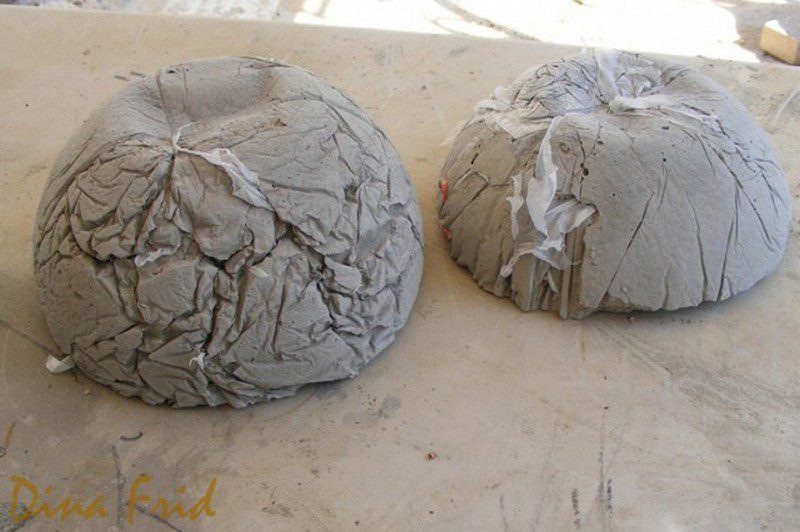
The Process
- Once the concrete is at the right consistency, pour it into the space you’ve left in your lady bug mould and don’t forget to make sure the concrete goes in all the way.
- Remember to leave enough room for the concrete to expand. Be sure to use a level when you’re filling the moulds to ensure your concrete is straight and level.
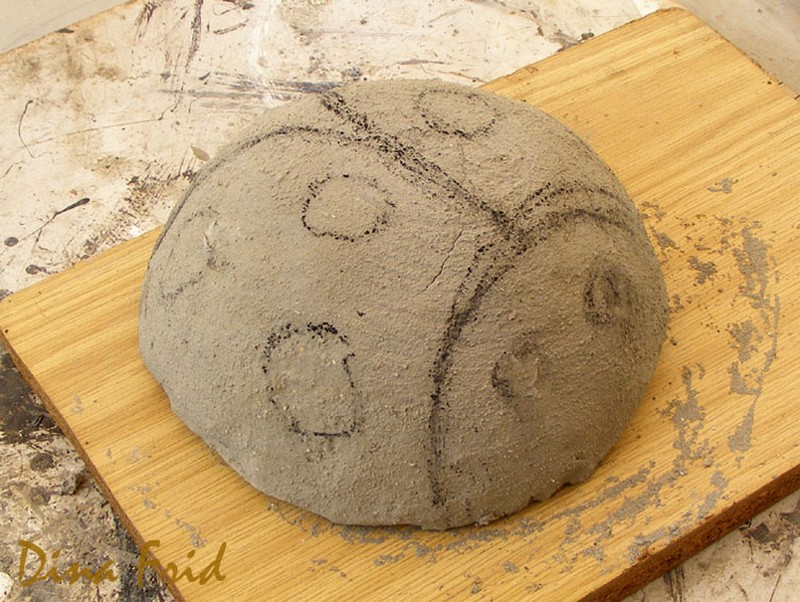
- After the concreted has dried, you can mix another layer to patch up the imperfect hemisphere shape to make it close to a perfect one.
- Then draw a pattern for your lady bug design with the use of a marker.
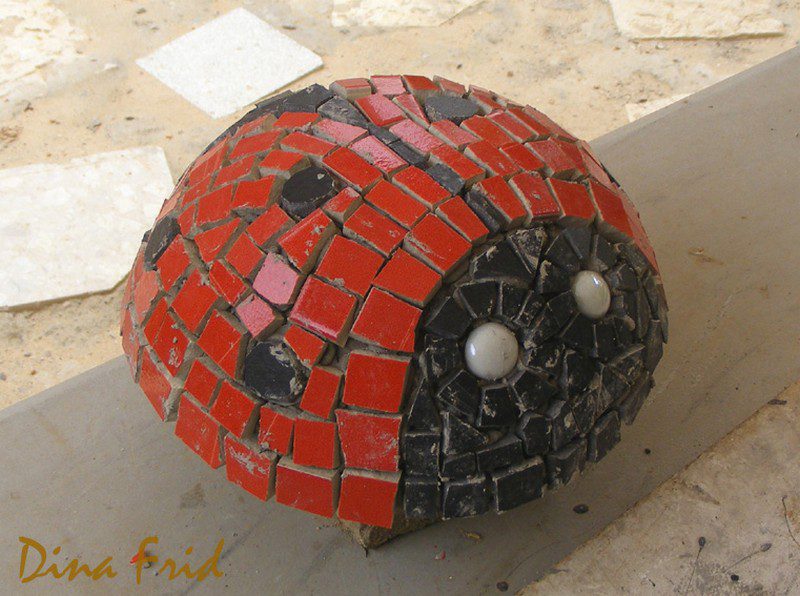
- Layout your coloured tiles, and with the help of tile glue, glue the pieces of the coloured tiles together to complete your DIY Mosaic Lady Bug.
- For the eyes of your lady bug, you can use flat marbles or any circular glass that would fit its eyes.
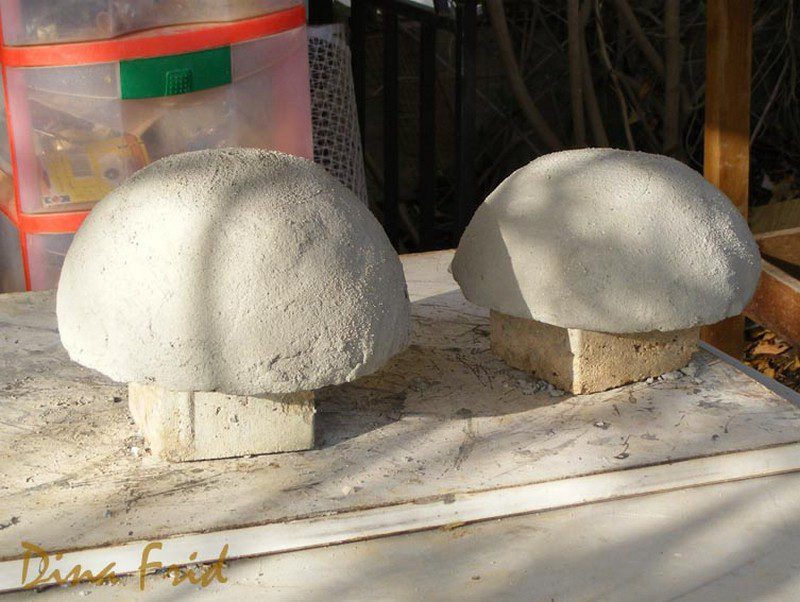
Would you want a DIY Mosaic Lady Bug in your outdoor areas? Then start collecting the materials now!
Click on any image to start the lightbox display. Use your Esc key to close the lightbox. You can also view the images as a slideshow if you prefer 😎


