Do you worry about your pets running out of the water while you’re out the entire day? This clever DIY might be the answer for you!
The purpose of a pet water bowl is to provide your pet with a place to drink water. A pet water bowl generally serves the same purpose as a regular water bowl, but with a few key differences.
Most importantly, a pet water bowl is usually made of a different material than a regular water bowl. Dog and cat water bowls are typically made of ceramic, plastic or stainless steel.
Some bowls are also dishwasher safe to make cleanup easier.
Another difference between a pet water bowl and a regular water bowl is that a pet water bowl generally has a spout for easier water access. A pet water bowl can be particularly important for dogs to get hydrated.
This idea is made with materials you most likely already have at home. You can use scrap wood from previous projects as long as you think it will be stable enough to hold a large plastic bottle. Using an industrial Velcro tape is a good material for securing the bottle in position.
Its concept is simple yet awesome as it makes use of a little science trick. This DIY water bowl is very easy to do, even big kids can make it!
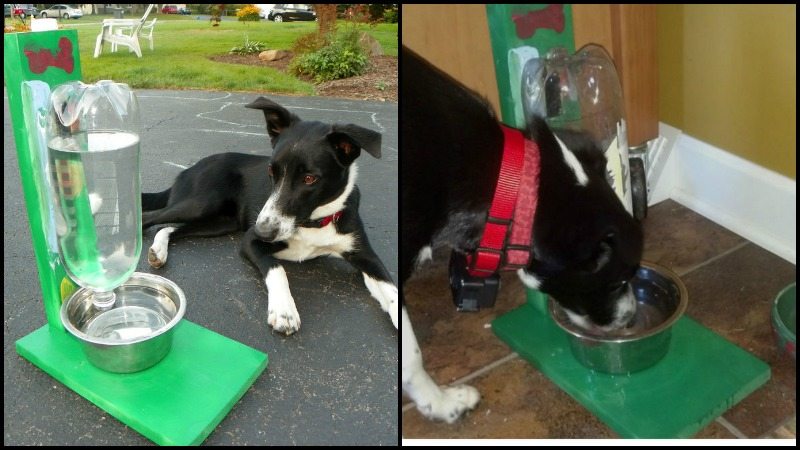
This water pet bottle will give your pets an unlimited water supply for the day, just right in time for you to come back home from work. Do you think your pet will love the water supply that they need for the day?
Check out the gallery, for a DIY water bowl
Materials:
- 2x4x16 Lumber
- 1x6x12 Lumber
- 2L Plastic Bottle
- Dog Dish
- 2 sets of Velcro Tape (this industrial grade tape is perfect for this project)
- Wood Glue
- Nails
- Paint (optional)
Tools:
- Saw
- Wood Clamp
- Hammer
Steps:

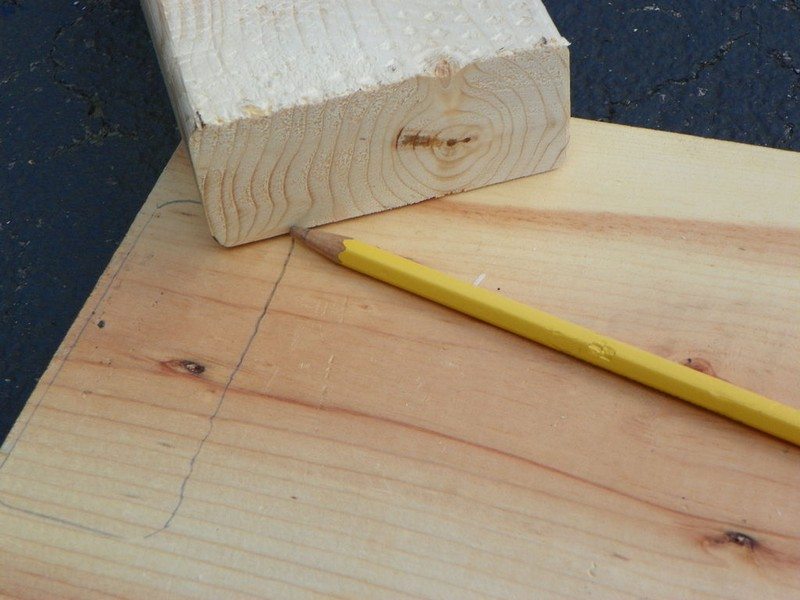
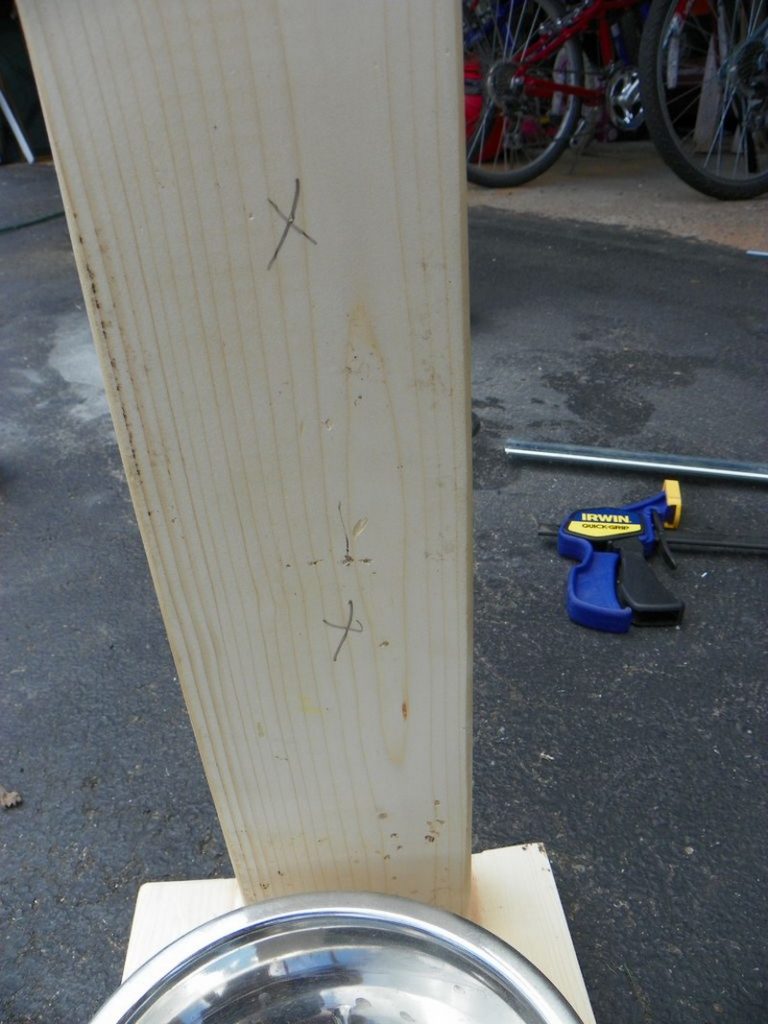
Outline the position of the vertical lumber.
Take the 2 x 4 lumber and position it in the middle of the end of the 1 x 6 lumber. When you found the spot you like, outline around the outside of the 2 x 4 lumber with a pencil.
The 2×4 lumber will serve as the bottle holder for your pet bowl. You are marking where the boards are going to attach to each other. The 1×6 lumber will serve as the base.
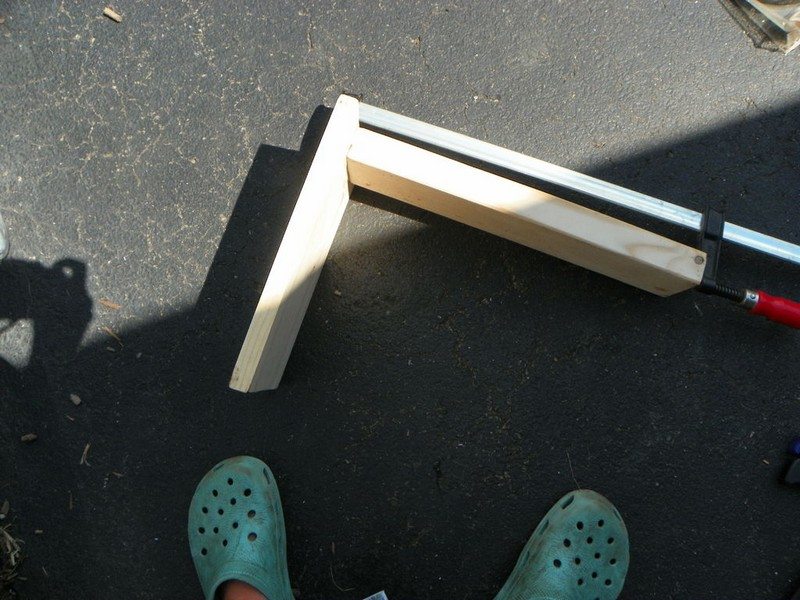
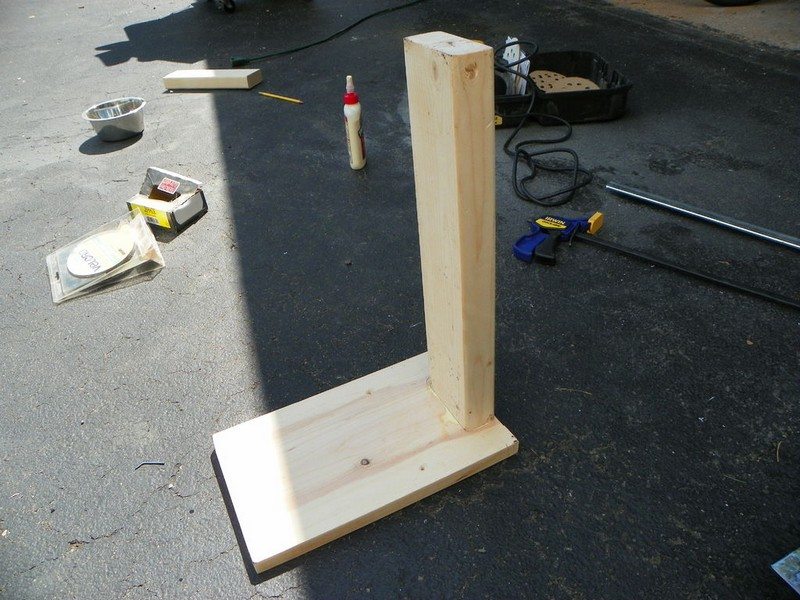
Glue and clamp.
Once you outlined the bottom of the base of the lumber, glue it onto the bottle holder in the spot that you picked. The outline should help you line it up. Once you do that, clamp it!
This should give you a sturdy bottle holder when nailed together.
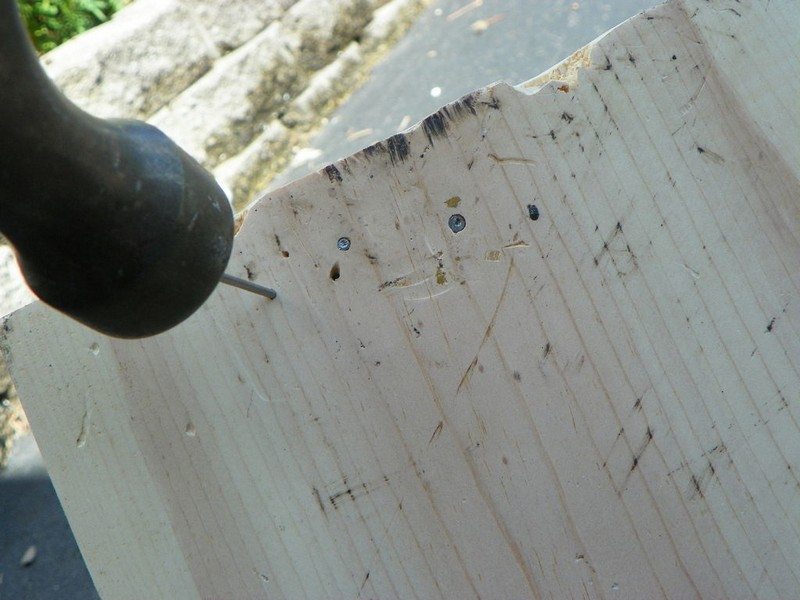
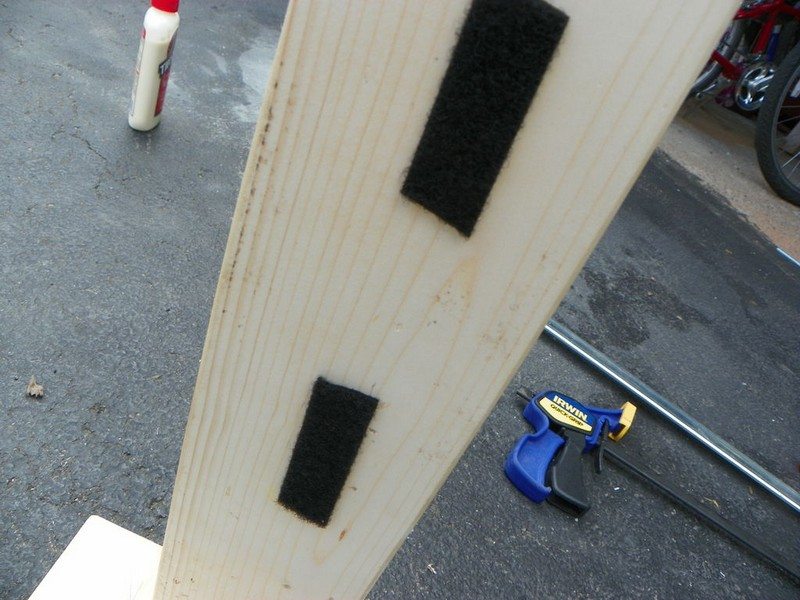
Nail and Velcro.
Nail the bottle holder to the base. After that, stick the 2 soft pieces of Velcro on the bottle holder piece of wood. Look at the pictures to see how I placed them.
Use the 2L bottle to measure where to put the soft Velcro Make sure that one piece of soft Velcro is almost to the top of the 2L bottle so it stays.
The end of it should stick into the bowl at the height you want the water to fill up too.
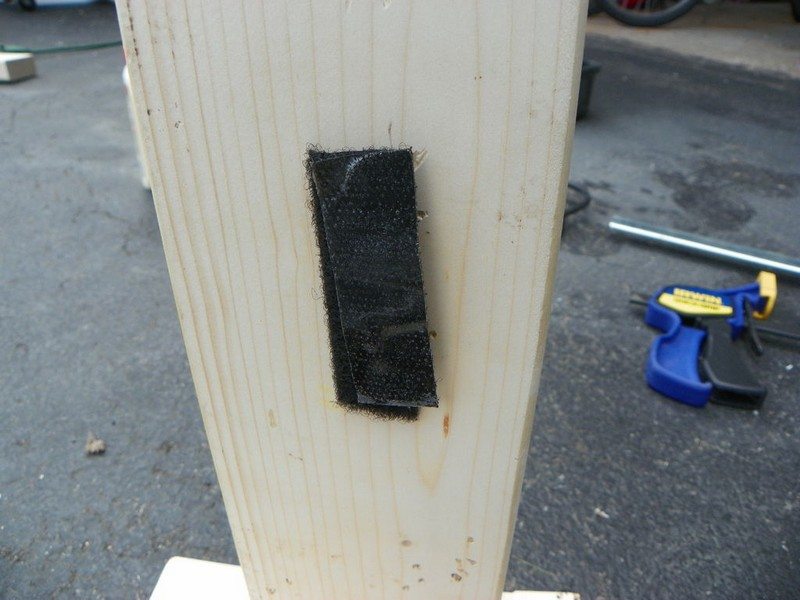
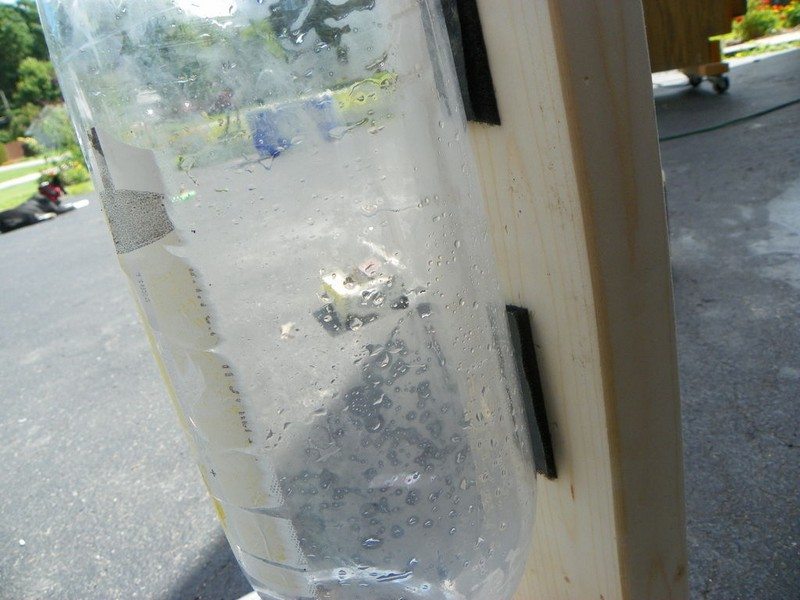
Once done with that, stick the hard Velcro to the soft Velcro. Put the 2L bottle on the sticky side of the Velcro and you are DONE!!!
Remember: Wherever the tip of the 2L bottle is that is how high the water will be. I had to move the bottle down because so much water was spilling.
Thanks to