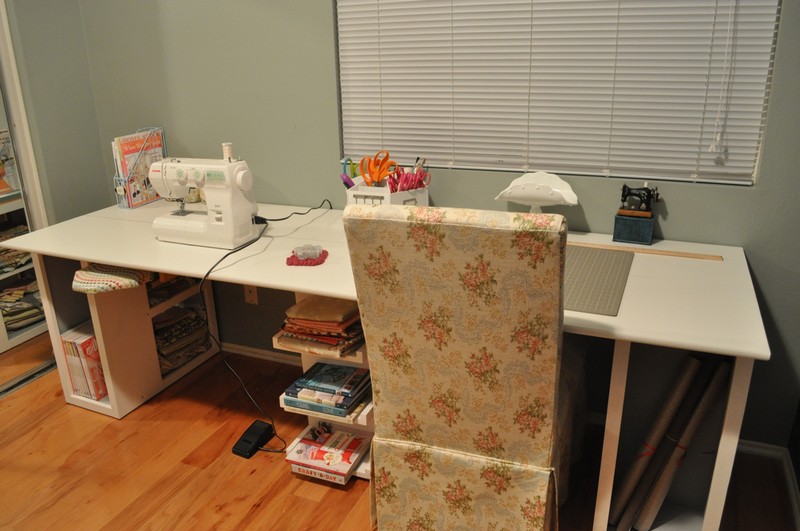
Anyone who sews regularly knows the benefits of having a dedicated working area. A DIY Craft table is ideal for those who sew, knit, cross-stitch, scrapbook, paint, or do any other craft that requires using a table.
These tables are typically used by experts and can offer a wide variety of benefits to users who are comfortable with the table. These tables are usually taller than a regular table and are specially designed to help crafters with their projects.
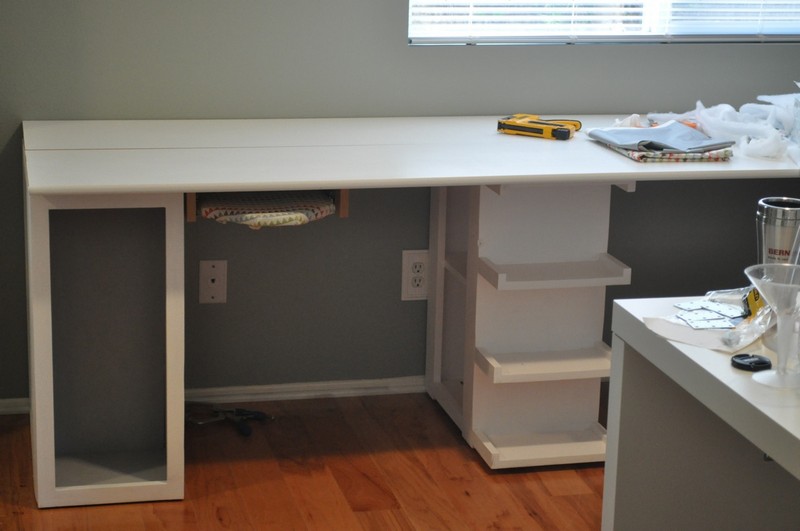
A DIY Craft table usually has drawers and other storage areas built in to help keep things neat and organized. DIY Craft tables are used for making objects out of wood and other materials.
These tables are usually made of wood, which provides the craftsperson with the necessary stability to work on the item without the table shifting or moving. Craft tables are designed to be height-adjustable so that they can be used by people of various sizes.
This setup is so much easier than having to set up the machine, the ironing board, and organize a space for cutting and pinning.

You’ll need these materials:
- 1×12 Timber
- 1×8 Timber
- 1×2 Timber
- 1×3 Timber
- Wood Screws
- Wood Glue
- Paint
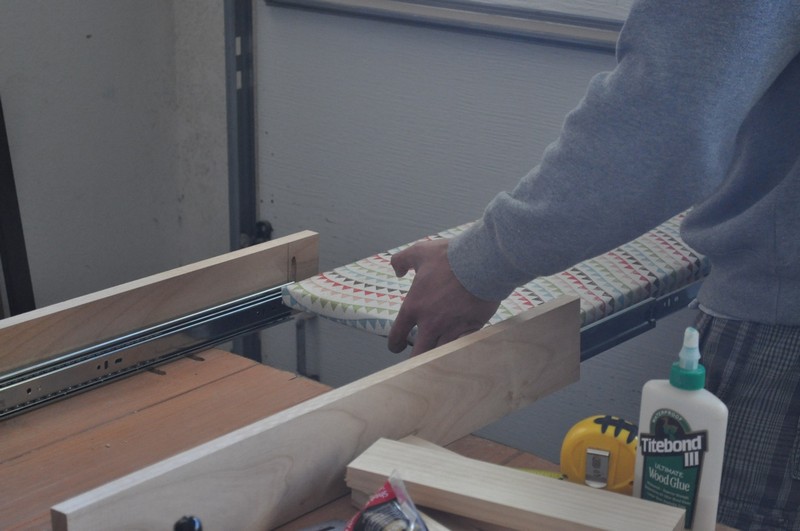
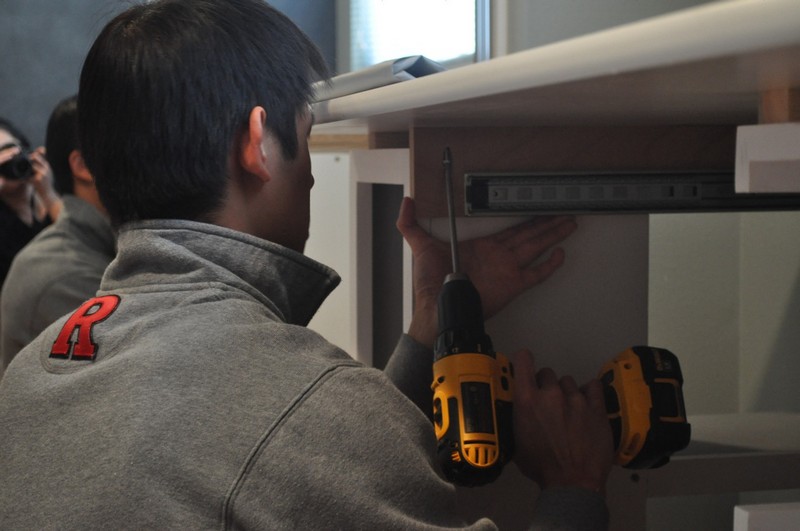
- Drawer Slides
And these tools:
- Wood Clamps
- Table Saw
- Miter Saw
- Sander
- Power Drill
This is how you should make your DIY Craft Table.
Measure the desired area
To make sure your DIY craft table is the perfect size for your needs, measure the desired area before you start building. This will help you determine the dimensions of the table and ensure that it is the right size for your needs.

Cut wood measuring to the size
The biggest challenge in making a wood table is to get the wood pieces to fit together perfectly. If you’ve got large gaps between the pieces, you’re going to have to fill them in with caulk, which will make your table look more like a high school science project than a professional piece of furniture.
If you don’t have the skills to make your table fit together perfectly, you’ll need to do some careful cutting of pieces after measuring them carefully beforehand.
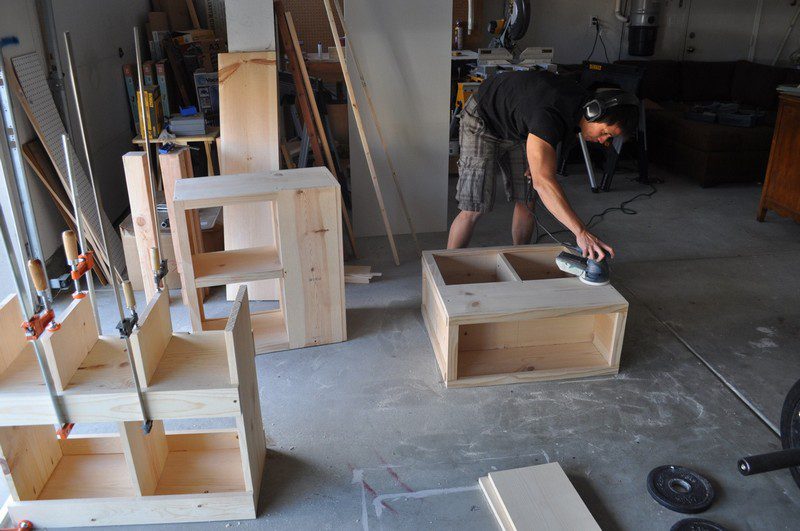
Sand wood with sandpaper
Sanding wood is a great way to smooth edges, even out rough patches and create a uniformly smooth surface. But to do it right and to get the best results, you really need to use sandpaper.
There are different grades of sandpaper, and if you’re just sanding something small, you can use a lower-grade paper that doesn’t last as long. If you’re sanding a big piece of wood, however, you’ll want to use an industrial-grade paper that can hold up to the task.
Paint wood with primer
But what’s the best way to ensure that your wood doesn’t splinter or crack? For that, you’ll want to paint it with primer before you paint it with the actual colour. Wait a few hours before you apply the primer, then give it a few more hours to dry before you paint it. After that, you can colour your DIY Craft Table as you please.
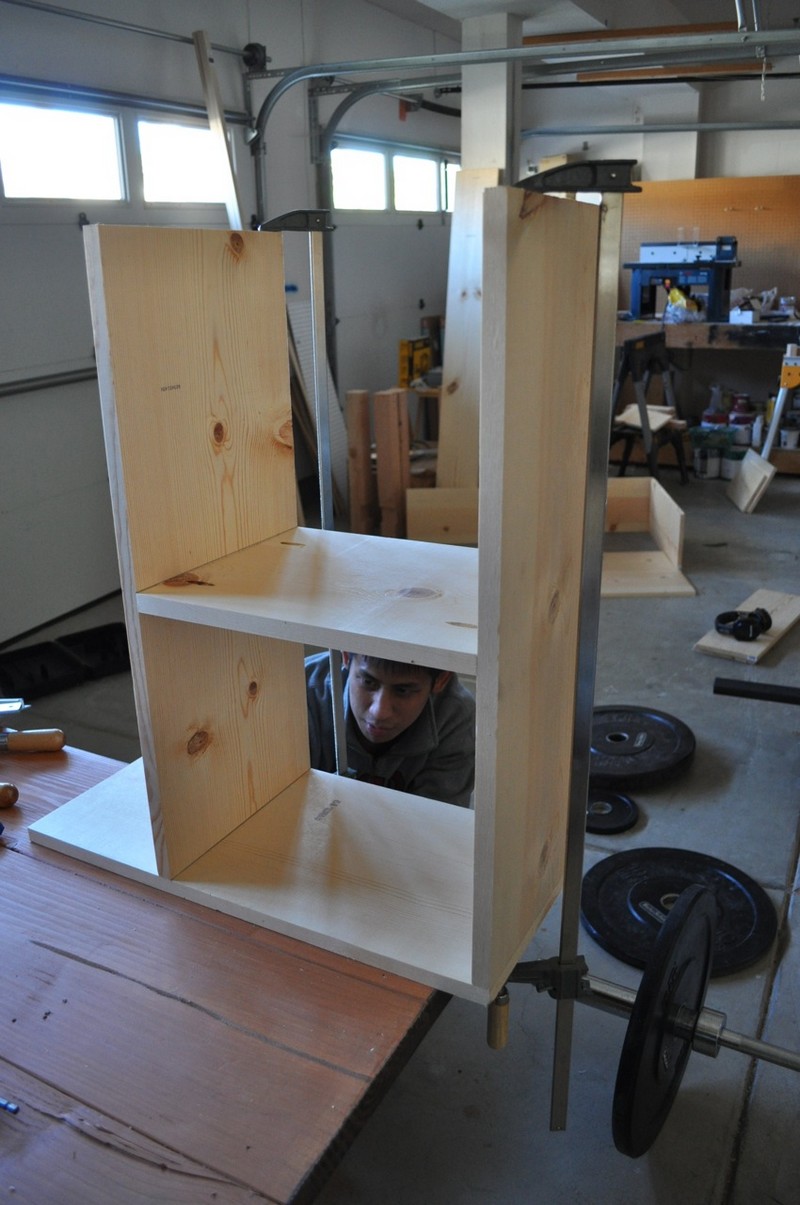
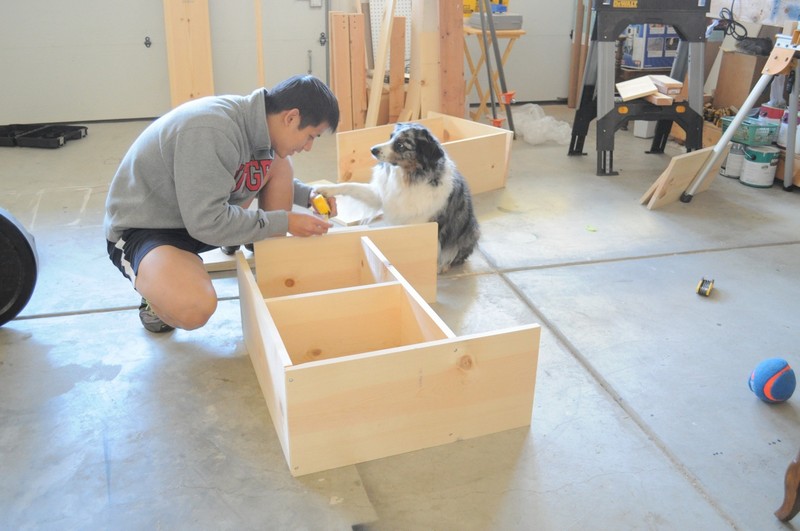
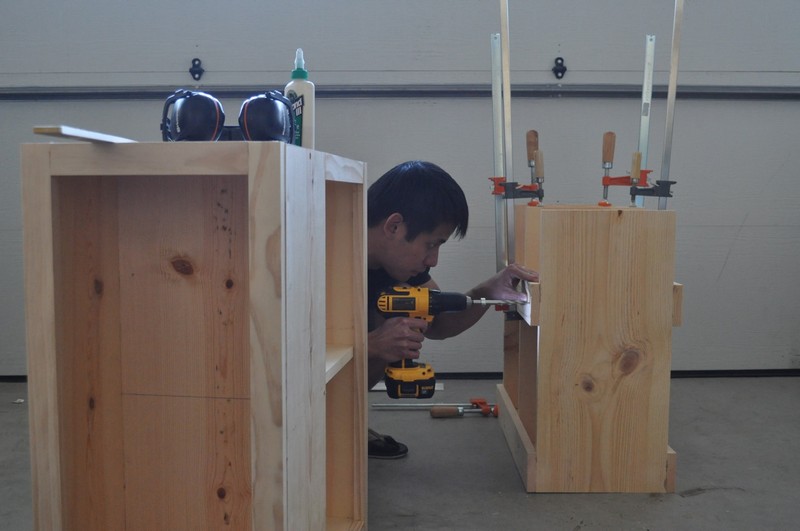
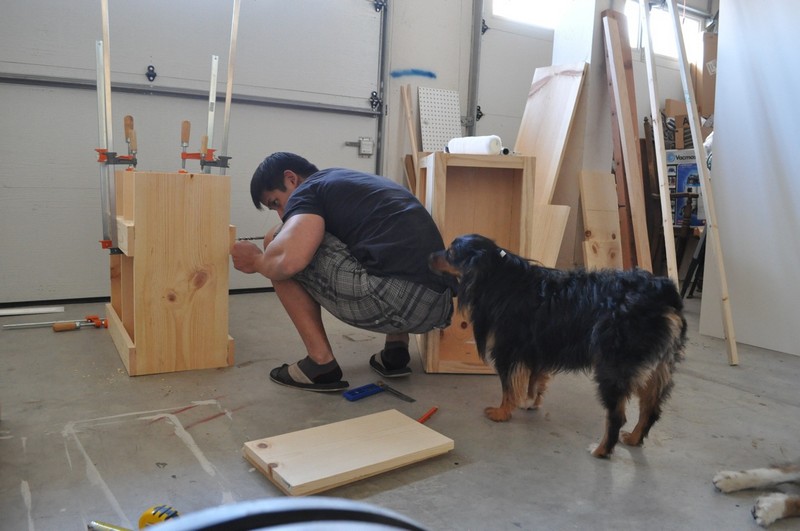
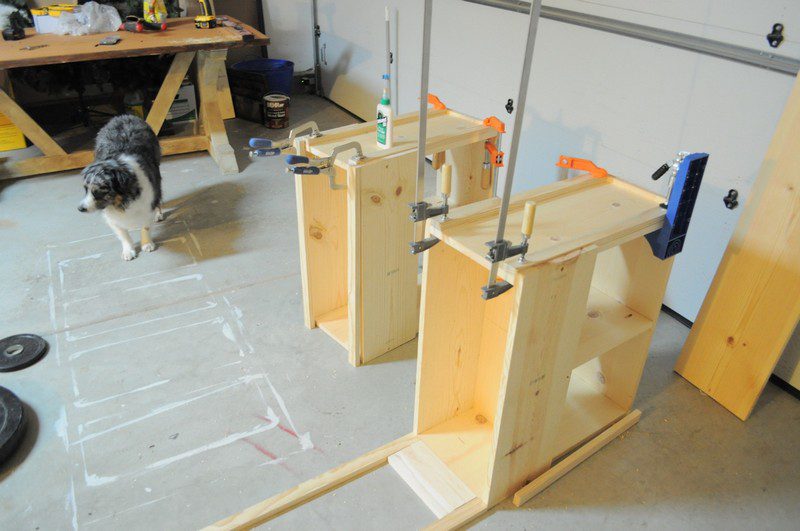
5. Attach the parts together
In the DIY world, there are quite a few ways to assemble a project. The glue and clamps method is one of the most popular because it involves very basic tools and will likely be the easiest. Secure them with nails or screws after drying out.
Click on any image to start the lightbox display. Use your Esc key to close the lightbox. You can also view the images as a slideshow if you prefer 😎