A vanity is a great addition to your bathrooms, but bathroom renovations can cost you a lot of money. That’s the reason why many people put off the bathroom of their dreams for too long.
But you can update your old bathroom without spending that much.Have you been thinking of revamping your bathroom?
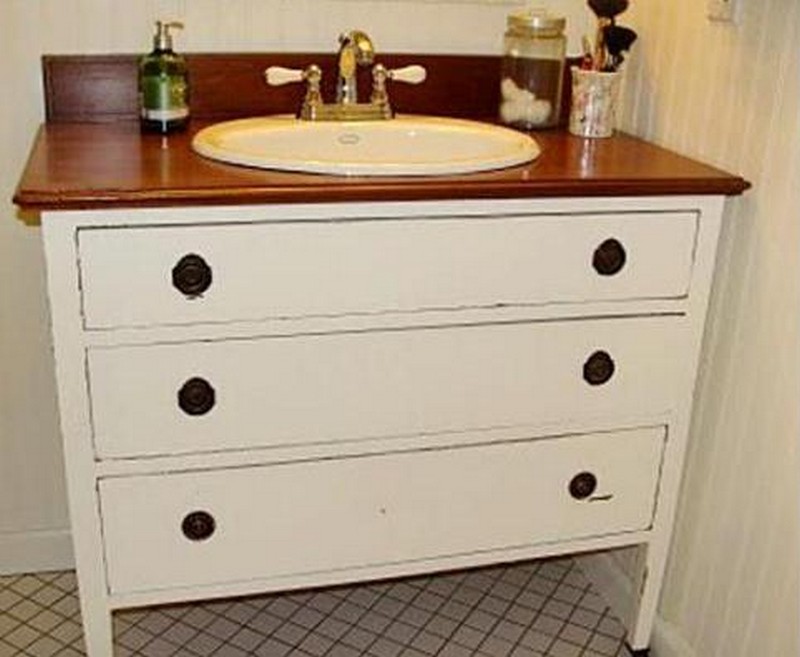
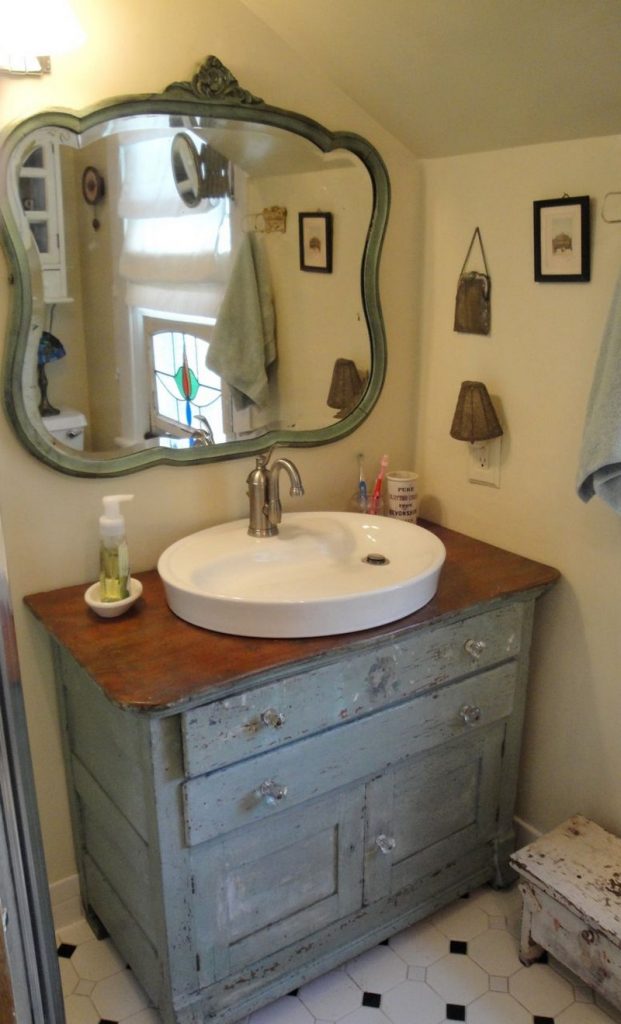
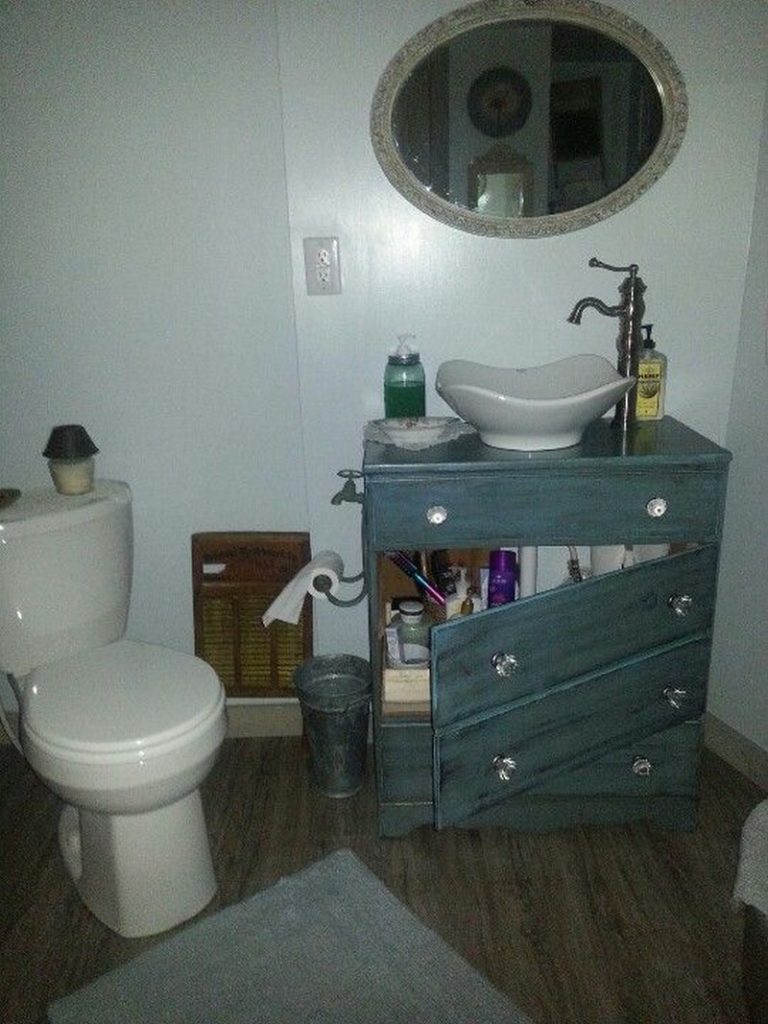
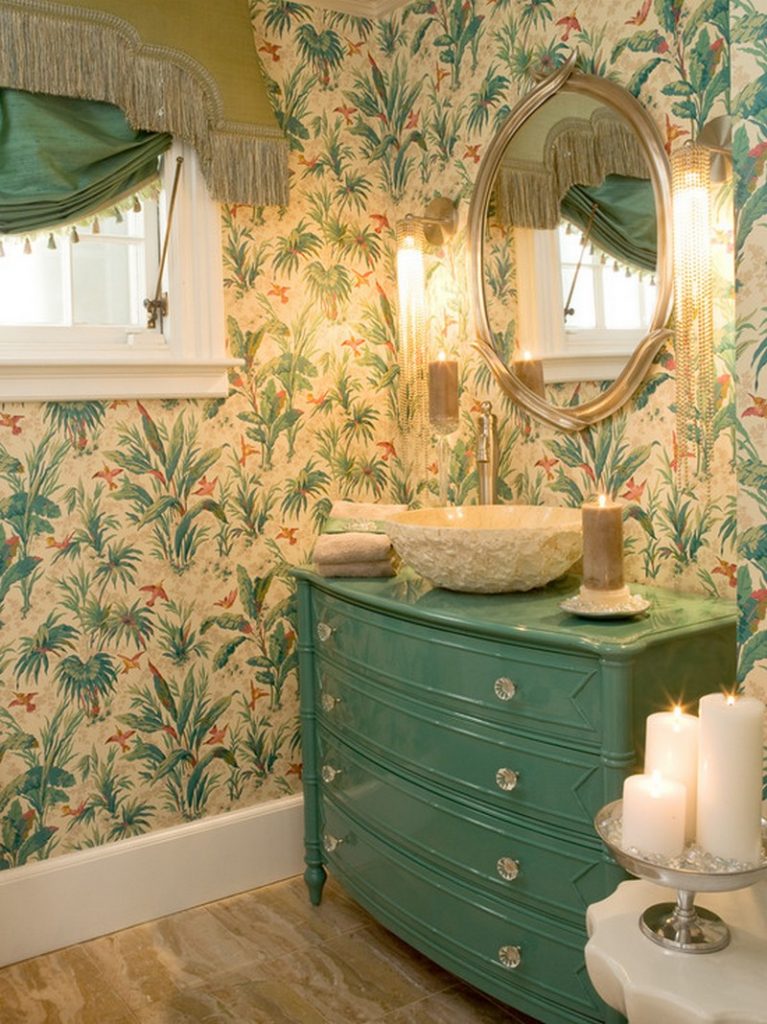
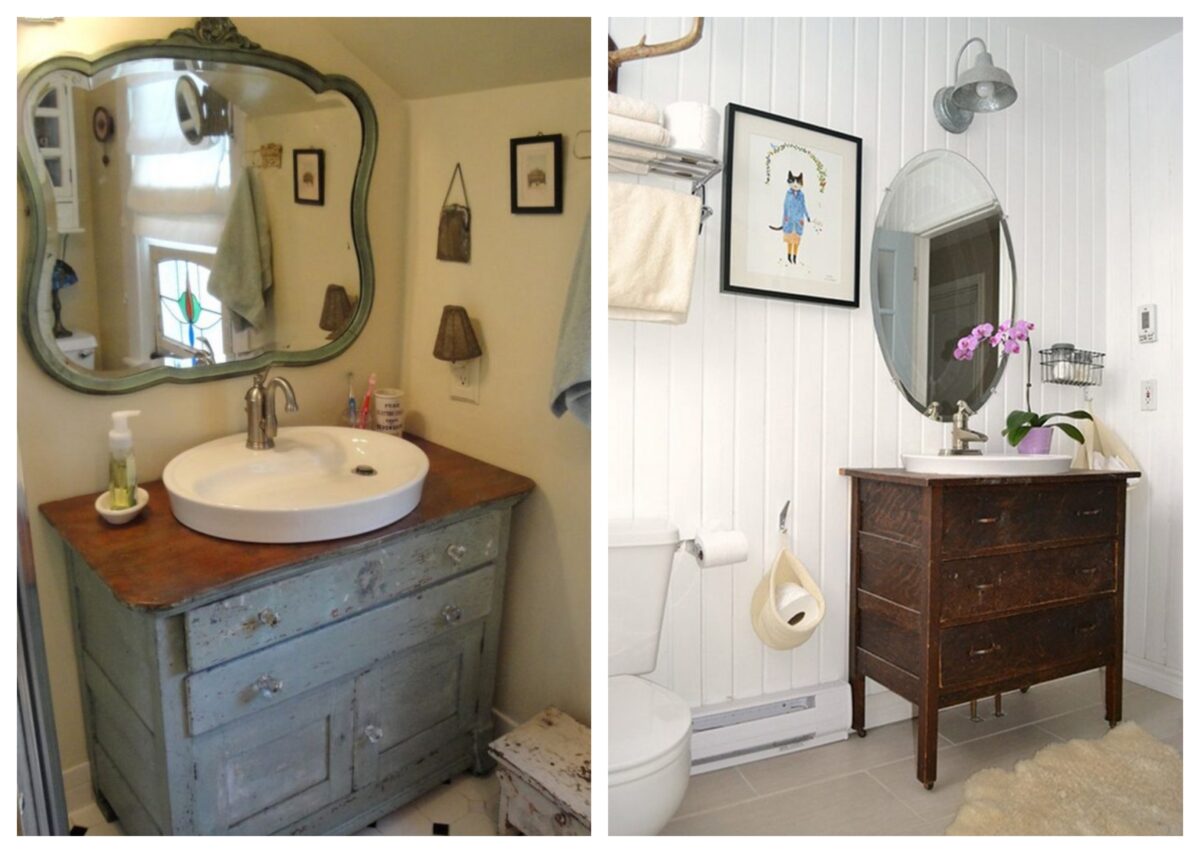
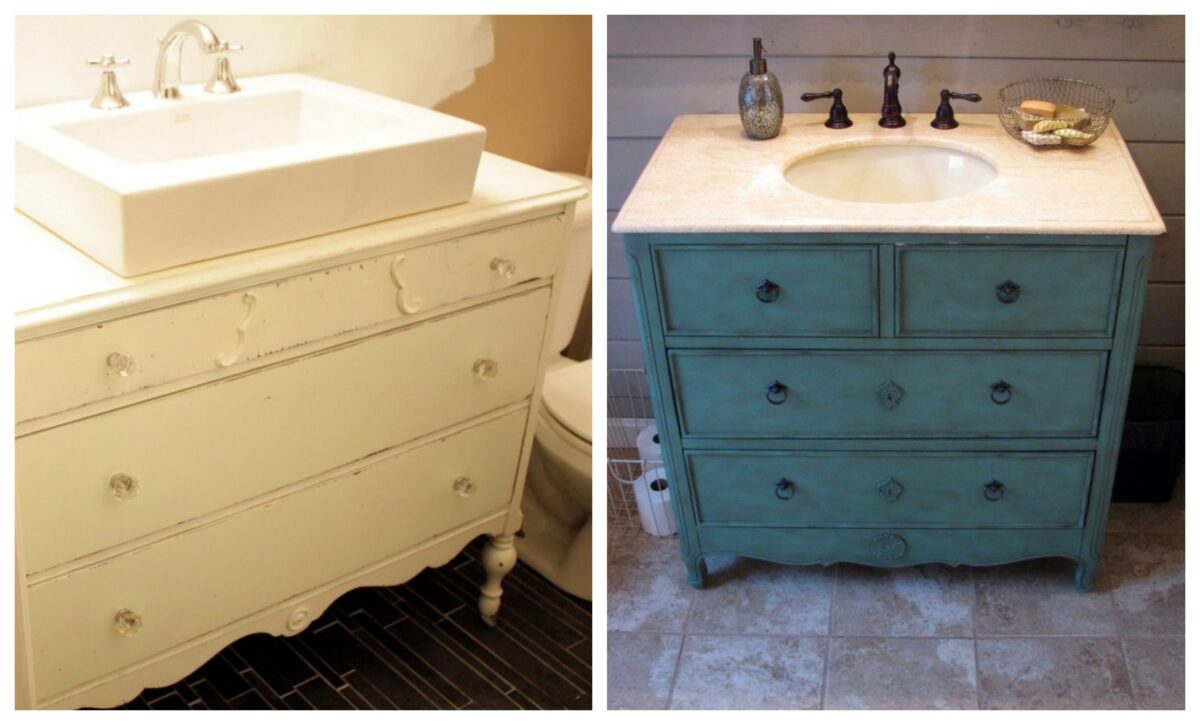
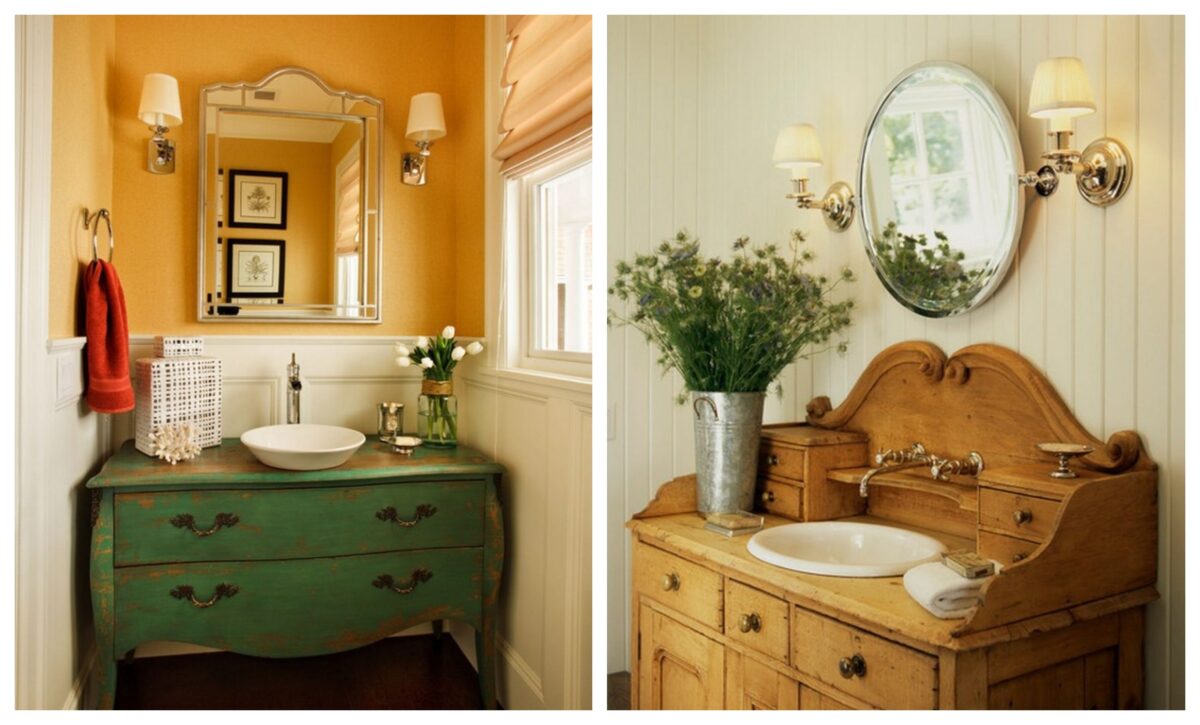
Here’s a DIY project you make over the weekend for you… Turn an old dresser into a vanity!
A vanity is a table with a mirror used for grooming and applying make-up. But, if you’re like me, you can be a cheap son of a gun and want to get your bathroom redo in a pinch and on a budget.
So, if you didn’t want to buy a new vanity, then take one of your existing old dressers and turned it into a vanity that has more storage than the original dresser.
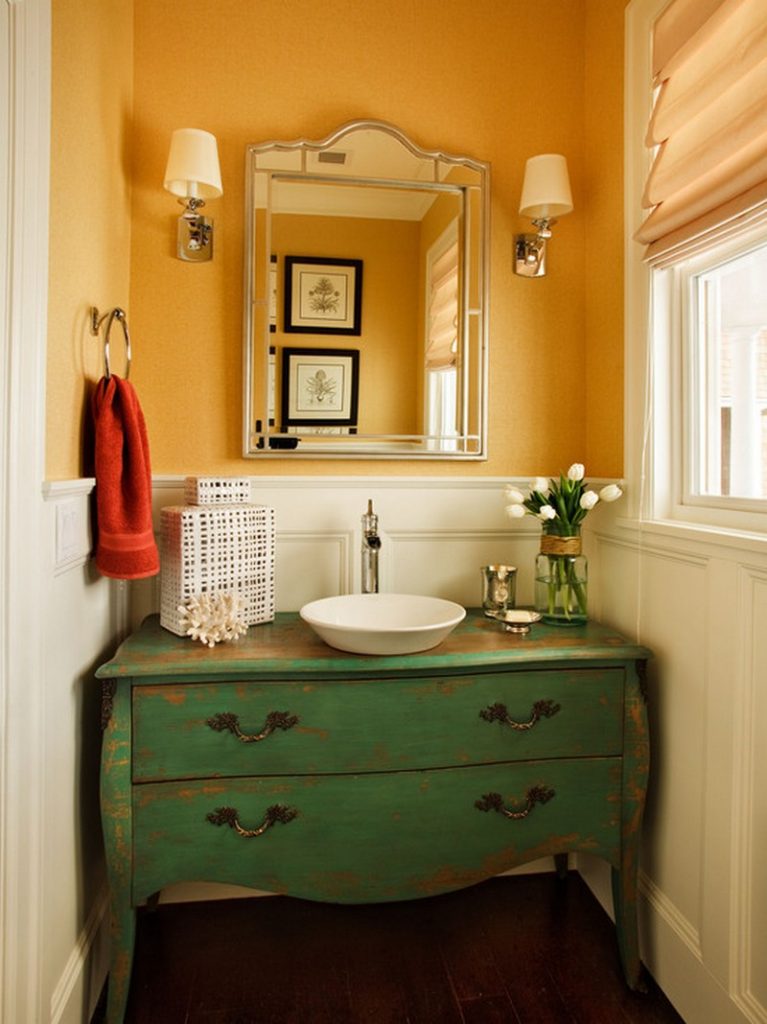
However you choose to use it, a vanity is versatile, offering you the flexibility to make it what you want, when you want. Sure, bathroom vanity units offer storage for linens, towels, and toiletries – but they can also be used as a desk or an extra dresser.
If you don’t have an existing dresser for this project, you can source cheap dressers from the Salvation Army, or any of your local thrift shops and online buy and sell site.
Turning an old dresser into a bathroom vanity is easier than it seems, and can be done over the weekend. If you’re looking for some remodelling ideas that would be worth your money, this DIY project is definitely on the list!
Could this be your next weekend project?
Materials:
- Used Dresser
- Bathroom Sink Set
- 2×4 Wood Scraps (for drawers, optional)
- Wood Stain/Finish
- Clear Caulking
- Screws
Tools:
- Marker
- Jigsaw
- Sander
- Paint Brush
- Plumbing Tools
- Cordless Drill
How to turn an old dresser into a vanity?
Clean your Old Dresser
Your old dresser can be a bit messy and dirty, it’s important that you clean them first before turning them into something new. You want to make sure that your old dresser is still in good shape and can be refurbished.
If there are missing drawers or cracks in the wood, you want to identify those issues before you start working. You can use a screwdriver to take off the drawers and use a sander to clean off any rust or grime.
Be sure to wipe the dresser with a clean cloth afterwards to ensure that it’s dry and ready for painting.
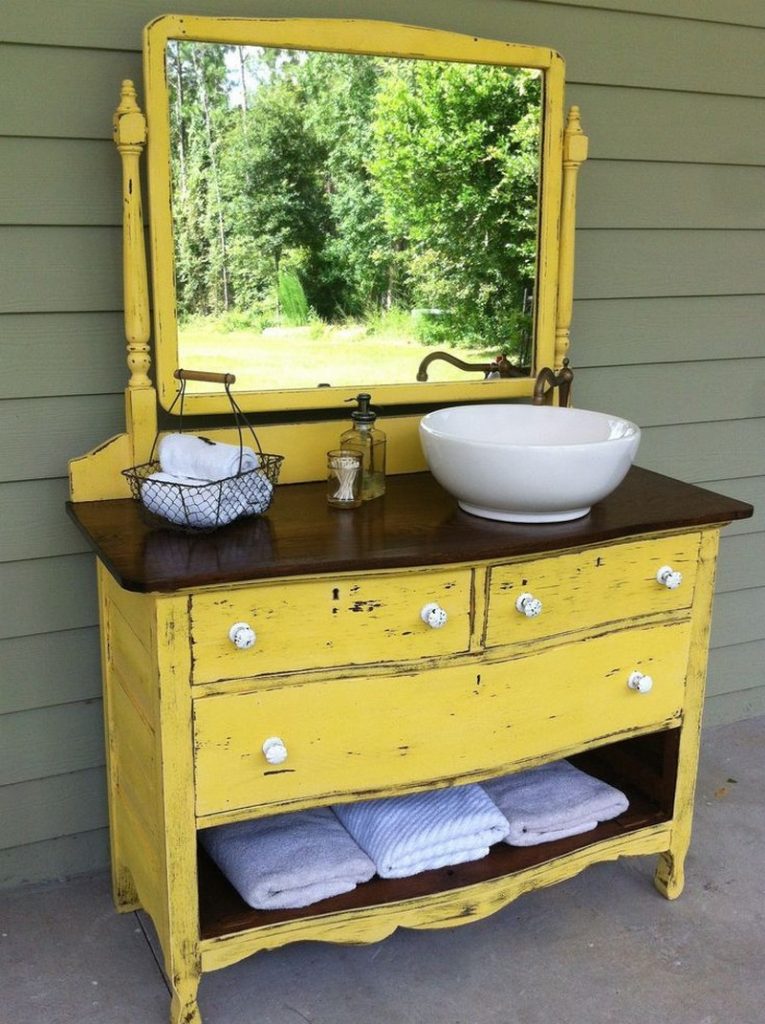
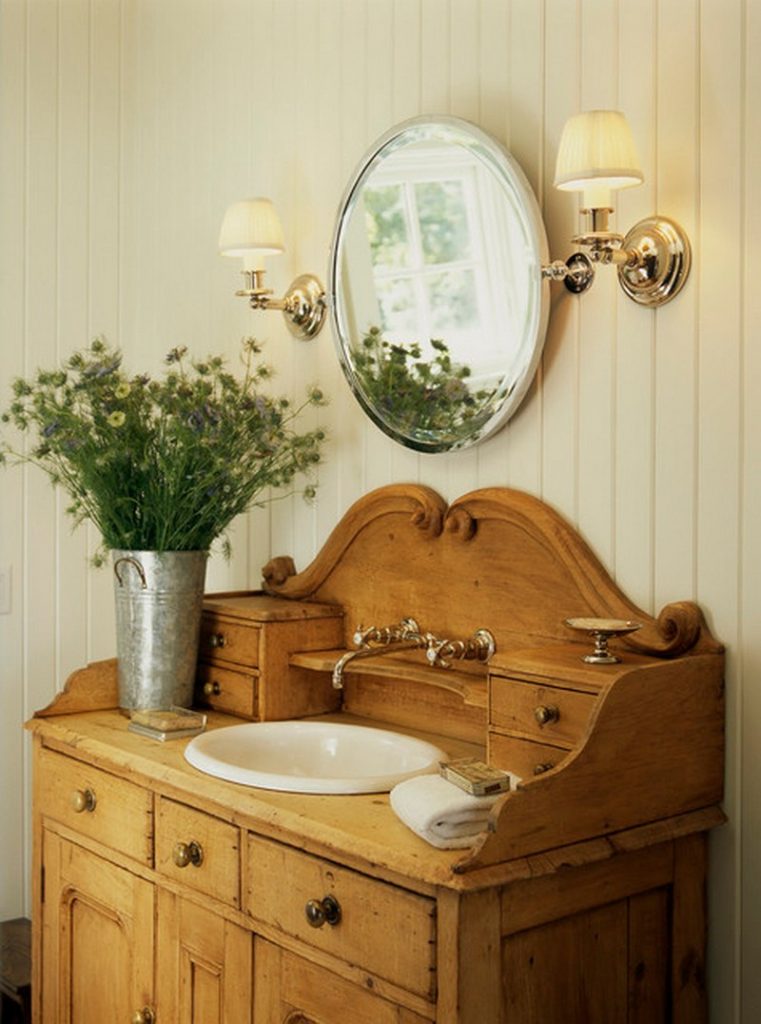
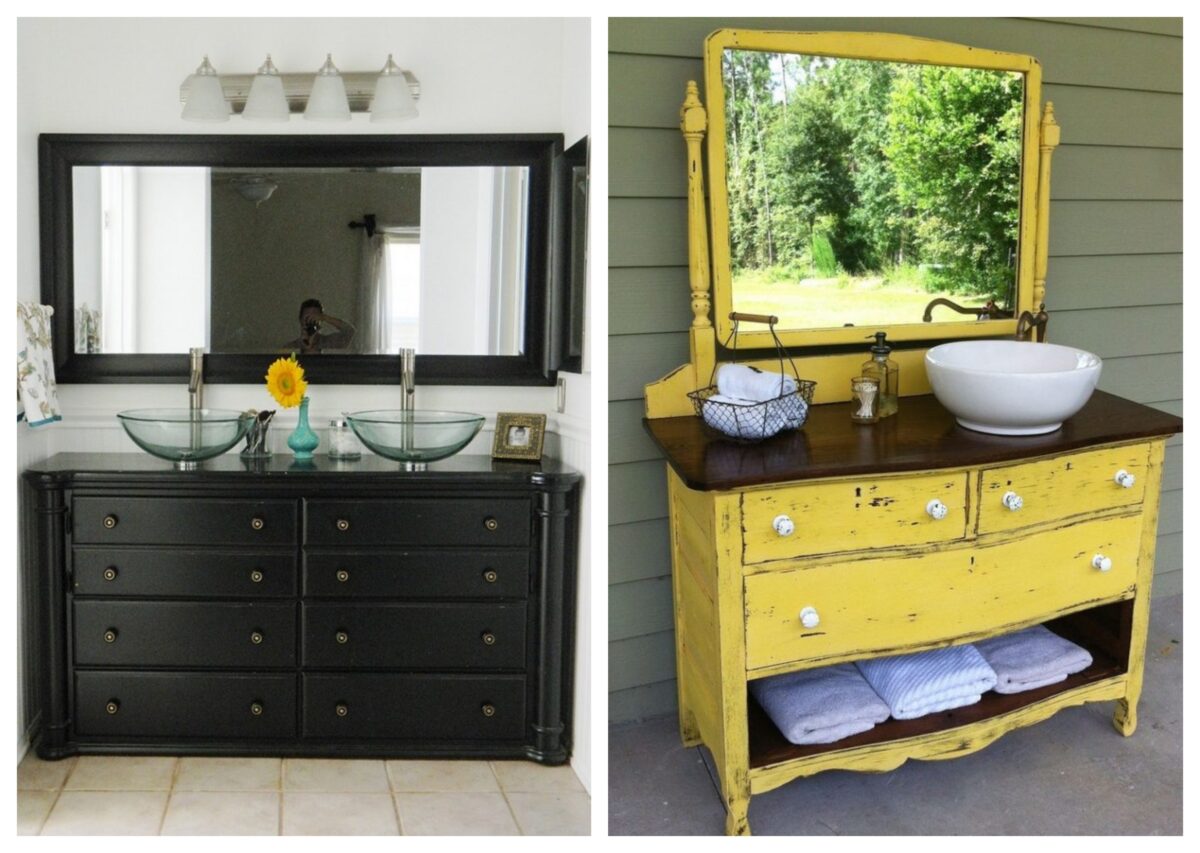
Attach the shelves (optional)
If you want to have more storage space for your vanity, you can opt to add shelves on top of your old dresser. If you have a top-heavy dresser, it is a good idea to secure the shelves to the wall so that the weight will be properly supported.
Use brackets and screws to ensure that the shelves will be secure. If you choose to use wood, you will need to paint it so that it matches the colour of your dresser.
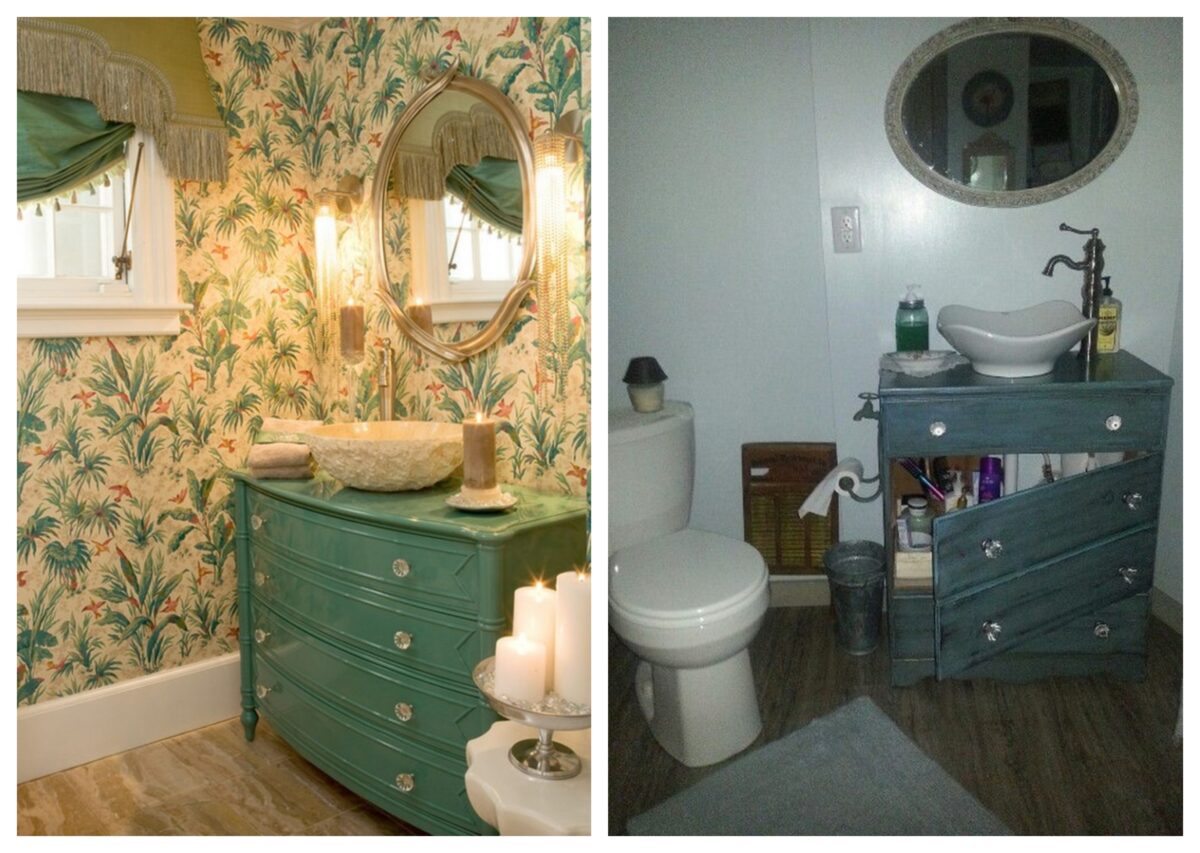
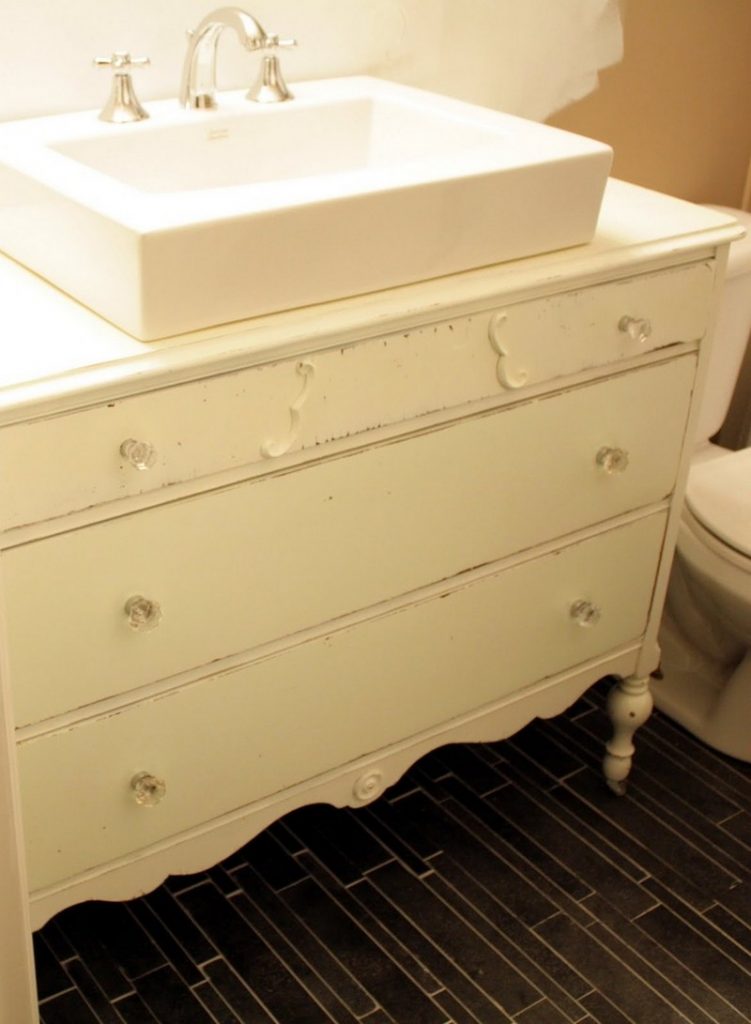
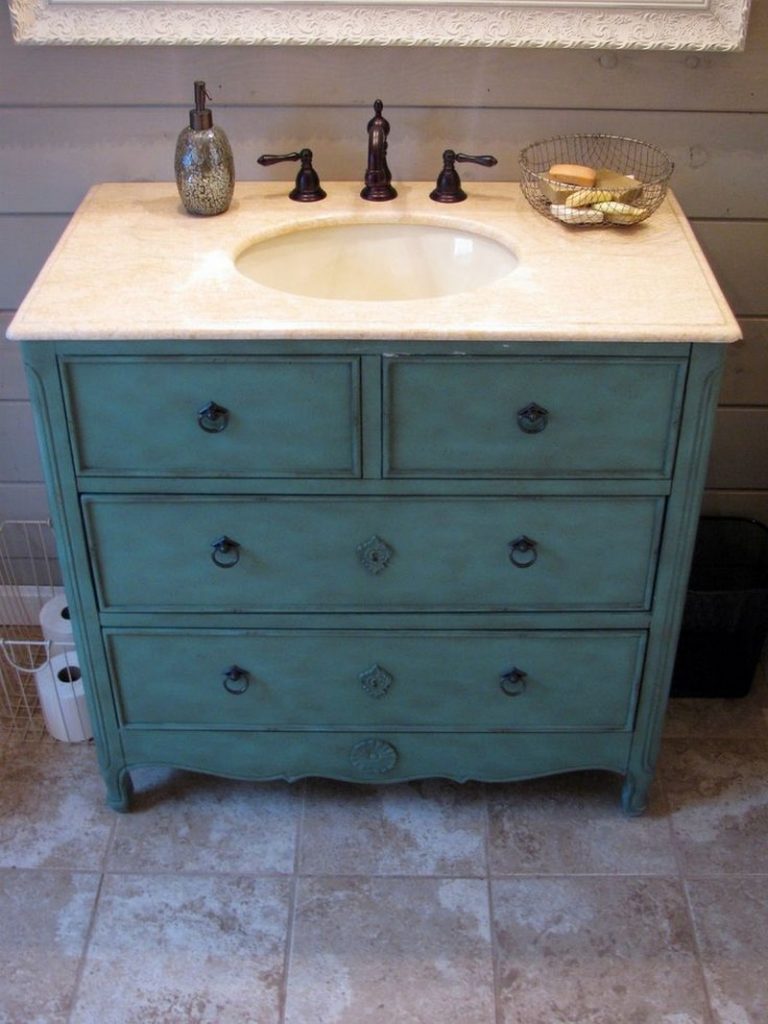
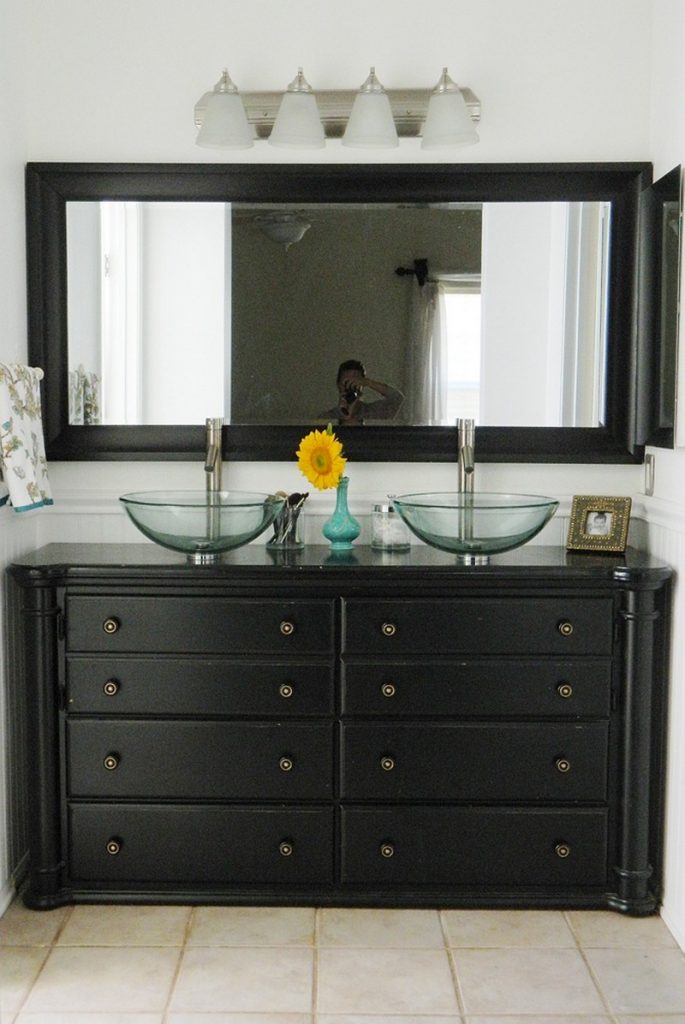
Install the sink and faucets
After installing the shelves, you should then incorporate the sink and faucet into your old dresser. The faucet is likely to be the most complicated part of the sink installation.
If your new faucet has a pop-up drain, you will have to attach it to the old drain assembly. There are two methods of doing this.
The first is to use a drain coupling adapter. This is a device that screws onto the end of the pop-up drain assembly, in which a new P-trap and drain assembly will be installed.
The second method is to remove the pop-up assembly entirely and install the new drain assembly directly into the sink.
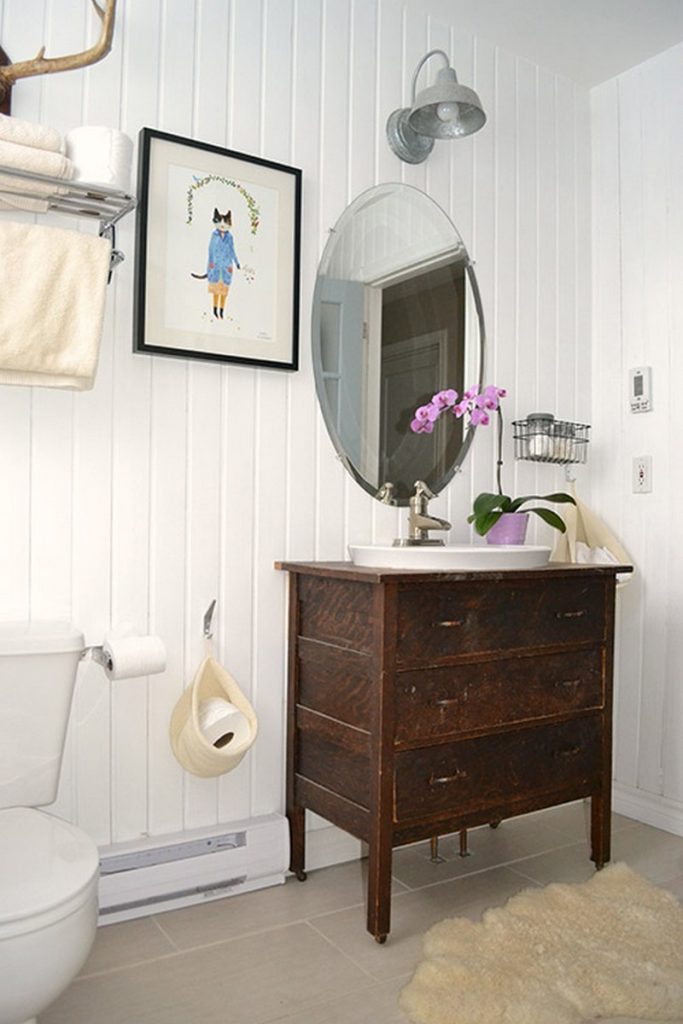
Hang the Mirror
The mirror will complete your bathroom vanity dresser set-up. While it’s not a safety concern, it’s a good idea to mount the mirror securely and level.
An unsecured mirror will wiggle if you touch it and can be the first thing to come off when a dresser is moved. A mirror mounted on a vanity dresser should be mounted with heavy-duty mirror hooks.
Click on any image to start the lightbox display. Use your Esc key to close the lightbox. You can also view the images as a slideshow if you prefer 😎